



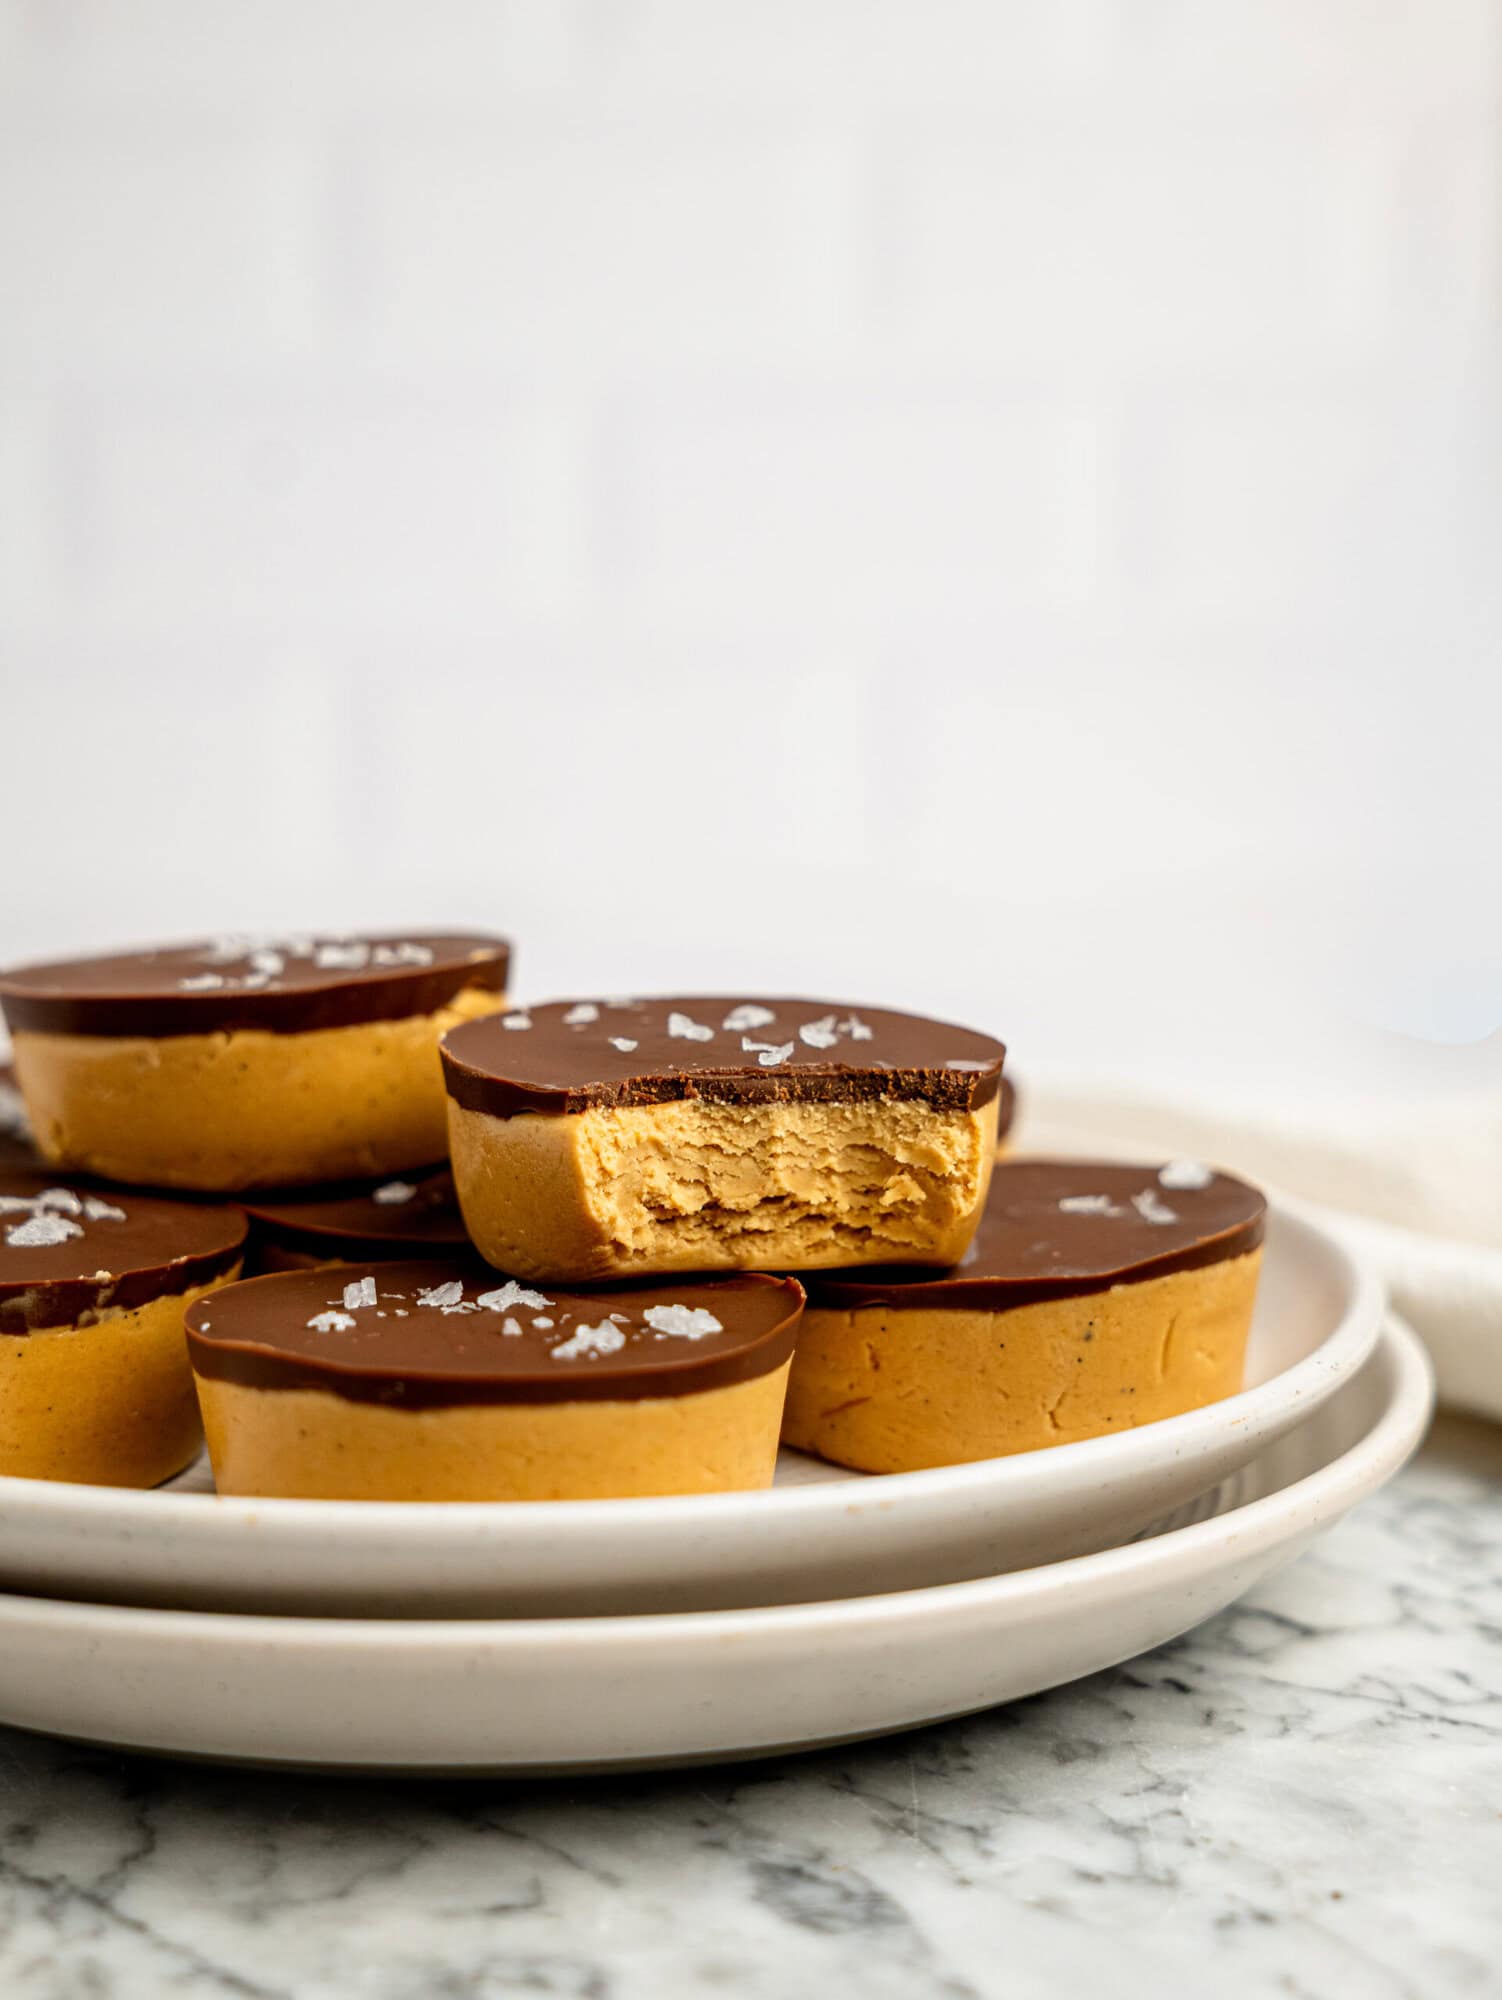
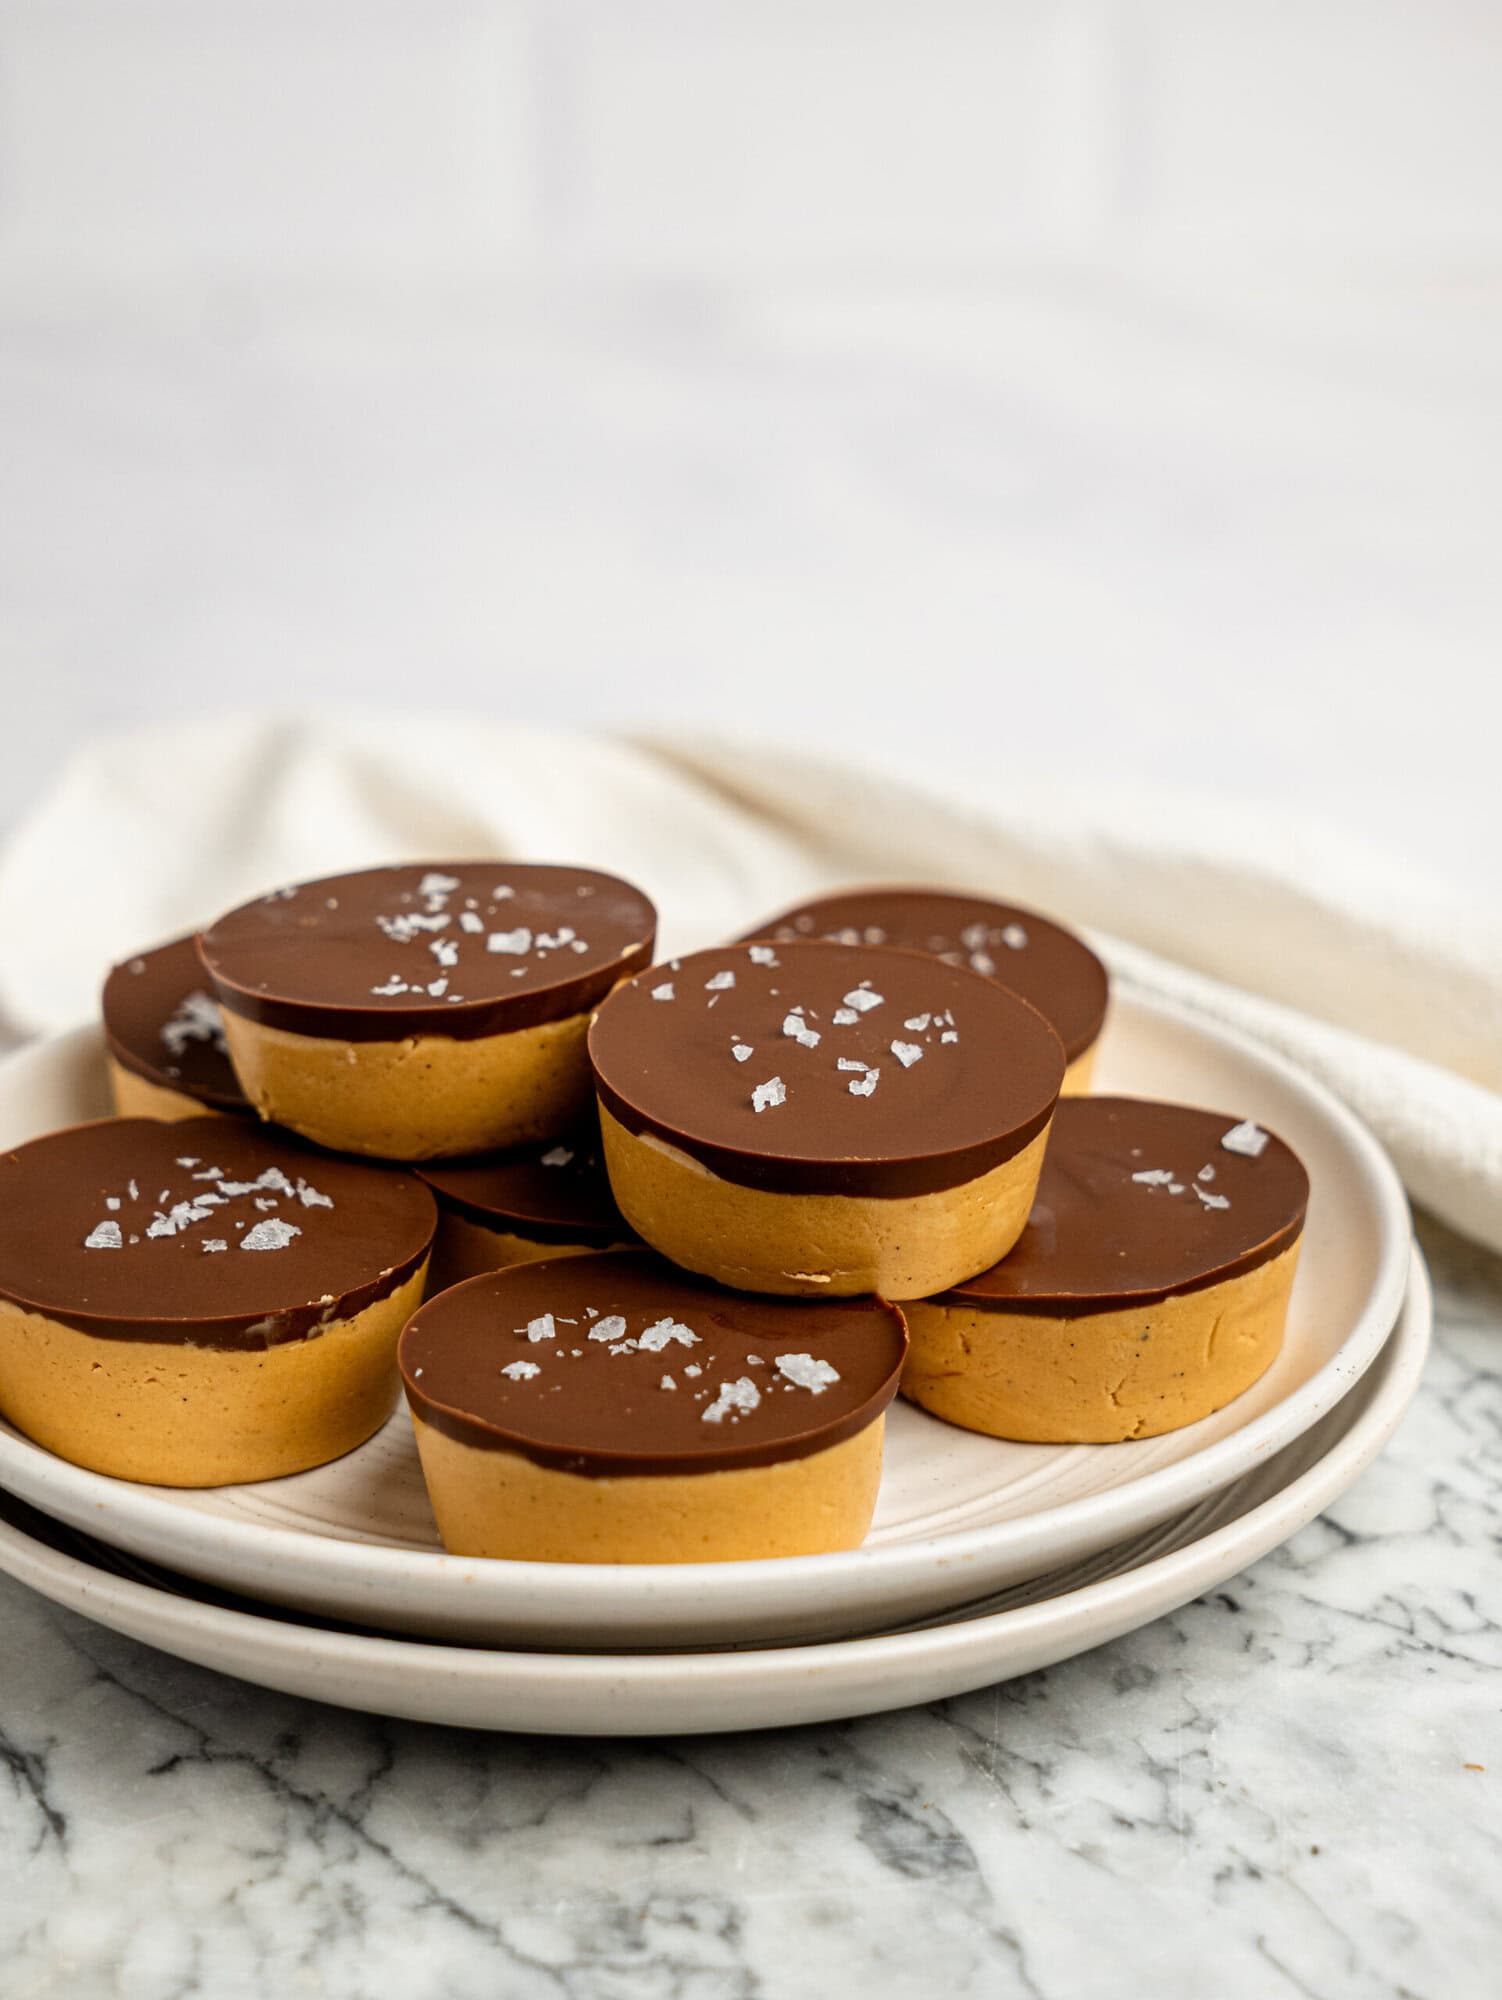
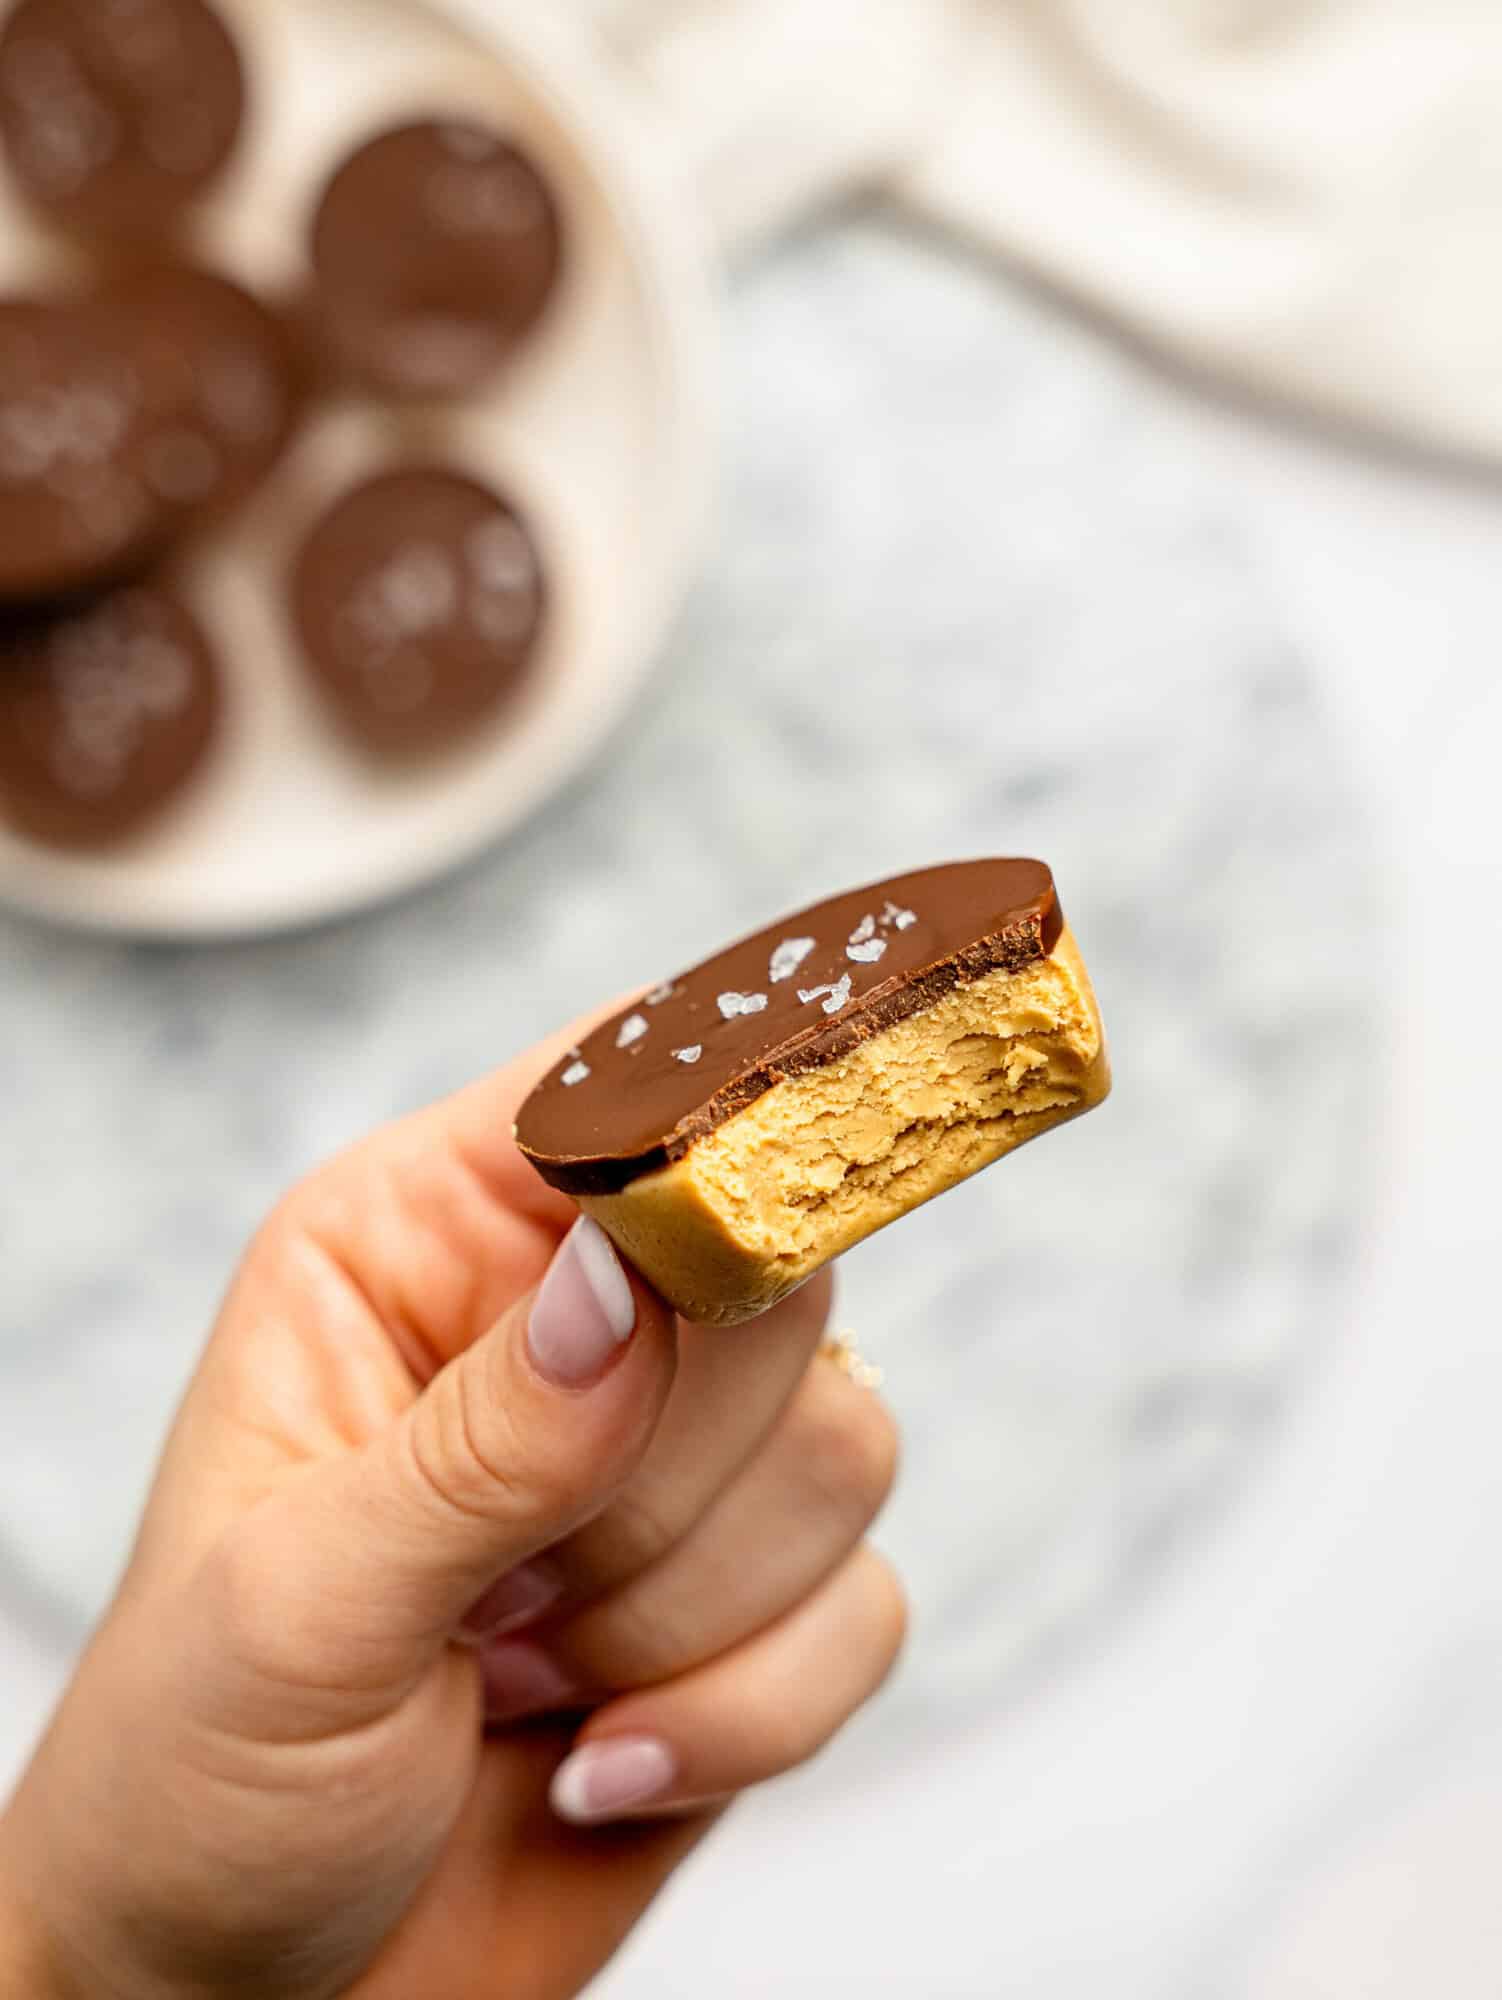
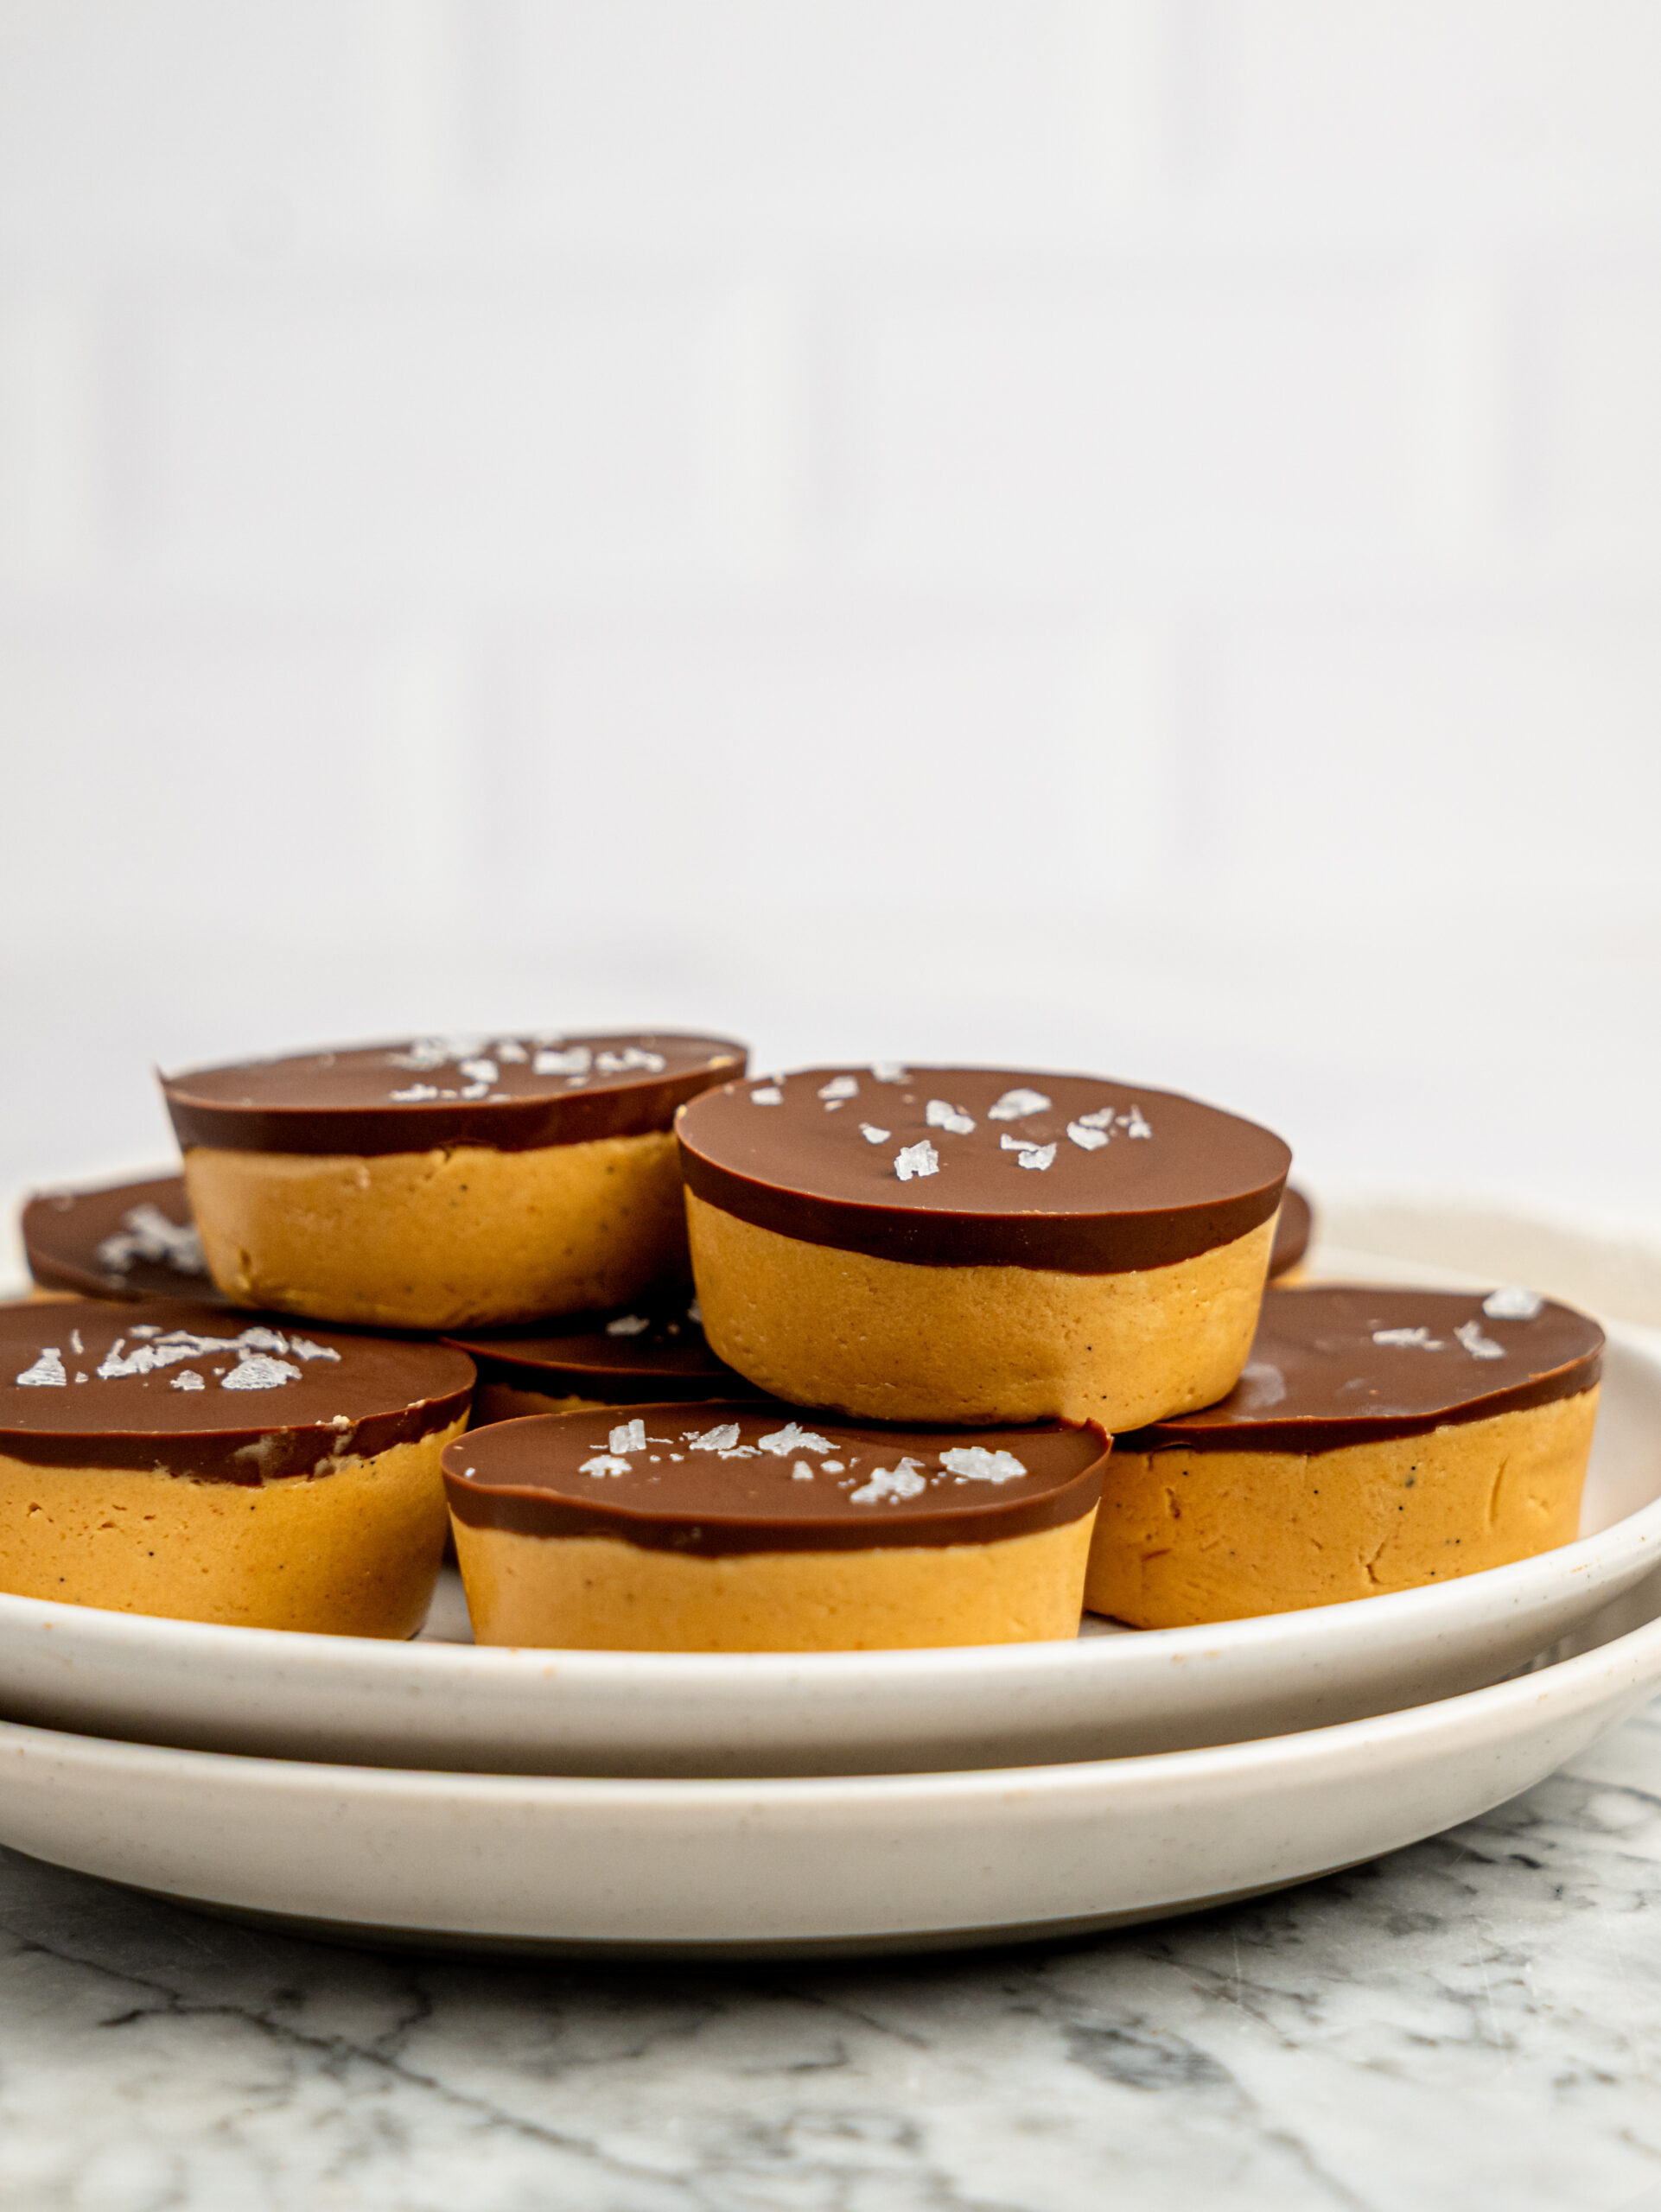
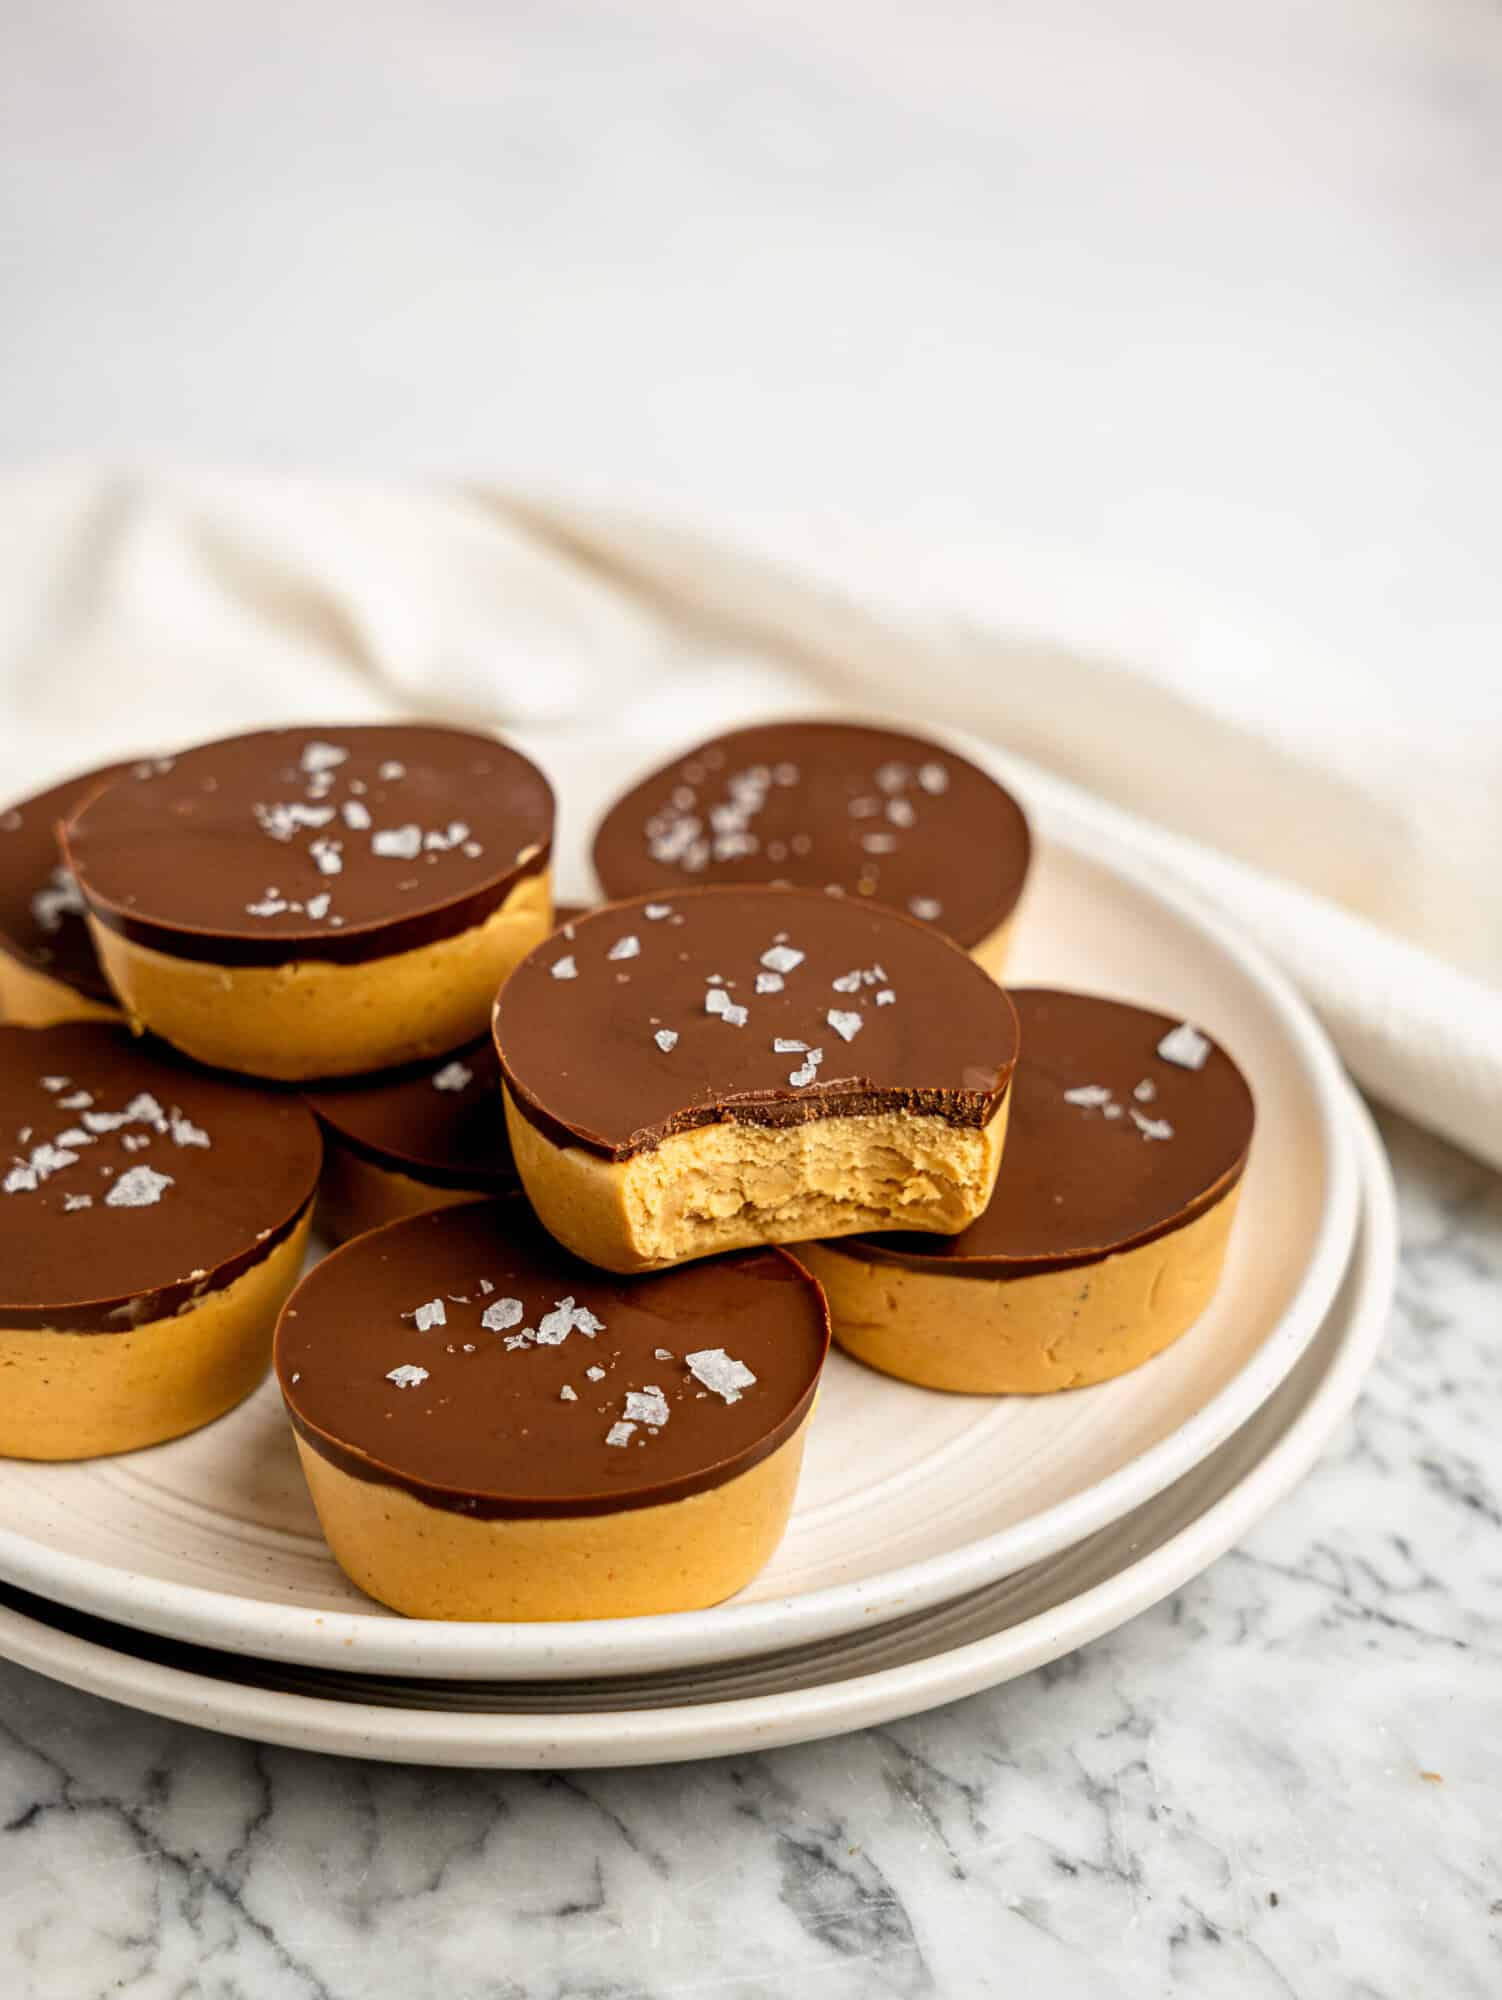
If you’re a peanut butter lover, these Protein Peanut Butter Cups are about to become a new favorite. They have everything you love about classic peanut butter cups, a rich peanut butter centre, a smooth chocolate topping, and that perfect melt-in-your-mouth texture, but with a more nourishing twist.
Protein Peanut Butter Cups
The filling is made with peanut butter, vanilla protein powder, and a touch of liquid sweetener, creating a thick, fudgy base that tastes incredibly satisfying. They’re less sweet than traditional peanut butter cups but still have all the flavor, making them perfect for when you’re craving something chocolatey.
One of the best things about this recipe is how simple it is to make. There’s no baking required, just a handful of ingredients and a little bit of chilling time. They’re easy enough to make during a busy week and perfect for keeping in the fridge whenever you need a quick snack or sweet treat.
They’re also ideal for meal prep. Make a batch ahead of time, and you’ll have a delicious high-protein snack ready whenever hunger strikes. Whether you enjoy them as an afternoon pick-me-up, post-workout bite, or healthier dessert, these peanut butter cups are guaranteed to disappear quickly.
Why you’ll love this recipe
- A healthier take on a classic favourite: These protein peanut butter cups have all the rich, chocolatey goodness of traditional peanut butter cups, but with a more nourishing ingredient list.
- Packed with peanut butter flavor: The creamy peanut butter filling is the star of the show, creating a rich and satisfying centre in every bite.
- High in protein: Vanilla protein powder adds a protein boost while helping create a thick, fudgy texture that holds together perfectly.
- No baking required: These cups come together with minimal effort and require nothing more than mixing, melting, and chilling.
- Perfect for meal prep: Make a batch ahead of time and keep them in the fridge or freezer for easy snacks throughout the week.
- Less sweet than traditional peanut butter cups: Made without icing sugar, these cups let the peanut butter and chocolate flavors shine while still tasting indulgent.
- Easy to customize: Switch up the protein powder, use crunchy peanut butter, add chopped peanuts, or finish with a sprinkle of flaky sea salt.
- Great for snacks or dessert: Whether you need a post-workout bite, afternoon pick-me-up, or something sweet after dinner, these cups fit the occasion perfectly.
Ingredients needed
These are the ingredients you’ll need to make these Protein Peanut Butter Cups. You can find the exact measurements in the recipe card at the bottom of this page.
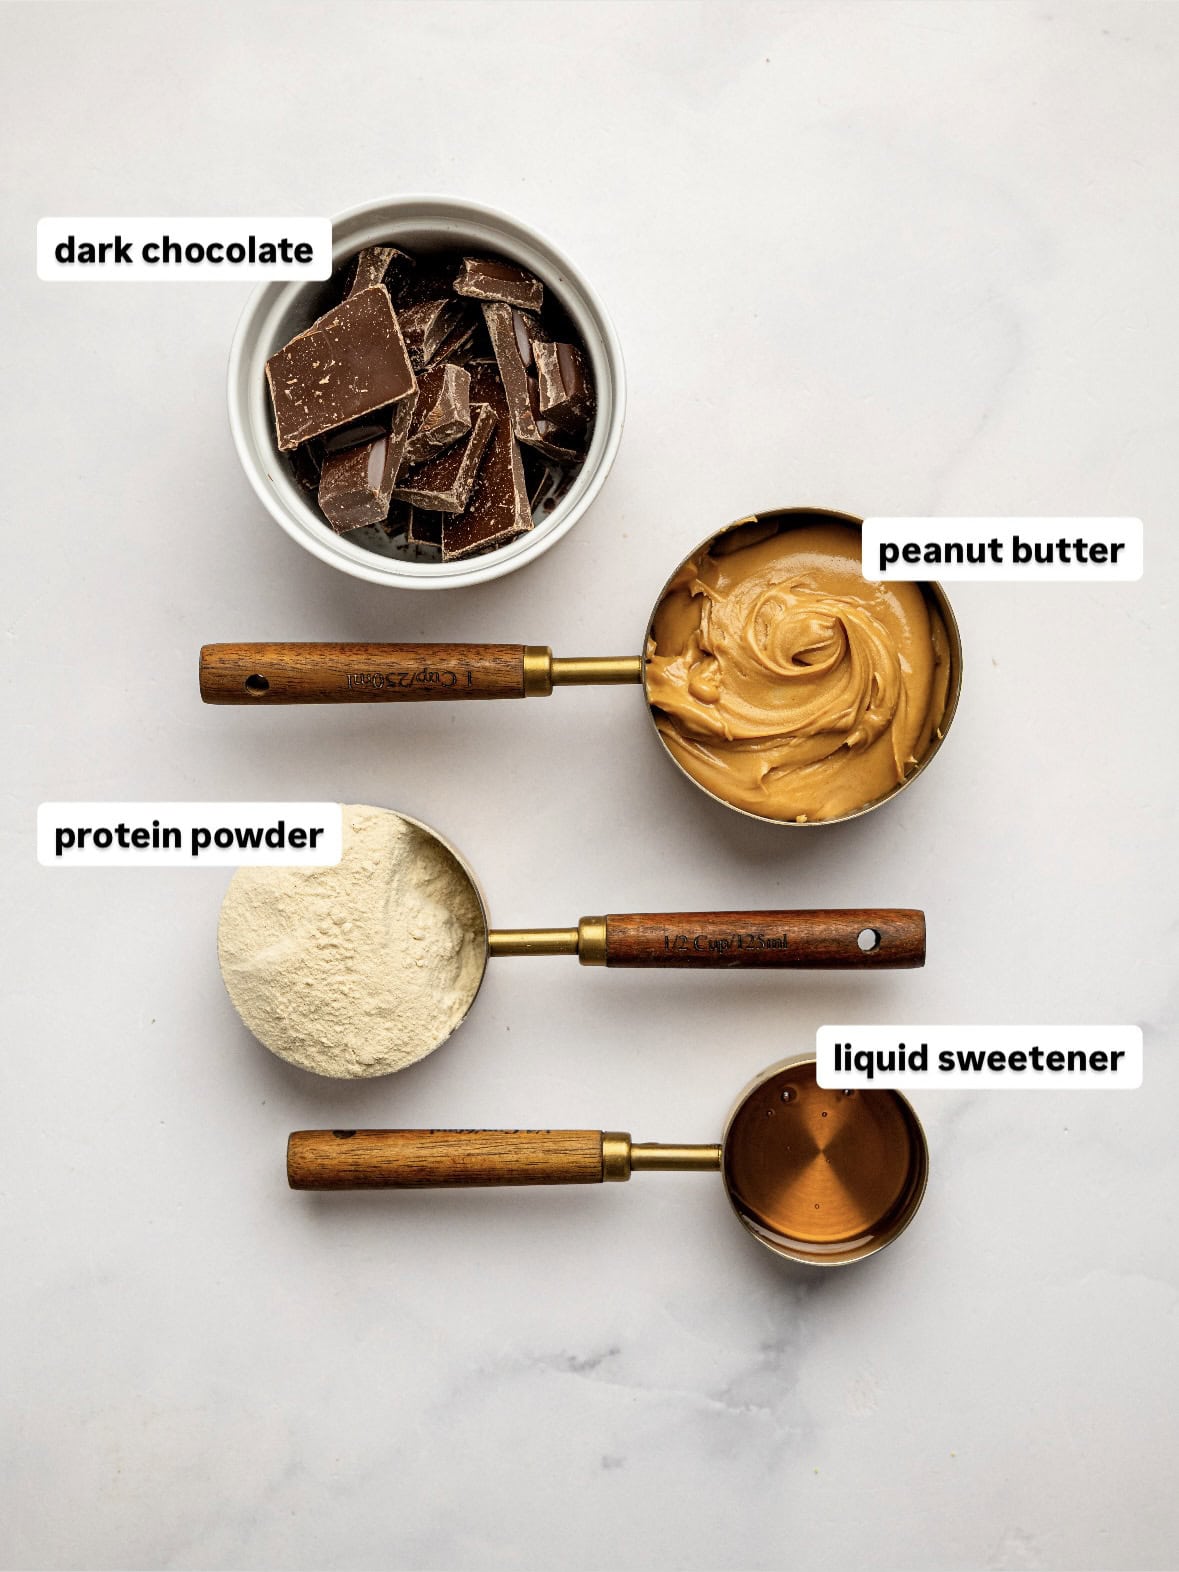
Smooth peanut butter: The star of the recipe, creating a rich, creamy filling packed with peanut butter flavor. It also provides healthy fats and helps bind the filling together.
Vanilla protein powder: Adds a boost of protein while helping create a thick, fudgy texture. It also adds a subtle sweetness and vanilla flavor to the filling.
Honey or maple syrup: Adds just the right amount of sweetness while helping bring the filling together.
Salt: A small pinch helps balance the sweetness and enhances the peanut butter and chocolate flavors.
Dark chocolate: Creates the rich chocolate coating that perfectly complements the creamy peanut butter centre.
Coconut oil (optional): Helps create a smoother chocolate layer and makes the chocolate easier to spread over the filling.
Milk (optional): If your filling feels too thick or dry, a small splash of milk can help bring it together and create the perfect texture.
Ingredient substitutions
Smooth peanut butter: Almond butter or cashew butter work well as alternatives. For a nut-free option, sunflower seed butter can also be used.
Vanilla protein powder: Chocolate protein powder works beautifully if you’d like a richer chocolate flavor. Different protein powders absorb liquid differently, so you may need to adjust the consistency slightly.
Honey or maple syrup: Both can be used interchangeably depending on your preference. Maple syrup keeps the recipe fully plant-based.
Dark chocolate: You can use milk chocolate for a sweeter flavor, or dairy-free chocolate to keep the recipe dairy-free.
Coconut oil: This is completely optional and simply helps create a smoother chocolate coating. You can leave it out if preferred.
Milk: If your filling feels too dry, any milk can be used to loosen it slightly, including dairy milk, almond milk, oat milk, or soy milk.
Salt: A pinch of flaky sea salt can be used instead of regular salt for a little extra texture and flavor.
Add-ins: Feel free to customize the cups with chopped peanuts, crunchy peanut butter, a drizzle of melted peanut butter, or a sprinkle of flaky sea salt on top.
Equipment needed
- Mixing bowl: Used to combine the peanut butter filling ingredients until a thick, fudgy mixture forms.
- Spoon or spatula: Perfect for mixing the filling, dividing it between the liners, and smoothing the chocolate topping.
- Mini muffin tray or regular muffin tray: Helps shape the peanut butter cups and keeps them uniform in size while they set. A silicone muffin tray works best, but you could use a regular muffin tray and insert paper liners.
- Paper liners: (If not using a silicone muffin tray) Makes the peanut butter cups easy to remove and helps keep everything neat.
- Microwave-safe bowl or small saucepan: Used for melting the chocolate until smooth and glossy.
- Measuring cups and spoons: Helpful for accurately measuring the ingredients and achieving the perfect texture.
- Refrigerator or freezer: Essential for chilling the peanut butter cups and allowing the chocolate layer to fully set.
How to make these Protein Peanut Butter Cups
Here is a detailed summary of how to make this recipe. I’ve also included some photos, and you can find the recipe video in the recipe card. At the bottom of this page is a summarized version that can be printed.
Step One:
Line a mini muffin tray (10-12 paper liners) or a regular muffin tray (6 paper liners) with paper liners and set aside. You could alternatively use a silicone muffin tray without paper liners.
Step Two:
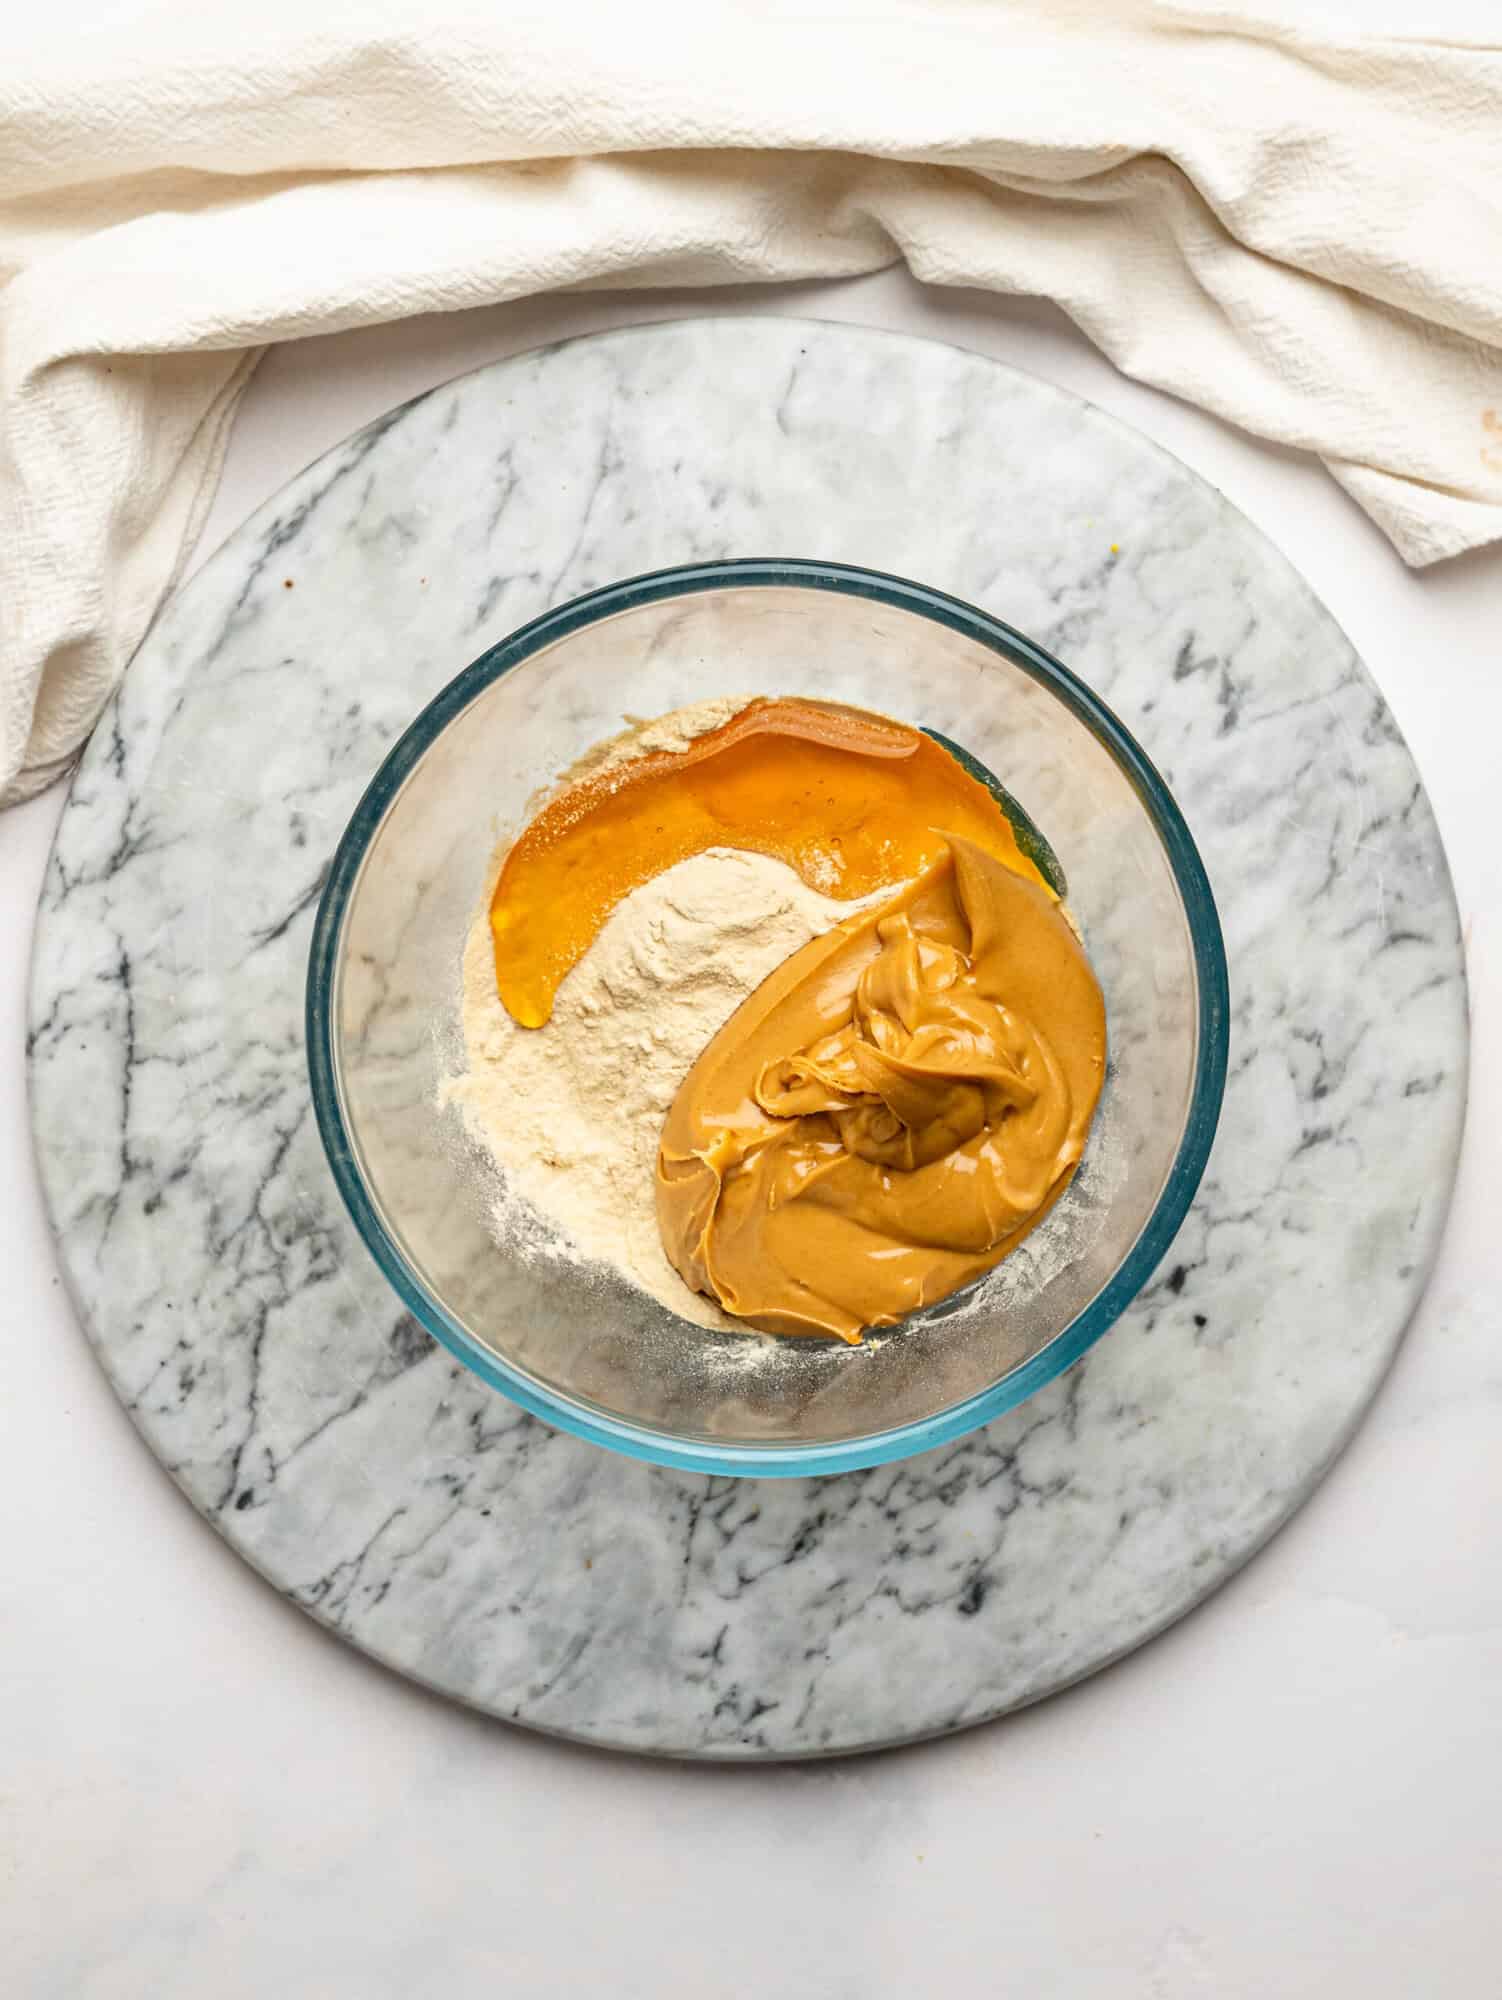
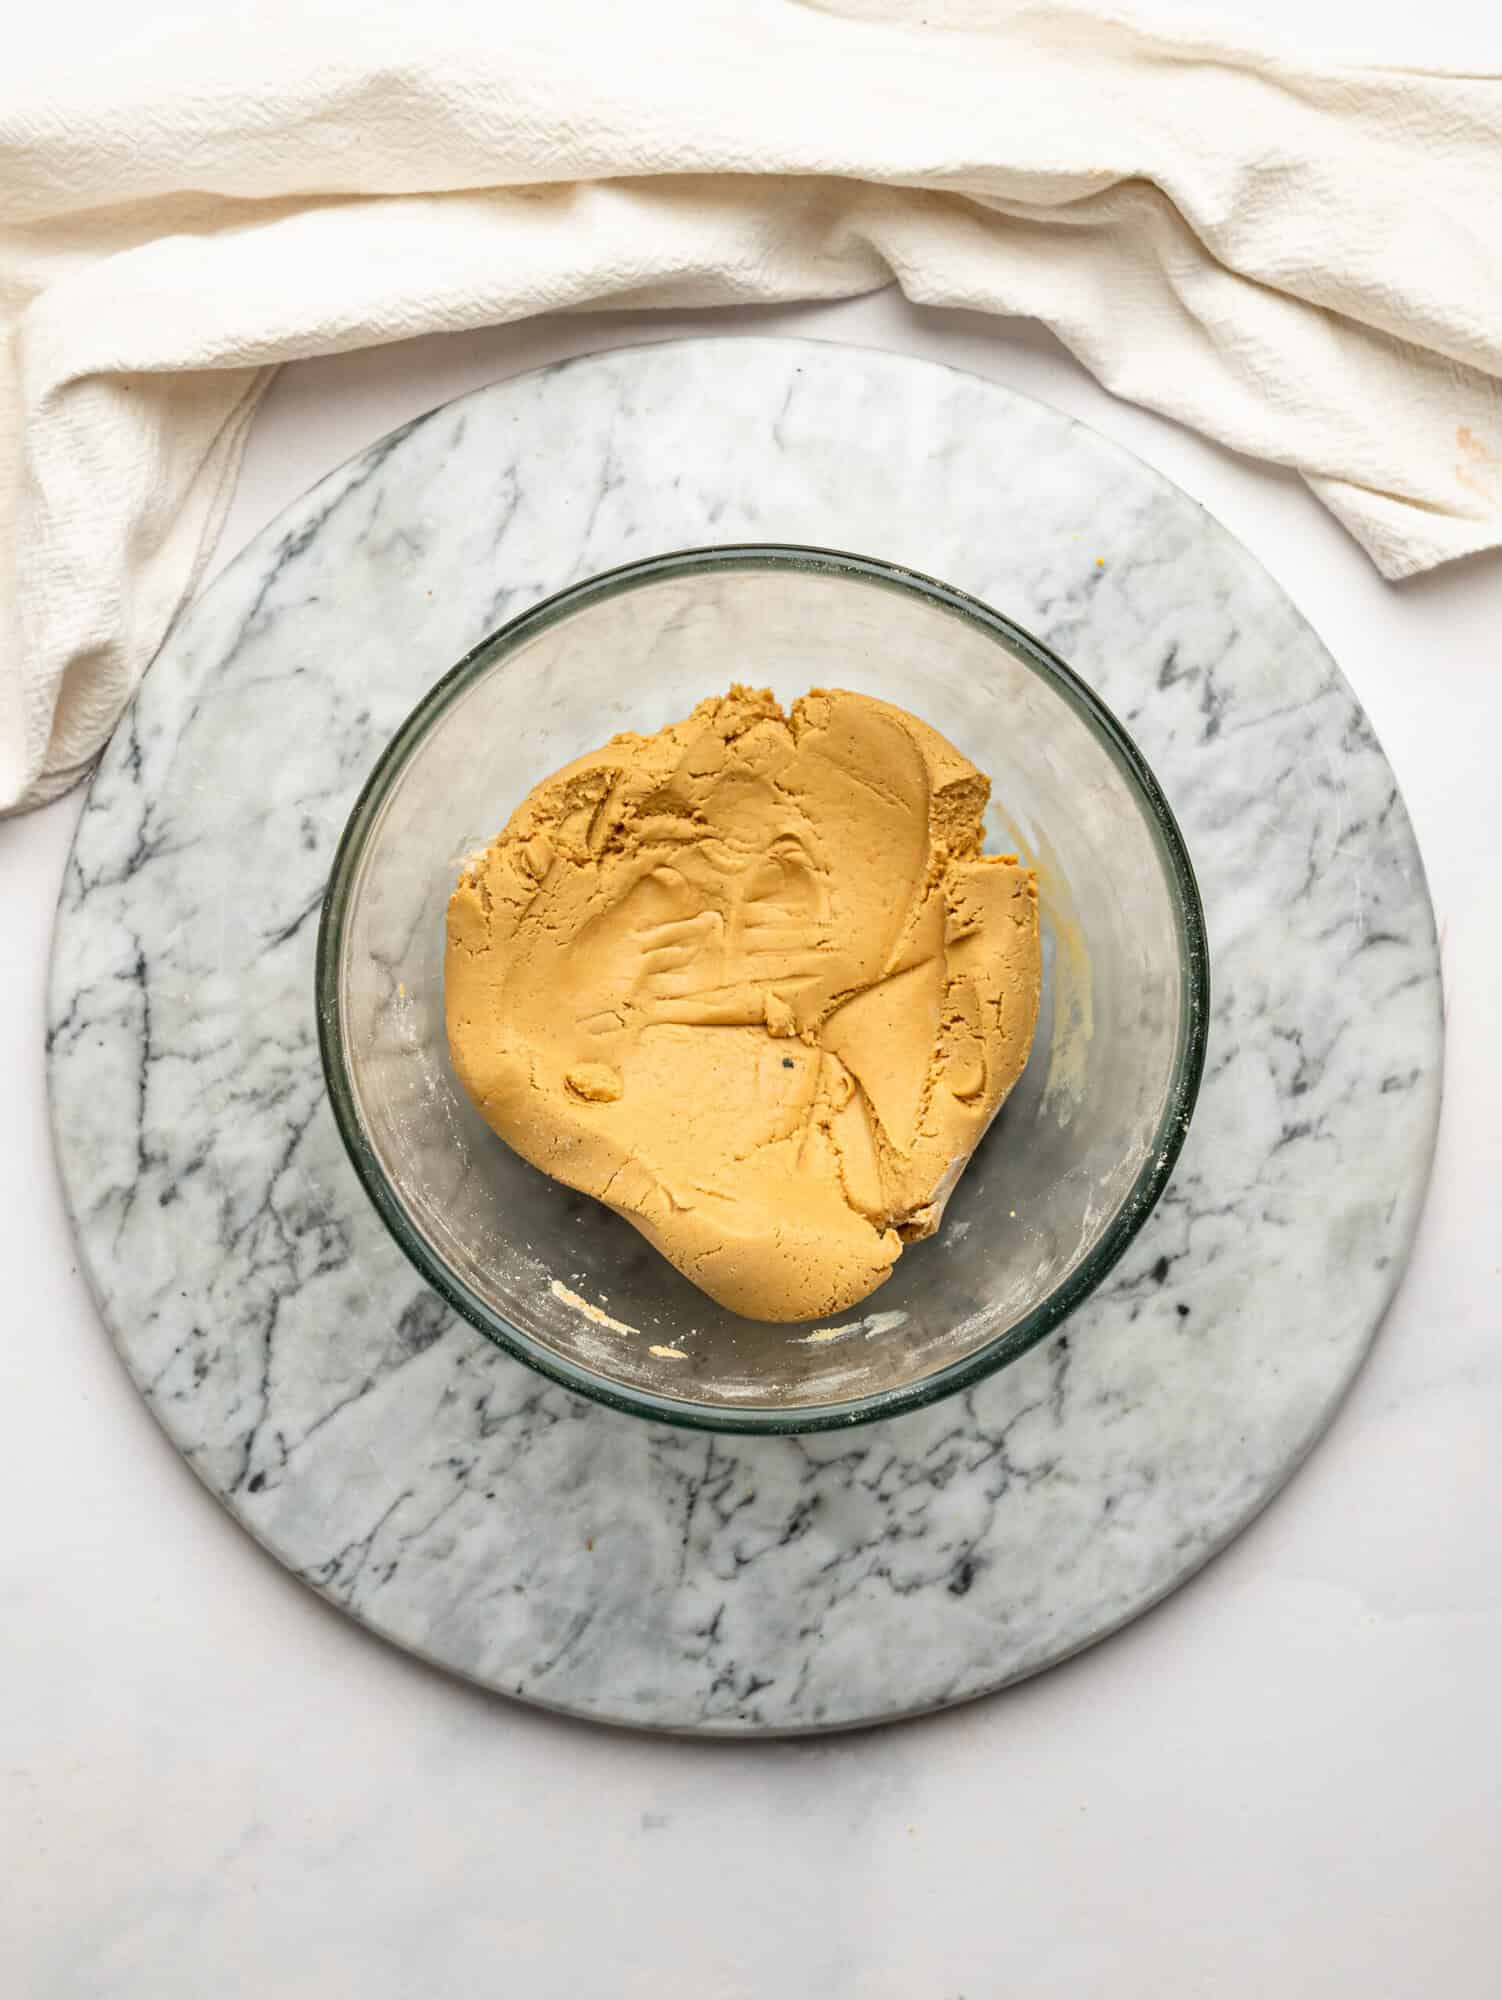
Add the peanut butter, vanilla protein powder, honey or maple syrup, and a pinch of salt to a mixing bowl. Stir until a thick dough-like mixture forms.
Step Three:
If the mixture feels too dry, add 1 to 2 teaspoons of milk and mix again until it comes together easily.
Step Four:
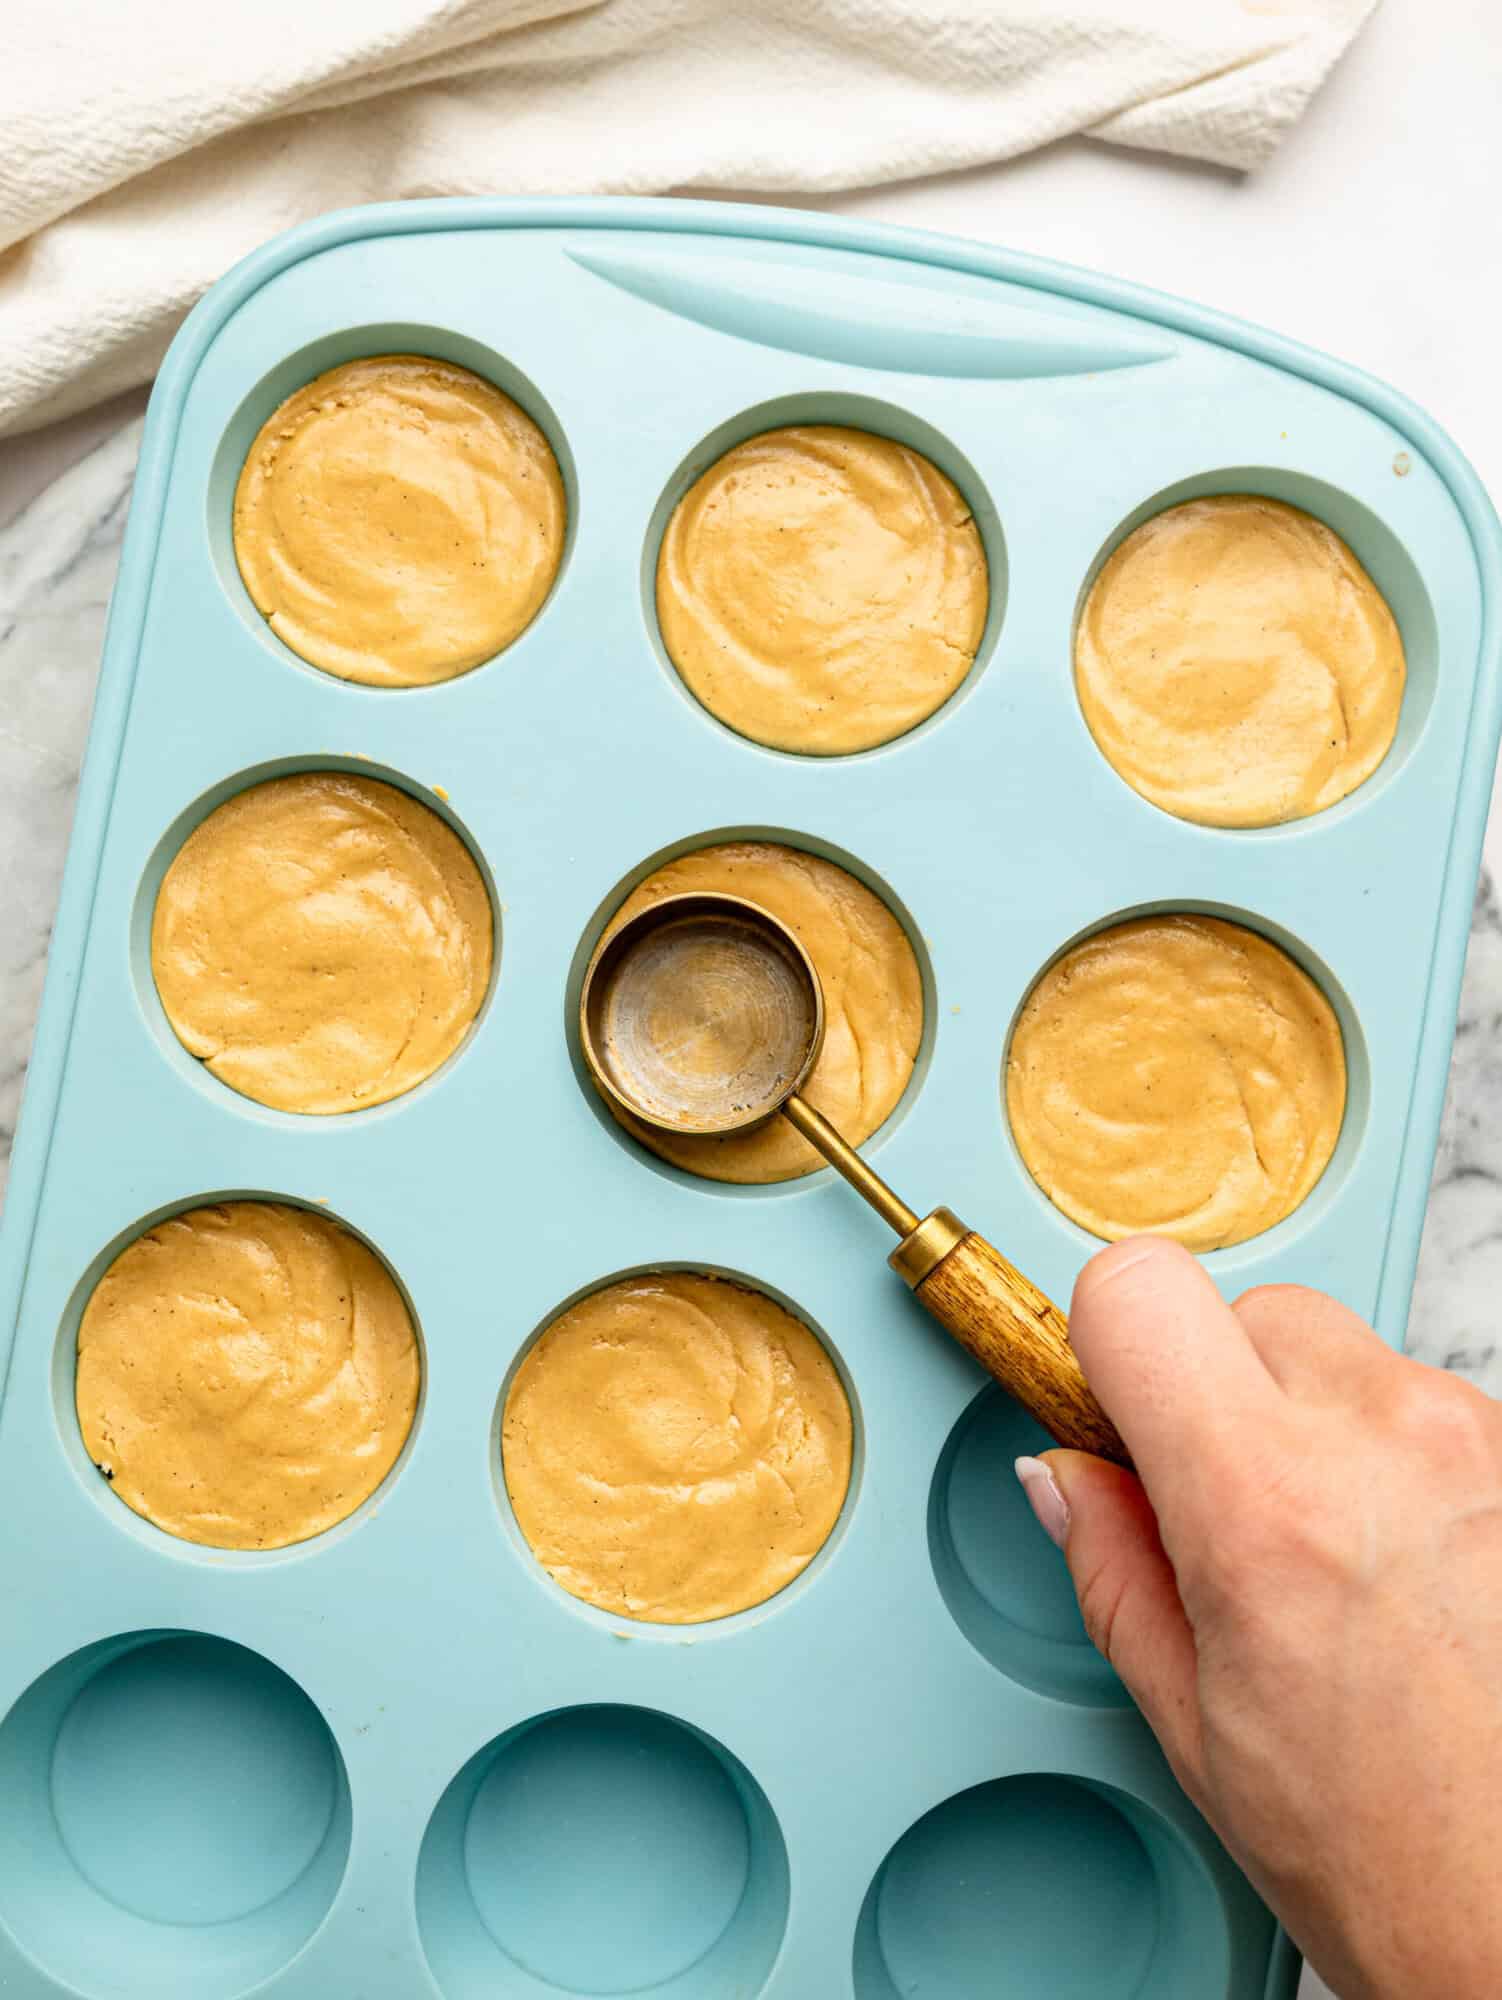
Divide the peanut butter mixture evenly between the muffin liners and press down firmly using the back of a spoon or your fingers.
Step Five:
Add the dark chocolate and coconut oil, if using, to a microwave-safe bowl or small saucepan. Melt until smooth and glossy.
Step Six:
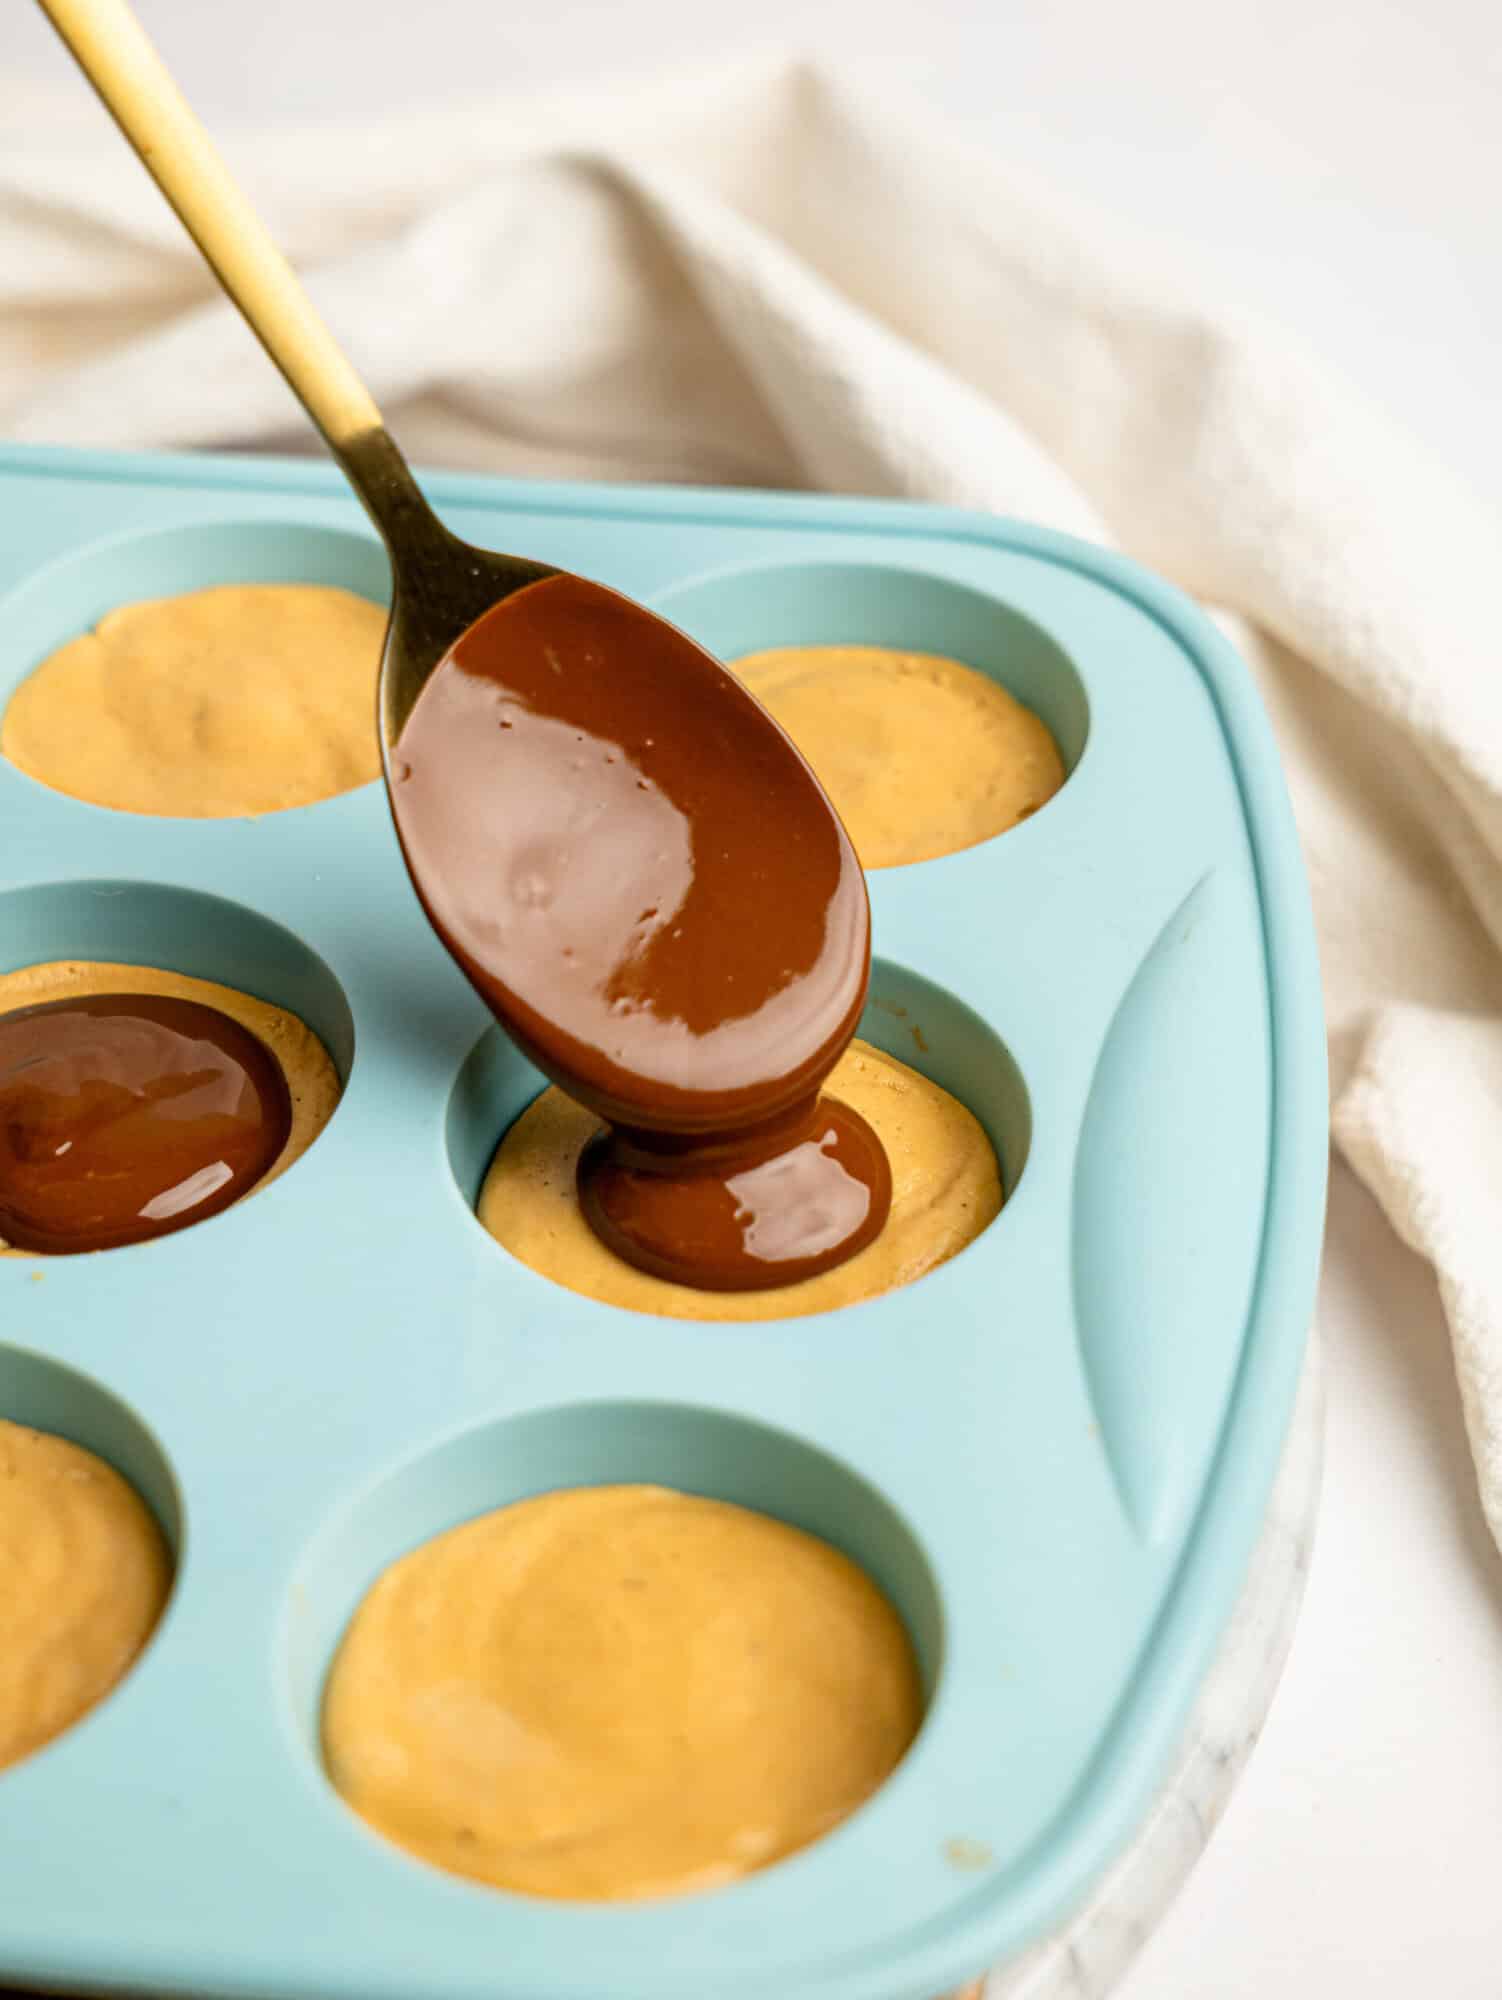
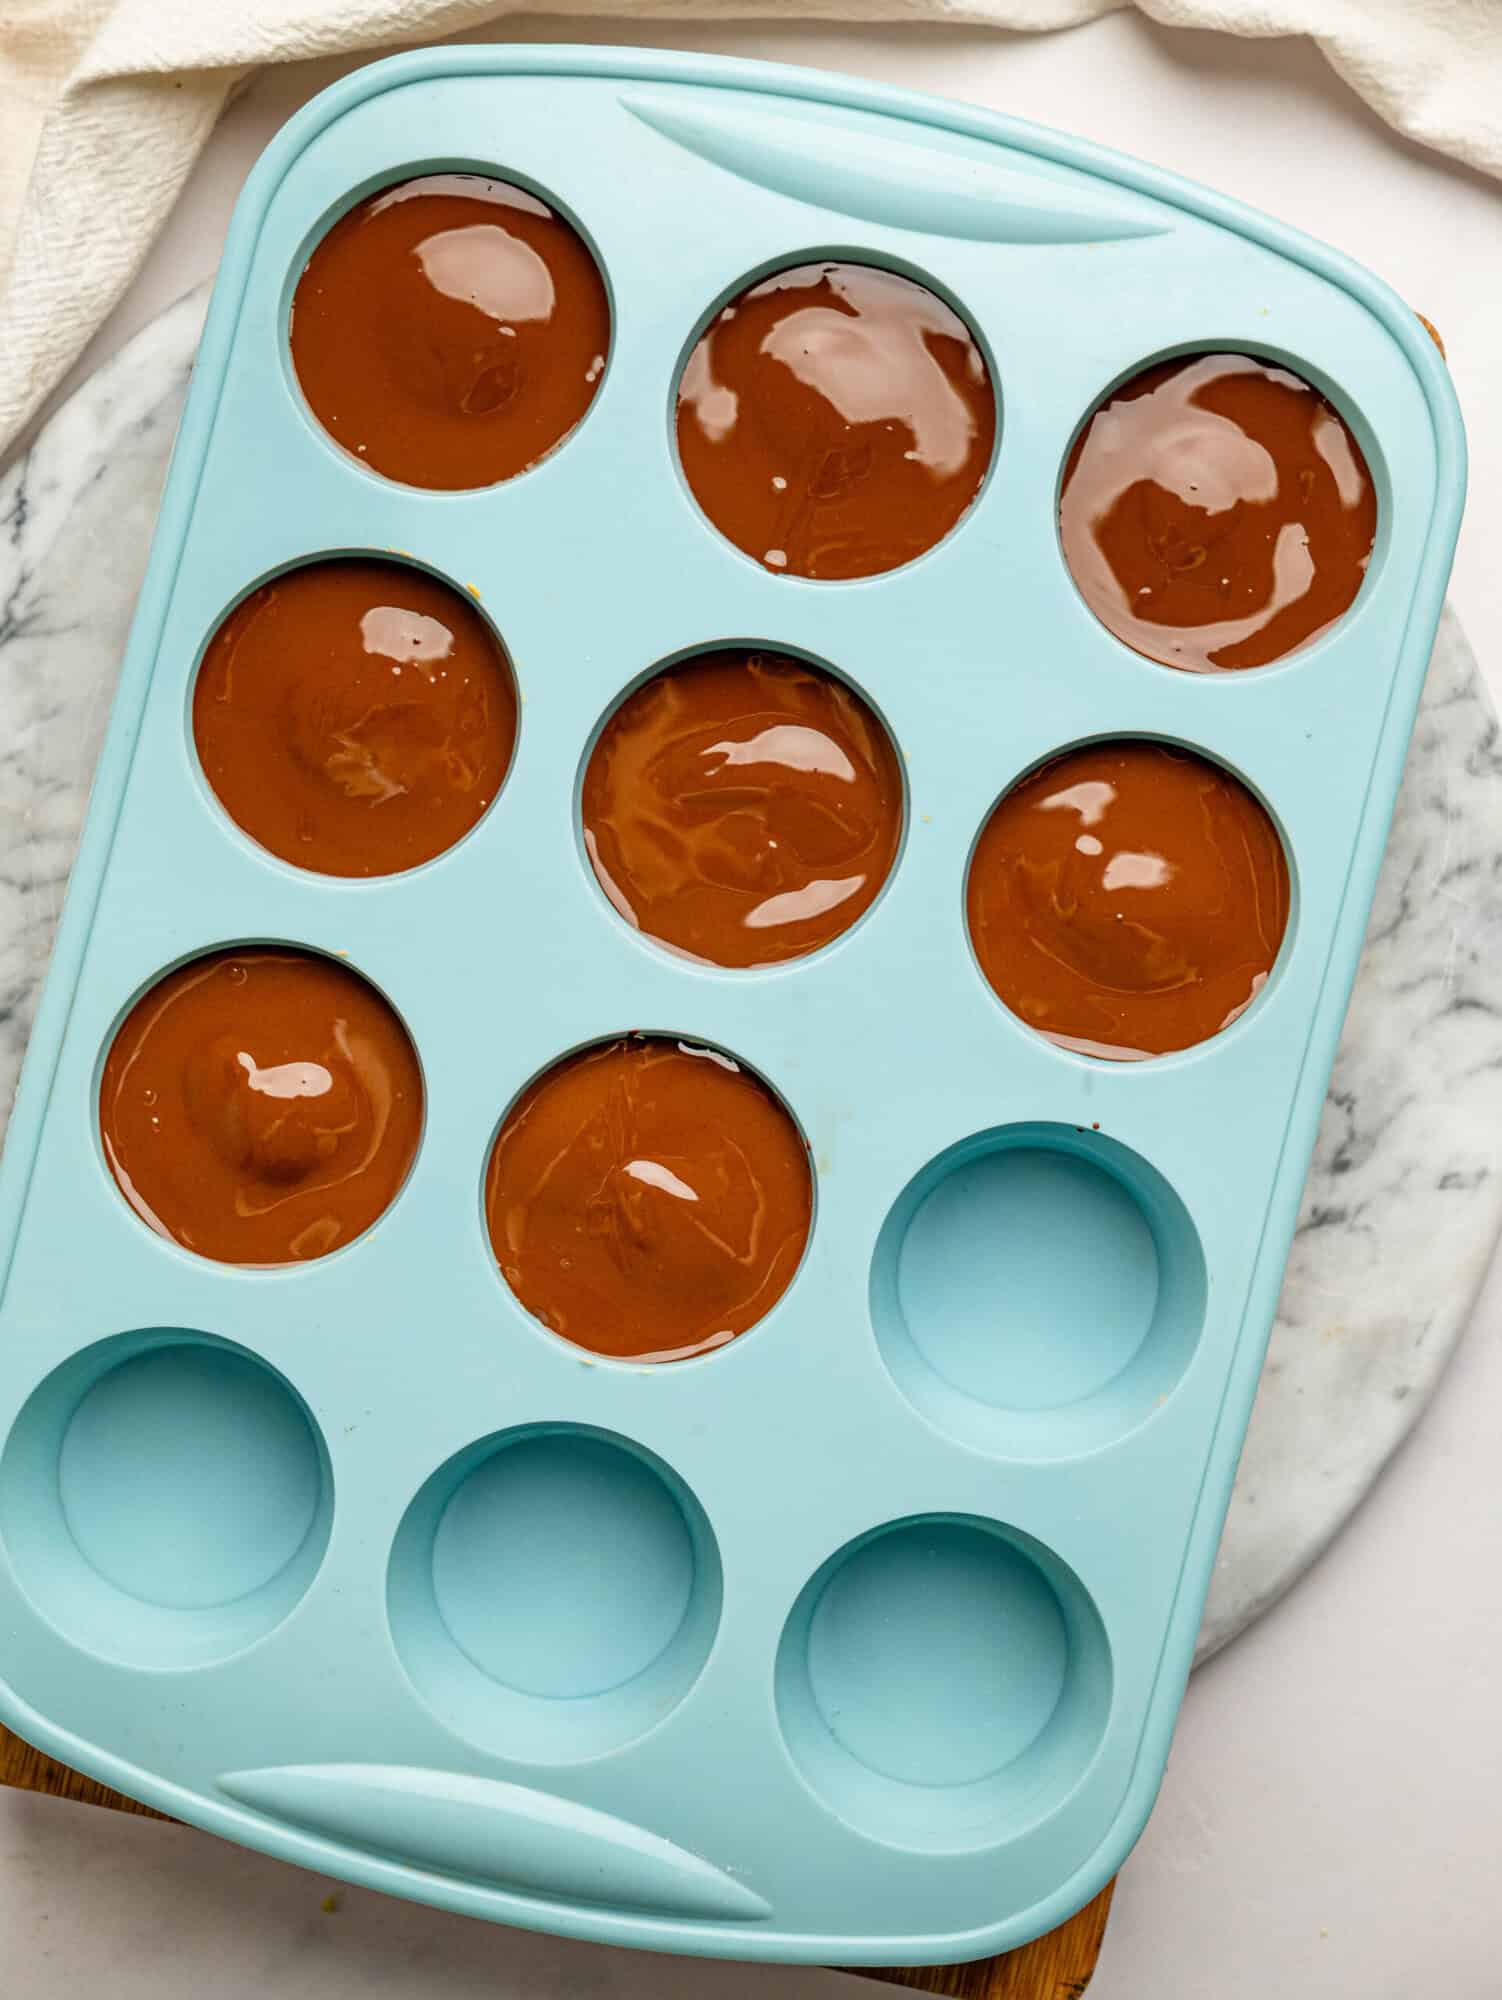
Spoon the melted chocolate over each peanut butter cup, spreading it gently to completely cover the filling.
Step Seven:
Transfer the tray to the fridge or freezer and chill until the chocolate has fully set.
Step Eight:
Remove from the liners and enjoy straight from the fridge, or store for later as an easy high-protein snack or healthier dessert.
Tips & notes
- Use a good quality peanut butter: A smooth, natural peanut butter works best for creating a rich, creamy filling. If your peanut butter is very runny, you may need a little extra protein powder to help firm it up.
- Adjust the texture if needed: The filling should be thick and easy to press into the liners. If it feels too dry, add 1 to 2 teaspoons of milk. If it feels too soft, add a little extra protein powder.
- Choose your protein powder carefully: Vanilla protein powder gives these cups a classic peanut butter cup flavor, while chocolate protein powder creates an even more indulgent chocolatey version.
- Don’t rush the chilling time: Allow the cups to chill until the chocolate is completely set. This helps them hold their shape and makes them easier to remove from the liners.
- Add a sprinkle of flaky sea salt: A little flaky sea salt on top creates the perfect sweet and salty combination and complements the peanut butter beautifully.
- Store them to suit your preference: Keep them in the fridge for a softer, fudgier texture or in the freezer for a firmer, more candy-like bite.
- Make them your own: Try using crunchy peanut butter, adding chopped peanuts, or drizzling extra melted peanut butter over the top for extra texture and flavor.
- Perfect for meal prep: These cups store well and make a convenient snack, post-workout treat, or healthier dessert to enjoy throughout the week.
- Great for portion control: Making a batch of mini peanut butter cups means you have a satisfying sweet treat ready whenever a craving strikes.
How to store these Protein Peanut Butter Cups
Fridge:
Store the peanut butter cups in an airtight container in the fridge for up to 1 week. They make the perfect grab-and-go snack, post-workout treat, or healthier dessert.
Freezing:
These freeze beautifully for up to 3 months. Store them in an airtight container and allow them to sit at room temperature for a few minutes before enjoying.
Meal prep friendly:
These are ideal for making ahead and keeping on hand whenever you need something chocolatey, satisfying, and packed with peanut butter flavor.
Frequently Asked Questions
Can I use a different nut butter?
Yes. Almond butter or cashew butter work well in place of peanut butter. For a nut-free option, sunflower seed butter is a great alternative.
Can I use chocolate protein powder instead of vanilla?
Absolutely. Chocolate protein powder creates an even richer chocolate flavor and pairs beautifully with the peanut butter filling.
Why is my filling too dry?
Different protein powders absorb liquid differently. If your mixture feels too dry, simply add 1 to 2 teaspoons of milk until it comes together.
Can I make these dairy-free?
Yes. Simply choose a dairy-free protein powder and dairy-free chocolate to make the recipe completely dairy-free.
Are these a healthier alternative to traditional peanut butter cups?
These cups are made with simple ingredients and contain protein from both the peanut butter and protein powder, making them a more balanced option while still feeling indulgent.
Can I customize them?
Of course. Try using crunchy peanut butter, adding chopped peanuts, sprinkling over flaky sea salt, or drizzling melted peanut butter on top before chilling.
more no-bake treats:
Hey! If you make this recipe, I would love it if you could leave me some feedback and a rating ⭐⭐⭐⭐⭐ in the comment section at the bottom of the page! Also let me know on Facebook, Instagram or Pinterest! I can’t wait to hear your thoughts and see your photos!
Protein Peanut Butter Cups
Equipment
- Spoon or spatula
- Mini muffin tray or regular muffin tray
- Paper liners
- Microwave-safe bowl or small saucepan
- Refrigerator or freezer
Ingredients
Peanut Butter Filling
- 180 g smooth peanut butter ¾ cup
- 80 g vanilla protein powder ½ cup
- 30 g honey or maple syrup 1½ tbsp
- Pinch of salt
Chocolate Topping
- 80 g dark chocolate
- 1 tsp coconut oil optional, for a smoother chocolate layer
Instructions
- Line a mini muffin tray (8-12 cavities) or a regular muffin tray (6 cavities) with paper liners. Or use a silicone muffin tray.
- In a bowl, mix together the peanut butter, protein powder, honey, and salt until a thick dough forms. If the mixture seems too dry, add 1-2 teaspoons milk.
- Divide the mixture evenly between the muffin liners and press down firmly.
- Melt the dark chocolate and coconut oil until smooth.
- Spoon the melted chocolate over each peanut butter cup and spread to cover the filling.
- Refrigerate or freeze until the chocolate has set.
- Store in an airtight container in the fridge.
Video
Notes
Nutrition
Let me know in the comments below if you make these Protein Peanut Butter Cups!