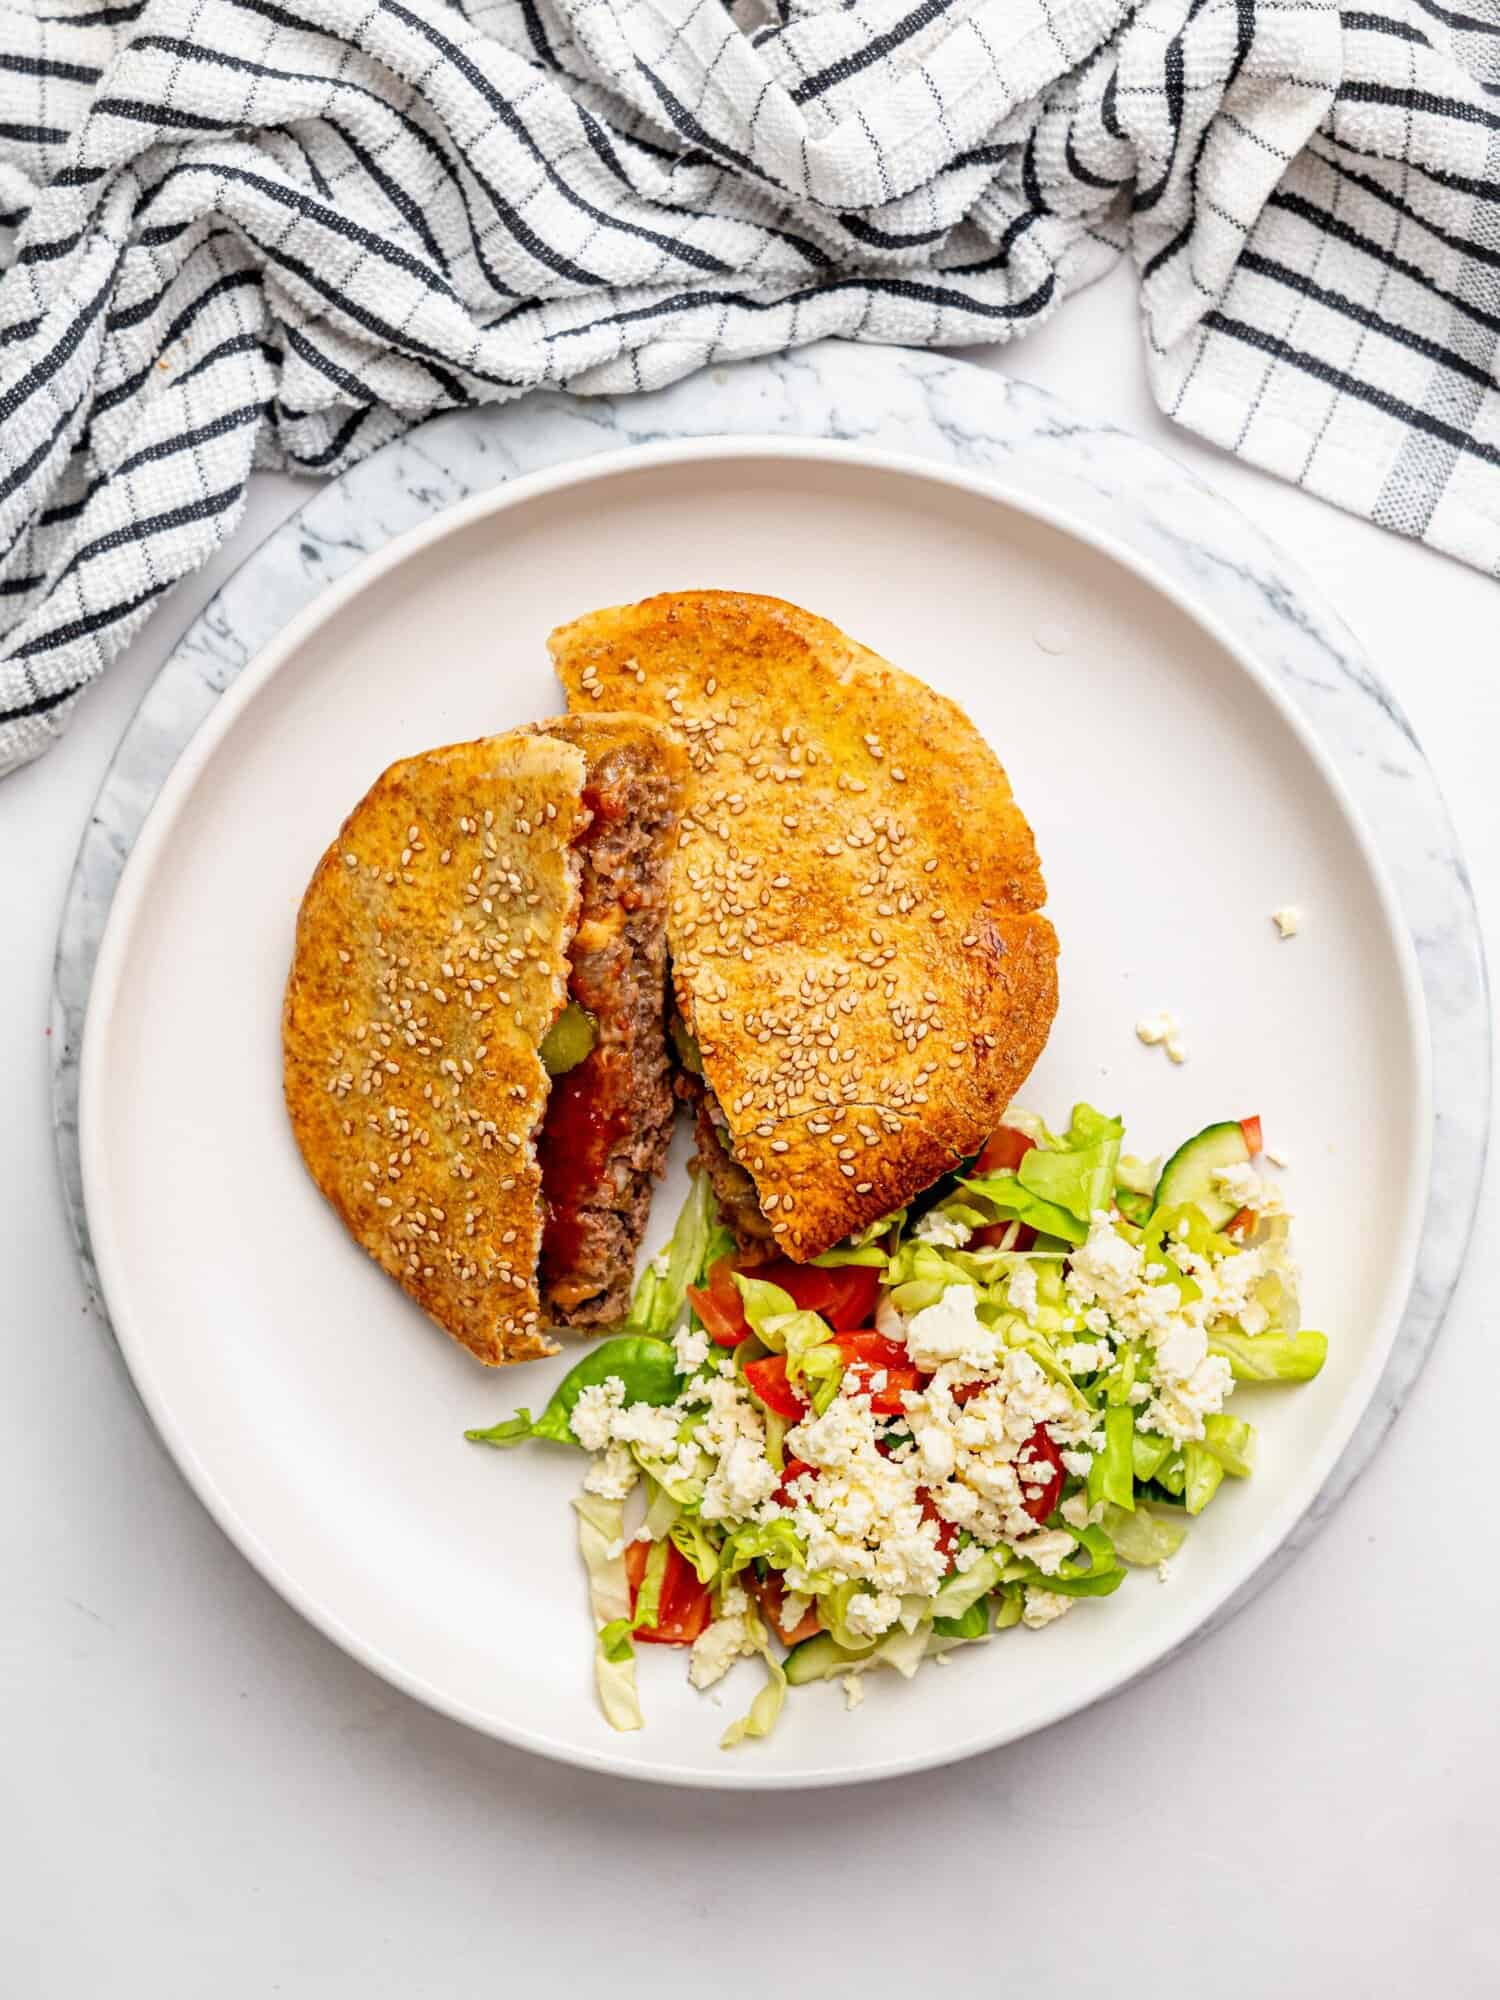
If you’re craving a cheeseburger but want something quick, homemade, and perfect for busy weeknights, these Crispy Pita Cheeseburger Smash Burgers are about to become a staple. Juicy smash-style beef, melty cheese, and classic cheeseburger flavours are tucked into a sesame-topped pita and air-fried until golden and crisp.
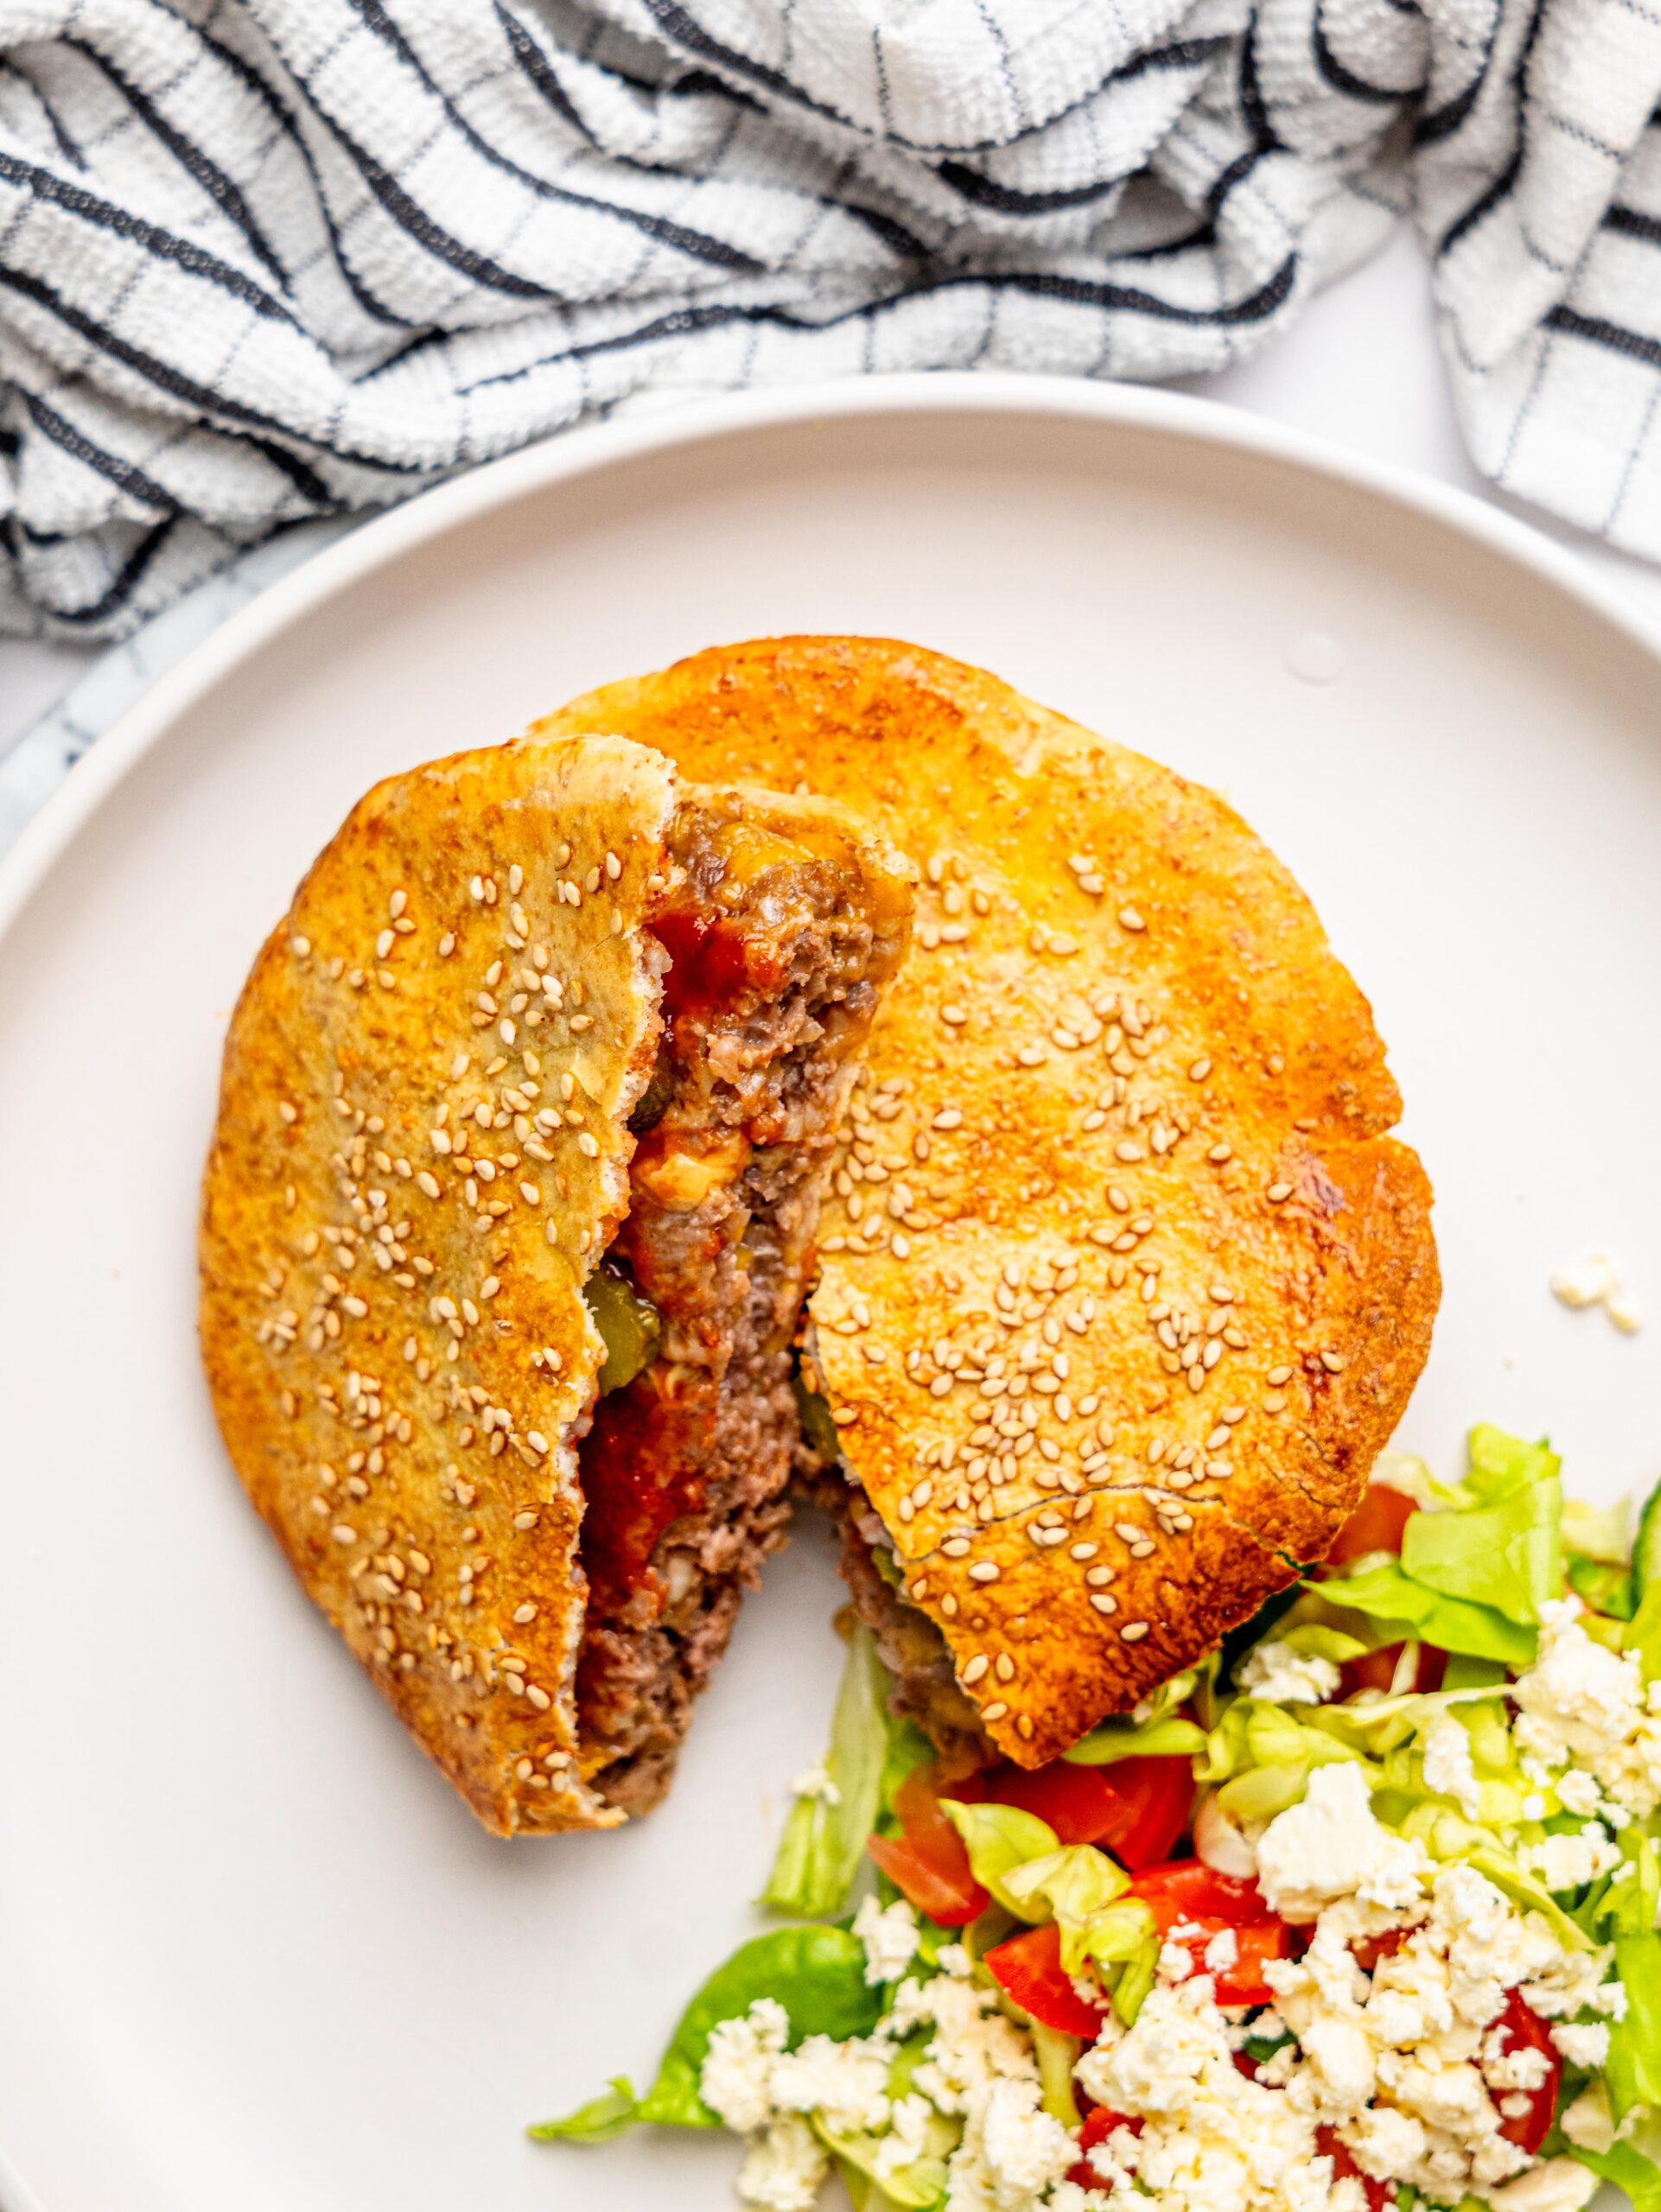
What makes these so good is the texture contrast. The outside of the pita gets perfectly crispy, while the inside stays juicy and cheesy, giving you that familiar fast-food taste in a simple fakeaway form. They’re incredibly easy to make, great for meal prep, and ideal for those nights when you want something comforting without the effort.
Whether you serve them fresh from the air fryer with a side salad or prep them ahead for the week, these smash burgers deliver big flavor, minimal fuss, and serious satisfaction.
Why You’ll Love This Recipe:
- Fast fakeaway favorite: All the flavors of a classic cheeseburger, made at home in under 30 minutes. Perfect for weeknights when you want comfort food without the drive-through.
- Crispy outside, juicy inside: The air-fried pita gets golden and crunchy while the beef stays juicy and the cheese melts perfectly inside.
- Simple, everyday ingredients: No co
- mplicated extras, just basic ingredients that come together into something seriously satisfying.
- Great for meal prep: Stuff the pitas ahead of time and air-fry only what you need. Fresh, crispy, and melty every time.
- Family-friendly: These are a hit with both kids and adults, and easy to customize with your favorite cheeseburger toppings.
Ingredients Needed:
These are the ingredients you’ll need to make Crispy Pita Cheeseburgers. You can find the exact measurements in the recipe card at the bottom of this page.

Extra Lean Beef Mince: This forms the base of the smash burger filling. Using extra lean mince keeps the pitas juicy without excess grease, while still delivering classic cheeseburger flavor.
Cheddar Cheese: Cheddar melts beautifully inside the pita, creating that gooey, cheesy center that makes these taste just like a takeaway cheeseburger.
Onion & Garlic Powder: Finely chopped onion adds moisture and sweetness, while garlic powder enhances the savory flavor without overpowering the burger.
Worcestershire Sauce: A small amount adds depth and that unmistakable umami cheeseburger taste.
Pitas: The pita acts as both a bun and a casing, crisping up in the air fryer while holding everything together.
Egg Wash & Sesame Seeds (Optional): Brushing the pitas with egg gives them a glossy, golden finish, while sesame seeds add crunch and classic burger-shop vibes.

Ingredient Substitutions
Beef Mince: Extra lean beef works best, but regular beef mince can be used if that’s what you have. If using higher-fat mince, be aware that the pitas may be slightly more juicy and less crisp.
Cheddar Cheese: Cheddar gives the most classic cheeseburger flavor, but you can swap it for mozzarella, Gouda, or a reduced-fat cheese if preferred. Just choose something that melts well.
Pitas: White or wholewheat pitas both work well. Thinner pitas will crisp up more, while thicker ones give a softer center.
Worcestershire Sauce: If you don’t have Worcestershire sauce, a small splash of soy sauce or BBQ sauce can be used to add depth and savory flavor.
Toppings: Ketchup and gherkins are classic, but mustard, burger sauce, or shredded lettuce can easily be added once cooked.
How to Make These Crispy Pita Cheeseburgers
Here is a detailed summary of how to make this recipe. I’ve also included some photos, and you can find the recipe video in the recipe card. At the bottom of this page is a summarized version that can be printed.
Step One:
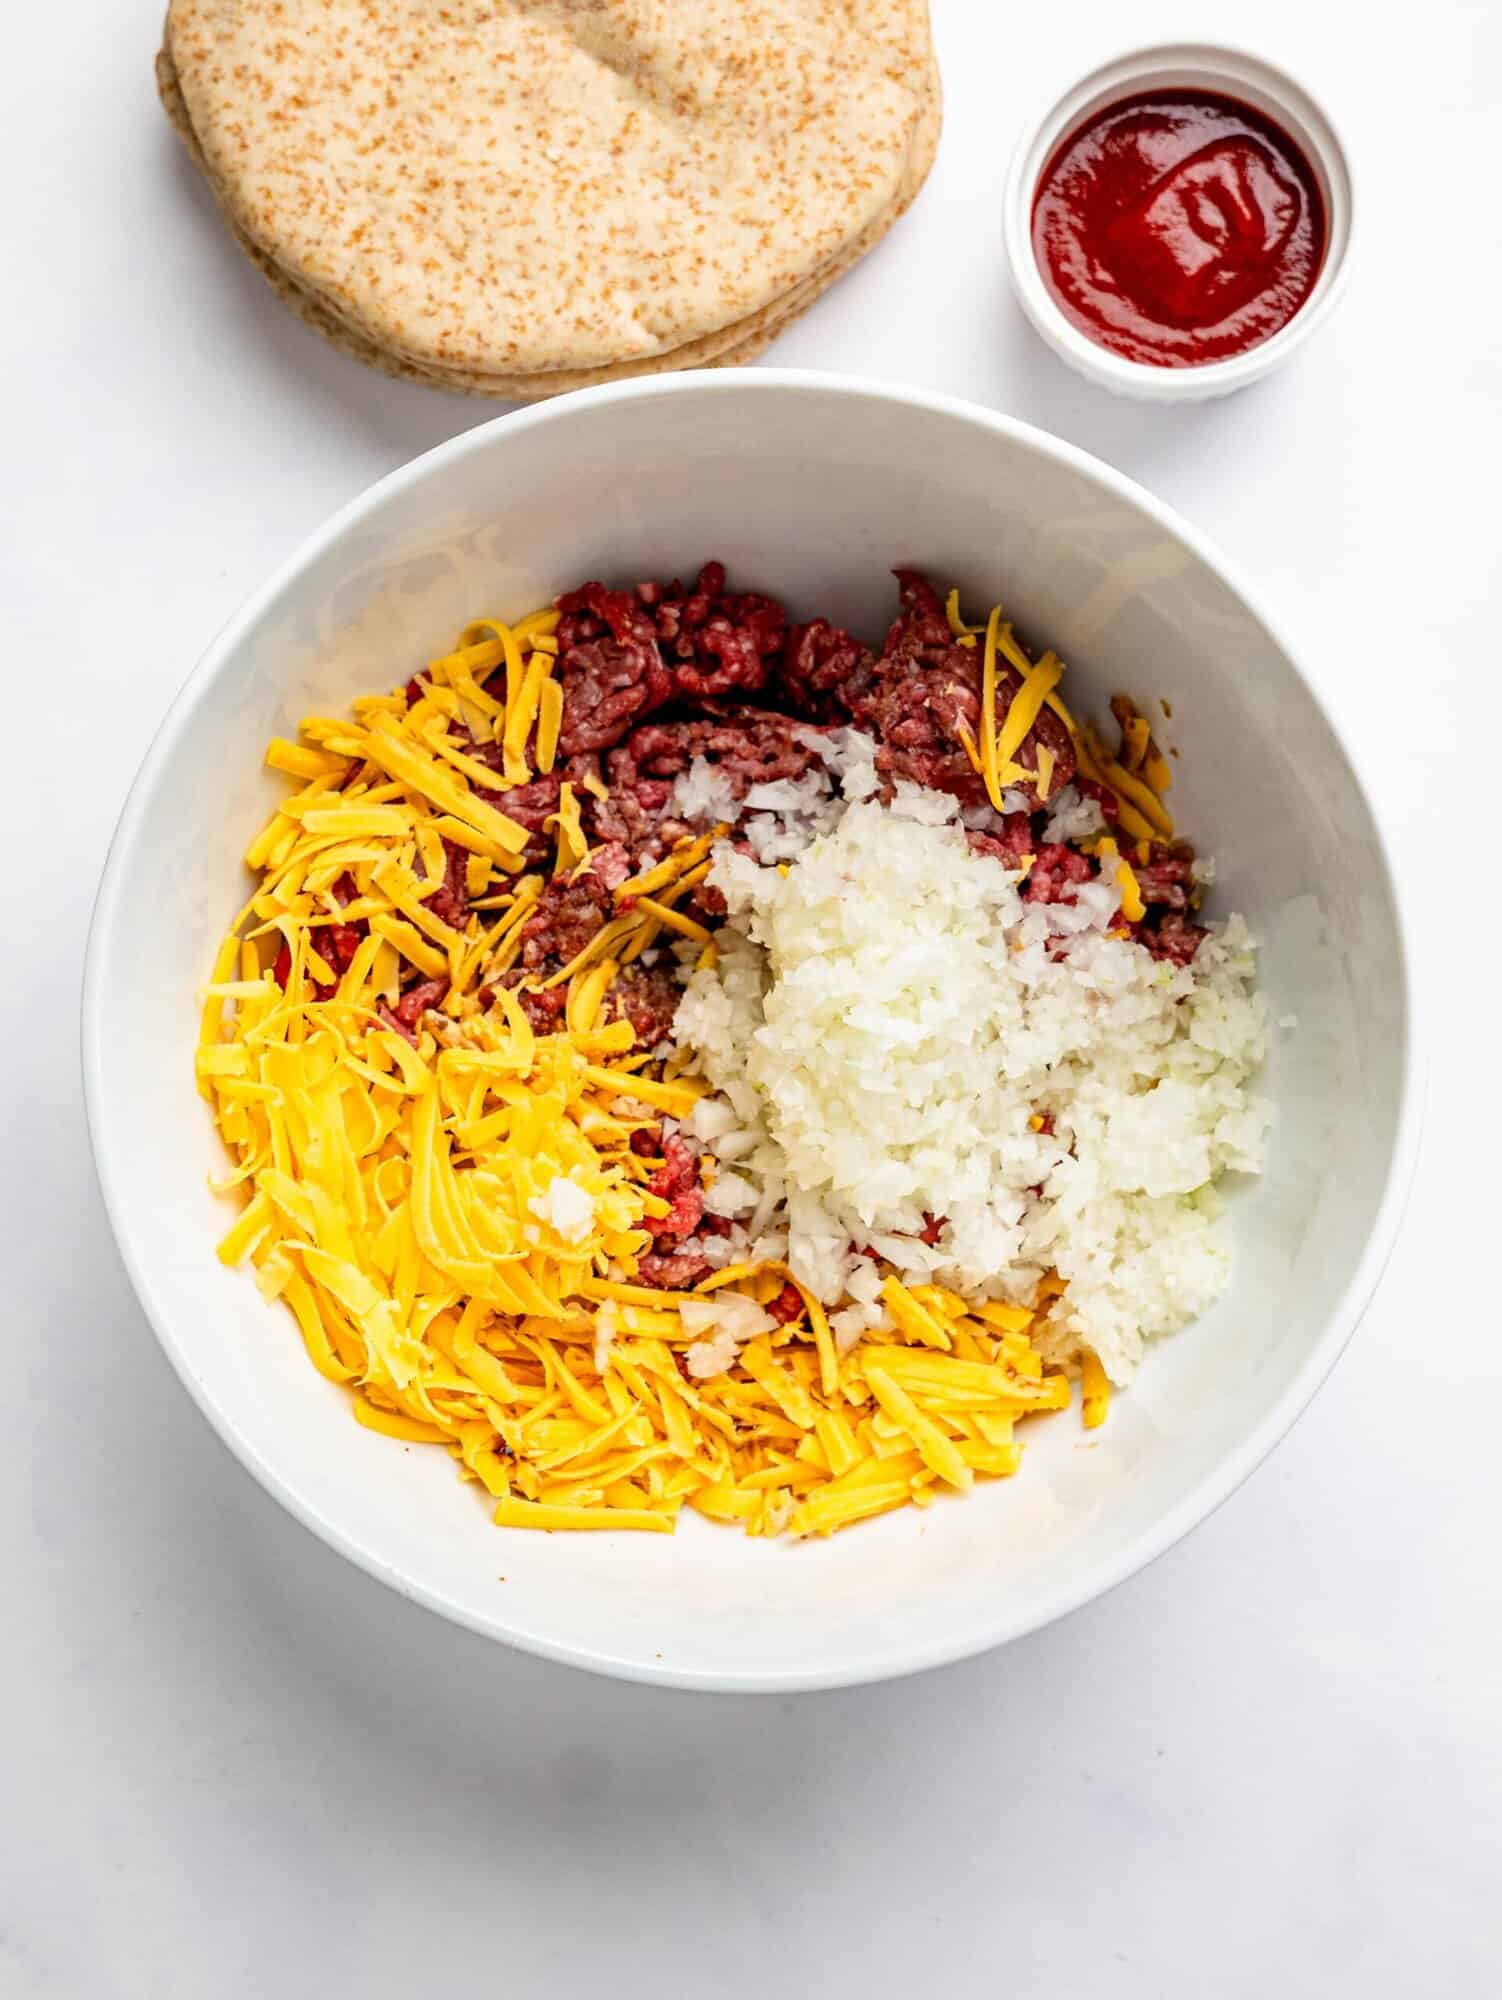
In a large bowl, add the beef mince, finely chopped onion, garlic powder, salt, black pepper, Worcestershire sauce, and grated cheddar cheese. Mix gently until just combined, being careful not to overwork the mixture.

Step Two:
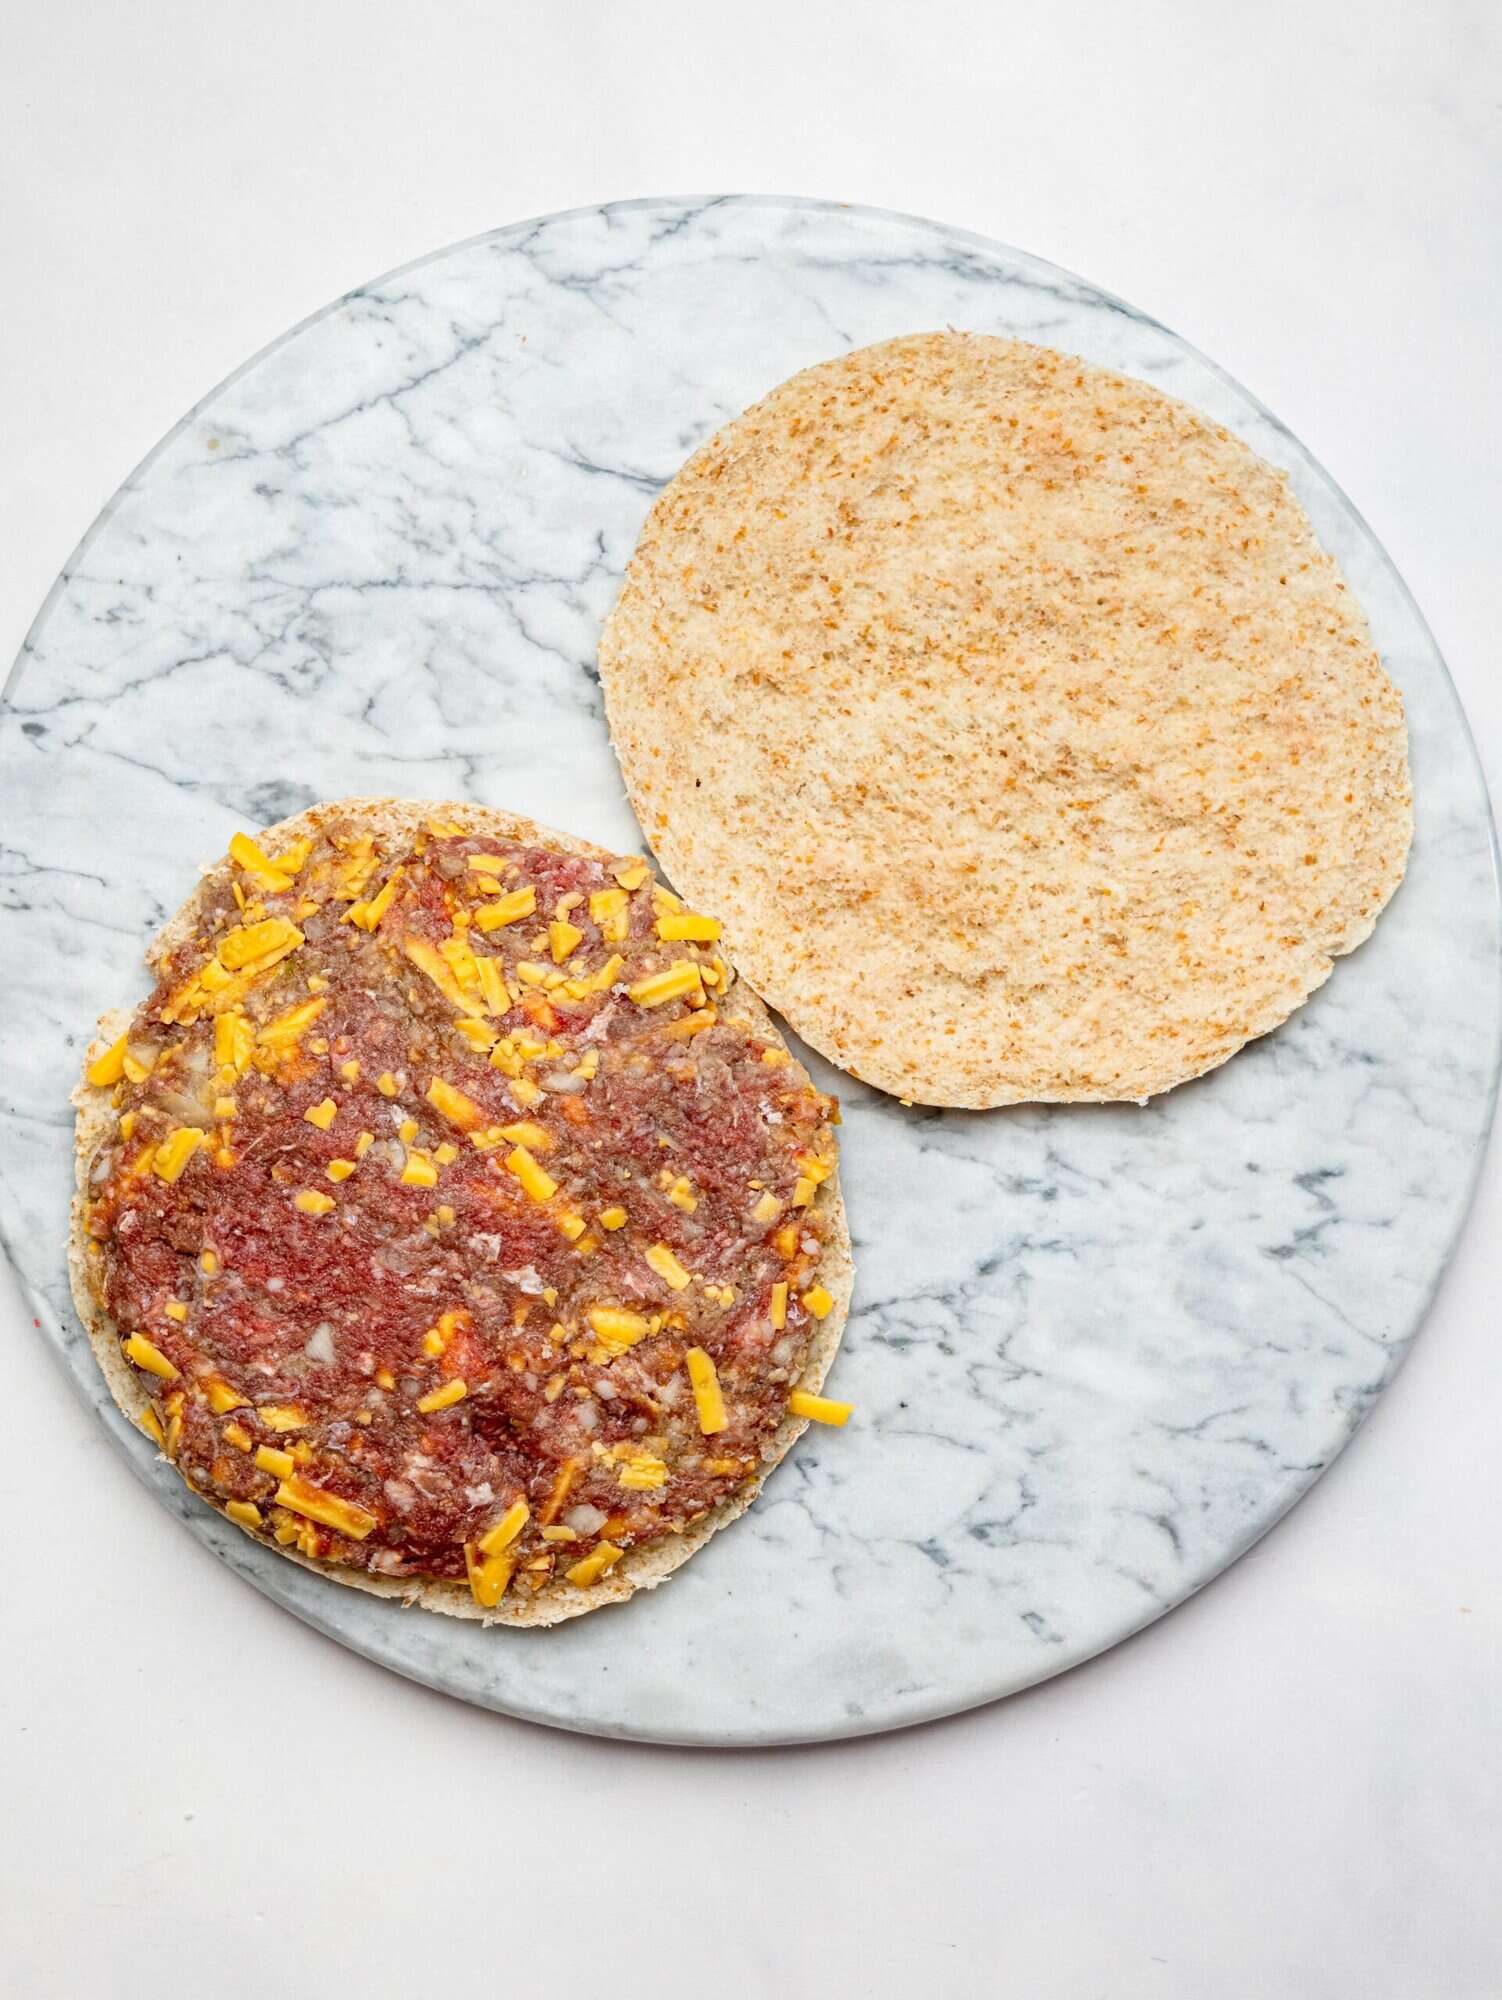
Divide the beef mixture into 4 equal portions. Carefully slice each pita open to create two thin rounds, keeping the edges intact. You can pop the pitas in the microwave for 30 seconds before cutting – this makes them softer and puff up in the middle, which makes them easier to slice.
Step Three:
Press one portion of the beef mixture into each pita half in an even layer, pressing it flat right to the edges. This helps create the smash-style burger effect as it cooks.

Step Four:
Close the pitas and brush the tops with the whisked egg. Sprinkle with sesame seeds if using.
Step Five:
Place the stuffed pitas into the air fryer and cook at 180°C for 8 minutes, flipping halfway through, until golden, crispy, and cooked through.


Step Six:
Remove from the air fryer and carefully open slightly. Add ketchup and sliced gherkins, then serve immediately while hot and crispy.
Tips & Notes
- Don’t overfill the pitas: Keep the beef layer even and thin so the pitas close easily and cook evenly. Too much filling can make flipping tricky.
- Flip halfway: Turning the pitas halfway through cooking ensures they brown evenly and get crispy on both sides.
- Egg wash matters: Brushing the tops with egg gives a golden, glossy finish, and sesame seeds add that classic burger-shop touch.
- Meal prep friendly: Stuff the pitas ahead of time and store in the fridge. Air-fry only when ready to eat to keep the outside crispy and the cheese melty.
- Freeze for later: Uncooked stuffed pitas freeze well for 1–2 months. Air-fry straight from frozen, adding 2–3 extra minutes to the cook time.
- Customize toppings: Add ketchup, mustard, gherkins, or even shredded lettuce just before serving for the perfect cheeseburger experience.
- Cutting the pitas: Pop the pitas in the microwave for 30 seconds before cutting – this makes them softer and puff up in the middle, which makes them easier to slice.
How to Store These Smash Burger Pitas
Fridge: Cooked pitas: If you’ve already air-fried the pitas, store them in an airtight container in the fridge for up to 2 days. Reheat in the air fryer for a few minutes to bring back the crispiness before serving.
Fridge: Uncooked pitas: Stuffed but uncooked pitas can be kept in the fridge for 1–2 days. Air-fry them fresh when you’re ready to eat to ensure the outside stays golden and crispy, and the cheese melts perfectly.
Freezing: Uncooked stuffed pitas freeze well for 1–2 months. Cook straight from frozen in the air fryer, adding 2–3 extra minutes to the cook time. Avoid freezing cooked pitas, as they lose their crisp texture when reheated.
Frequently Asked Questions
Can I make these vegetarian?
Yes! Swap the beef for plant-based mince or a thick veggie patty, add your favorite cheese or dairy-free alternative. Air-fry the same way for a crispy, melty pita.
Can I use leftover cooked meat?
Absolutely. Ground turkey, chicken mince, or finely chopped cooked beef all work, just make sure it’s seasoned well and pressed flat inside the pita.
How do I keep the pitas crispy?
Always air-fry just before eating if storing stuffed pitas in the fridge. Reheating in the oven or air fryer restores crispiness better than a microwave.
Can I freeze these?
Yes! Freeze uncooked stuffed pitas for 1–2 months. Air-fry straight from frozen, adding 2–3 extra minutes. Avoid freezing cooked pitas, they won’t stay crispy.
Can I add other toppings?
Definitely. Ketchup, mustard, gherkins, pickles, shredded lettuce, or even caramelized onions all work beautifully. Add them just before serving for the best texture.
More Quick High-Protein Dinner Ideas:
Hey! If you make this recipe, I would love it if you could leave me some feedback and a rating ⭐⭐⭐⭐⭐ in the comment section at the bottom of the page! Also let me know on Facebook, Instagram or Pinterest! I can’t wait to hear your thoughts and see your photos!

Crispy Pita Smash Burgers
Equipment
- Knife & cutting board
- Tongs or spatula
Ingredients
- 500 g Extra Lean Beef Mince
- 120 g Cheddar Cheese
- 1 Small Onion
- 1 tsp Garlic Powder finely chopped
- 1 ½ tsp Salt
- ½ tsp Black Pepper
- 1 tsp Worcestershire Sauce
- 4 Pitas
- 4 tbsp Tomato Ketchup
- Gherkins optional
- 1 Egg whisked – for egg wash
- 2 tsp Sesame Seeds optional
Instructions
- In a large bowl, combine the beef mince, onion, salt, pepper, garlic powder, Worcestershire sauce, and grated cheese. Mix until just combined. Do not overmix.
- Divide the mixture into 4 equal portions.
- Gently slice the pitas open to create two thin rounds. You can microwave the pitas for around 30 seconds before slicing so that they soften, and are easier to slice.
- Press one portion of the mince mixture into each pita half in an even layer, pressing it flat right to the edges. This is what creates the “smash burger” effect inside the pita.
- Close the pita, then brush the top of each stuffed pita with the whisked egg and sprinkle with sesame seeds.
- Air-fry at 180°C for 8 minutes, flipping halfway, until golden, crispy and cooked through. If meal-prepping, air-fry only the pitas you are eating now, and store the rest in an air-tight container to air-fry later.
- Once hot and crispy, remove from the air fryer. Open slightly and add ketchup, and sliced gherkins.
- Serve immediately while hot and crispy, with a side salad.