

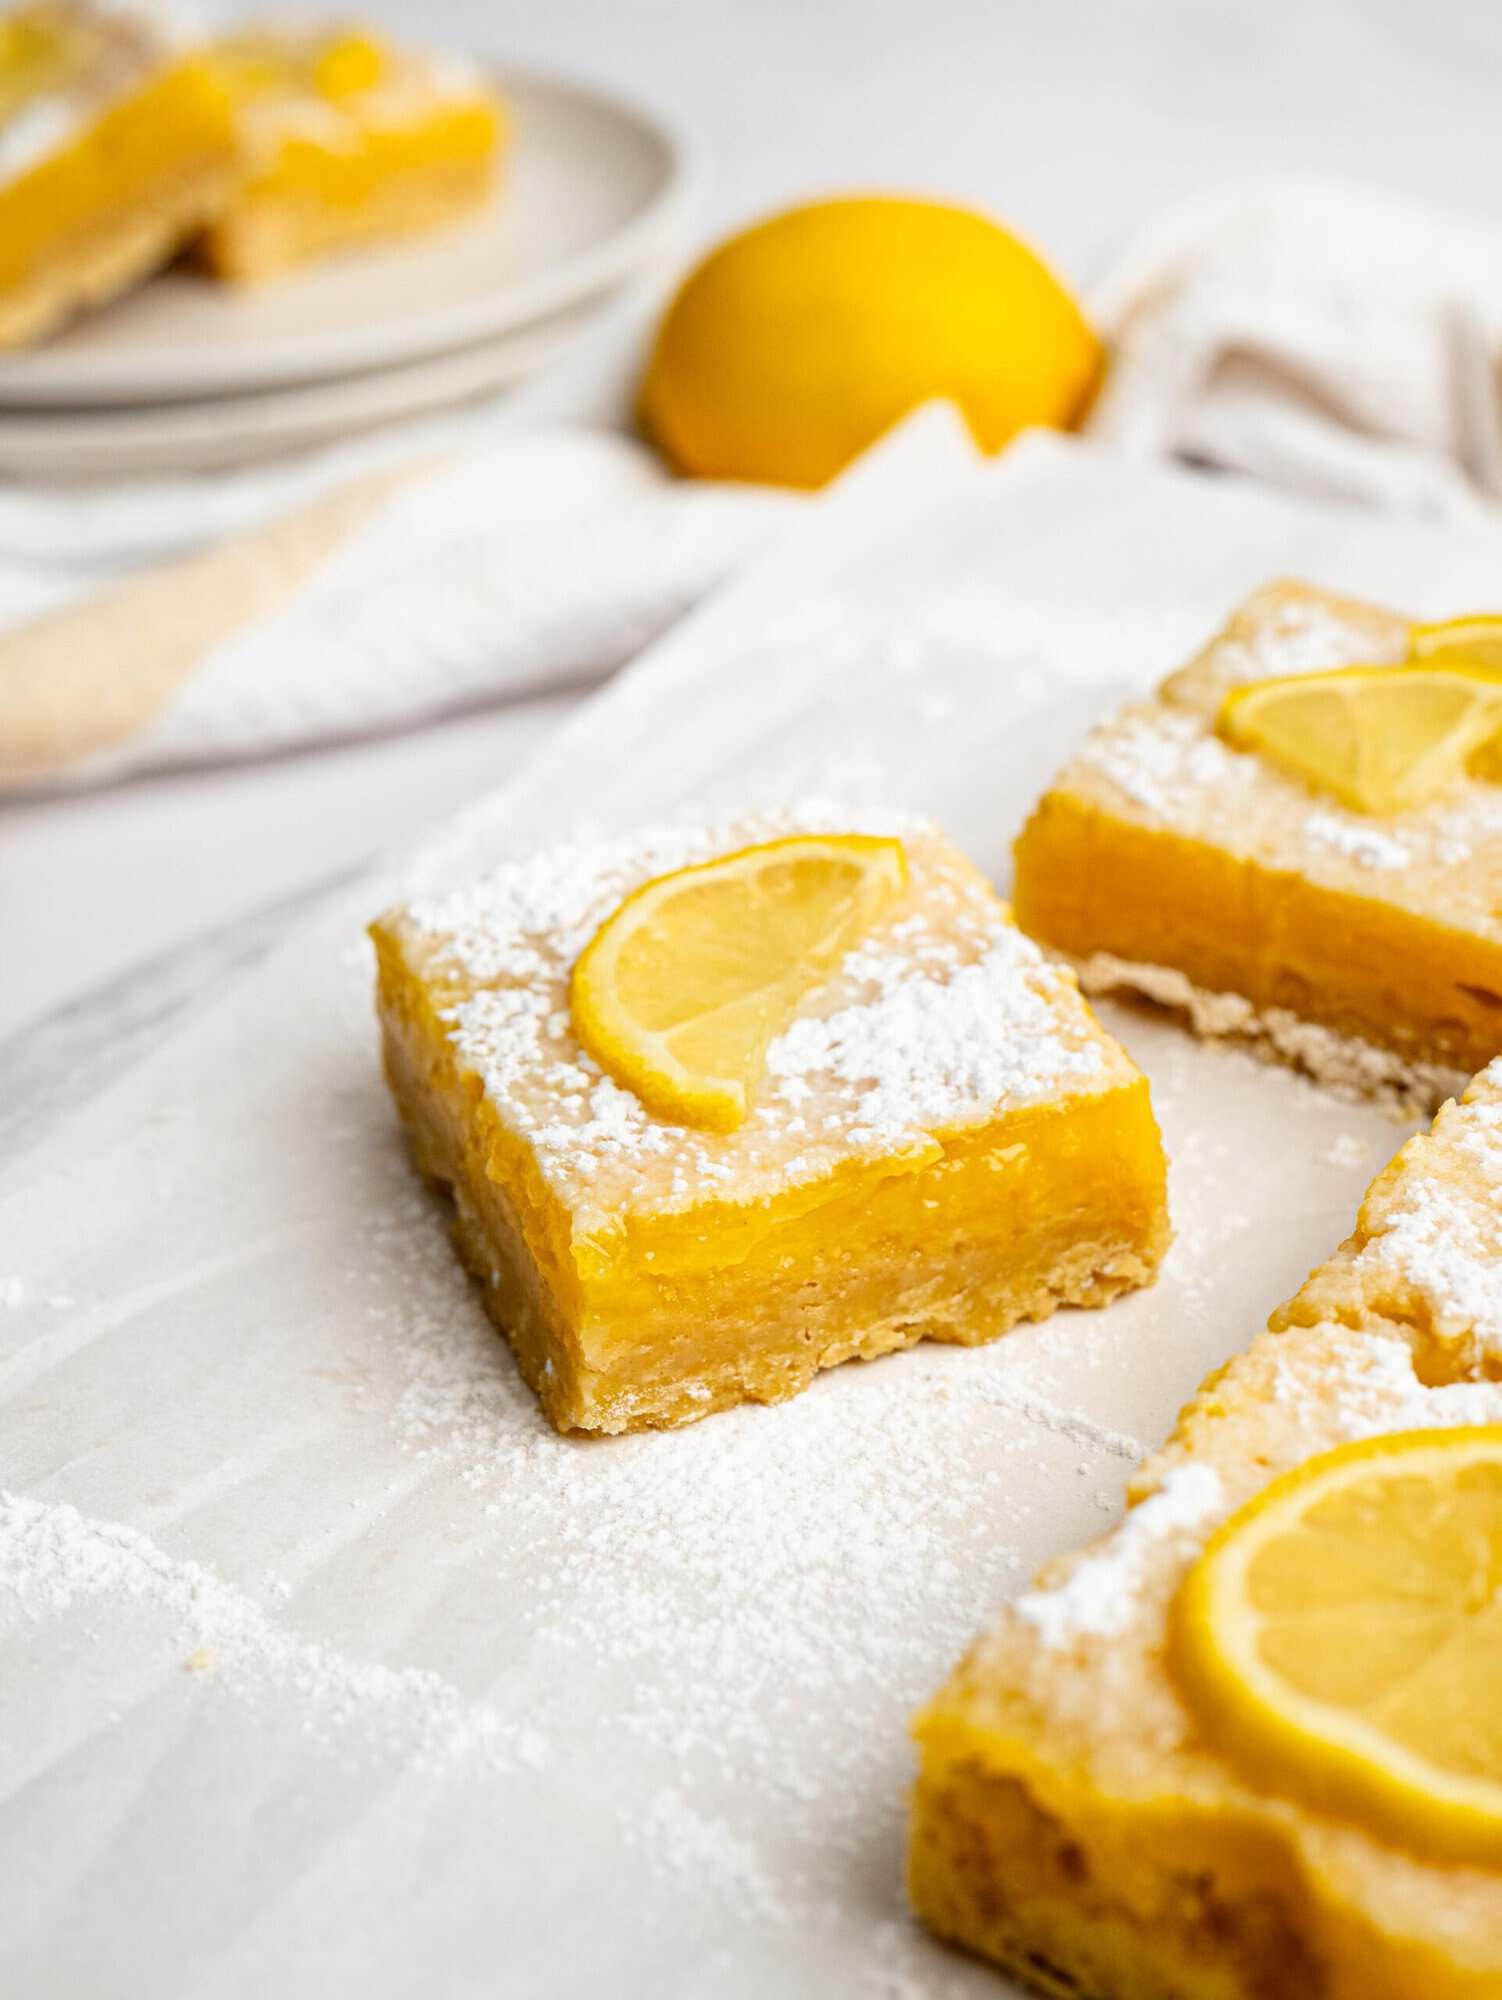
These Gluten Free Lemon Bars are everything you want in a lemon dessert, bright and tangy with a buttery shortbread crust and a soft, gooey lemon filling. They’re easy to make with simple ingredients, but the finished bars feel a little more special than the effort involved.
Gluten Free Lemon Bars Recipe
This Gluten Free Lemon Bars Recipe is a simple take on a classic lemon bar, made with a gluten free flour blend and slightly less sugar so the fresh lemon flavor can really shine. The buttery shortbread crust is soft and tender rather than crumbly, while the lemon filling is creamy, tangy, and slightly gooey.
I wanted this recipe to be easy enough to make without any complicated techniques or specialty ingredients. The crust comes together with melted butter, the filling takes just a few minutes to whisk together, and everything is baked in one simple square baking dish.
When I first tested the recipe, I was surprised by how runny the lemon filling looked before baking. I honestly wasn’t sure it would set, but after just 20 minutes in the oven, it transformed into the perfect soft, creamy filling. Once chilled, the bars slice beautifully and have that classic bakery-style texture.
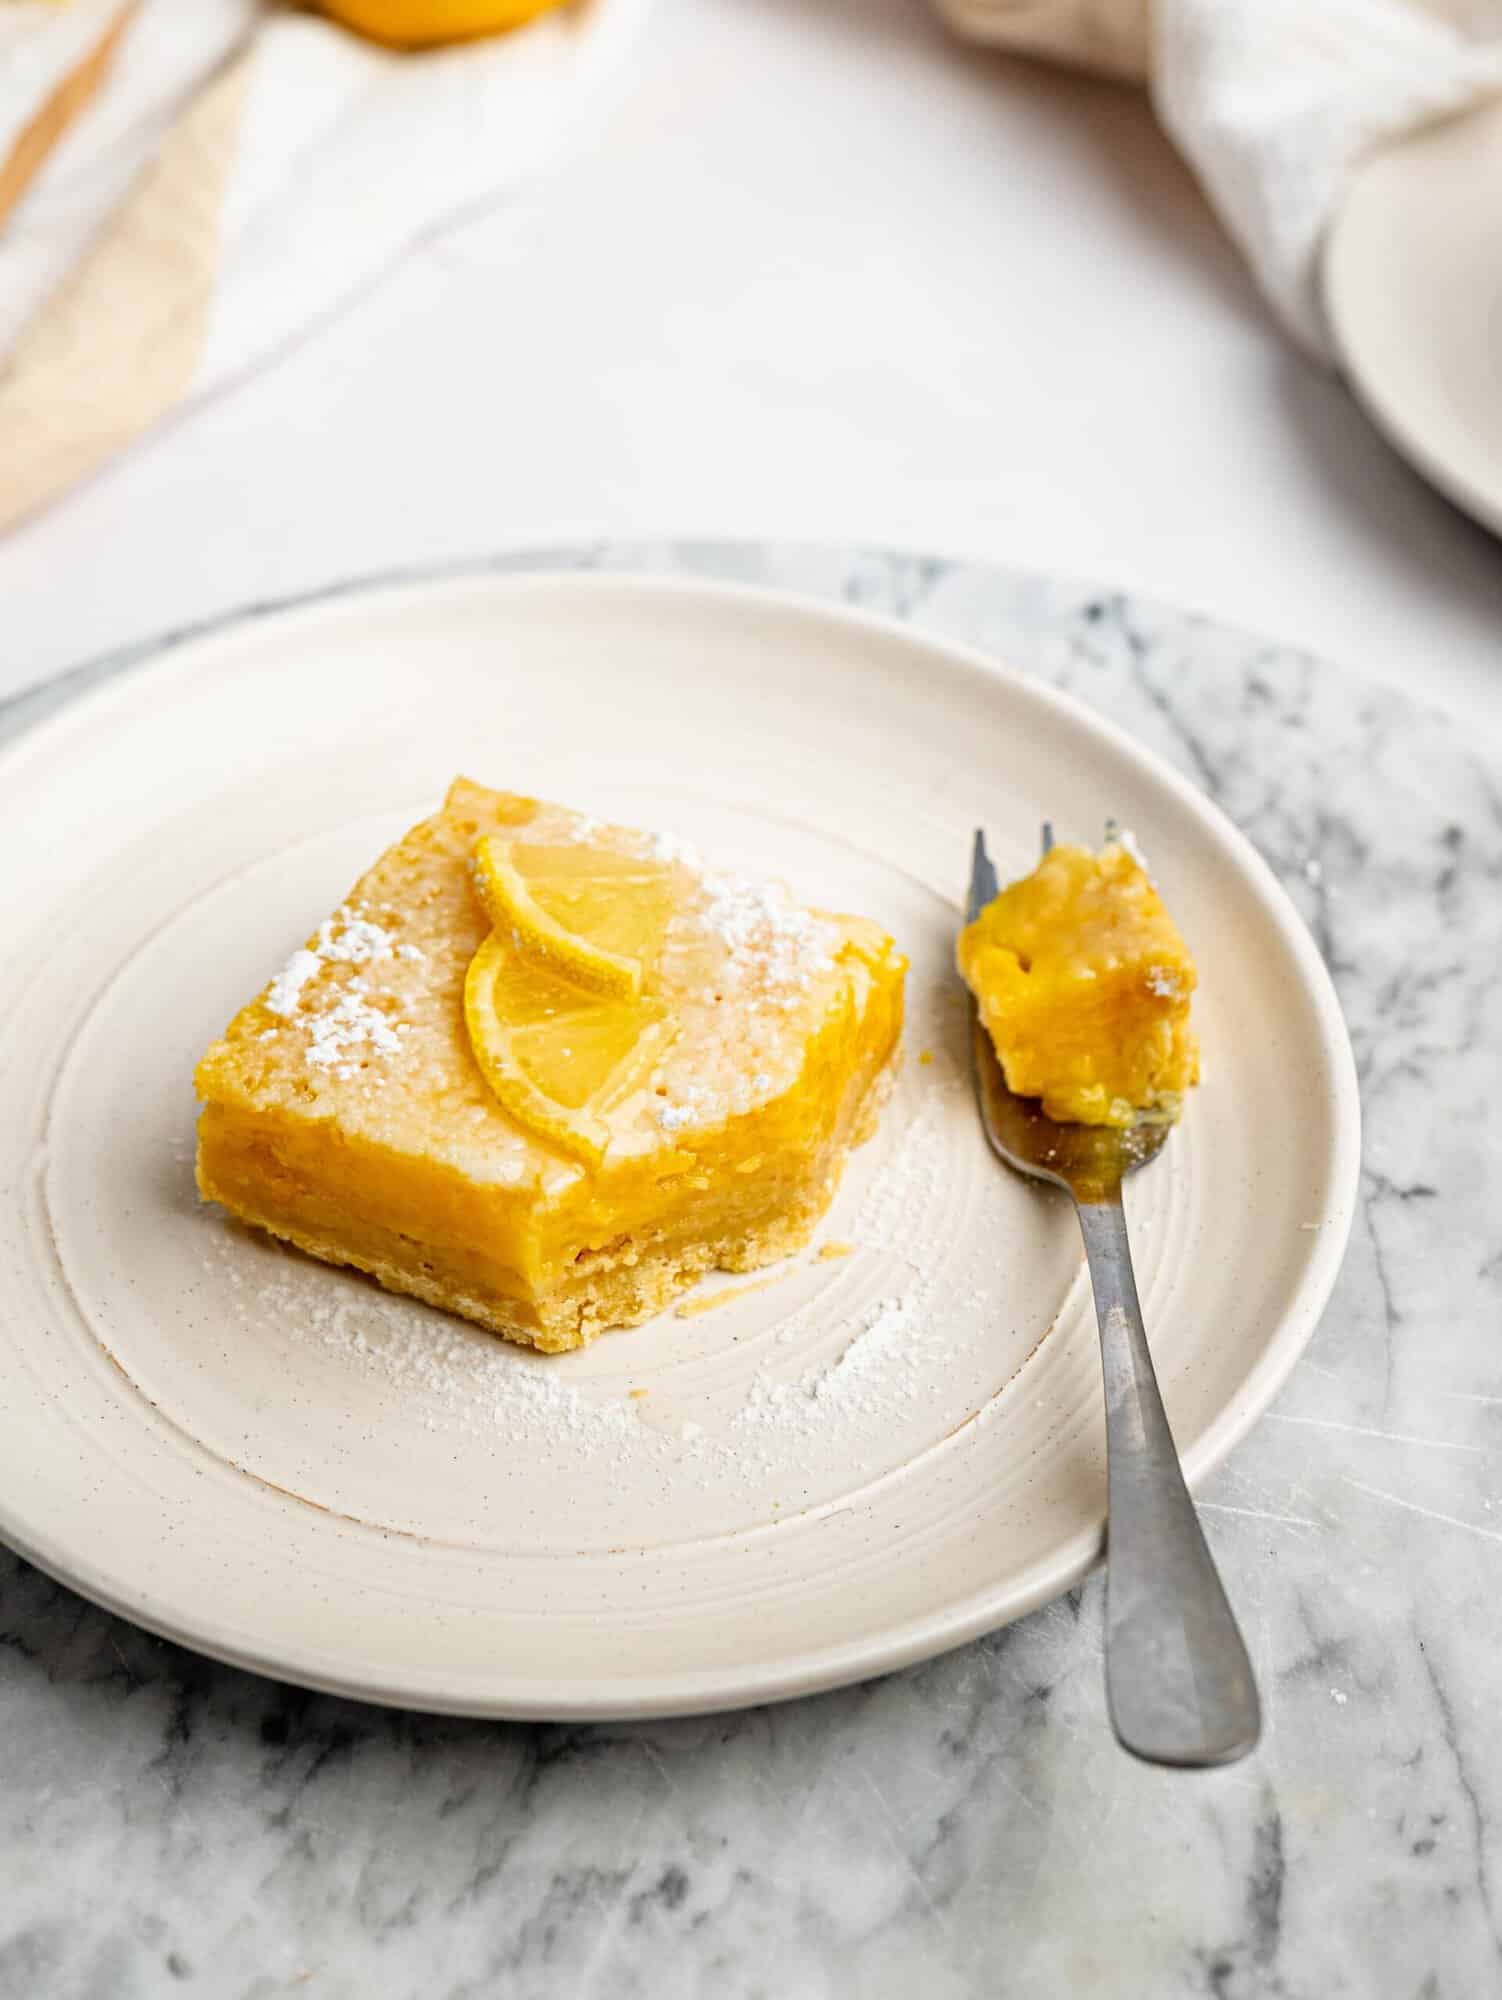
I also love that these aren’t overly sweet. I use slightly less sugar than many traditional lemon bar recipes, which helps balance the tartness of the fresh lemon juice while still letting the lemon flavor shine. They’re delicious on their own with a dusting of powdered sugar, or served as a dessert with a dollop of Greek yogurt.
Are Lemon Bars Gluten Free?
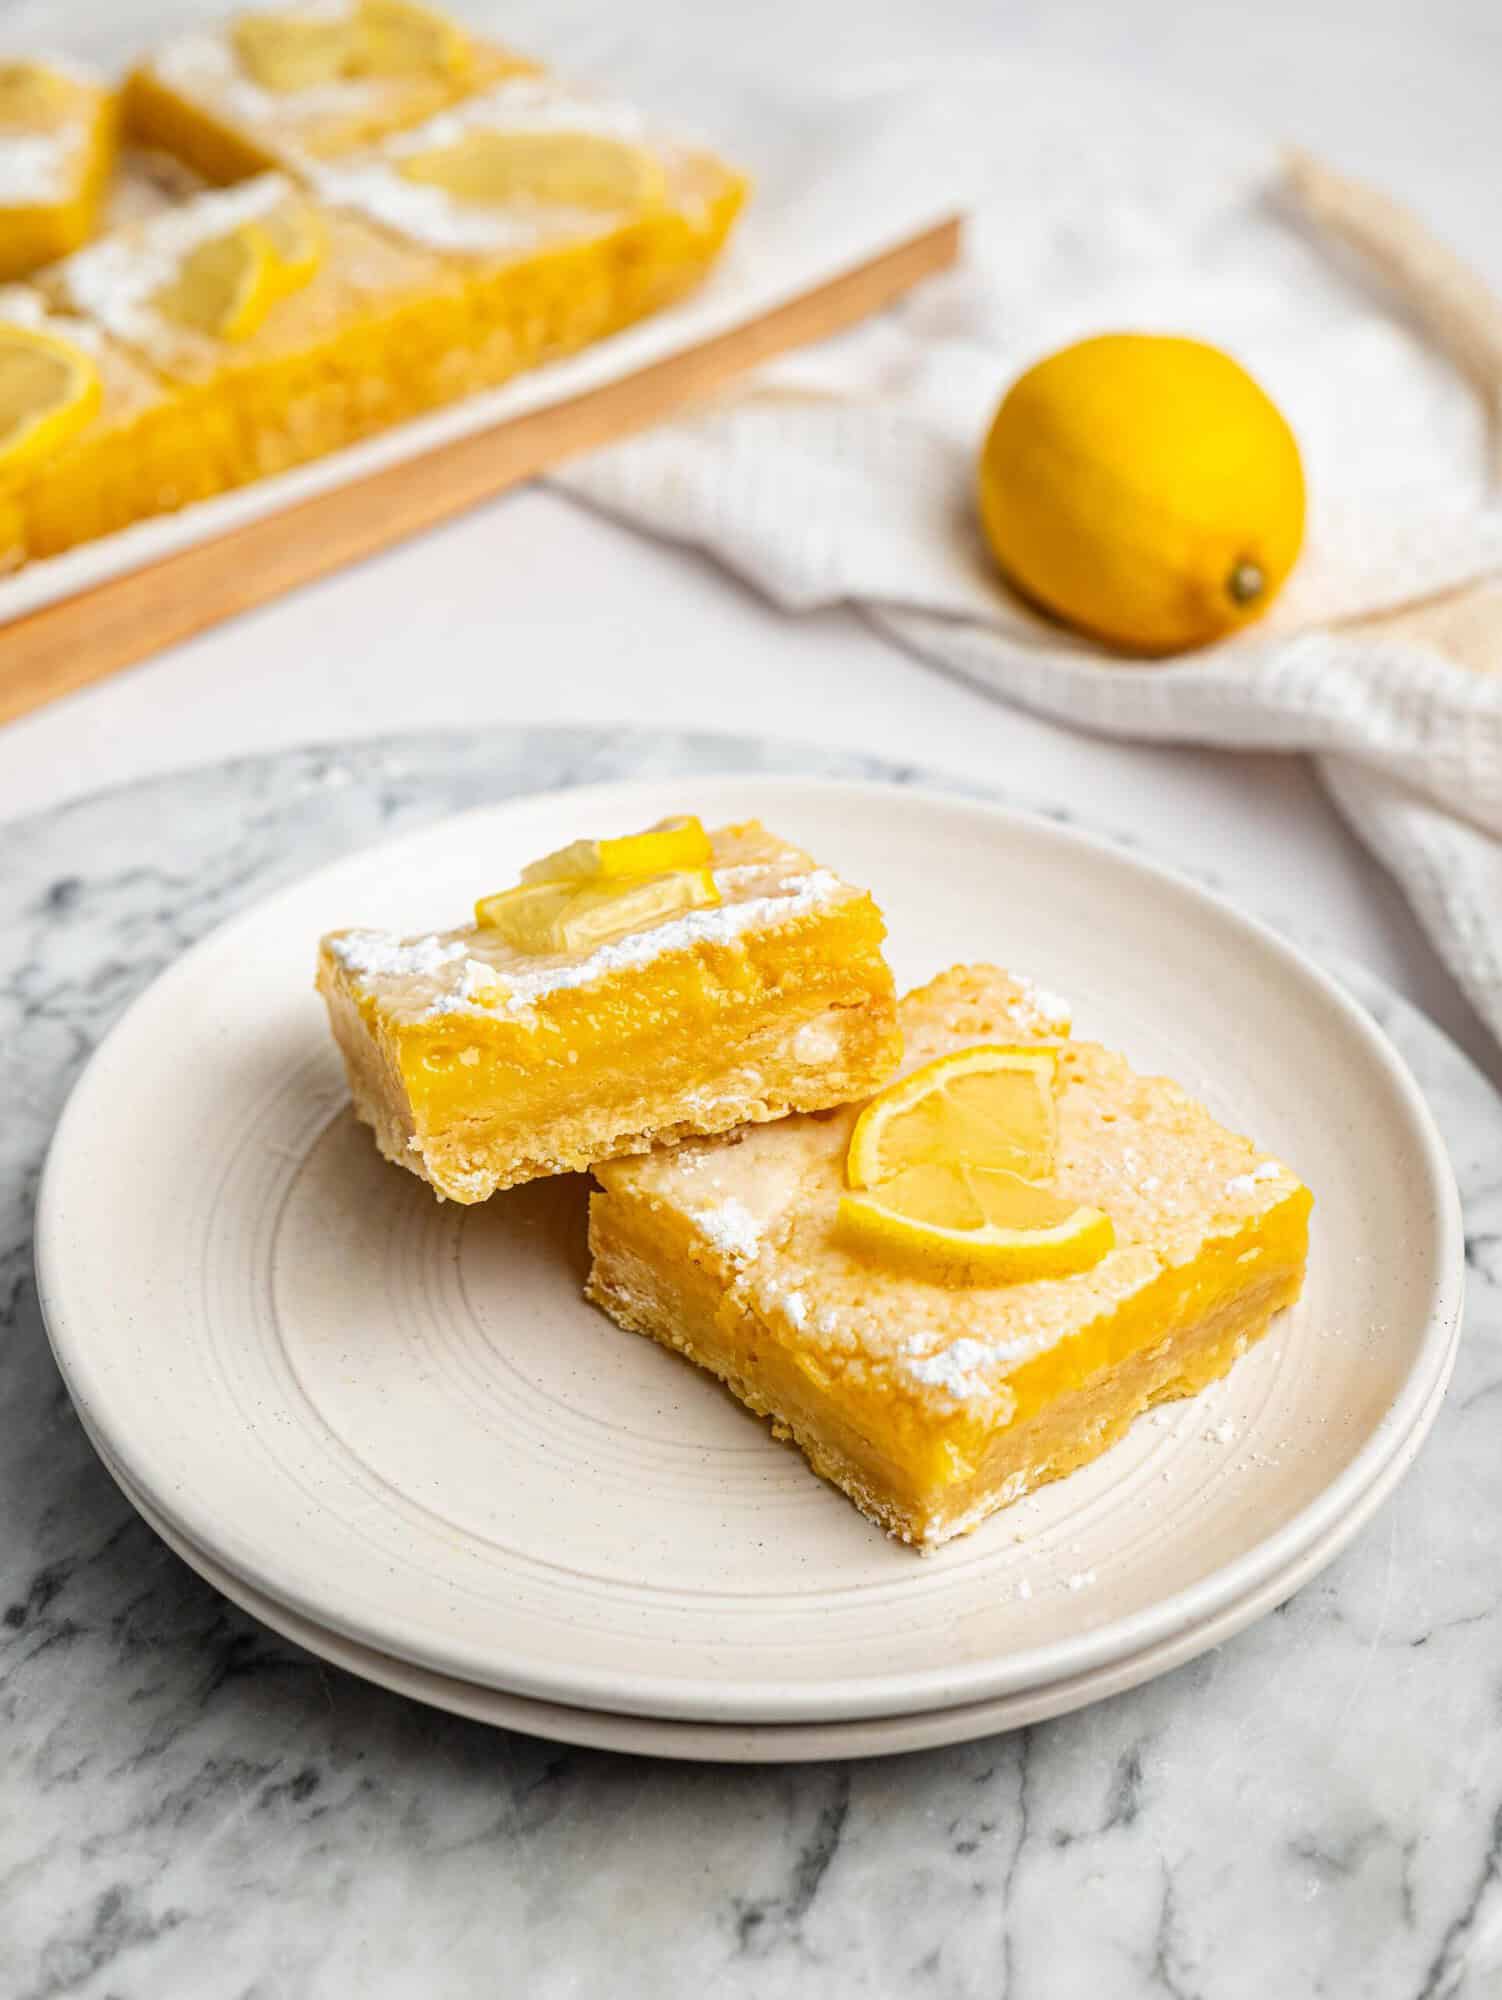
Lemon bars aren’t naturally gluten free because traditional recipes usually contain wheat flour in the crust. The lemon filling itself is generally made with ingredients like eggs, sugar, and lemons, which are naturally gluten free, but a classic shortbread crust is typically made with regular all-purpose flour.
This recipe uses a gluten free flour blend in both the crust and filling, giving you classic lemon bars without the wheat flour. For the best results, use a 1:1 gluten free all-purpose flour blend that contains xanthan gum.
If you’re making these for someone with celiac disease, always check the labels on your ingredients and take care to avoid cross-contamination during preparation.
Gluten Free Lemon Bars Ingredients
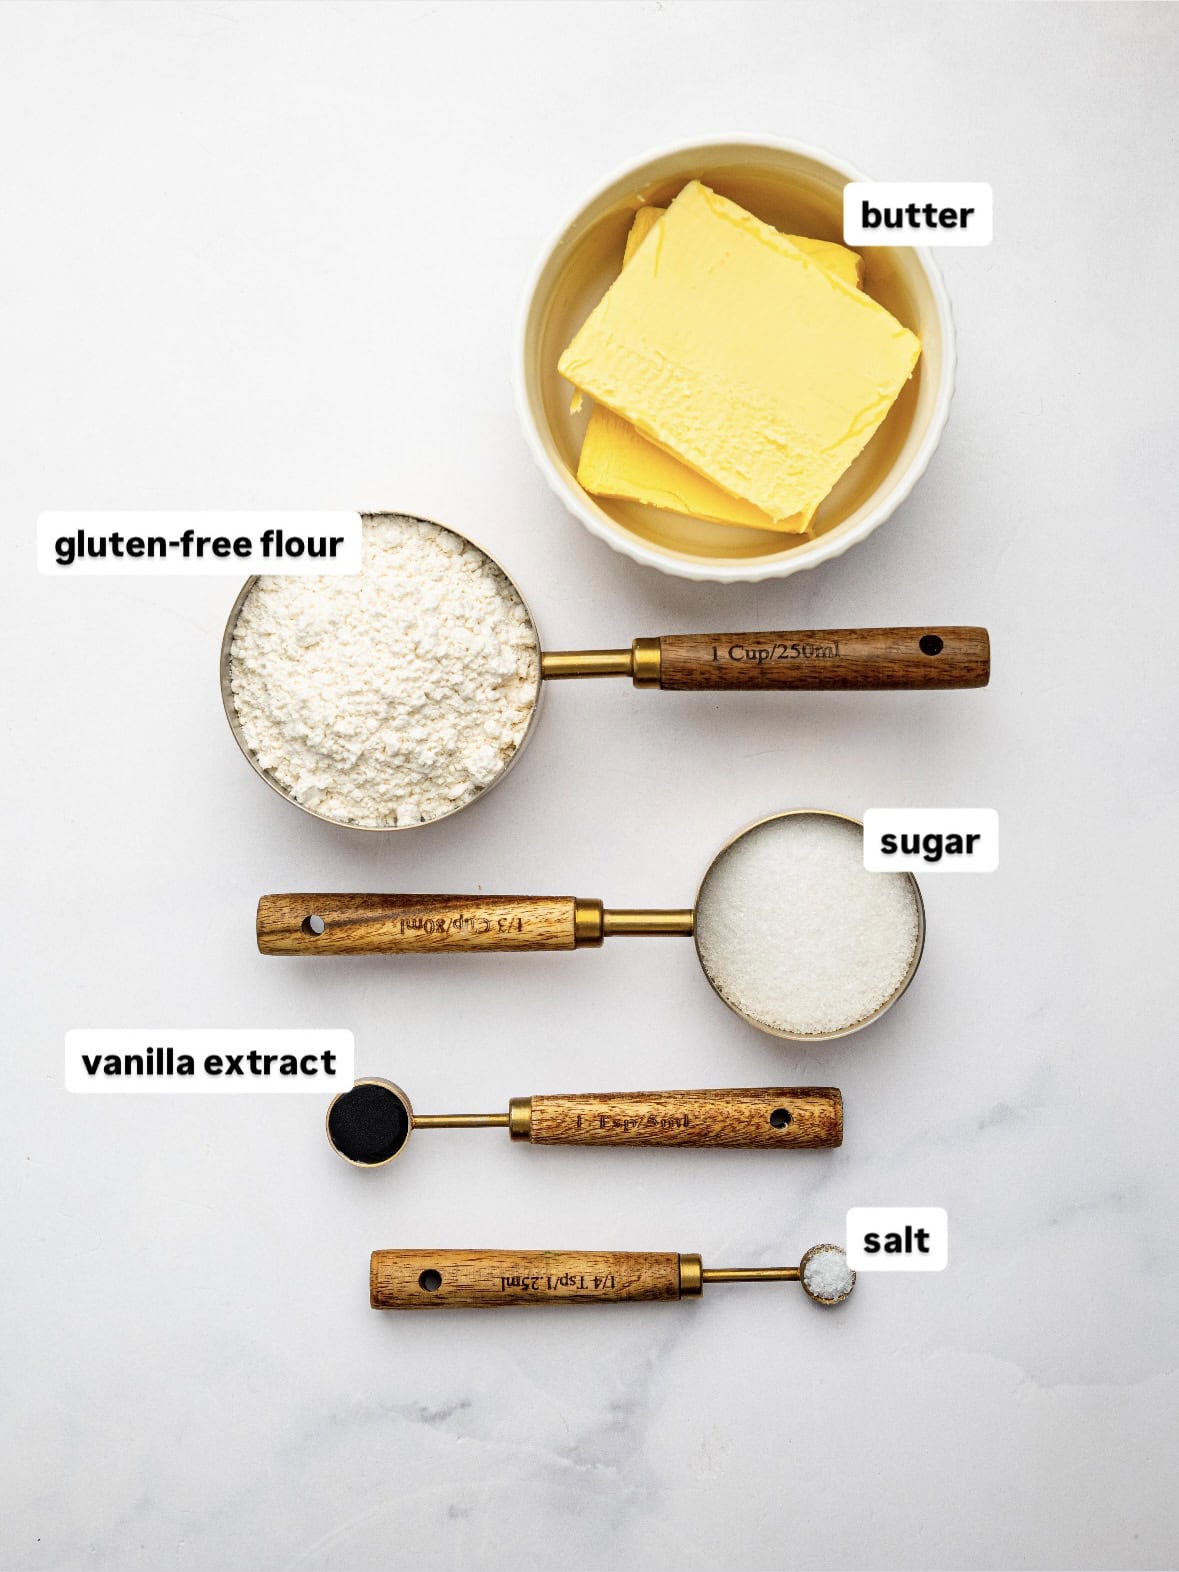
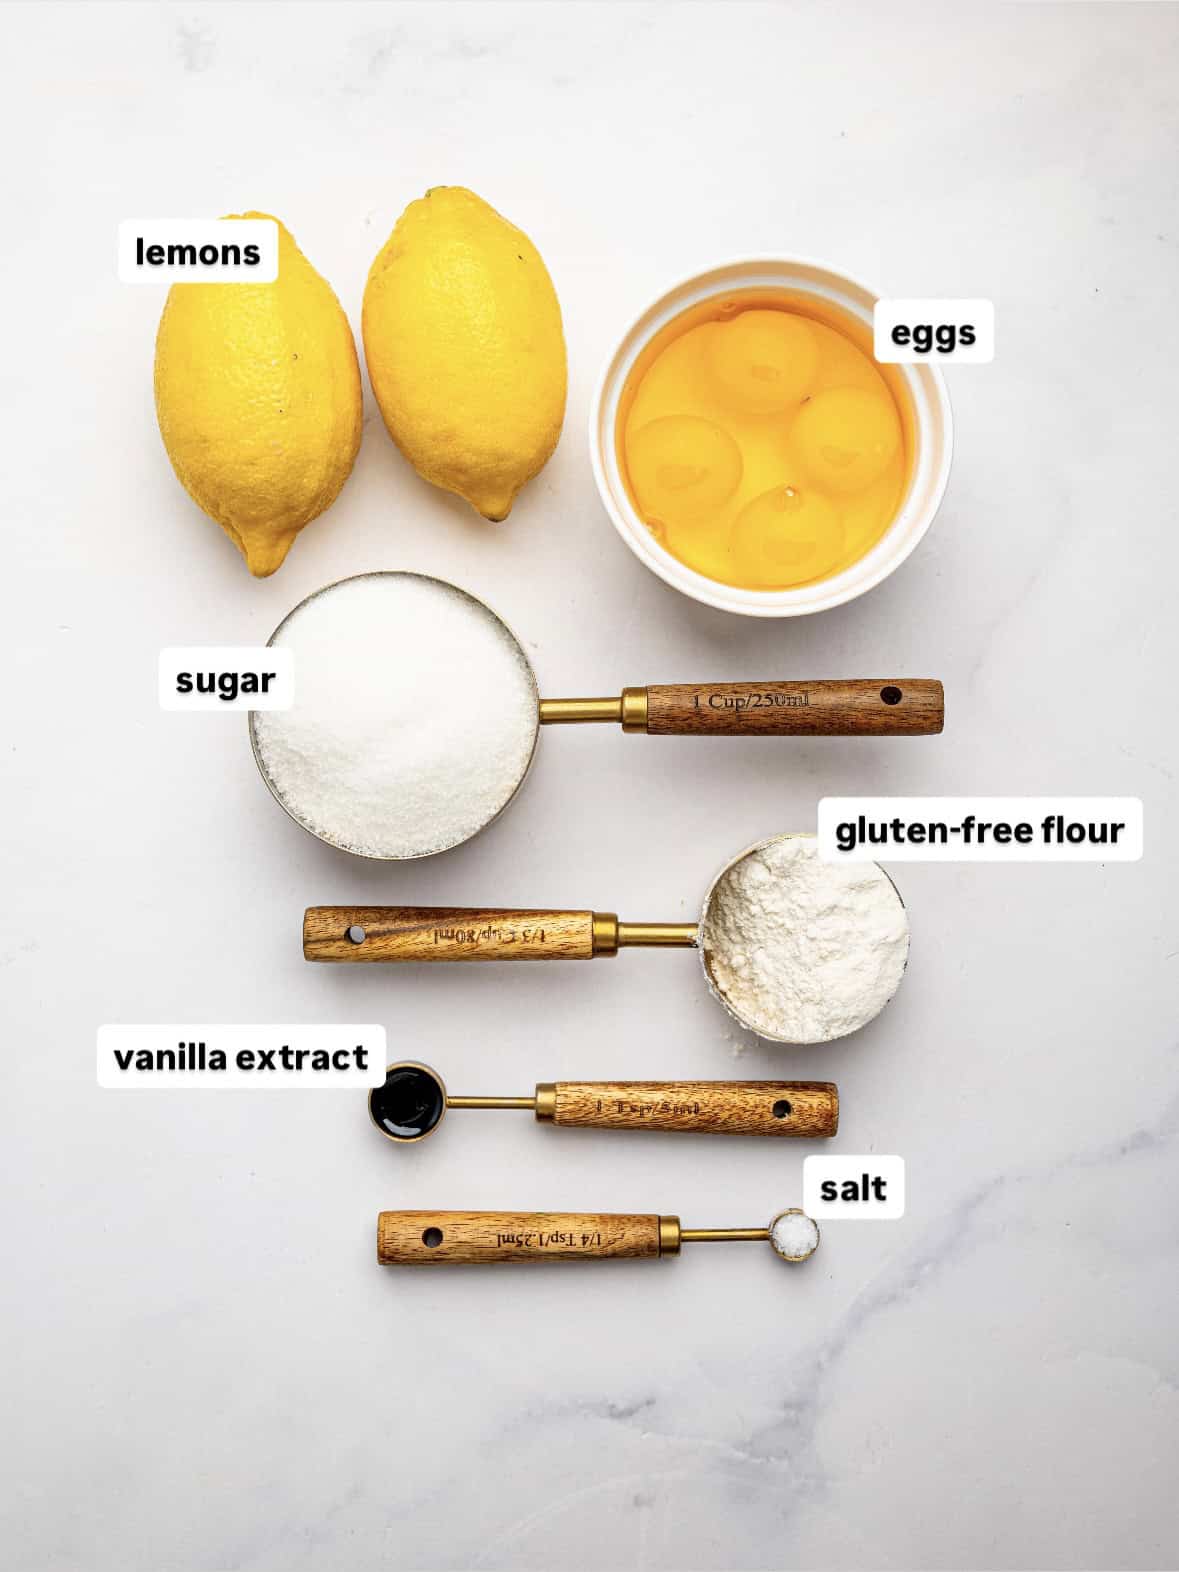
You only need a handful of simple ingredients to make these gluten free lemon bars. Since the ingredient list is short, using high quality ingredients, especially fresh lemons and good-quality butter, makes a noticeable difference.
All of the measurements and instructions are also included in the recipe card below.
Shortbread Crust Ingredients
- Gluten free all-purpose flour: Use a 1:1 gluten free flour blend with xanthan gum for the best texture.
- Granulated sugar: Adds sweetness to the crust and helps it lightly brown as it bakes.
- Unsalted butter: Gives the shortbread crust its buttery flavor and soft texture. Using melted butter also keeps the recipe simple.
- Vanilla extract: Adds a little warmth and extra flavor.
- Salt: Balances the sweetness and enhances the buttery flavor.
Lemon Filling Ingredients
- Eggs: Help the lemon filling set and give it a smooth, custardy texture. Use room temperature eggs for the best results.
- Granulated sugar: Balances the tartness of the lemon. I use less than many traditional recipes so the fresh lemon flavor can shine.
- Gluten free all-purpose flour: A small amount helps the filling thicken and set as it bakes.
- Fresh lemon juice: Freshly squeezed lemon juice gives the bars their bright, fresh flavor. I recommend using fresh lemons rather than bottled juice.
- Lemon zest: Adds concentrated citrus flavor without adding extra acidity. Don’t skip it!
- Vanilla extract: Rounds out the sharp lemon flavor.
- Salt: A small pinch brings all the flavors together.
Ingredient Notes & Substitutions
Gluten-free flour: For the best results, use a 1:1 gluten free all-purpose flour blend that contains xanthan gum. Different blends can absorb liquid differently, so I recommend sticking with a blend similar to the one used when testing this recipe.
Dairy-free: If needed, you can use a good-quality dairy-free butter in place of regular butter. I have only tested this recipe with regular unsalted butter, so keep in mind that different dairy-free butters may affect the texture slightly.
Equipment Needed
You don’t need any special equipment to make this lemon bar recipe, which is one of the reasons it’s such an easy homemade dessert.
- 20cm x 20cm baking dish (8-x 8-inch): A glass baking pan works well, although a standard square metal baking dish can also be used.
- Mixing bowls: You’ll need two, one for the crust and one for the lemon filling.
- Whisk: A basic whisk is all you need for the filling, so there’s no need for an electric mixer.
- Spatula: Useful for mixing the crust and spreading it evenly.
- Parchment paper: Line the baking dish with parchment paper, leaving some overhang to make lifting the chilled bars out easier.
How To Make Gluten Free Lemon Bars
These gluten free lemon bars are simple to make, with a one-bowl crust and an easy lemon filling. The most important things are to bake the crust before adding the filling and to let the finished bars cool and chill completely before slicing.
1. Prepare the Baking Dish
Preheat your oven to 175°C (350°F). Line a 20cm x 20cm baking dish with parchment paper, leaving some overhang on two sides. This makes it much easier to lift the bars out once they’re chilled.
2. Make the Shortbread Crust
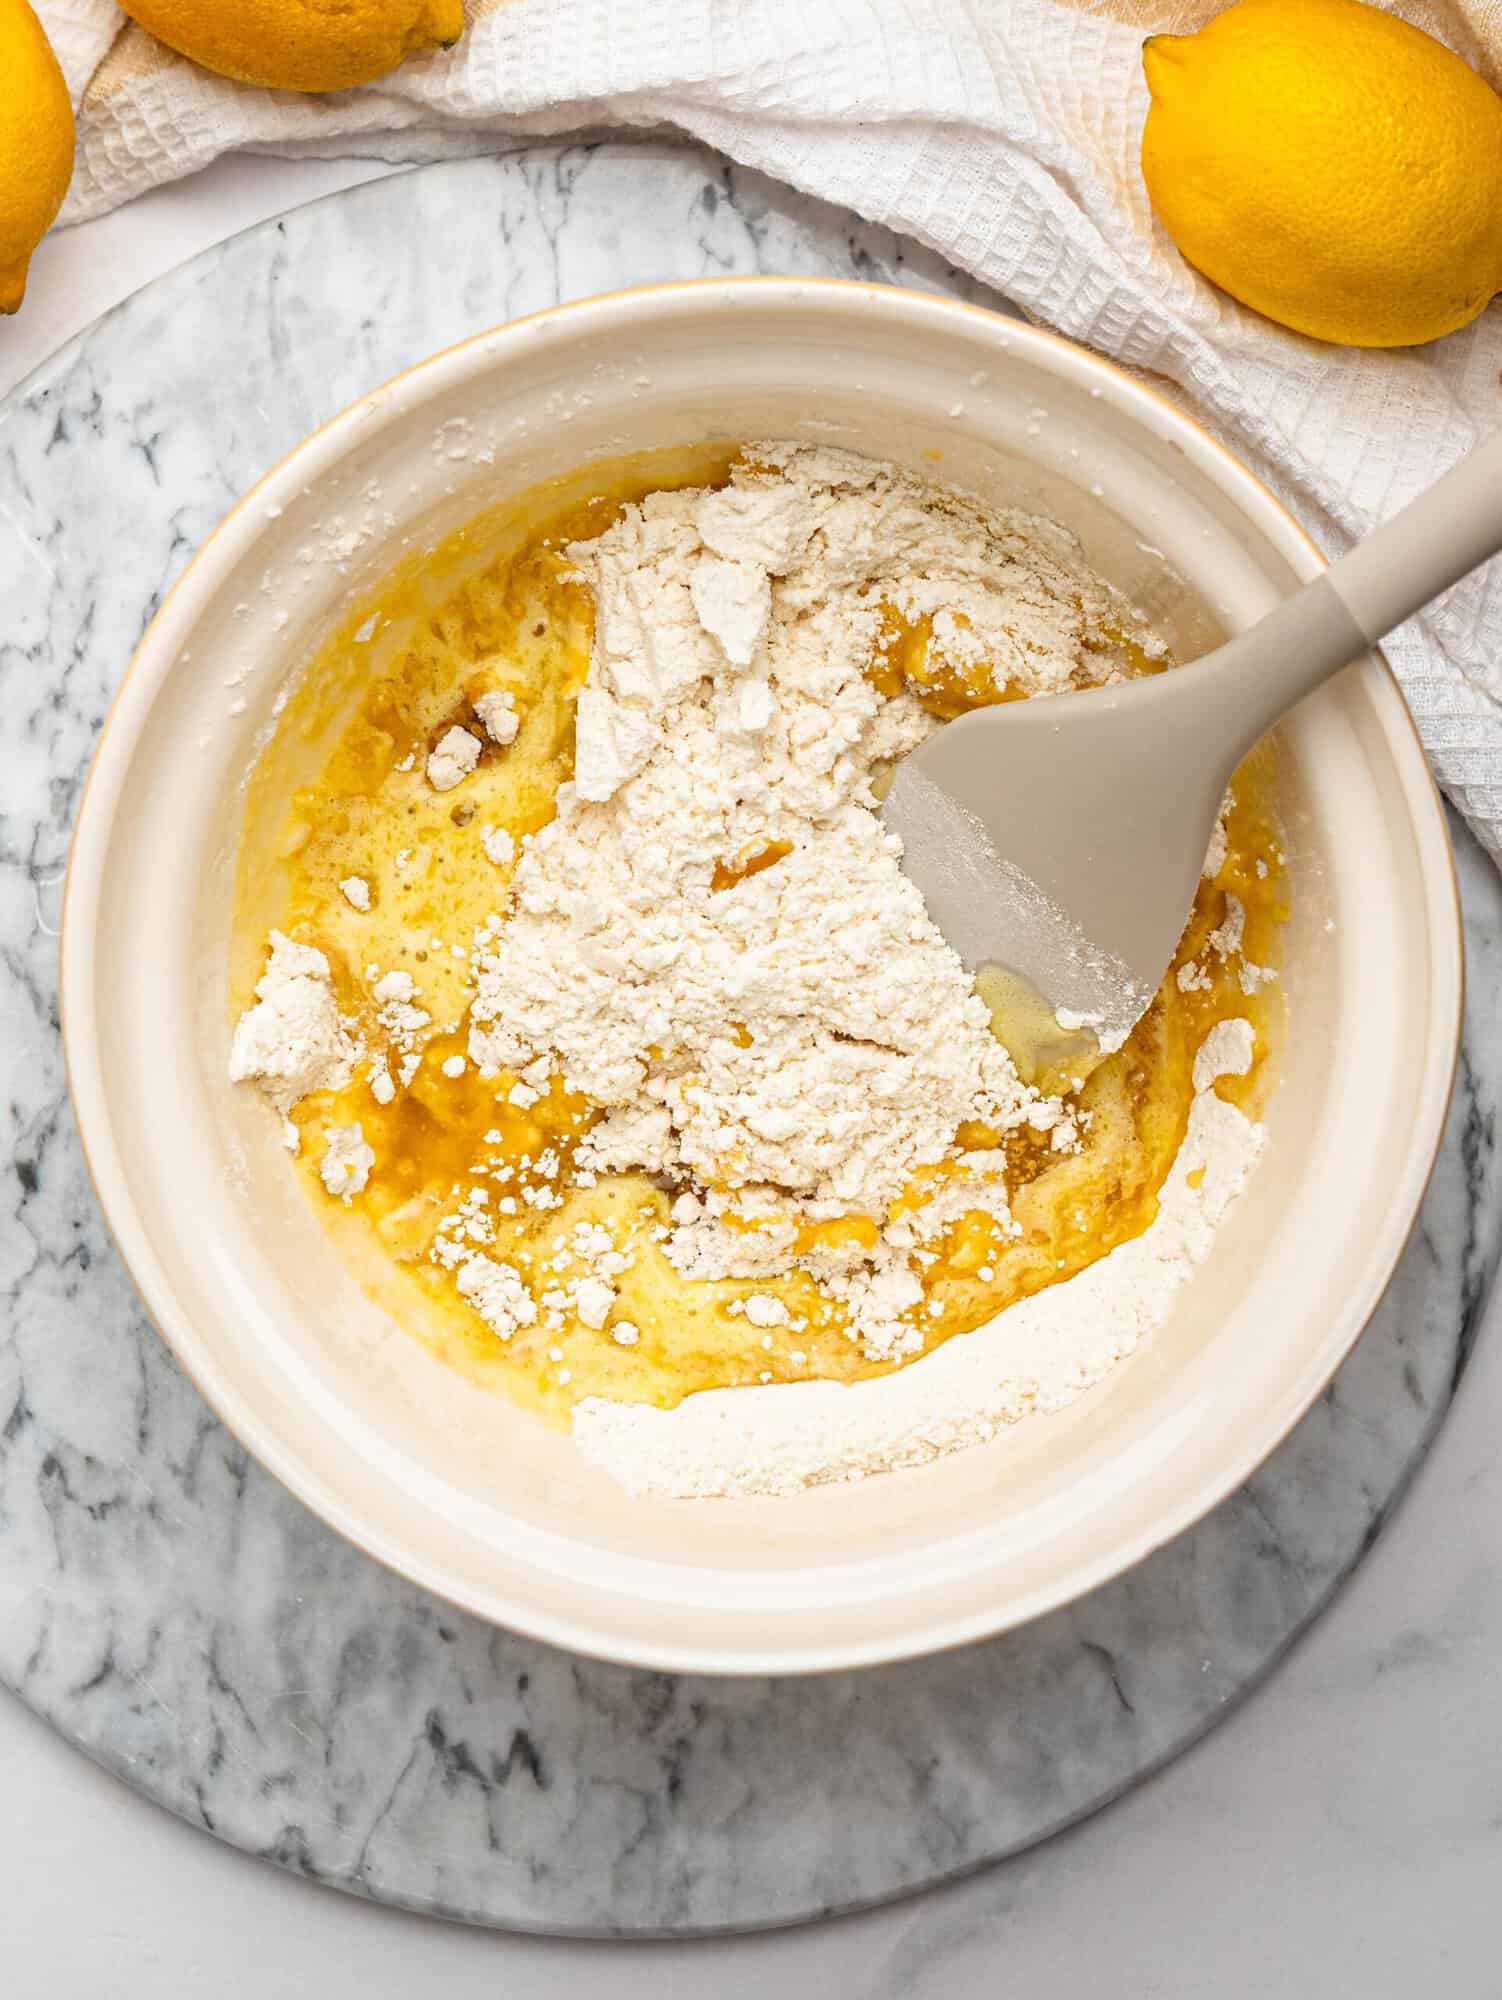
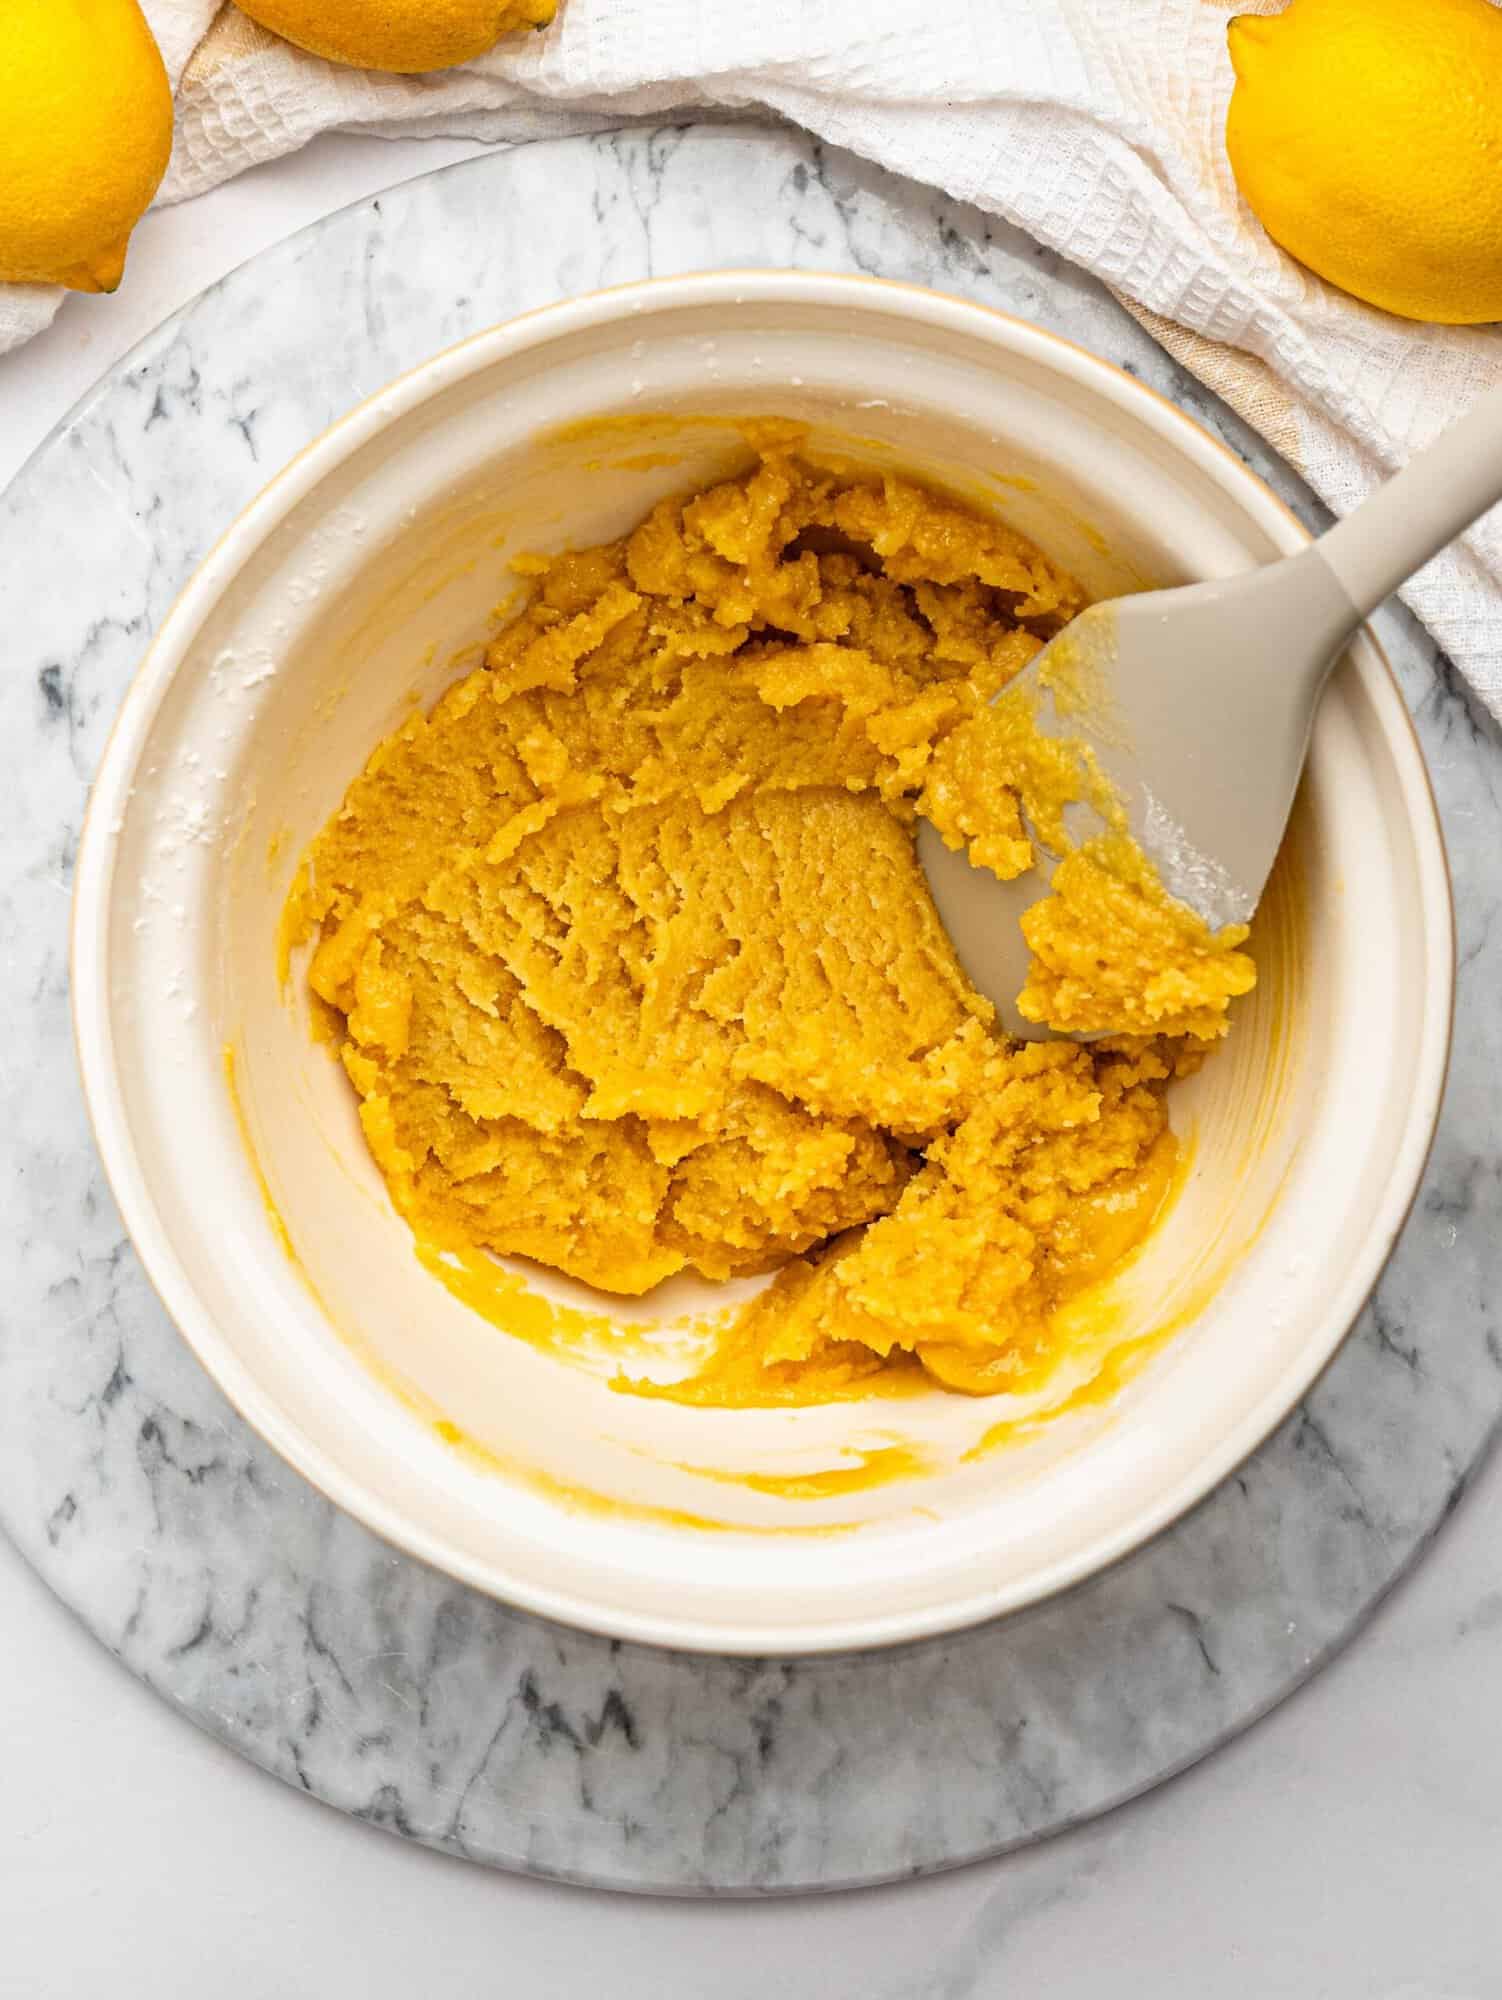
Add the gluten free flour blend, granulated sugar, and salt to a mixing bowl and stir to combine. Pour in the melted butter and vanilla extract, then mix with a spatula until a soft dough forms.
3. Press the Dough Into the Pan
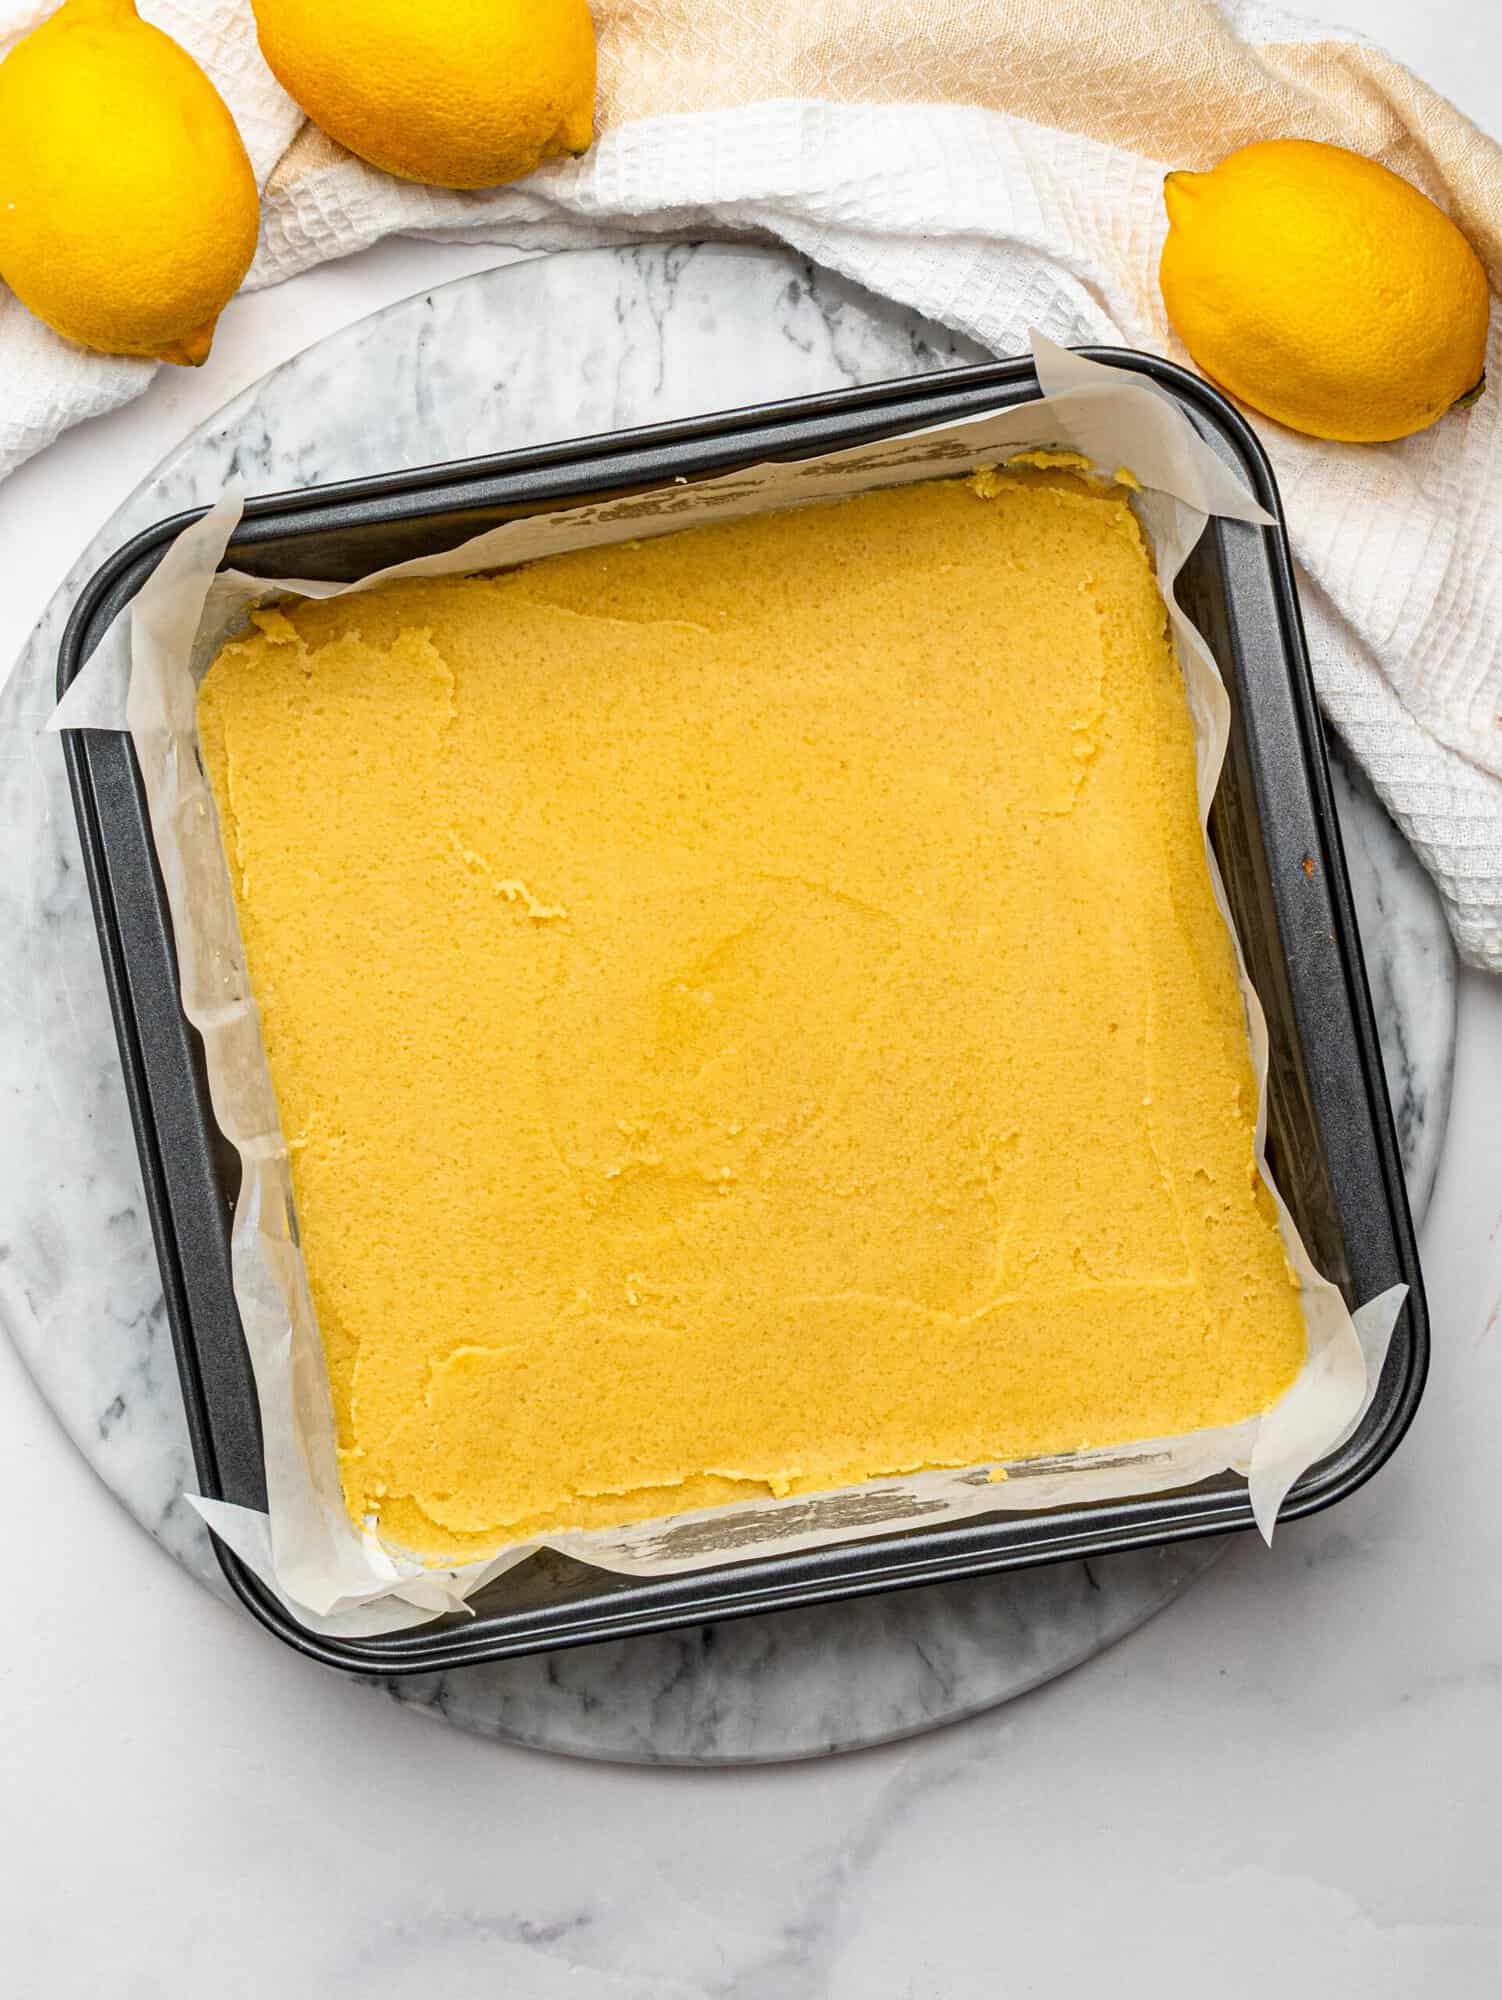
Transfer the dough to the prepared pan with parchment paper and press the dough firmly and evenly into the bottom of the pan. Use the bottom of a measuring cup or your hands to compact it, making sure it reaches all the corners.
4. Bake the Crust
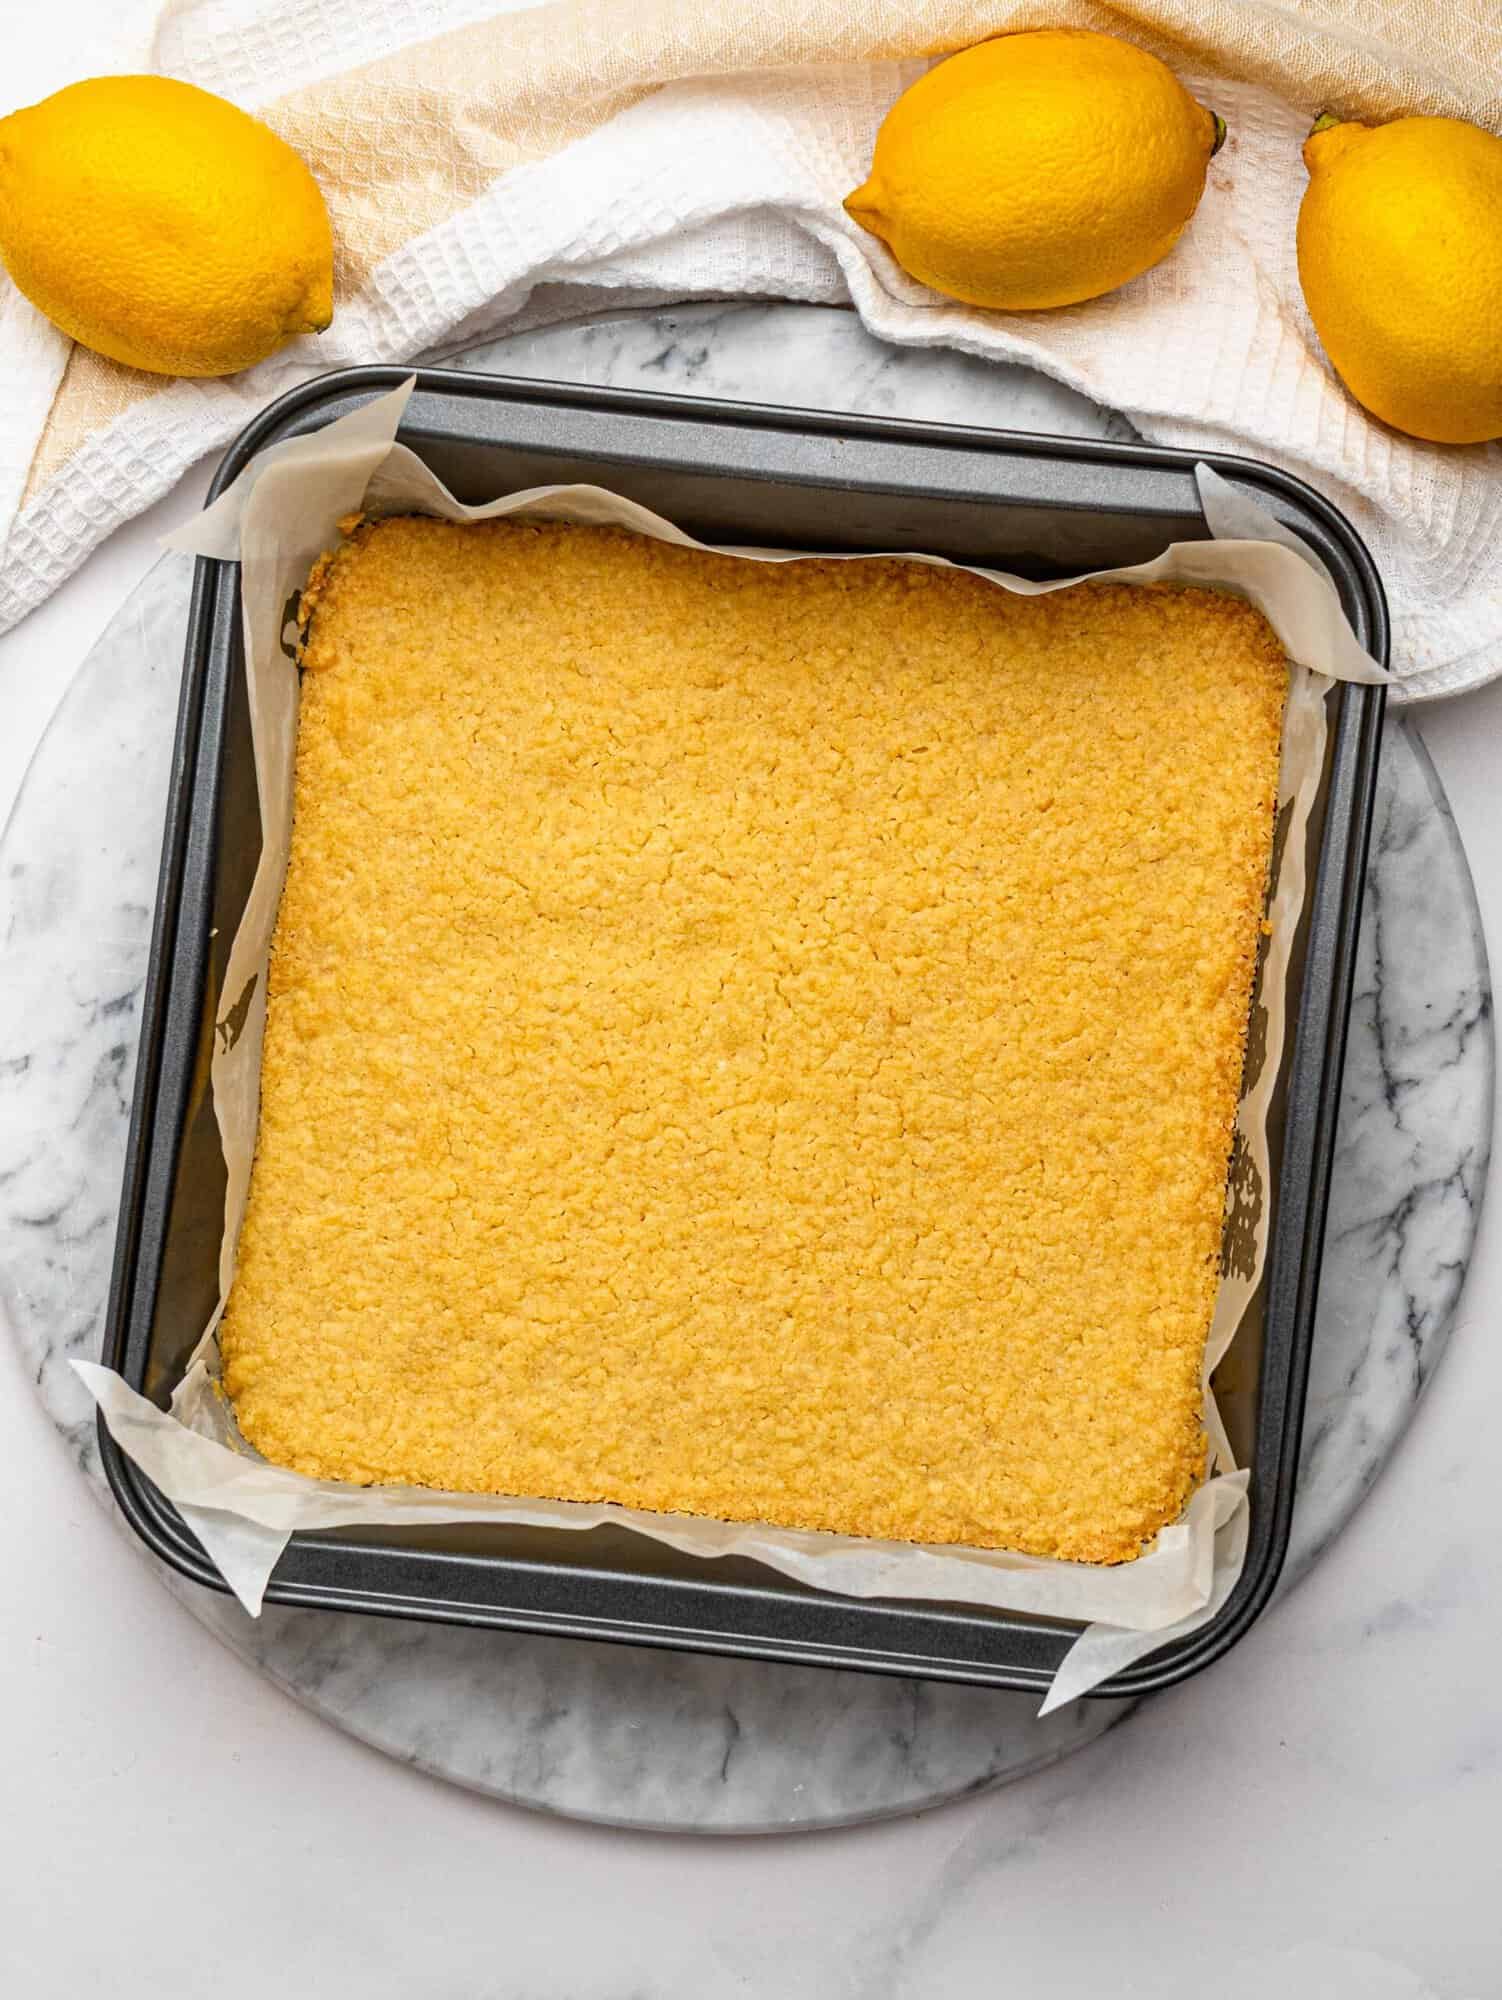
Bake the crust for 18–20 minutes, or until the edges are lightly browned and the center looks dry and set.
The crust may still feel quite soft when it first comes out of the oven. That’s okay. It will firm up as it cools and after the lemon filling is added.
5. Make the Lemon Filling
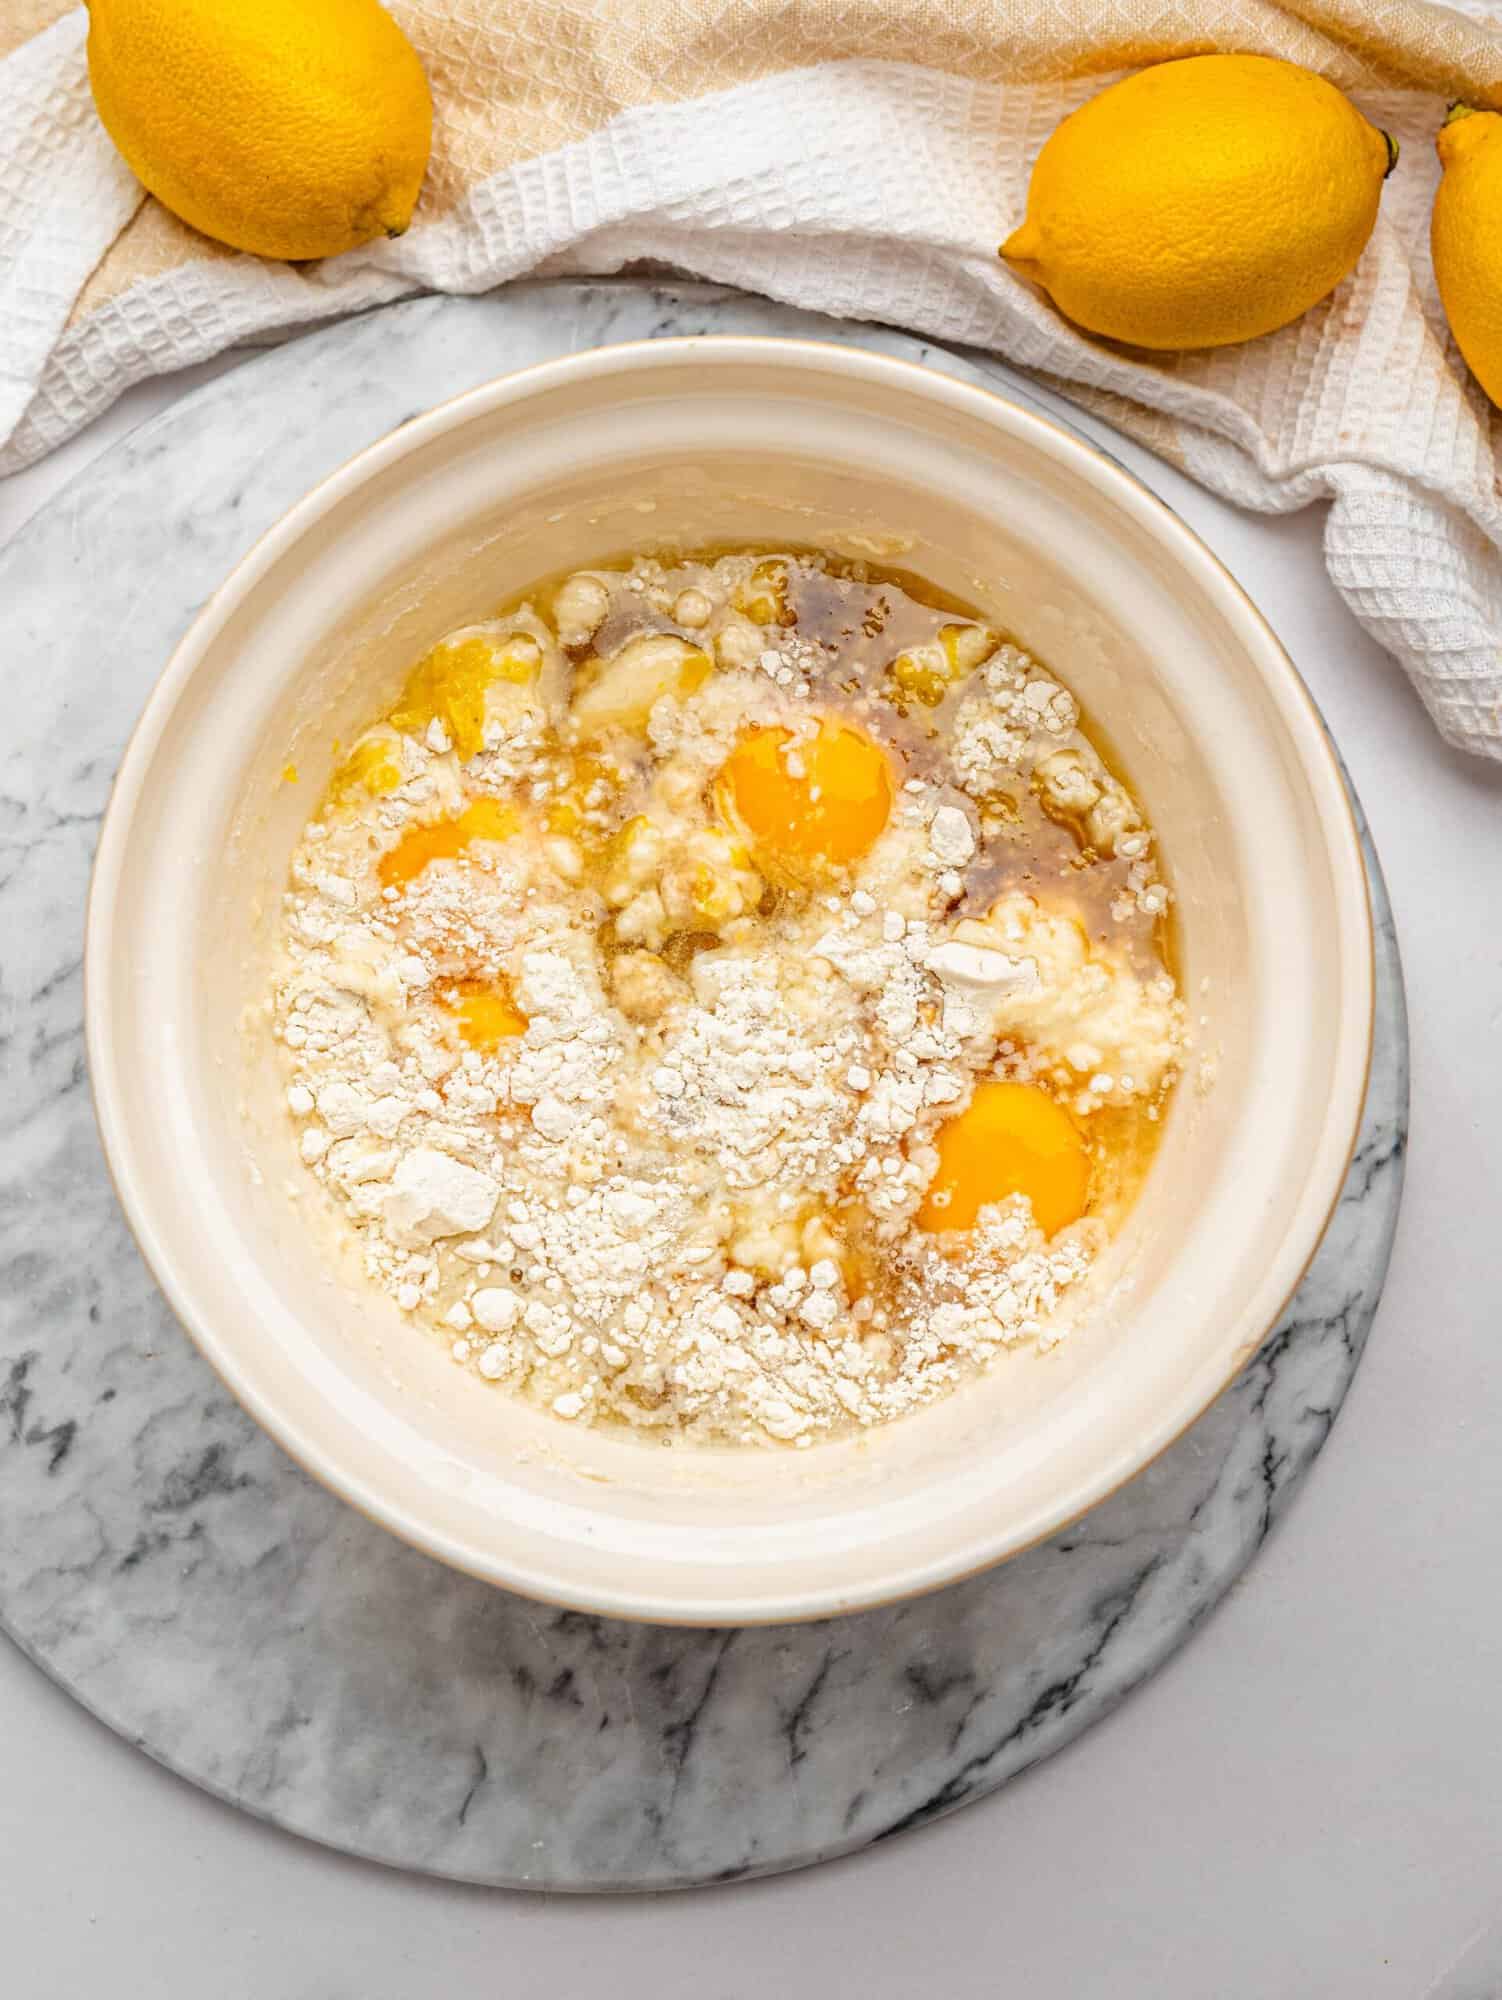
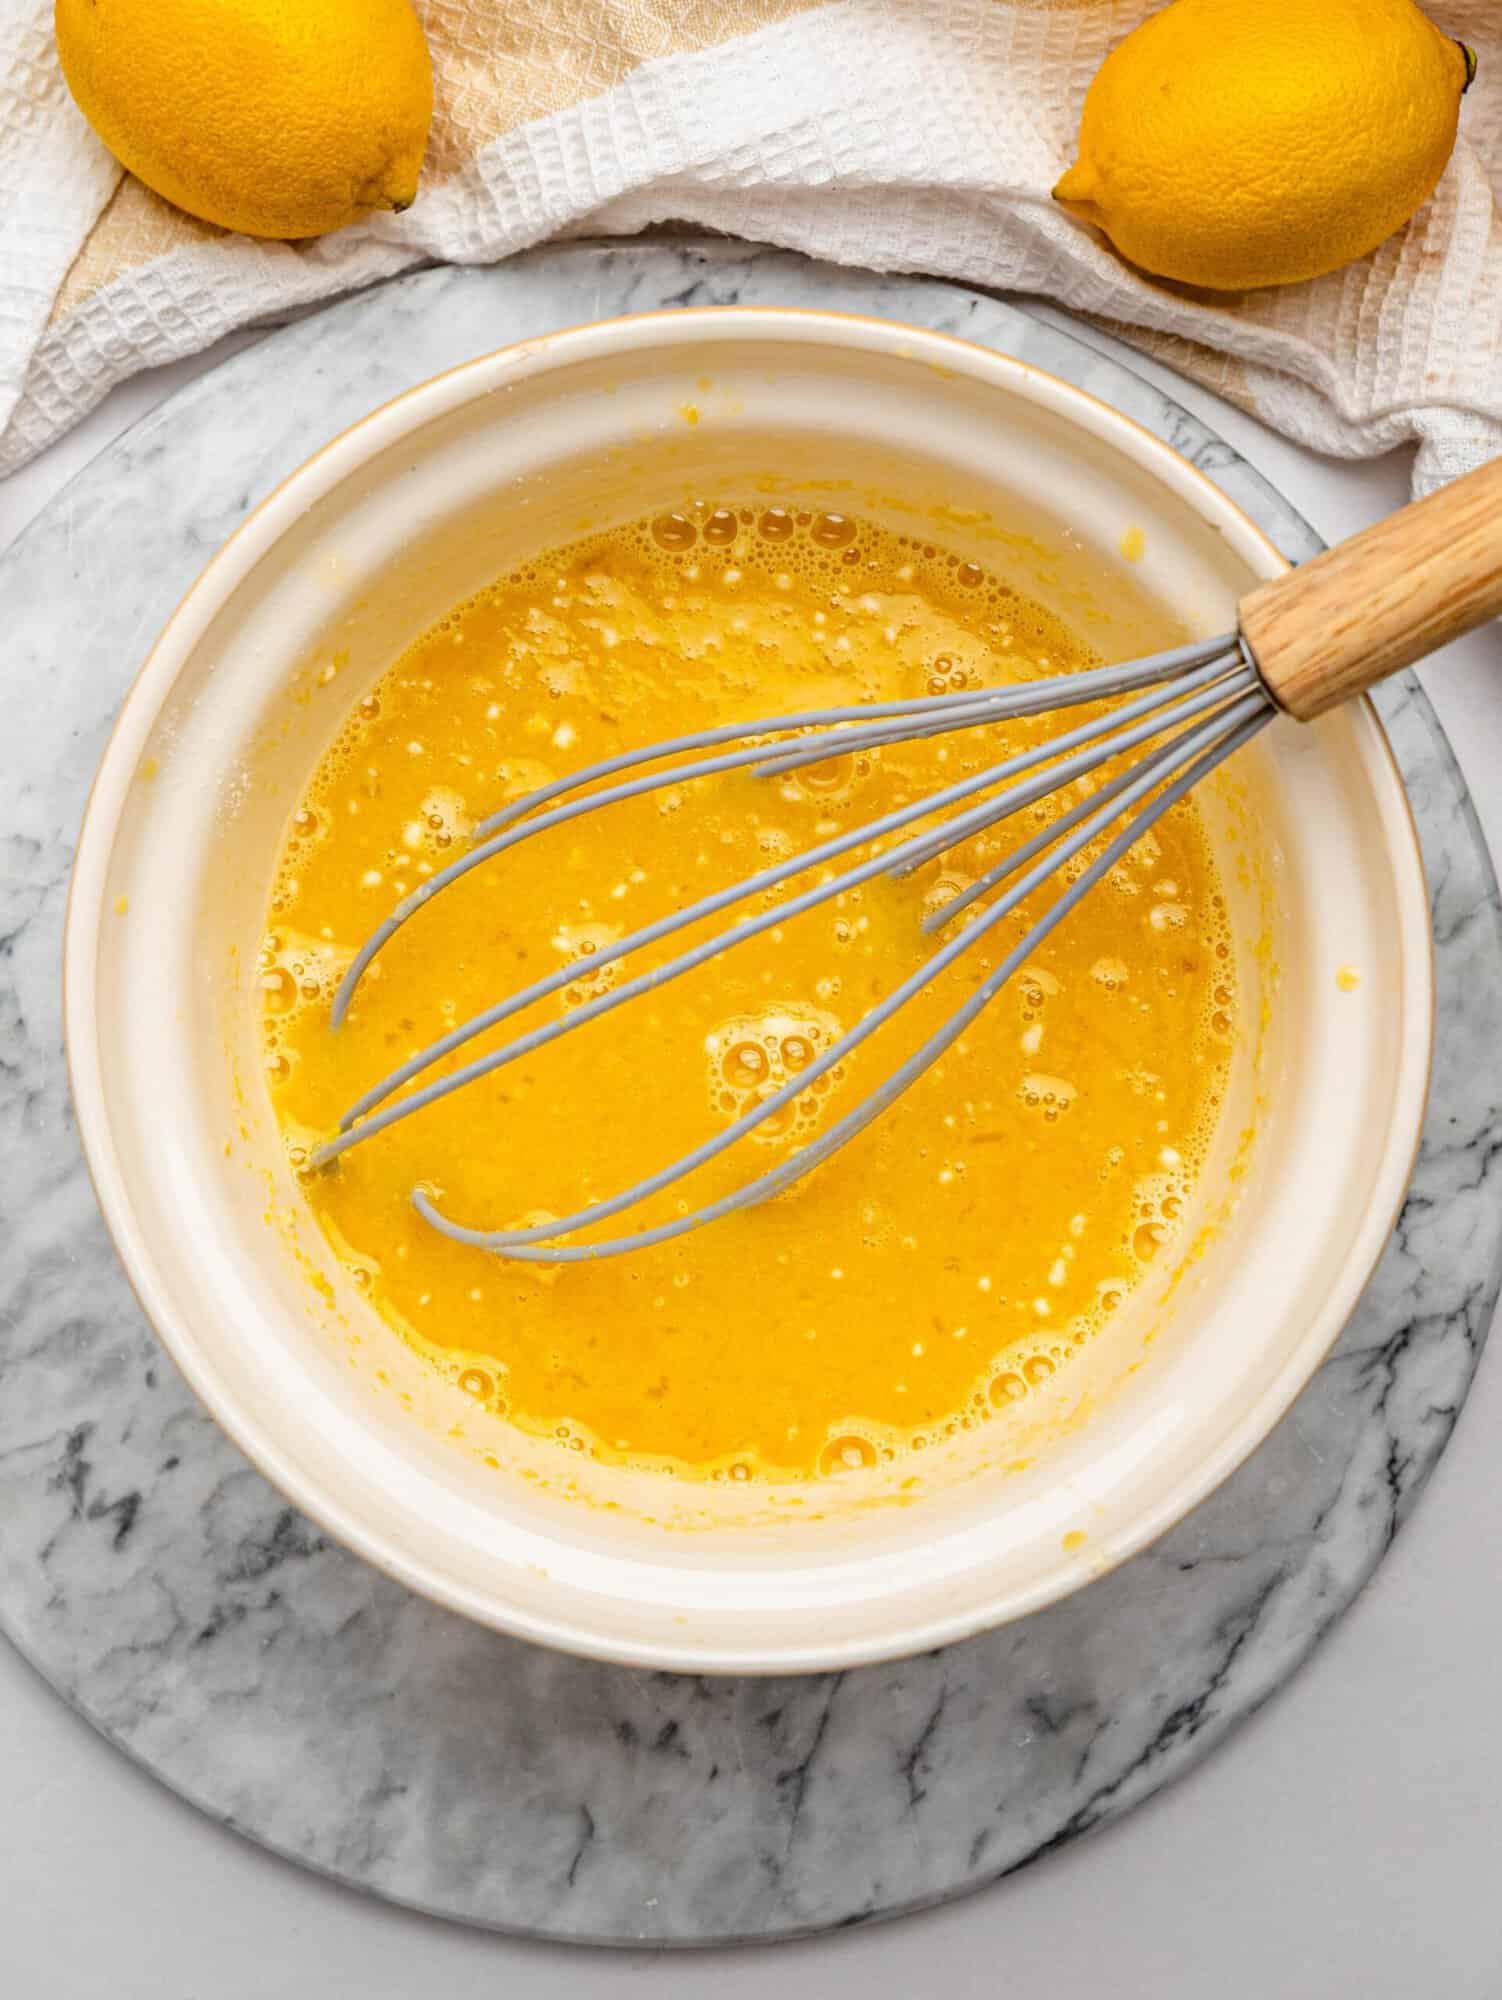
While the crust is baking, whisk together the eggs, sugar, gluten free flour, fresh lemon juice, lemon zest, vanilla extract, and salt until smooth.
The filling will be very thin and runny at this stage. Don’t worry, this is exactly how it should look.
6. Add the Lemon Filling
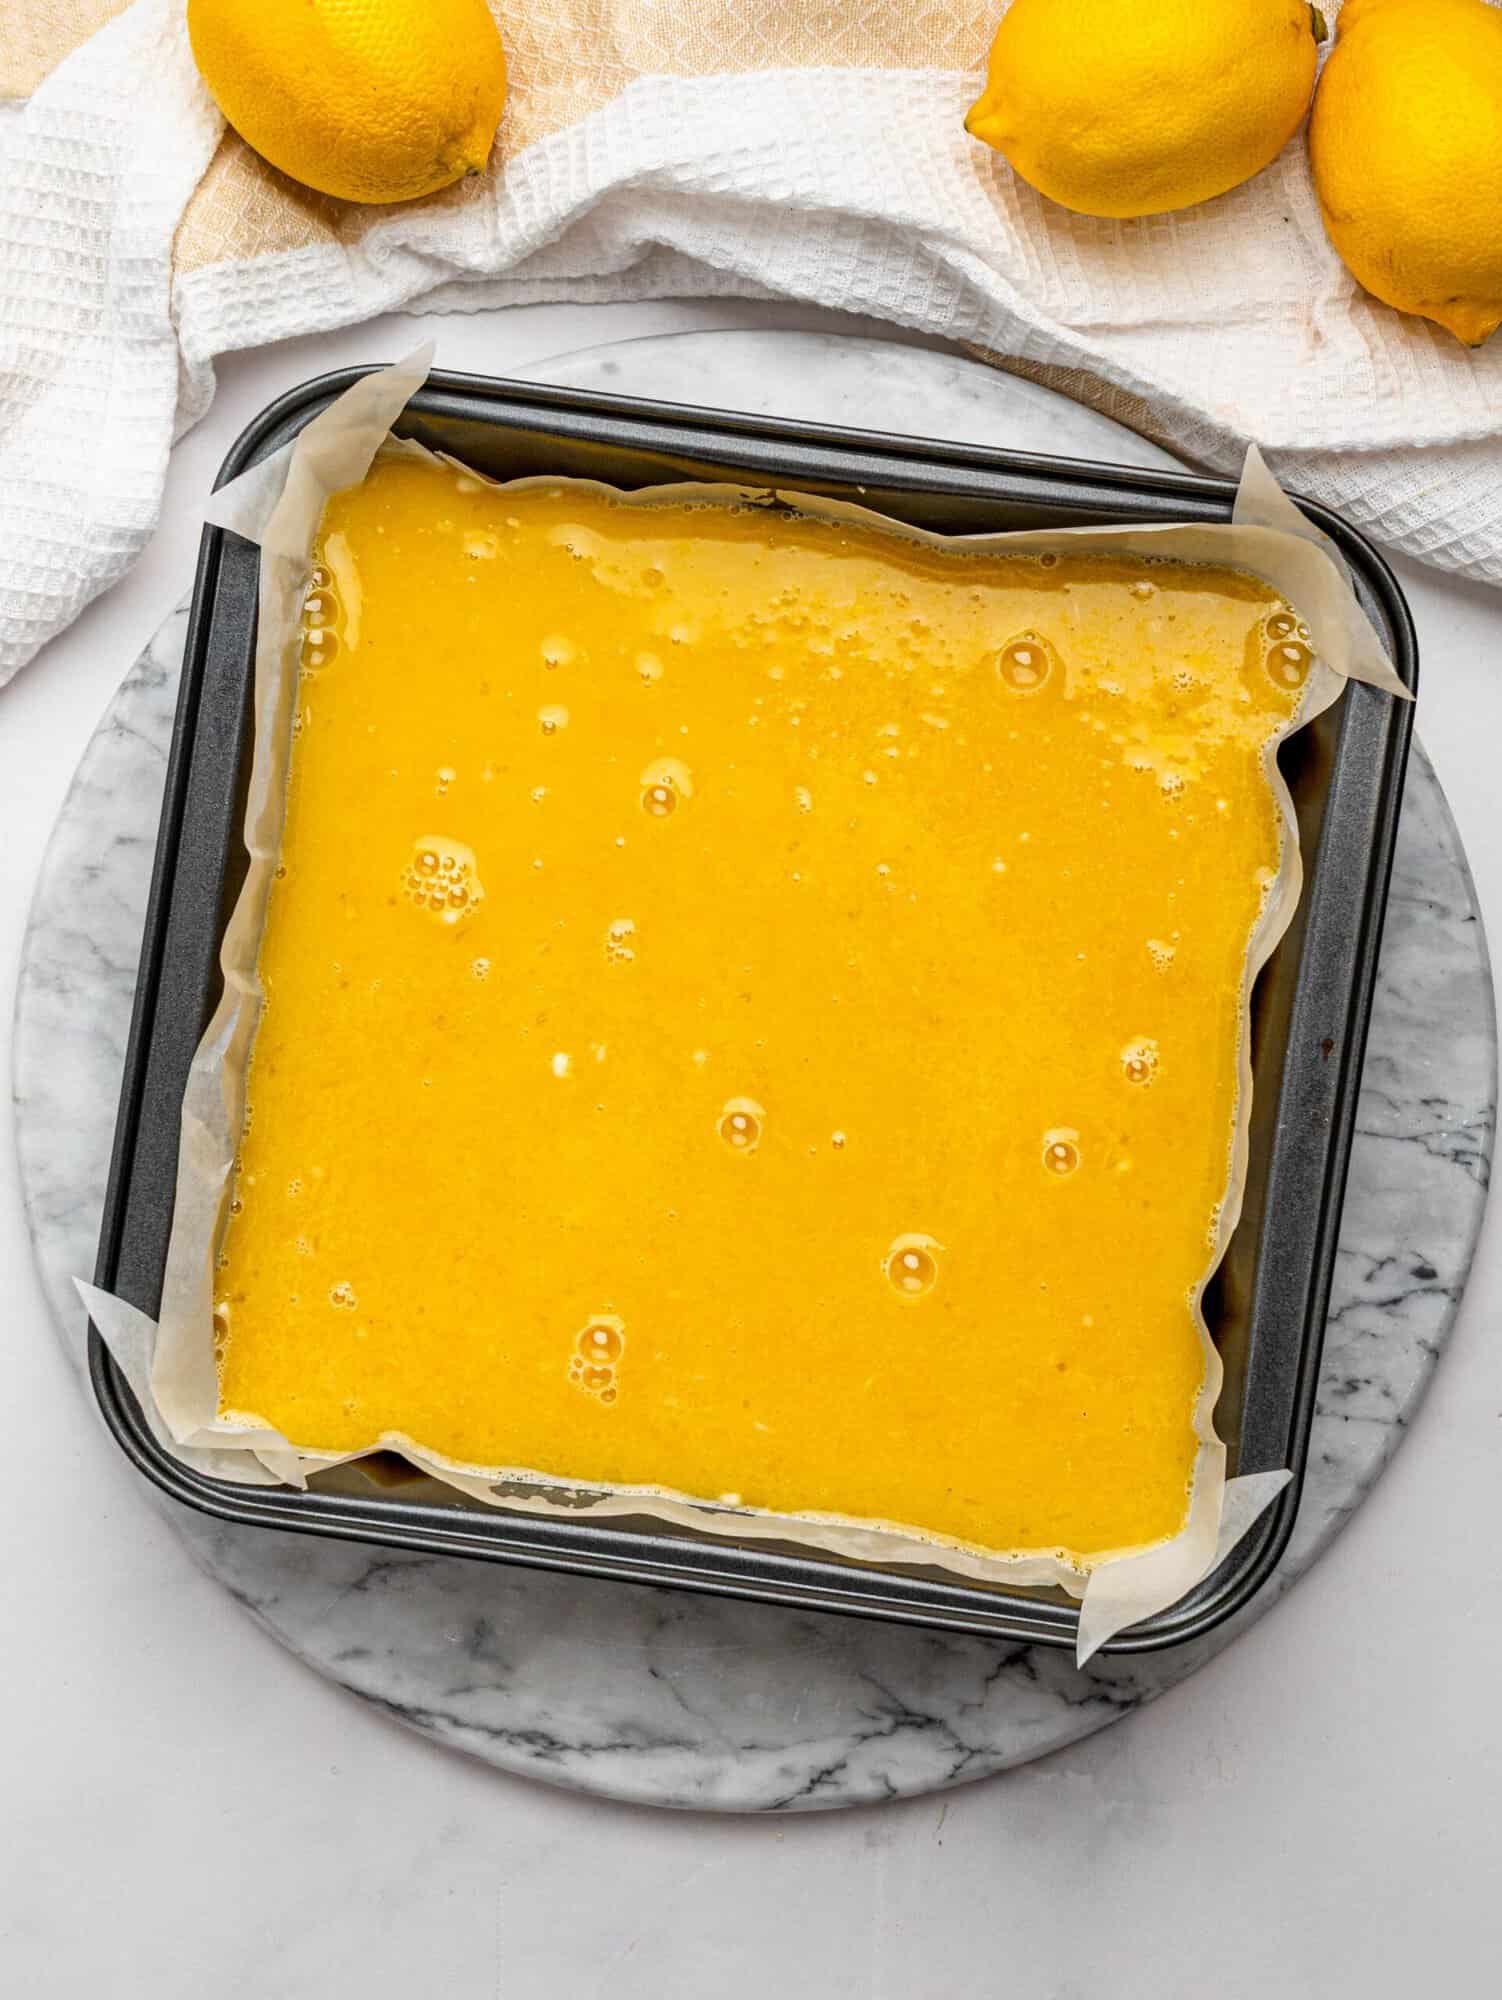
Pour the lemon filling over the warm crust as soon as it comes out of the oven. Carefully return the baking dish to the oven.
7. Bake the Lemon Bars
Bake for approximately 20 minutes, or until the edges are set and the center has a slight wobble when you gently move the pan.
The filling shouldn’t look liquid or slosh around, but it doesn’t need to be completely firm. It will continue to set as the bars cool.
8. Cool and Chill
Allow the lemon bars to cool completely at room temperature, then transfer them to the refrigerator for at least 2 hours. For the cleanest slices, you can chill them overnight.
9. Slice and Serve
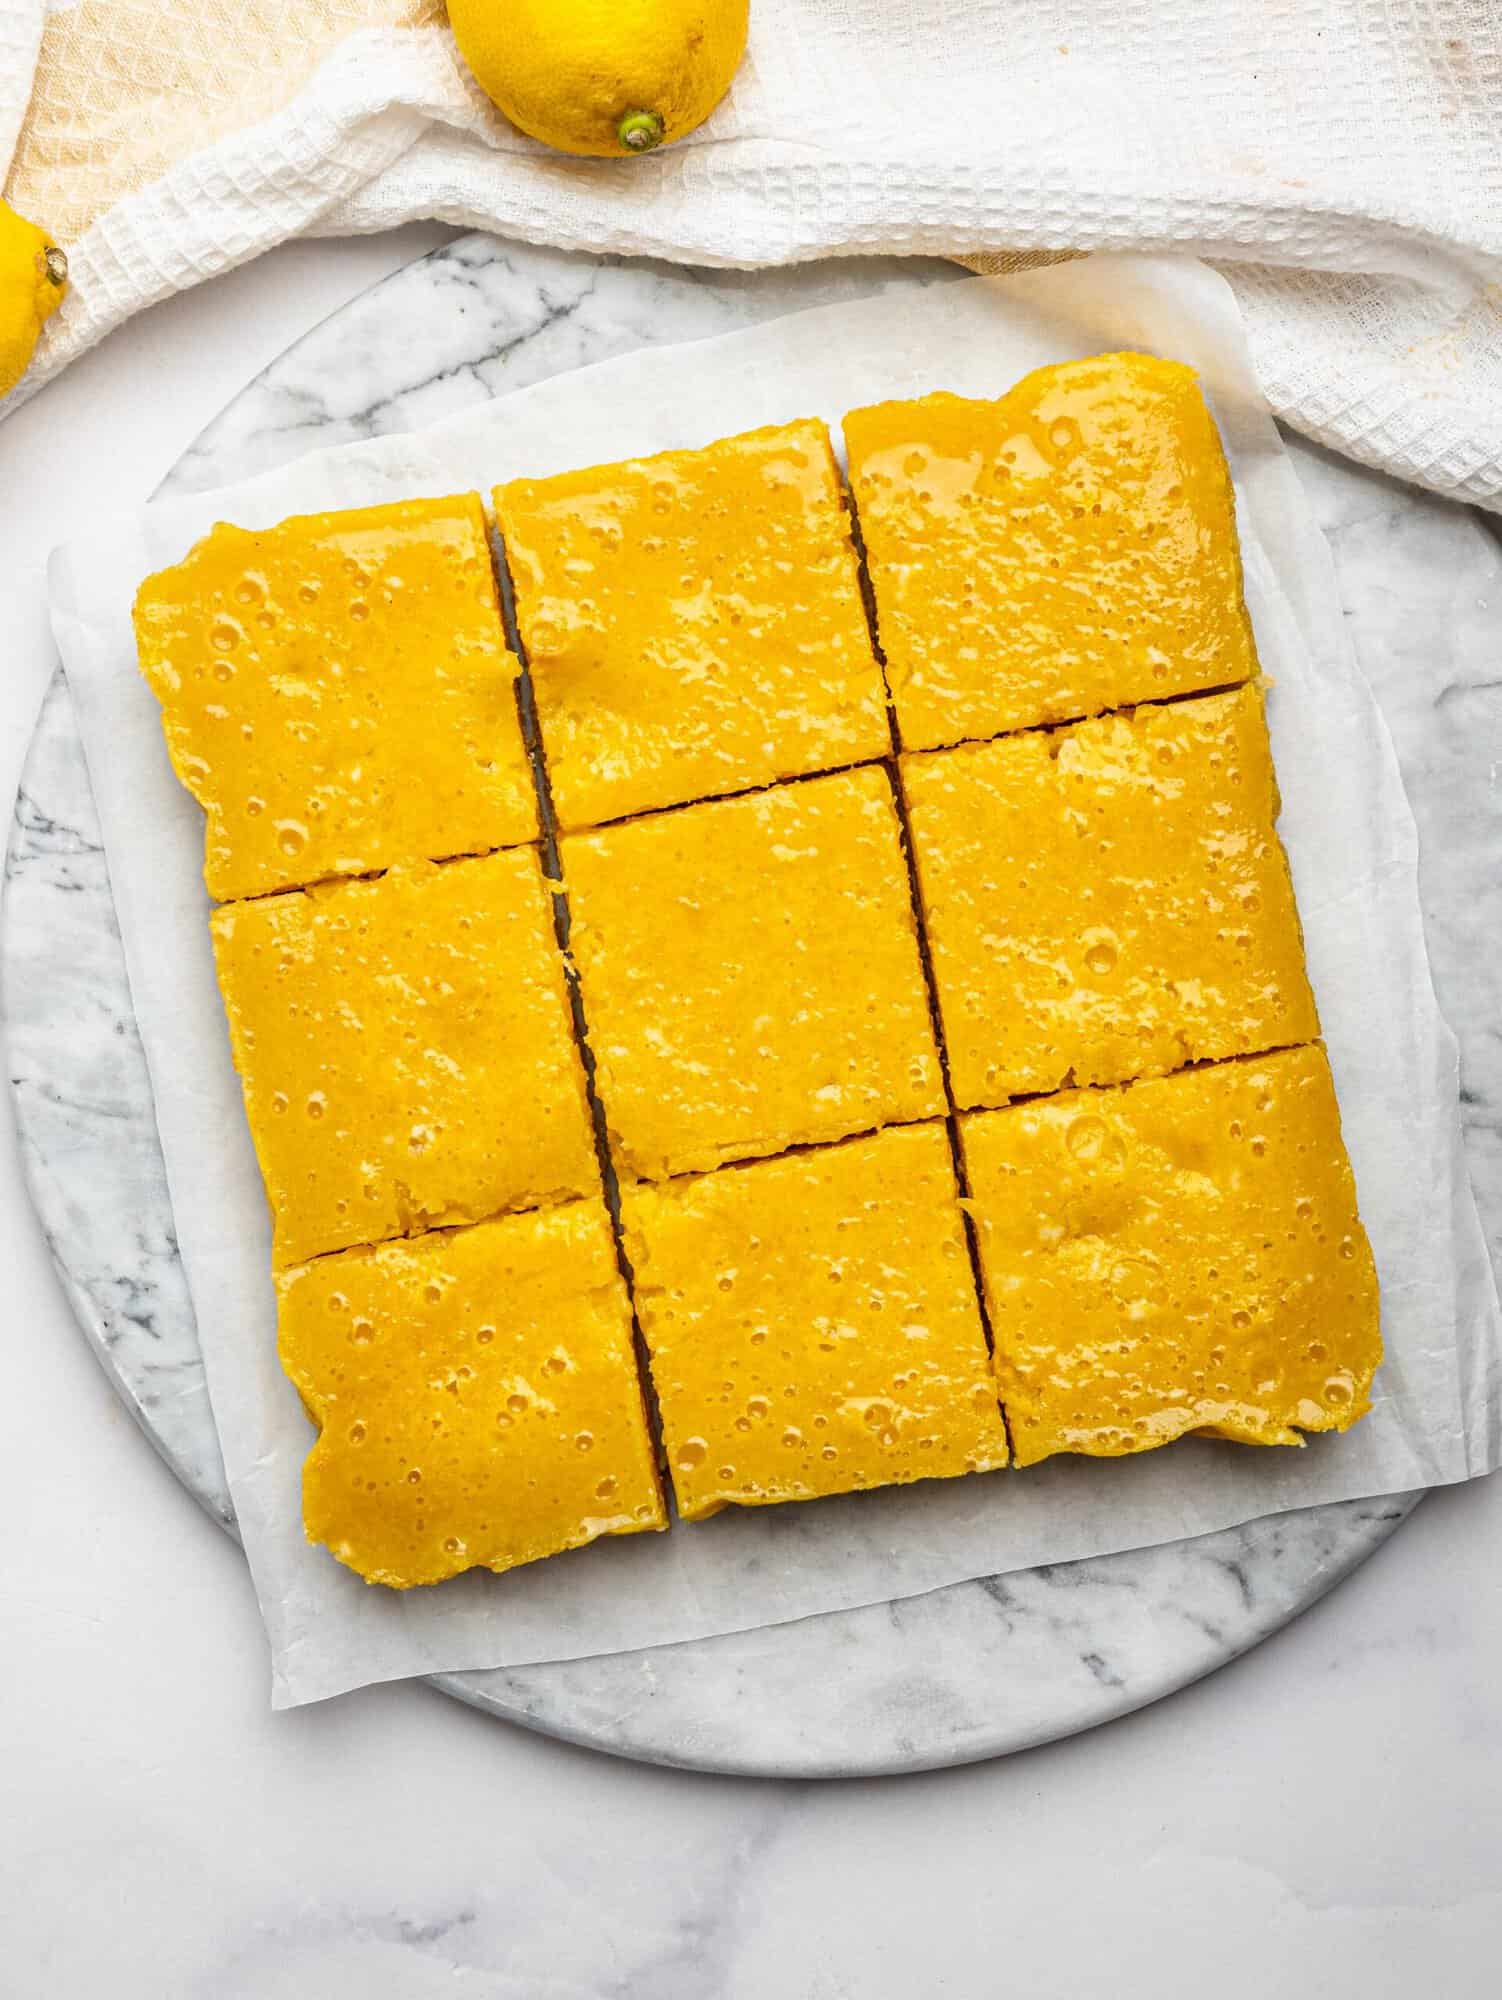
Once completely chilled, lift the bars out of the pan using the parchment paper and place them on a cutting board.
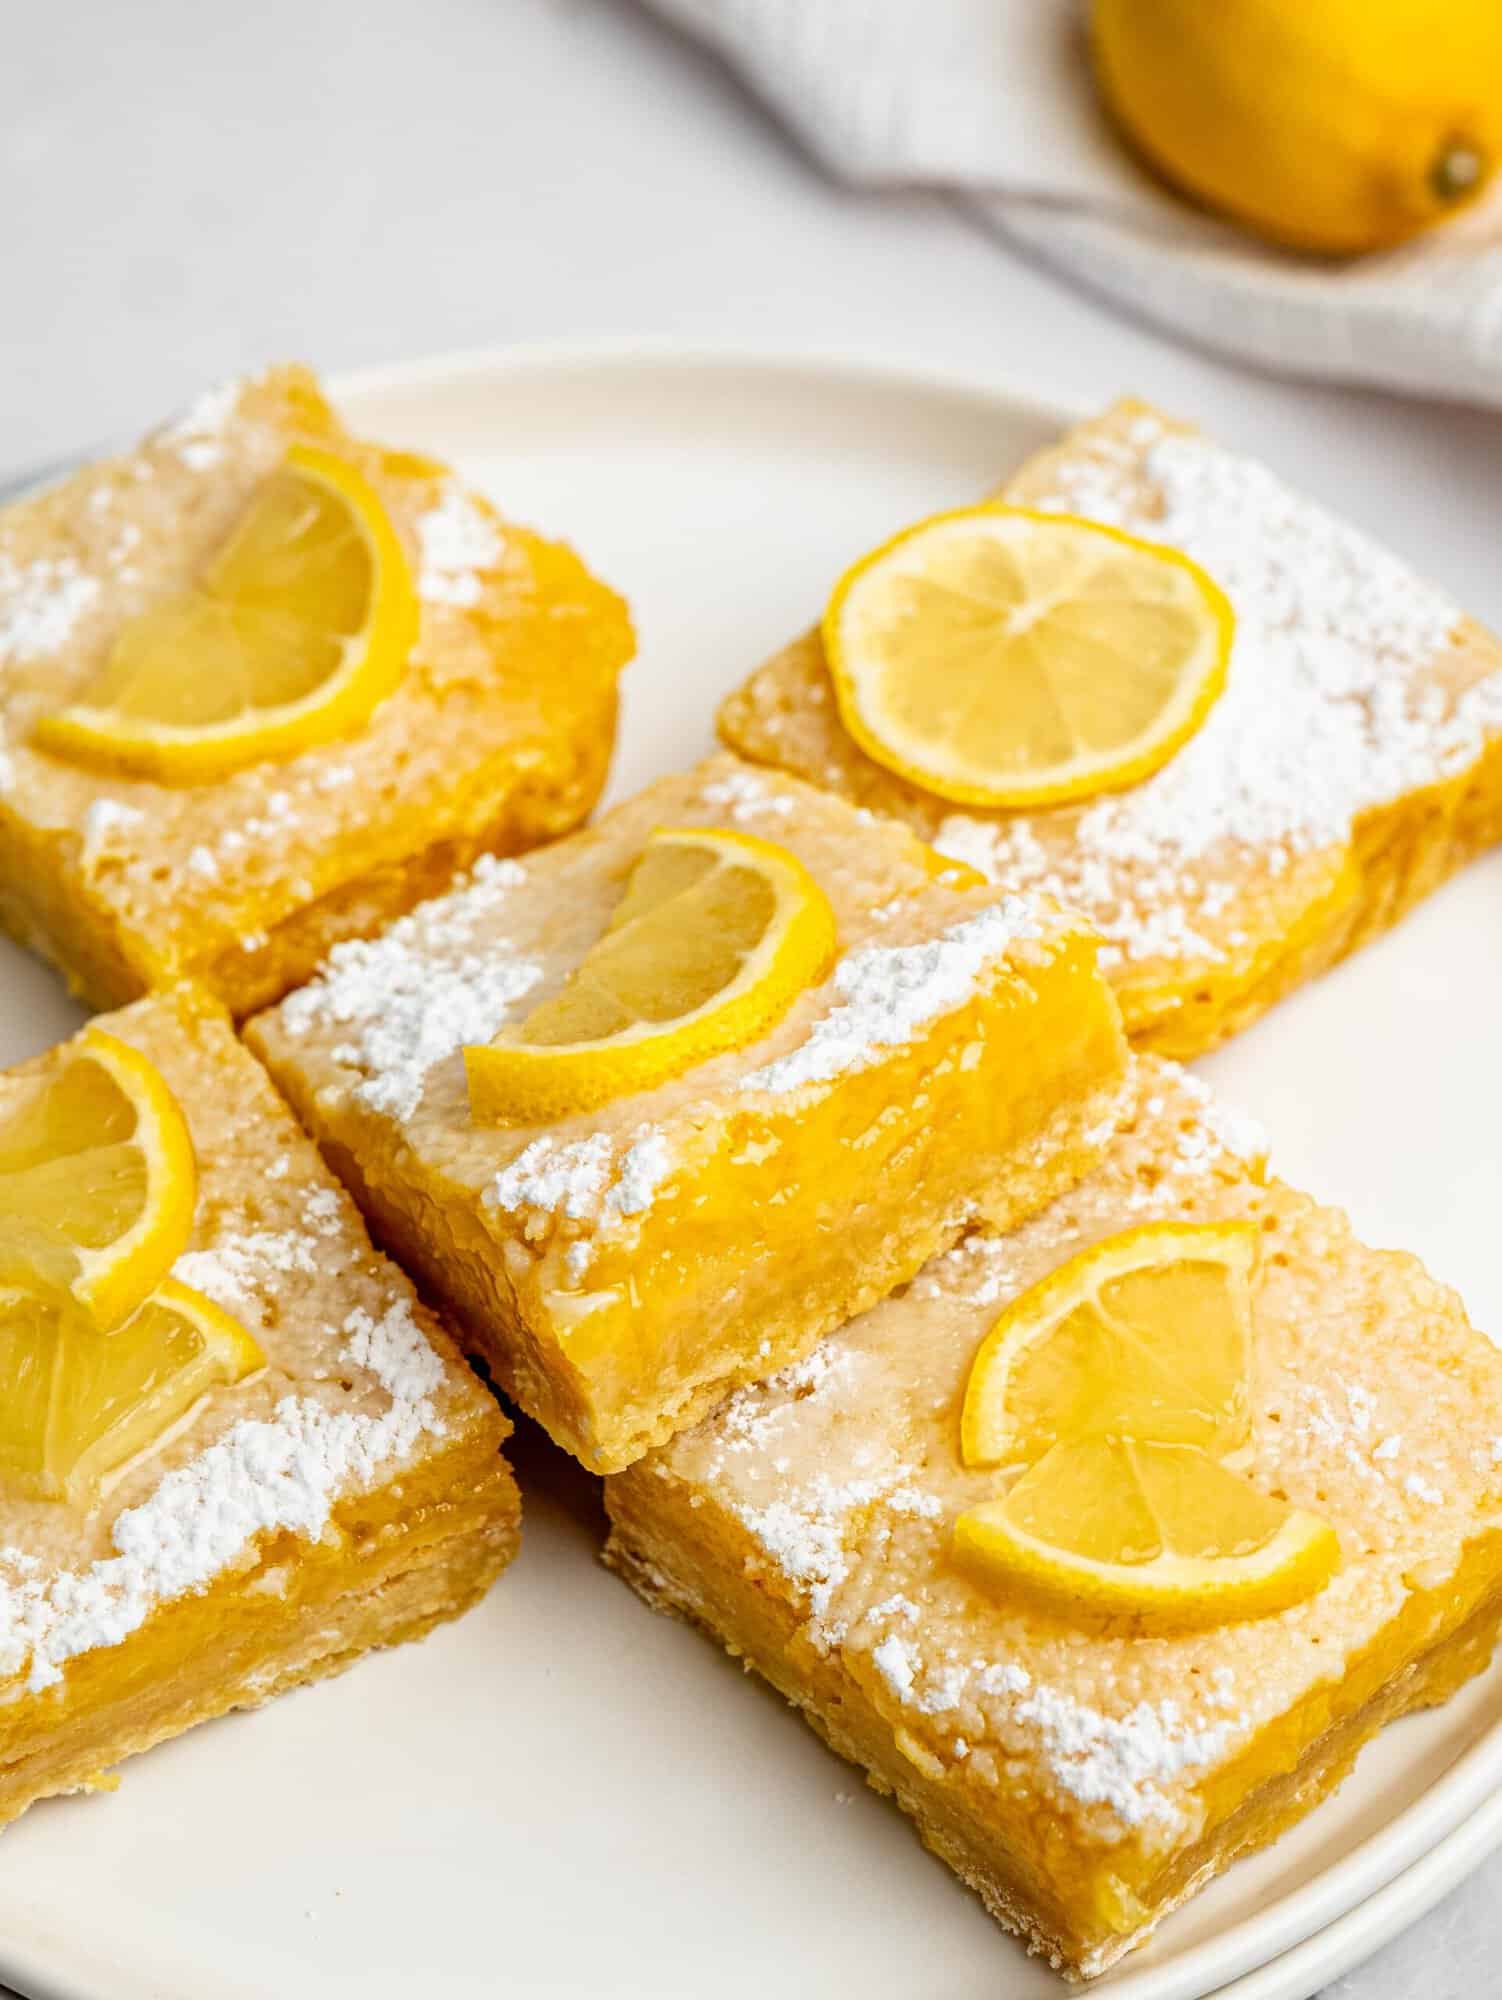
Slice into 9 generous bars for a dessert, or cut each bar in half diagonally to make 18 smaller triangles.
Tips for Making the Best Gluten Free Lemon Bars
- Use Fresh Lemon Juice and Lemon Zest: For the best lemon flavor, use fresh lemons for both the juice and zest. The zest adds lots of bright citrus flavor without making the bars more tart, so I wouldn’t skip it.
- Don’t Worry If the Lemon Filling Looks Runny: The lemon filling is very runny before baking, so don’t worry if it looks much thinner than you expected. I was surprised by this when I first tested the recipe and wasn’t sure it would set, but after 20 minutes in the oven, it had transformed into a smooth, creamy filling. Trust the recipe and resist the temptation to add extra flour.
- Don’t Overbake the Lemon Bars: The bars are ready when the edges are set and the center has a slight wobble. The filling will continue to set as it cools, so don’t wait for the center to feel completely firm in the oven. Overbaking can result in a firmer, less gooey filling.
- Chill Before Slicing: Allow the bars to cool completely at room temperature before refrigerating them for at least 2 hours. Chilling gives the filling time to fully set and makes it much easier to get clean slices. For especially neat edges, use a sharp knife and wipe it clean between each cut.
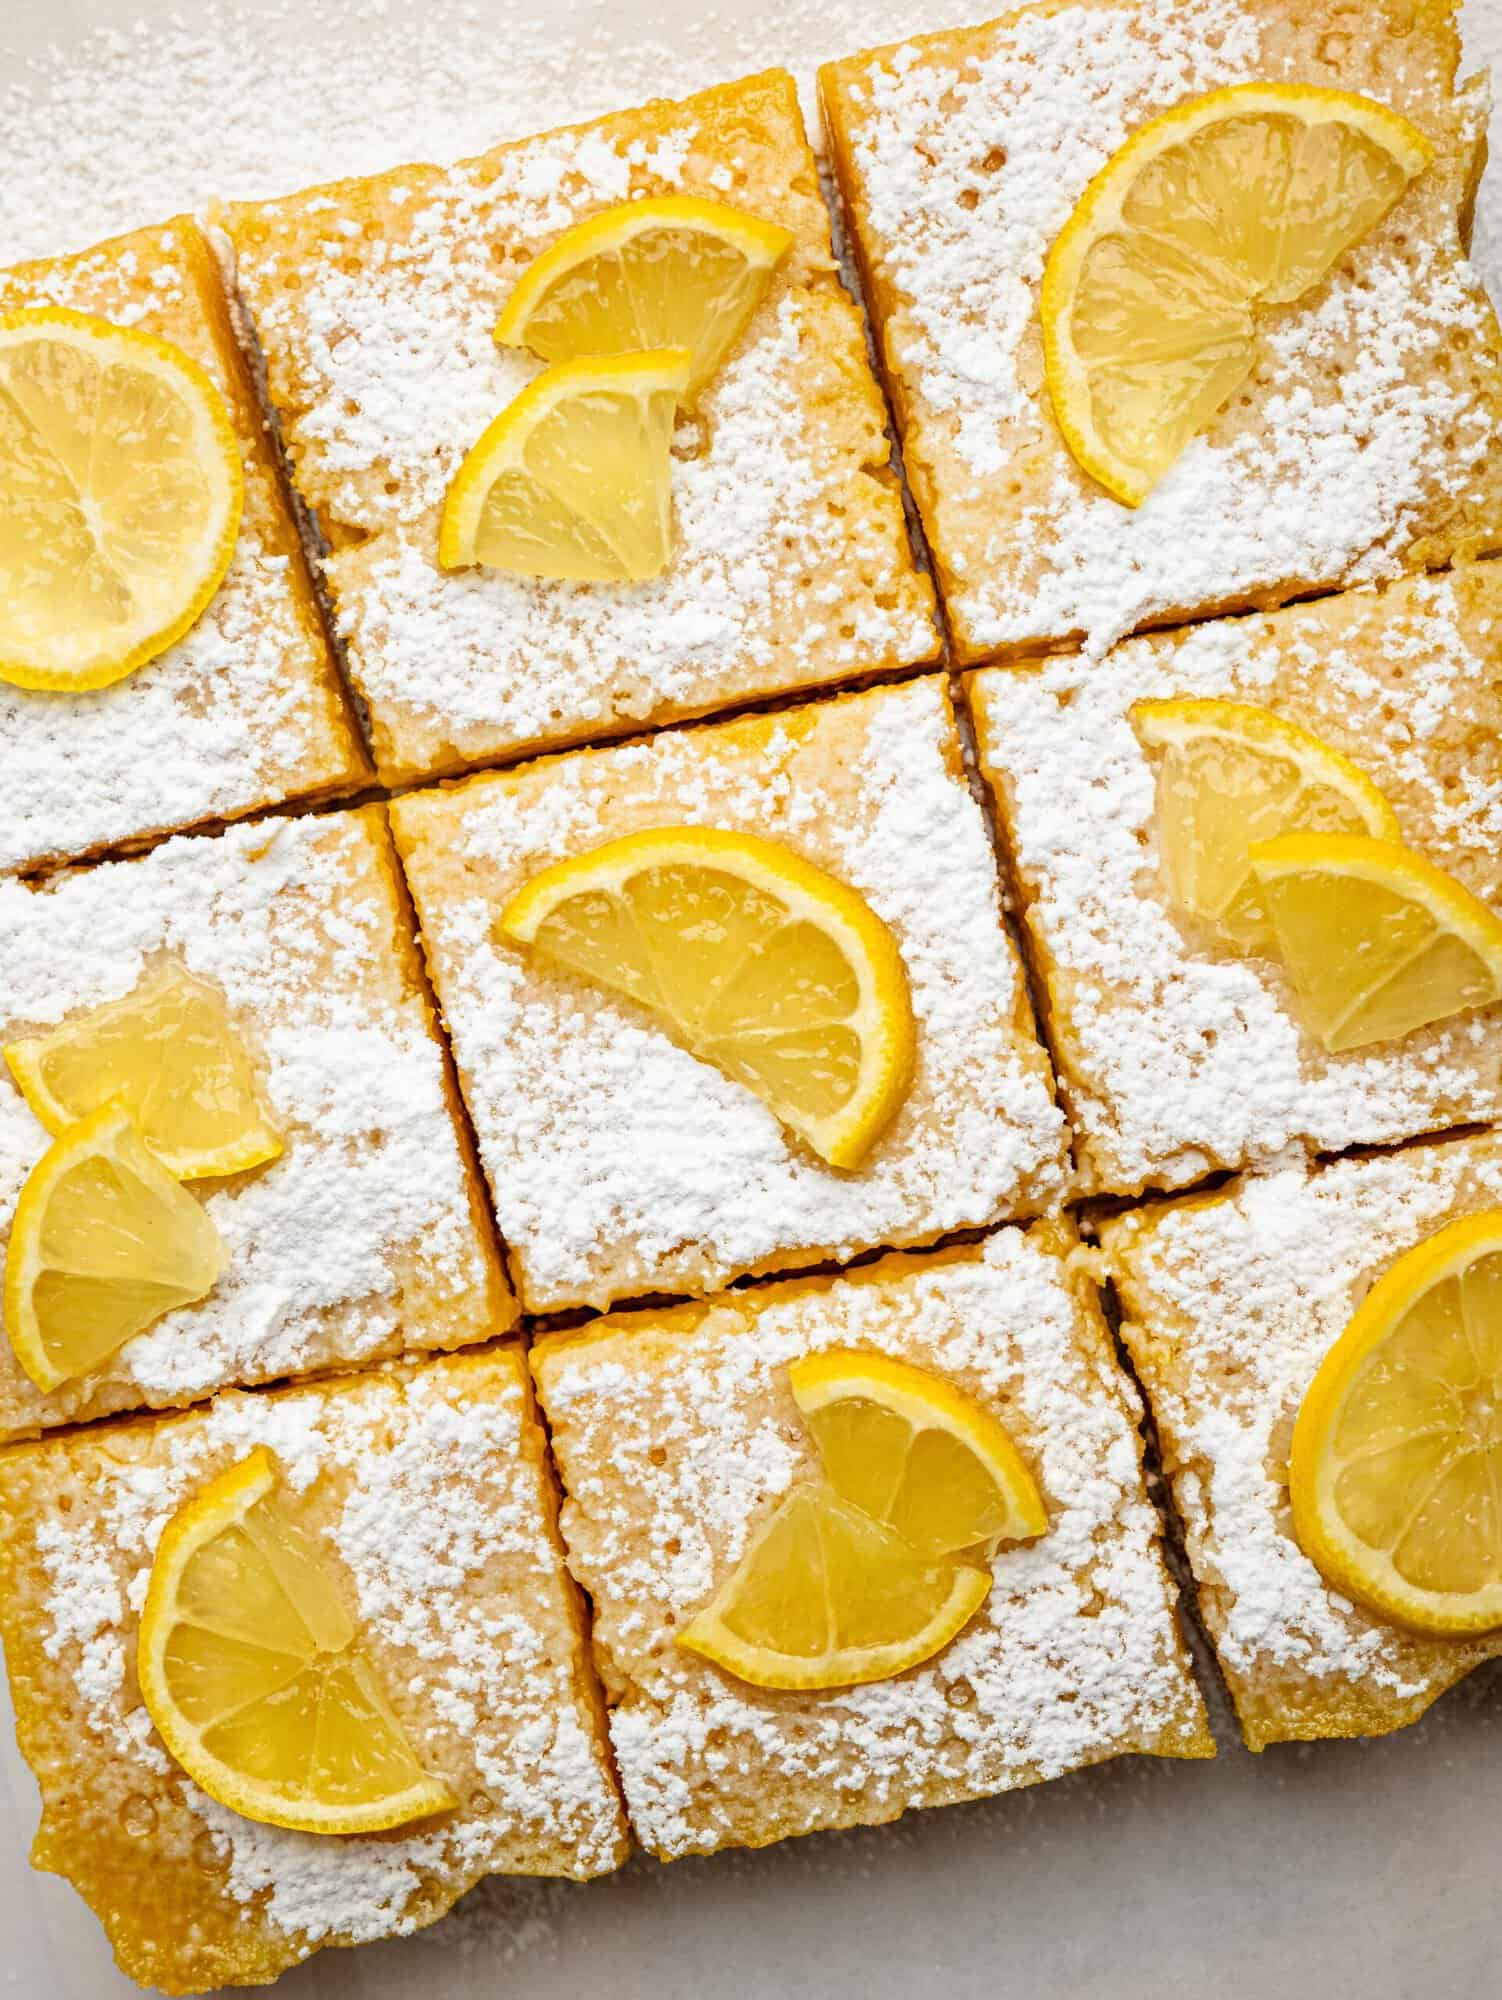
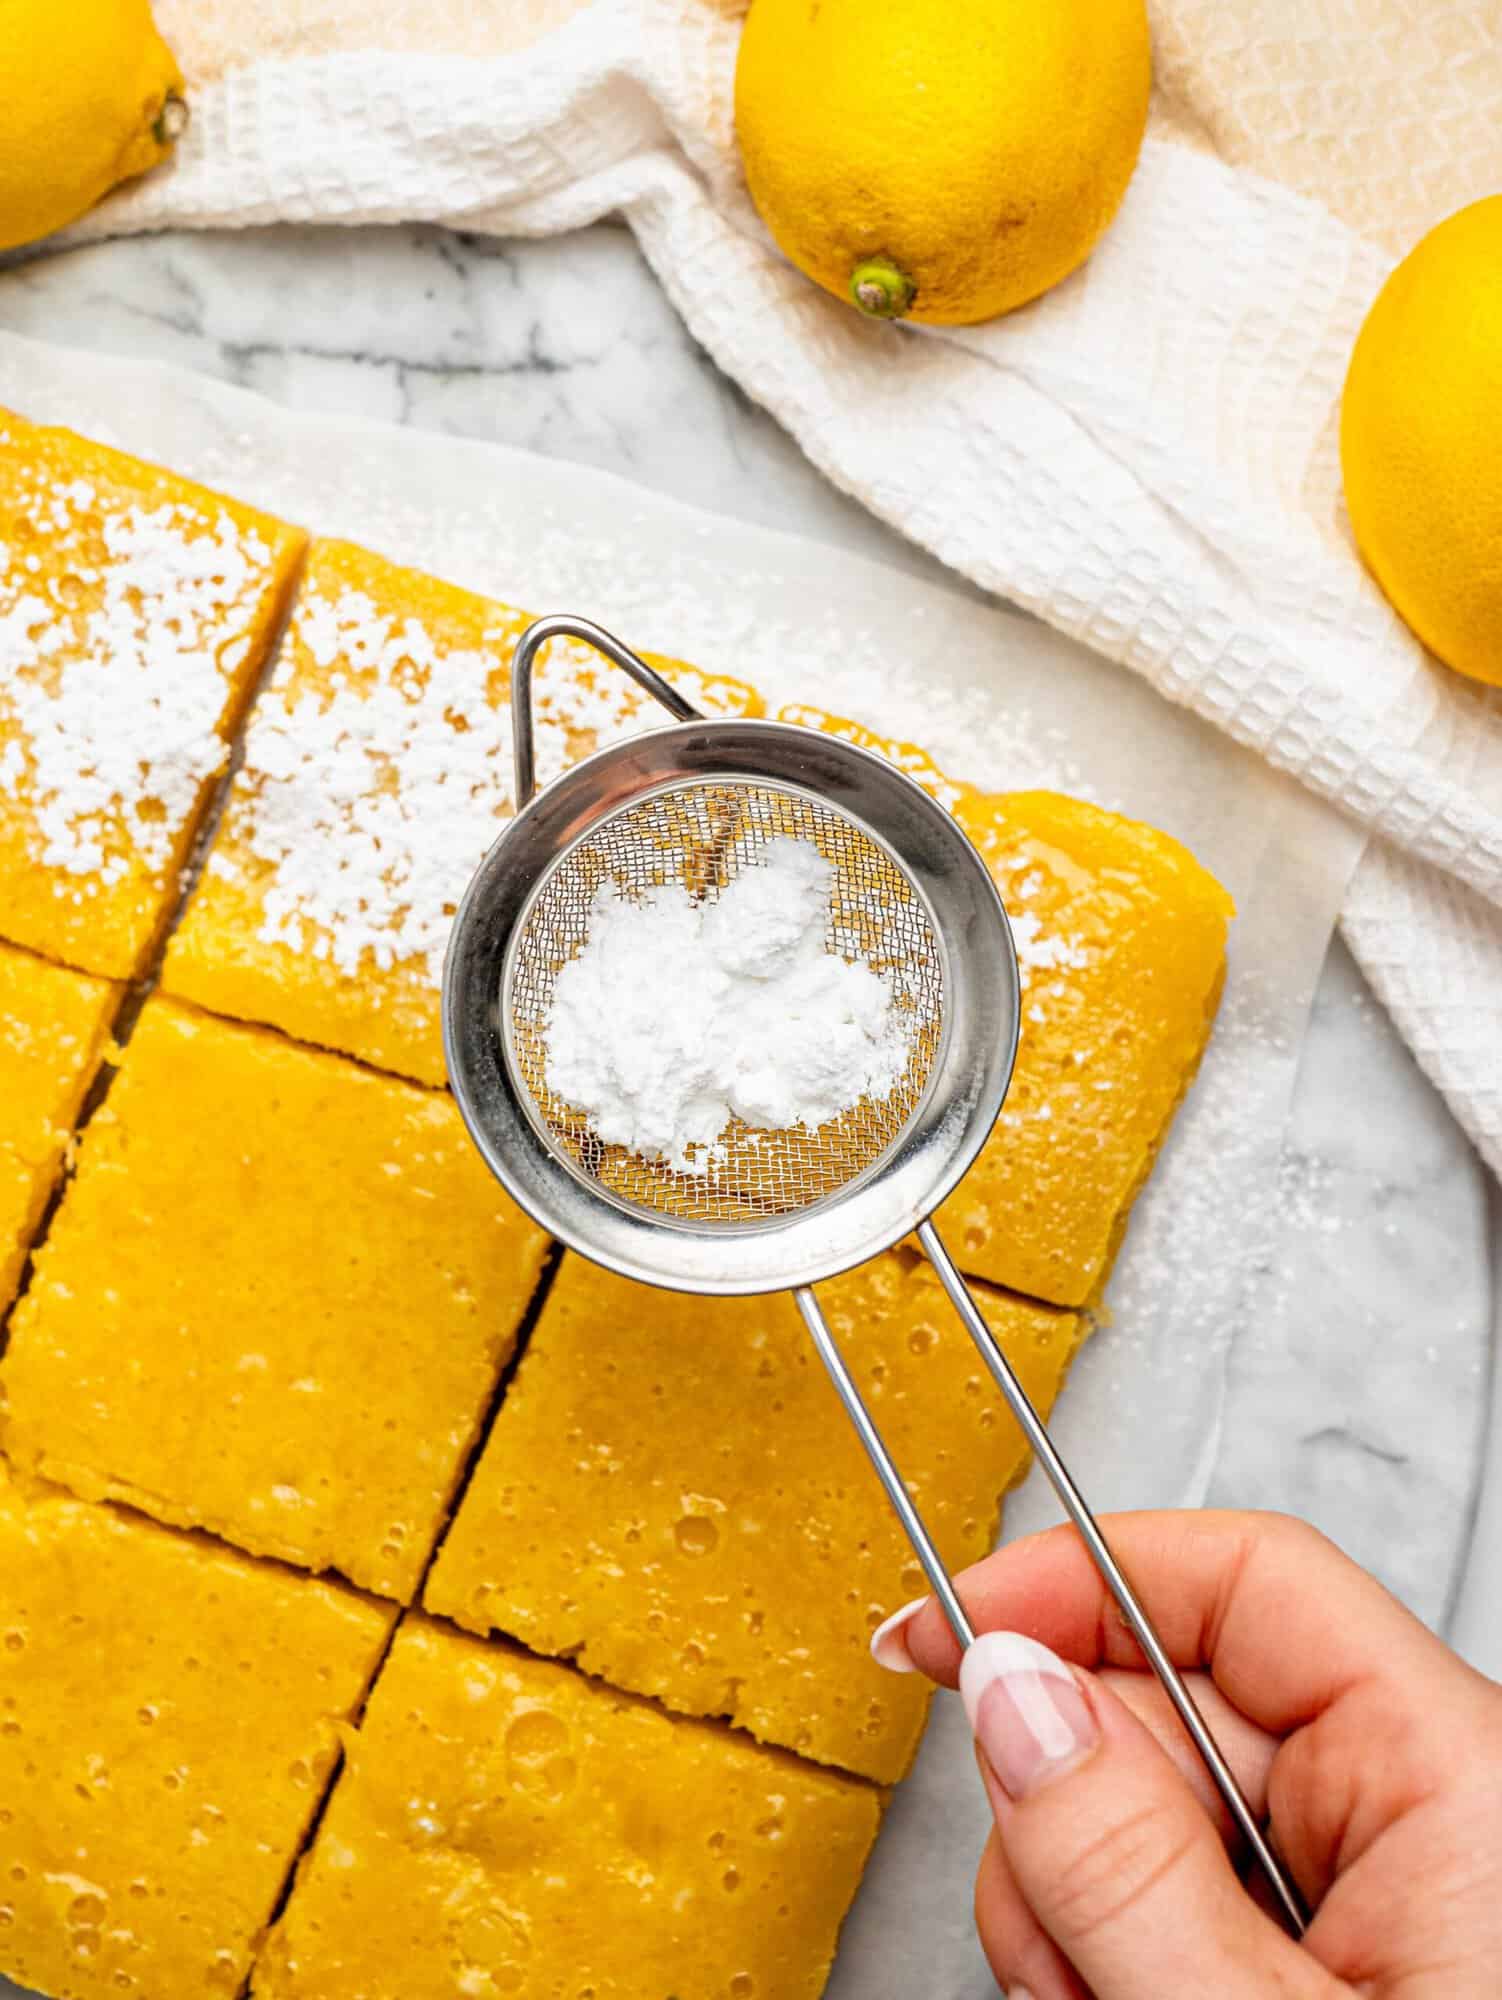
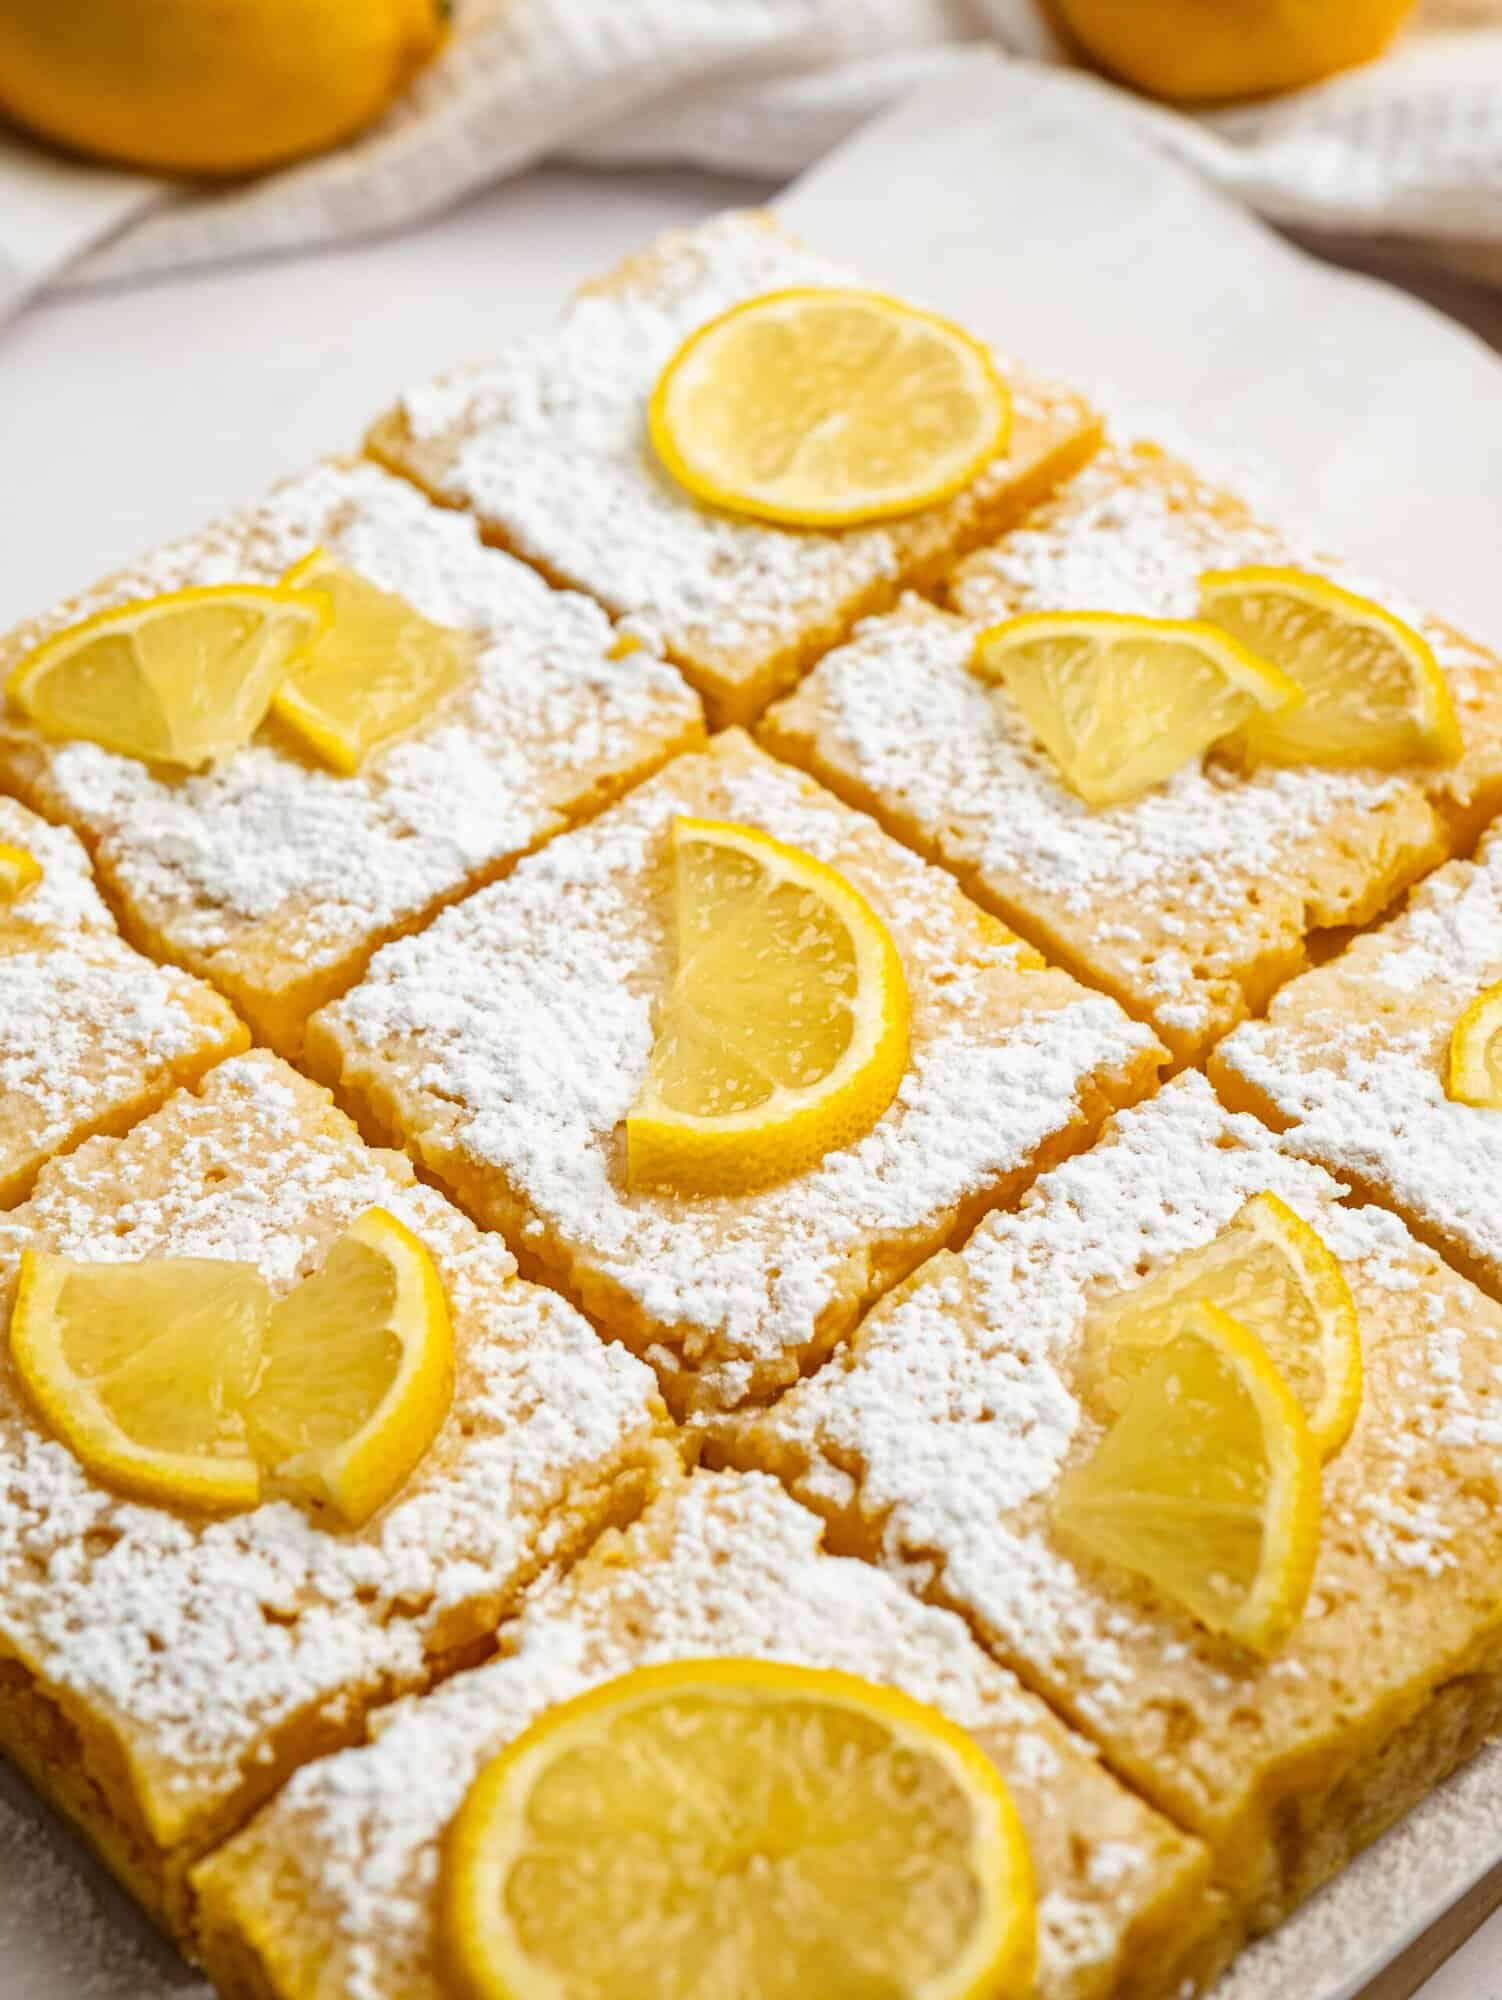
- How to Get the Prettiest Powdered Sugar Finish: For the prettiest finish, dust with powdered sugar just before serving. Fresh lemon slices can release juice and dissolve the sugar, so add them at the very end. For a clean, snowy finish, use lemon zest instead.
How to Serve Gluten Free Lemon Bars
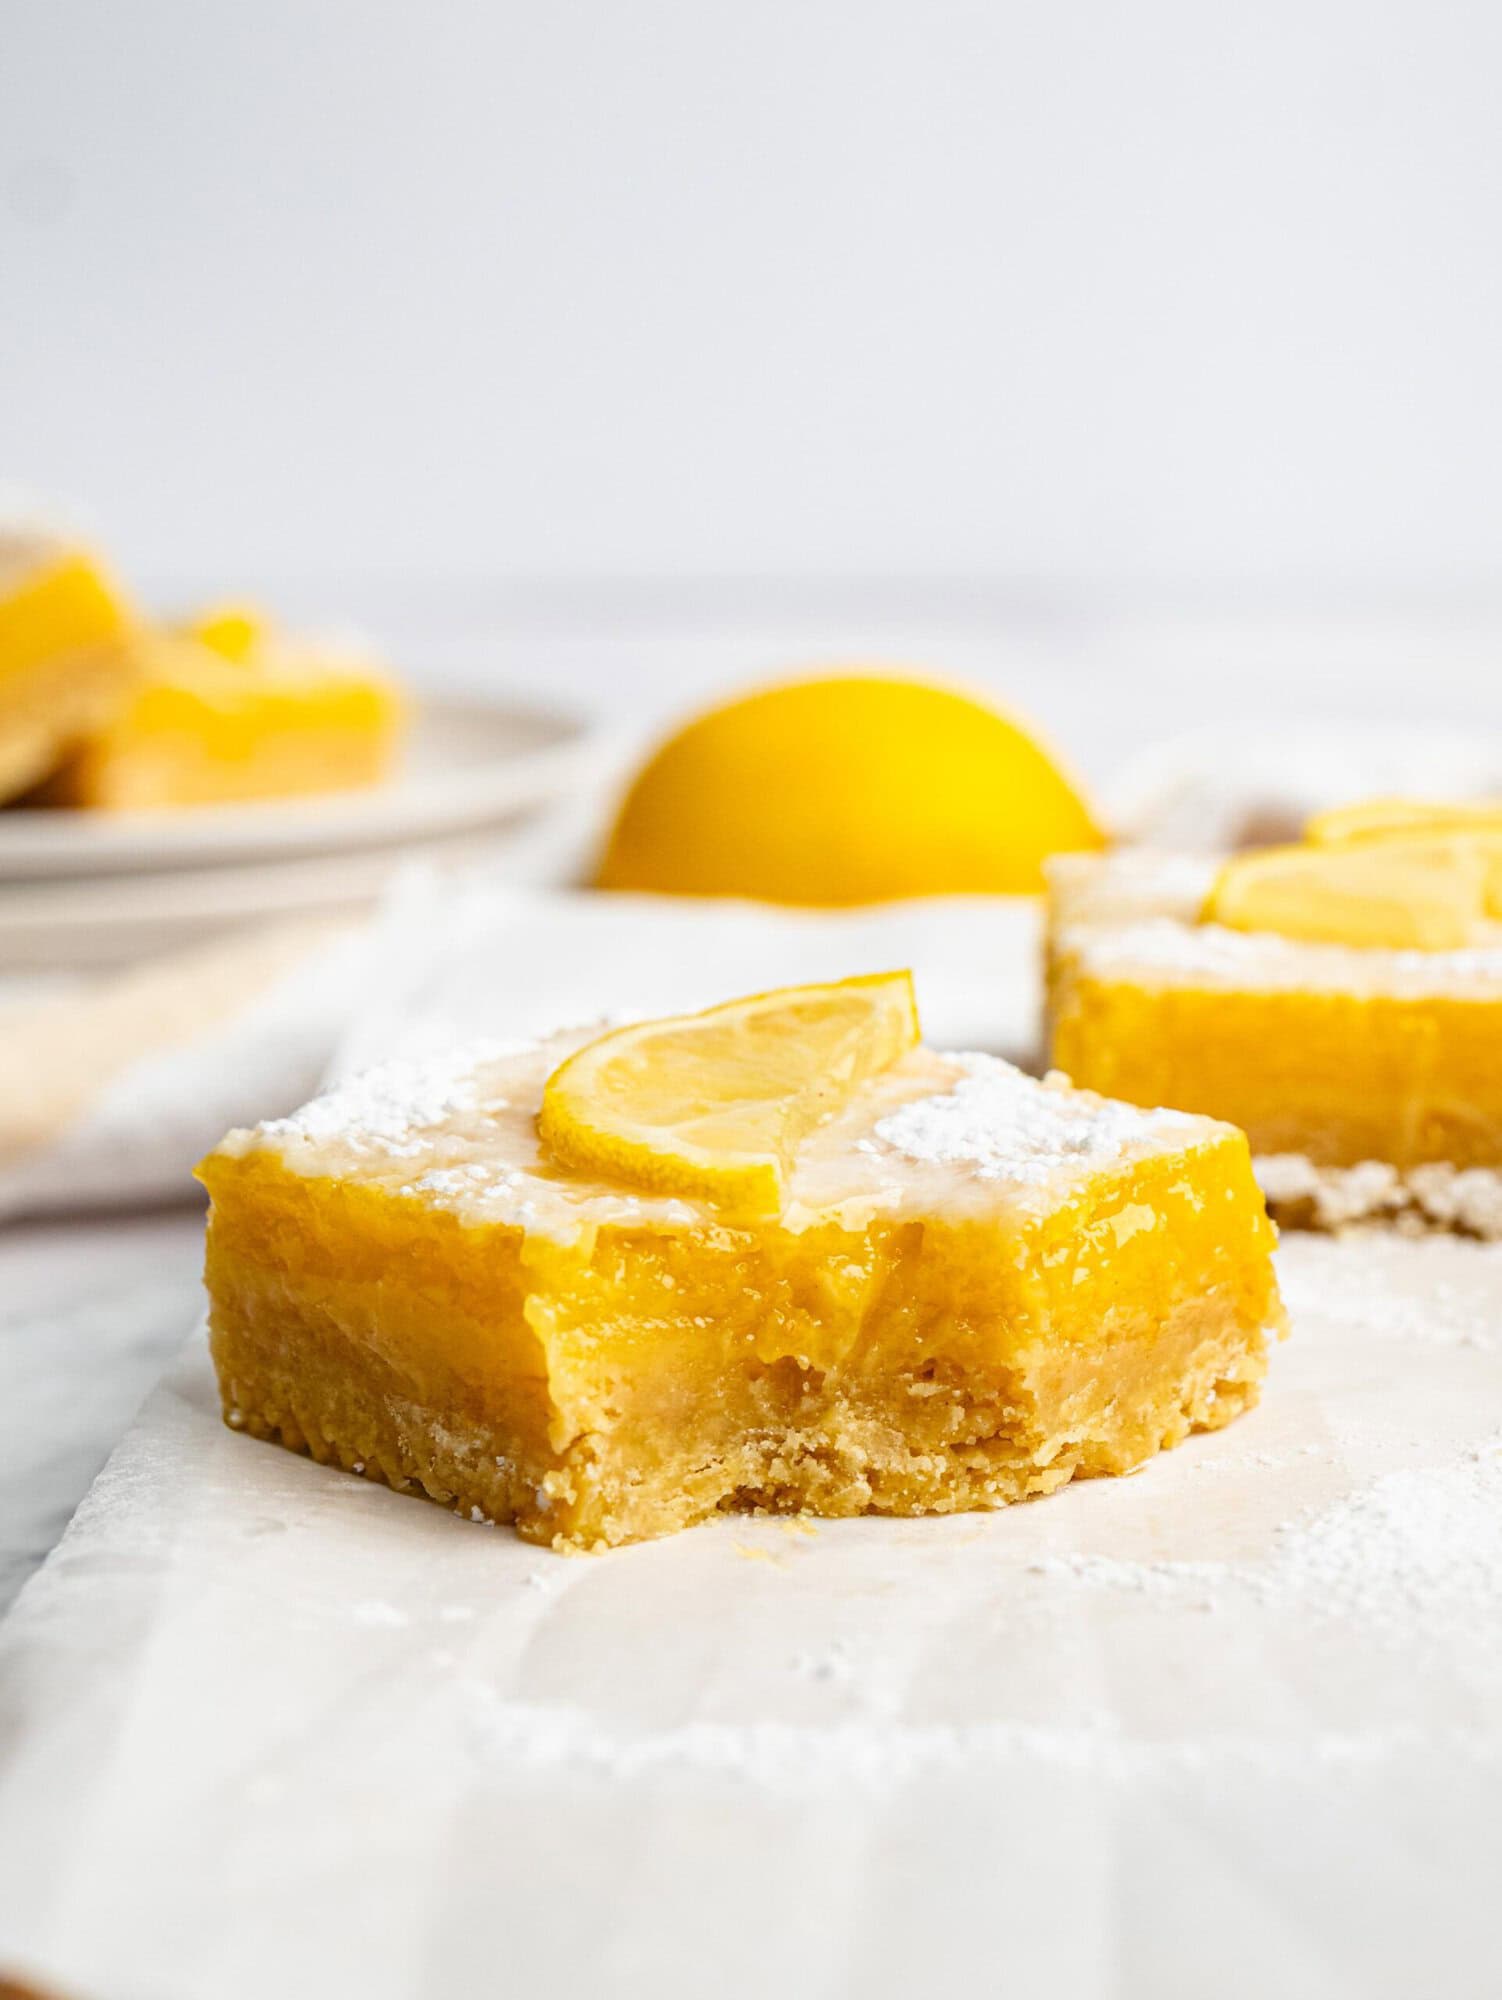
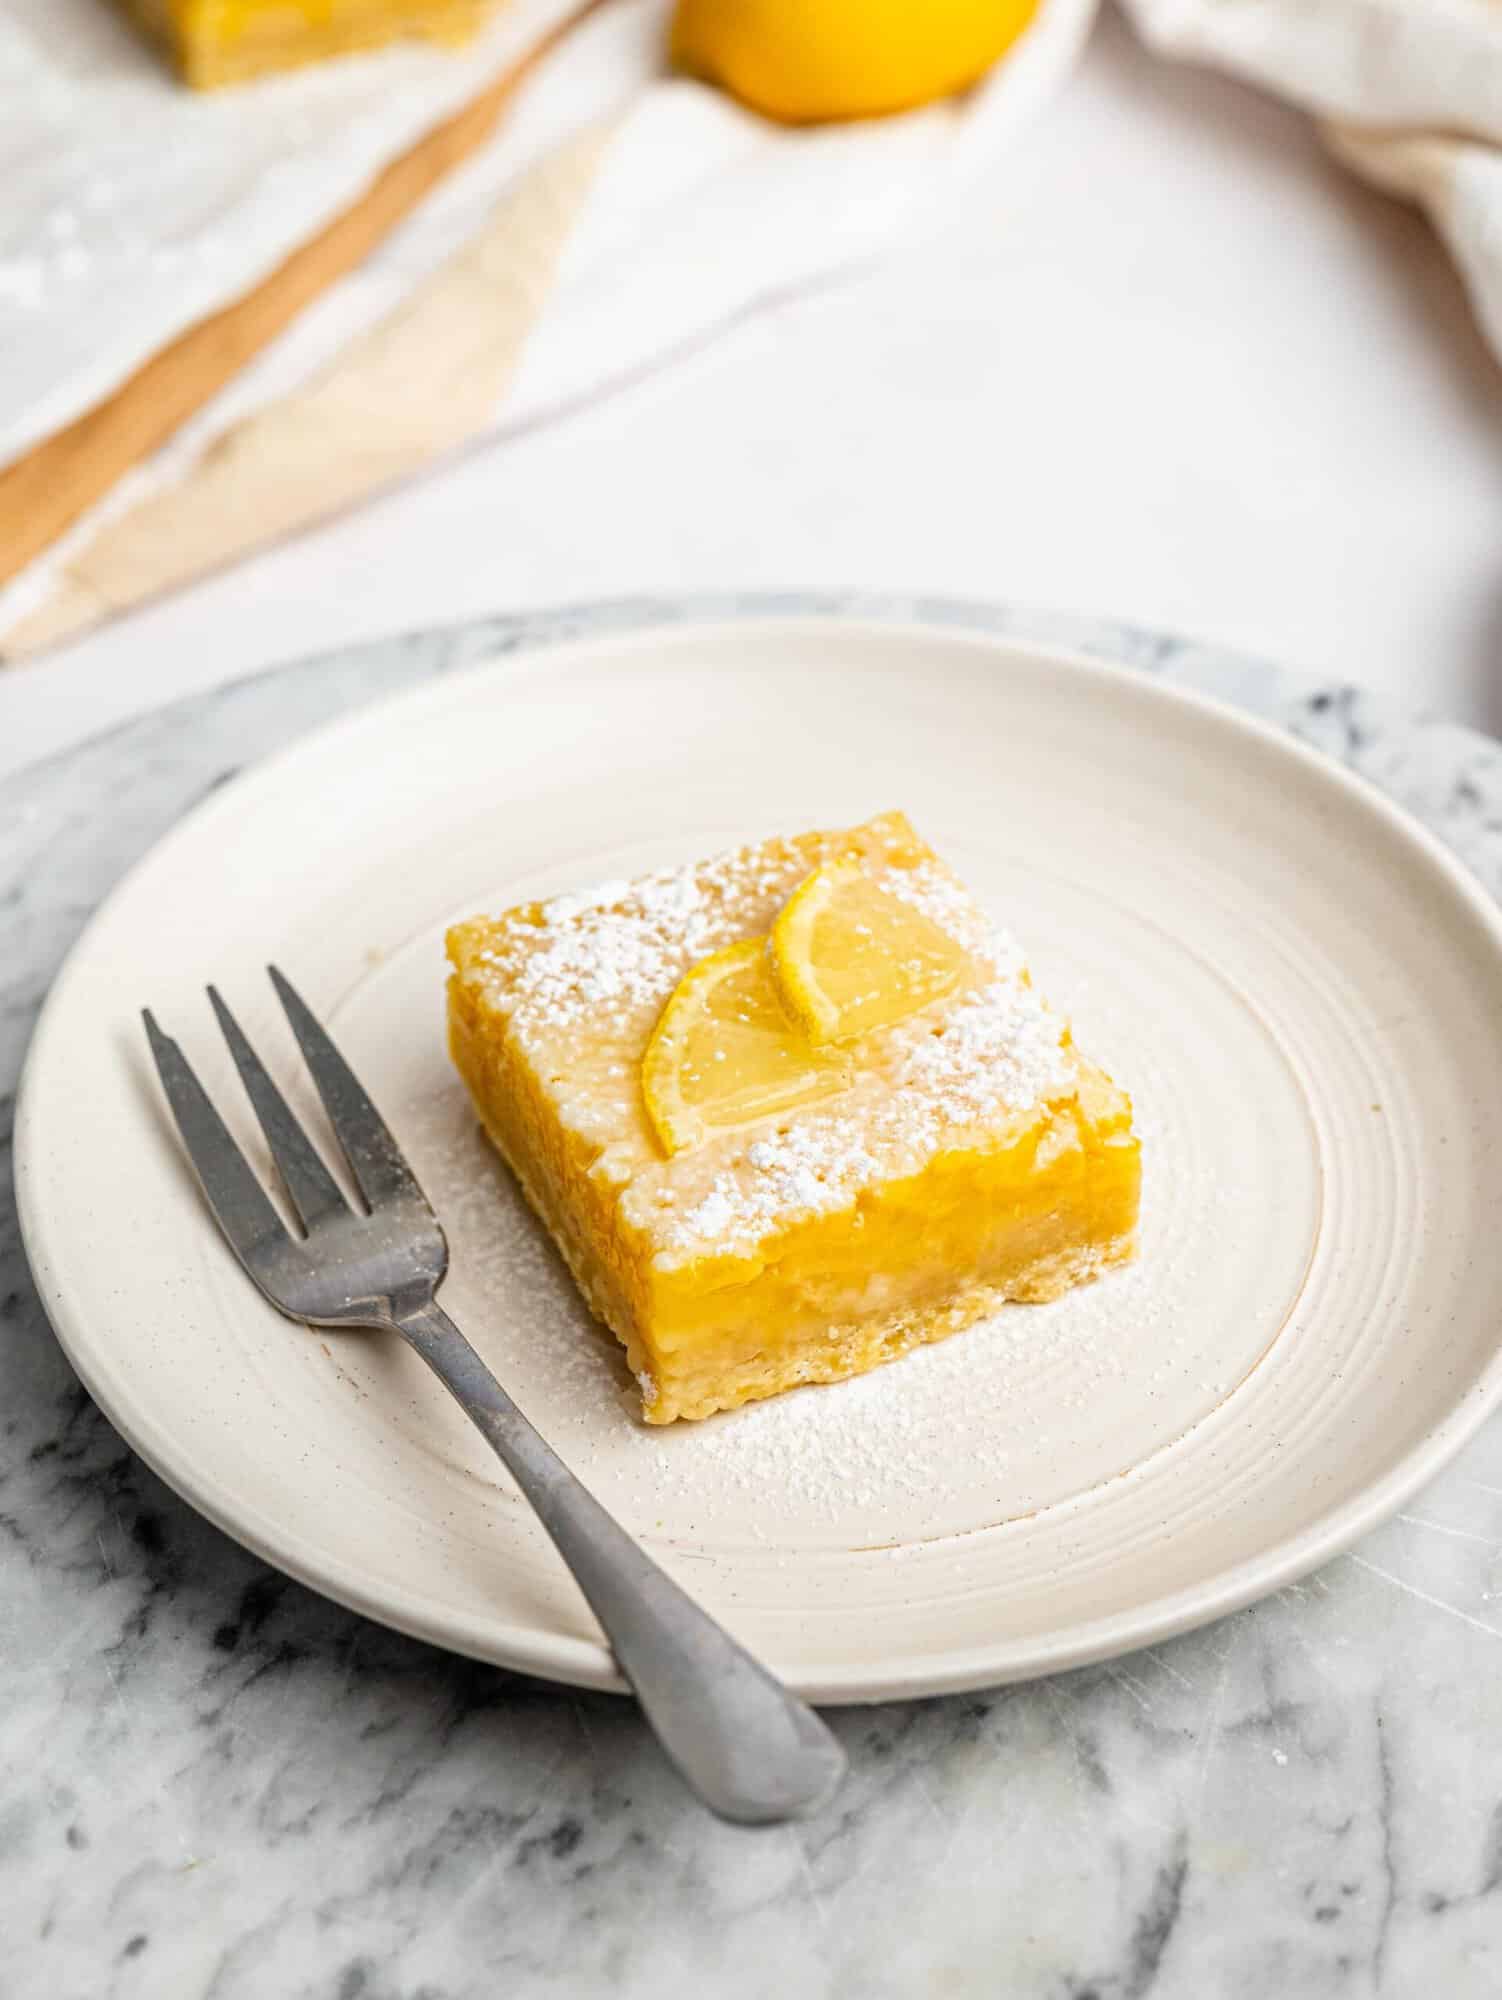
These gluten free lemon bars are delicious served chilled with a simple dusting of powdered sugar.
I like cutting them into 9 generous squares when serving them as a dessert. A dollop of thick Greek yogurt on the side would also be delicious, as the cool, creamy yogurt balances the sweet and tangy lemon filling.
For a smaller treat, cut each bar in half diagonally to make 18 smaller triangles. They’re perfect with a cup of coffee or tea.
You can also serve them with fresh berries, whipped cream, or vanilla ice cream.
How to Store Lemon Bars
Refrigerate: Store in an airtight container in the refrigerator for up to 5 days.
Freeze: Freeze for up to 3 months in a freezer-safe container. Thaw overnight in the refrigerator.
Powdered sugar: For the prettiest finish, wait to dust with powdered sugar until just before serving, as it will dissolve into the moist filling over time.
Stacking: Place parchment paper between layers to prevent the bars from sticking.
Frequently Asked Questions
Yes! These lemon bars are a great make-ahead dessert. You can make them the day before serving and keep them refrigerated overnight. In fact, they often slice even more neatly after they’ve had plenty of time to chill. Wait until just before serving to add the powdered sugar and any fresh garnish.
Yes, you can freeze gluten free lemon bars for up to 3 months. Allow them to cool and chill completely, then wrap them well and place them in a freezer-safe container. Thaw them overnight in the refrigerator before serving. I recommend adding a fresh dusting of powdered sugar after thawing, as the original coating may dissolve.
Lemon bars will keep in an airtight container in the refrigerator for up to 5 days. For the best texture and flavor, I recommend enjoying them within the first few days.
You can, but I highly recommend using fresh lemon juice for the best flavor. Freshly squeezed juice gives these bars a brighter, more natural lemon flavor, which makes a noticeable difference in a recipe with such a simple ingredient list. You’ll also need fresh lemons for the zest, so you can simply squeeze the juice from the same lemons.
More Lemon Recipes to Try
If you’re a fellow lemon dessert lover, try these next:
Hey! If you make this recipe, I would love it if you could leave me some feedback and a rating ⭐⭐⭐⭐⭐ in the comment section at the bottom of the page! Also, let me know on Facebook, Instagram or Pinterest! I can’t wait to hear your thoughts and see your photos!
Gluten Free Lemon Bars Recipe
Equipment
- 20cm x 20cm baking dish (8- x 8inch)
Ingredients
Gluten-Free Shortbread Crust
- 210 g gluten-free all-purpose flour (1¾ cups)
- 50 g granulated sugar (¼ cup)
- ¼ tsp salt
- 130 g unsalted butter melted (½ cup + 1 tbsp)
- 1 tsp vanilla extract
Gluten-Free Lemon Filling
- 4 large eggs room temperature
- 200 g granulated sugar (1 cup)
- 40 g gluten-free all-purpose flour (⅓ cup)
- 160 ml fresh lemon juice (⅔ cup)
- Zest of 3 lemons
- 1 tsp vanilla extract
- Pinch of salt
Instructions
- Preheat the oven to 175°C (350°F). Line a 20cm x 20cm baking dish with parchment paper, leaving some overhang on the sides.
- Mix the gluten free flour, sugar, and salt in a bowl. Add the melted butter and vanilla and mix until a soft dough forms.
- Transfer the dough to the prepared pan and press firmly and evenly into the bottom.
- Bake for 18–20 minutes, until the edges are lightly browned and the center looks dry and set.
- While the crust bakes, whisk together the eggs, sugar, gluten free flour, lemon juice, lemon zest, vanilla, and salt until smooth.
- Pour the lemon filling over the warm crust.
- Return to the oven and bake for approximately 20 minutes, until the edges are set and the center has a slight wobble.
- Allow to cool completely at room temperature, then refrigerate for at least 2 hours.
- Lift the chilled bars from the pan, slice into 9 large bars, and dust with powdered sugar just before serving.
Video
Notes
- Don’t worry if the filling looks very runny before baking. This is normal. It will set beautifully in the oven and continue to firm up as it cools.
- For the best lemon flavor, use fresh lemon juice and lemon zest.
- Don’t overbake the bars. The center should still have a slight wobble when they come out of the oven.
- For smaller portions, cut each of the 9 bars in half diagonally to make 18 smaller triangles.
- Dust with powdered sugar just before serving, as it will gradually dissolve into the moist lemon filling.
- If using fresh lemon slices as decoration, add them immediately before serving. Their juice can dissolve the powdered sugar and create a glossy lemon-sugar layer.
- Store in an airtight container in the refrigerator for up to 5 days.
- For a delicious serving option, serve with a dollop of thick Greek yogurt.
Nutrition
Let me know in the comments if you make this Gluten Free Lemon Bar Recipe!