



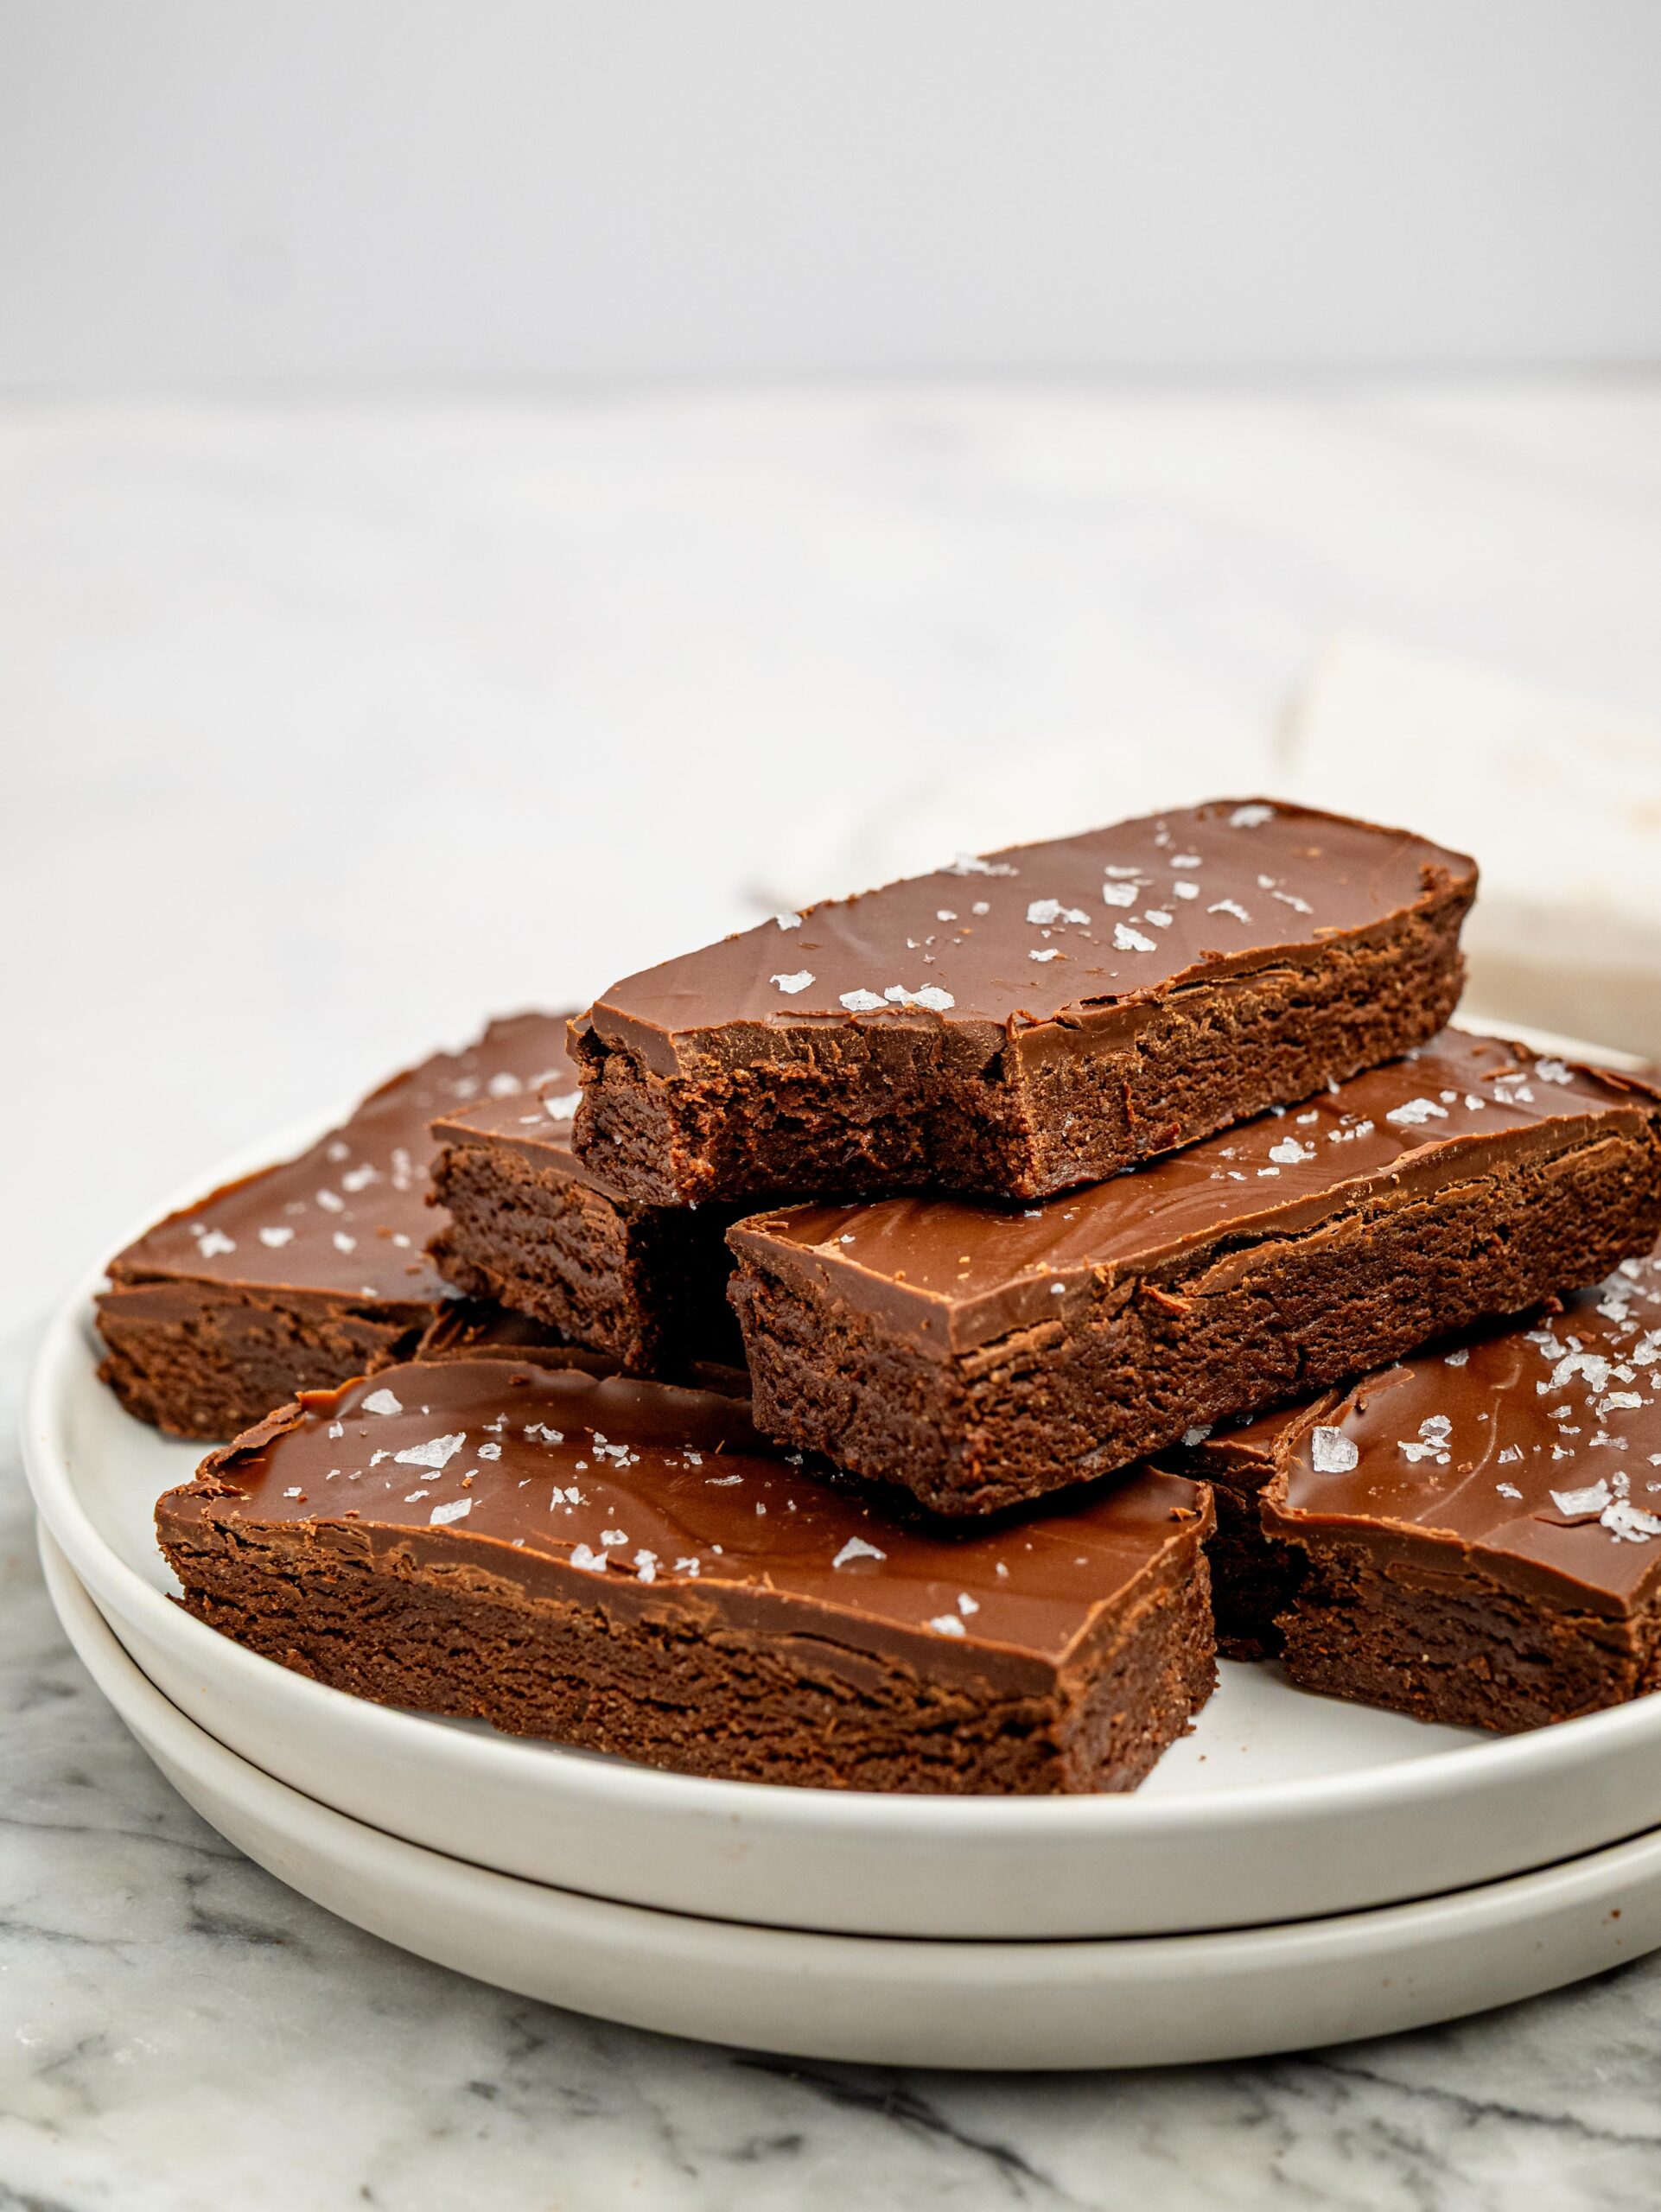
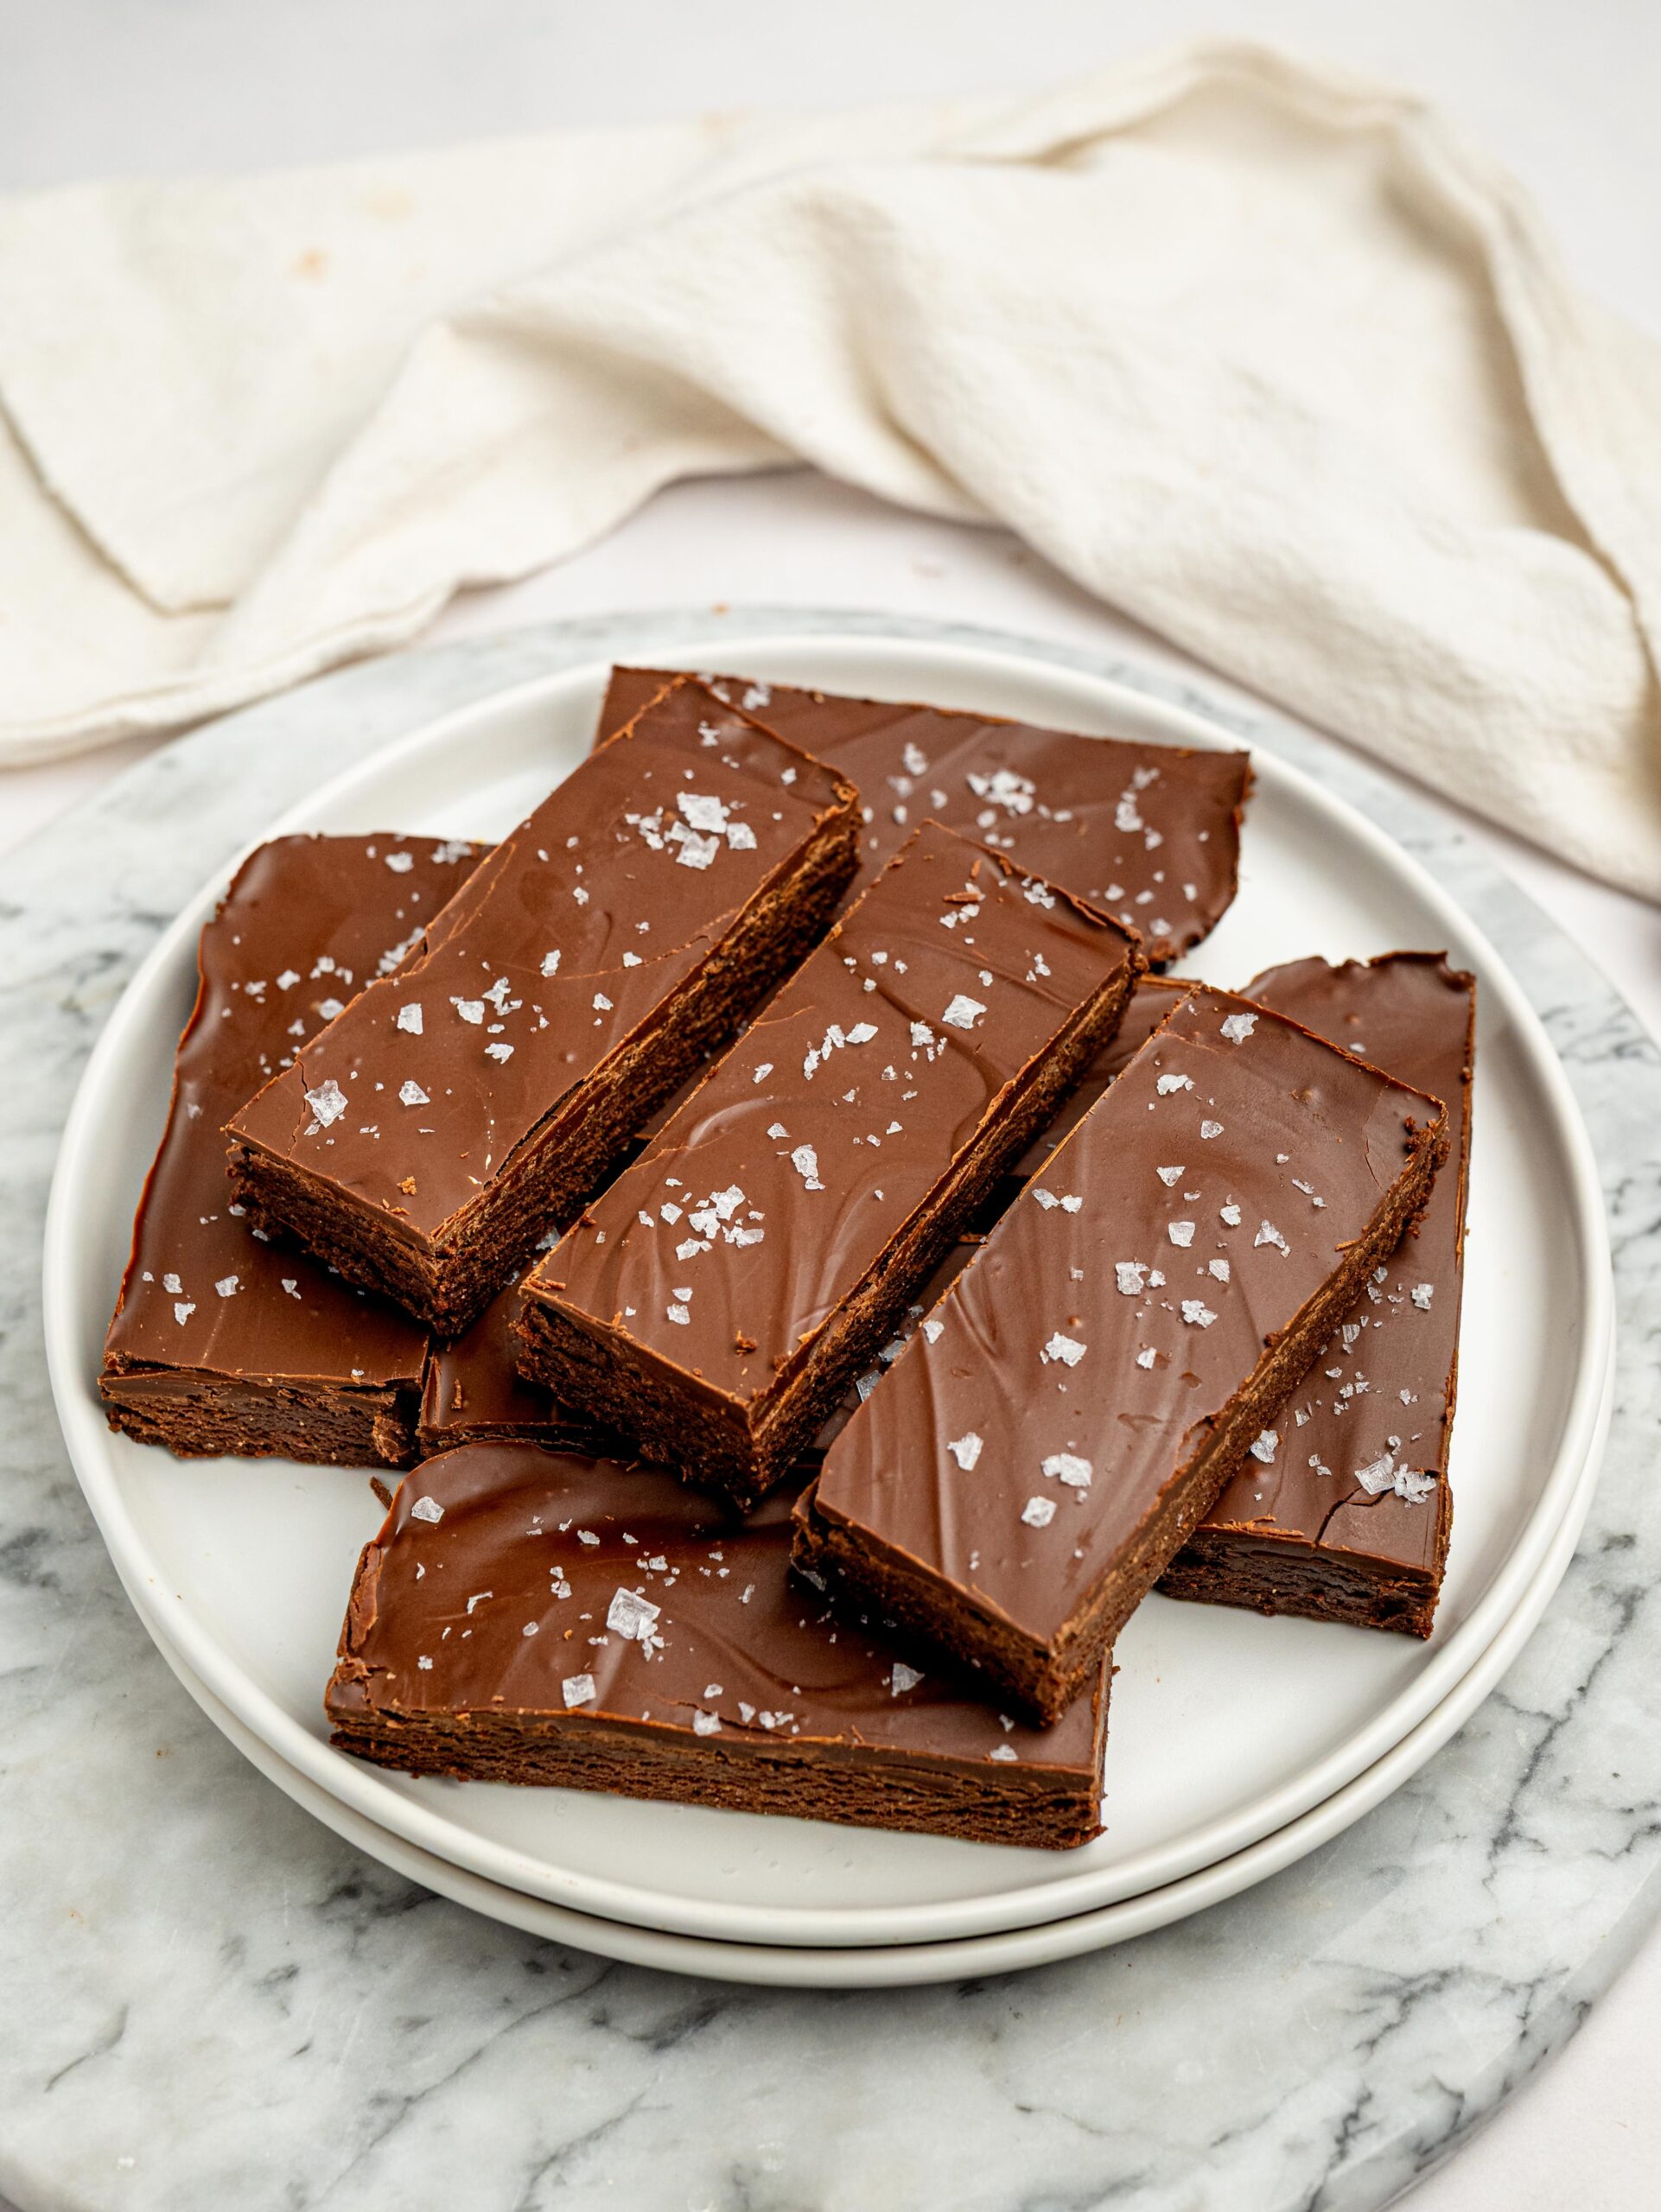
These Homemade Chocolate Protein Bars are rich, fudgy, and packed with chocolate flavor, making them the perfect high-protein snack when you’re craving something sweet. Made with chocolate protein powder, peanut butter, oat flour, and a smooth dark chocolate topping, these no-bake protein bars are naturally gluten free, easy to make, and perfect for meal prep.
Chocolate Protein Bars Recipe
If you’ve ever been disappointed by dry, chalky homemade protein bars, you’re not alone. I wanted to create a recipe that felt more like a decadent chocolate treat than a typical protein snack, with a soft, chewy texture that holds together beautifully. After testing and tweaking the ingredient ratios, these bars quickly became one of my favorite homemade protein bar recipes.
Whether you’re looking for an afternoon pick-me-up, a post-workout snack, or an easy homemade protein bar to satisfy your chocolate cravings, this recipe is one you’ll come back to again and again.
I also love making a batch of these to share with family and friends because they’re always a hit. They’re also one of my favorite desserts to serve when we have people over. I simply cut them into bite-sized pieces and serve them alongside frozen yogurt for an easy dessert that feels indulgent but is packed with protein.
It’s one of those recipes that disappears much faster than you’d expect!
Why You’ll Love This Chocolate Protein Bar Recipe
If you’re looking for a chocolate protein bar recipe that’s easy to make and actually tastes like dessert, these bars tick all the boxes. Here’s why you’ll love them:
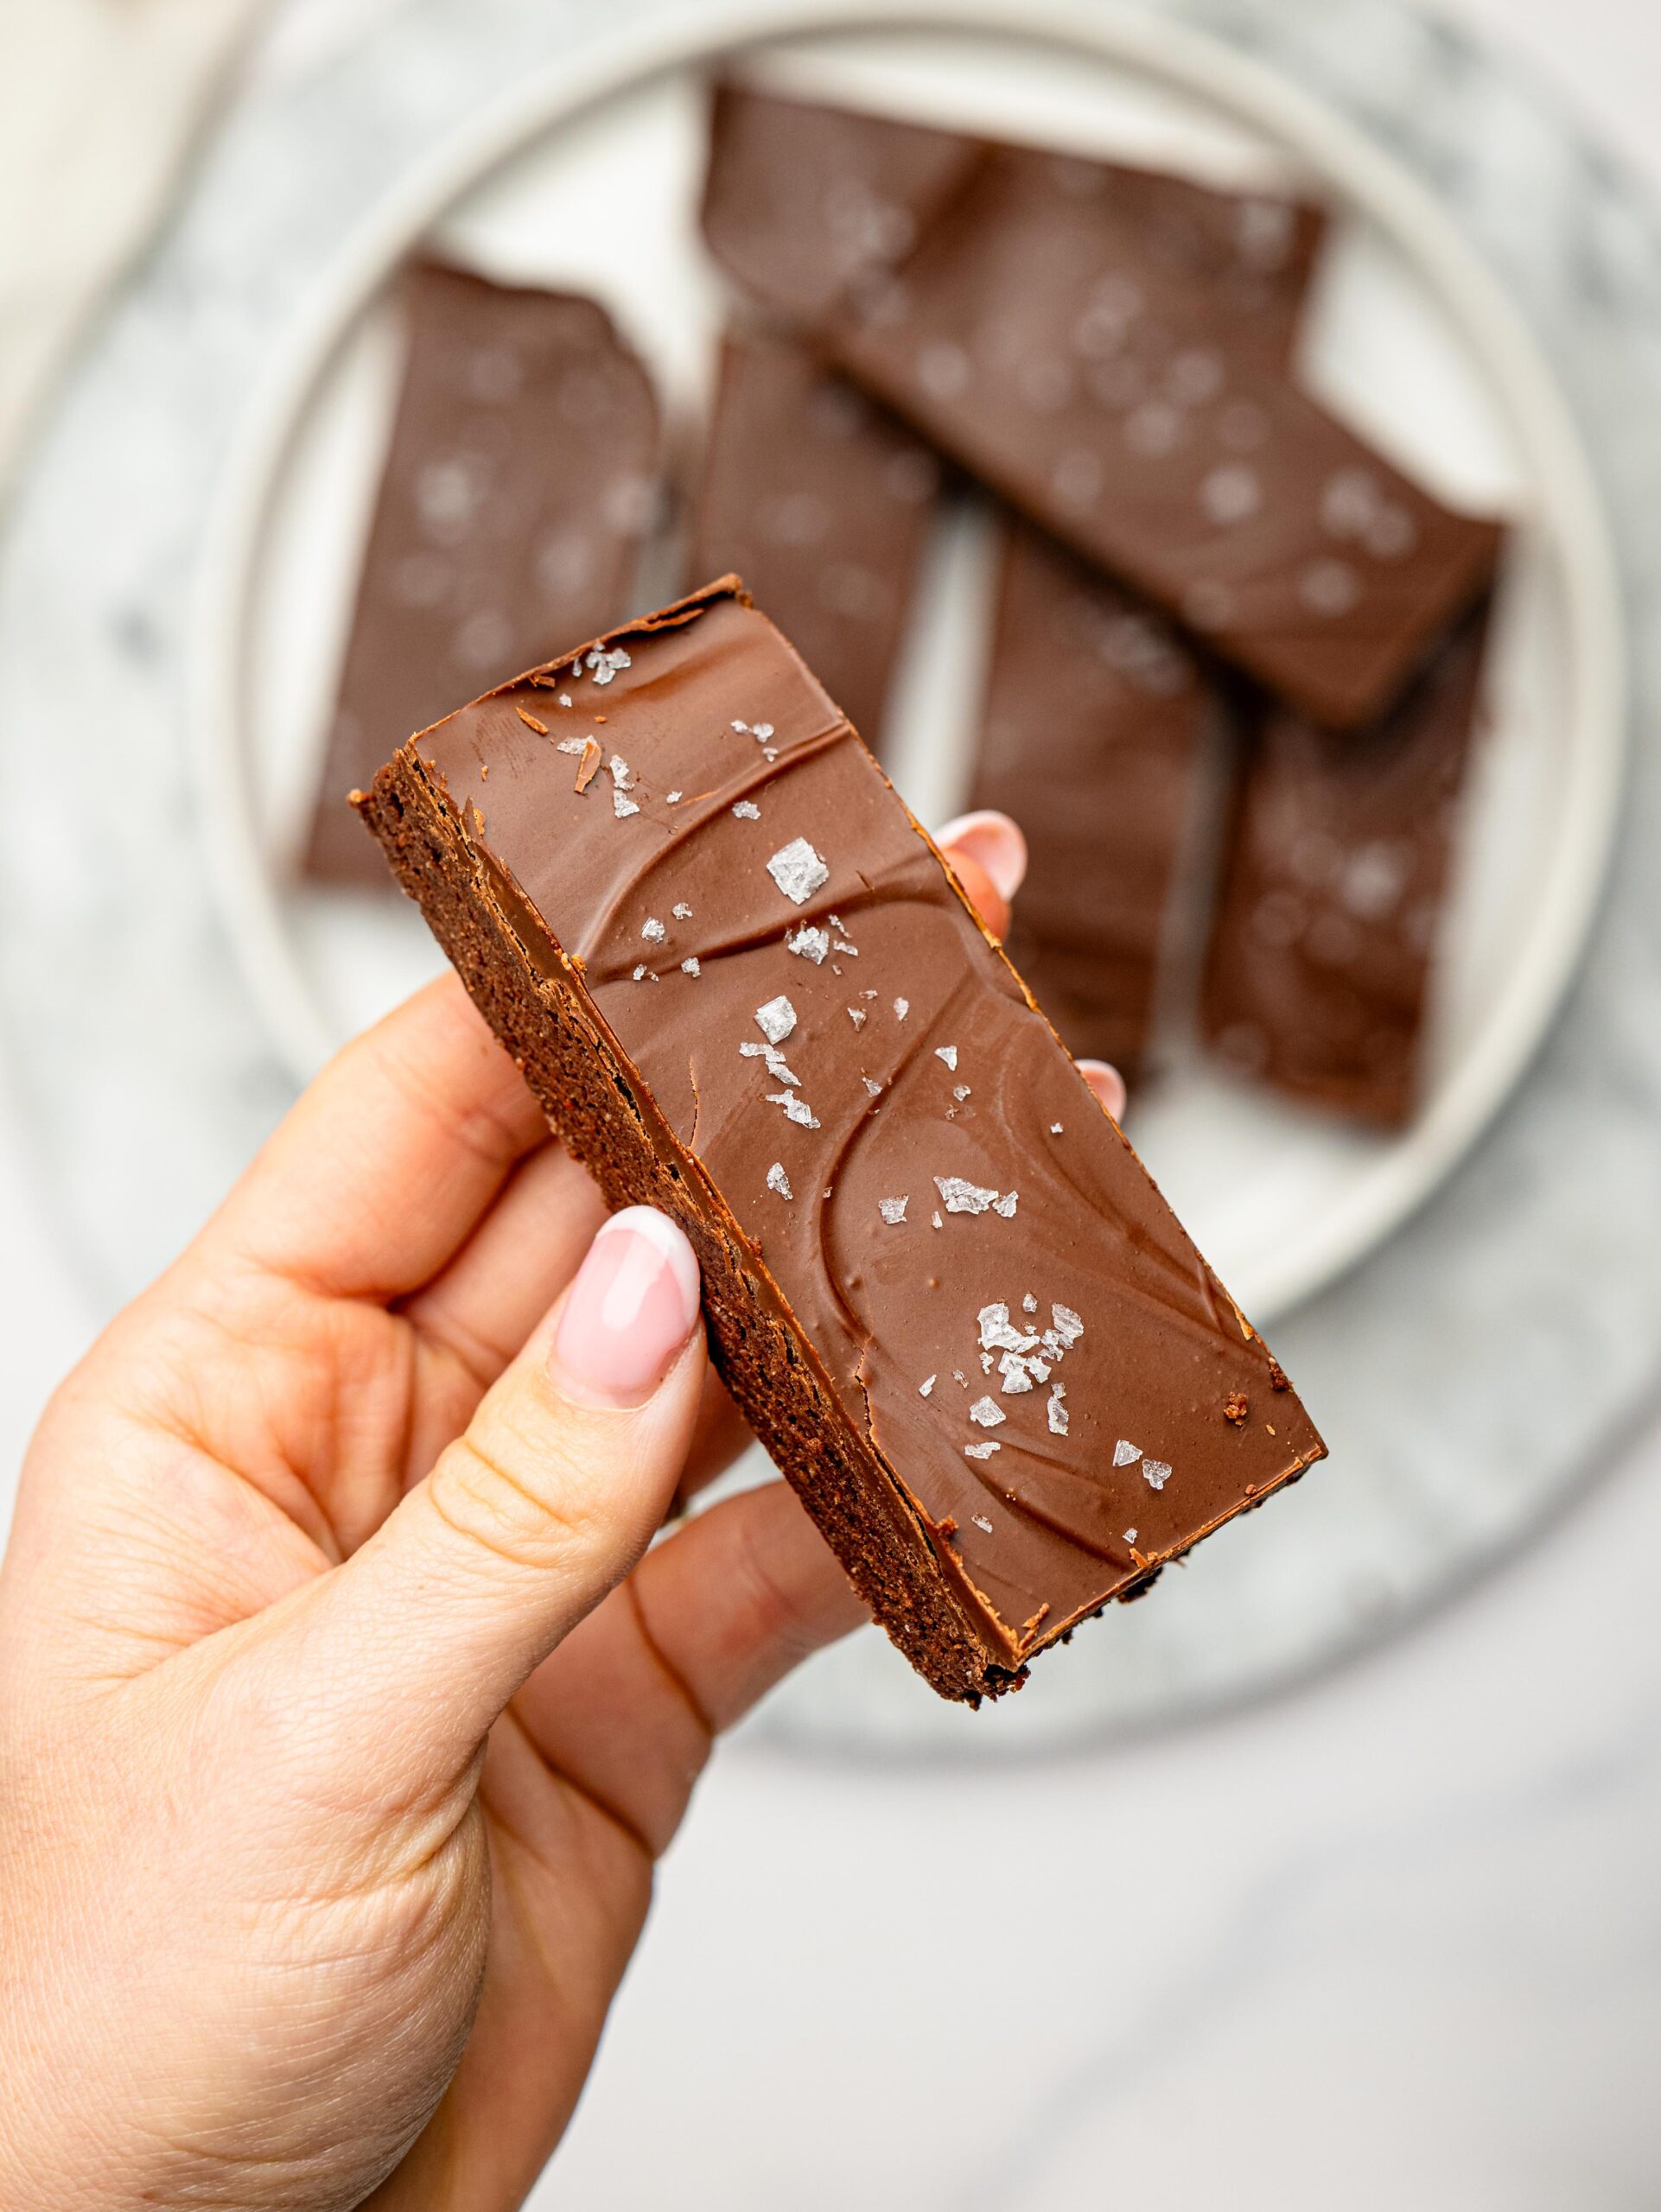
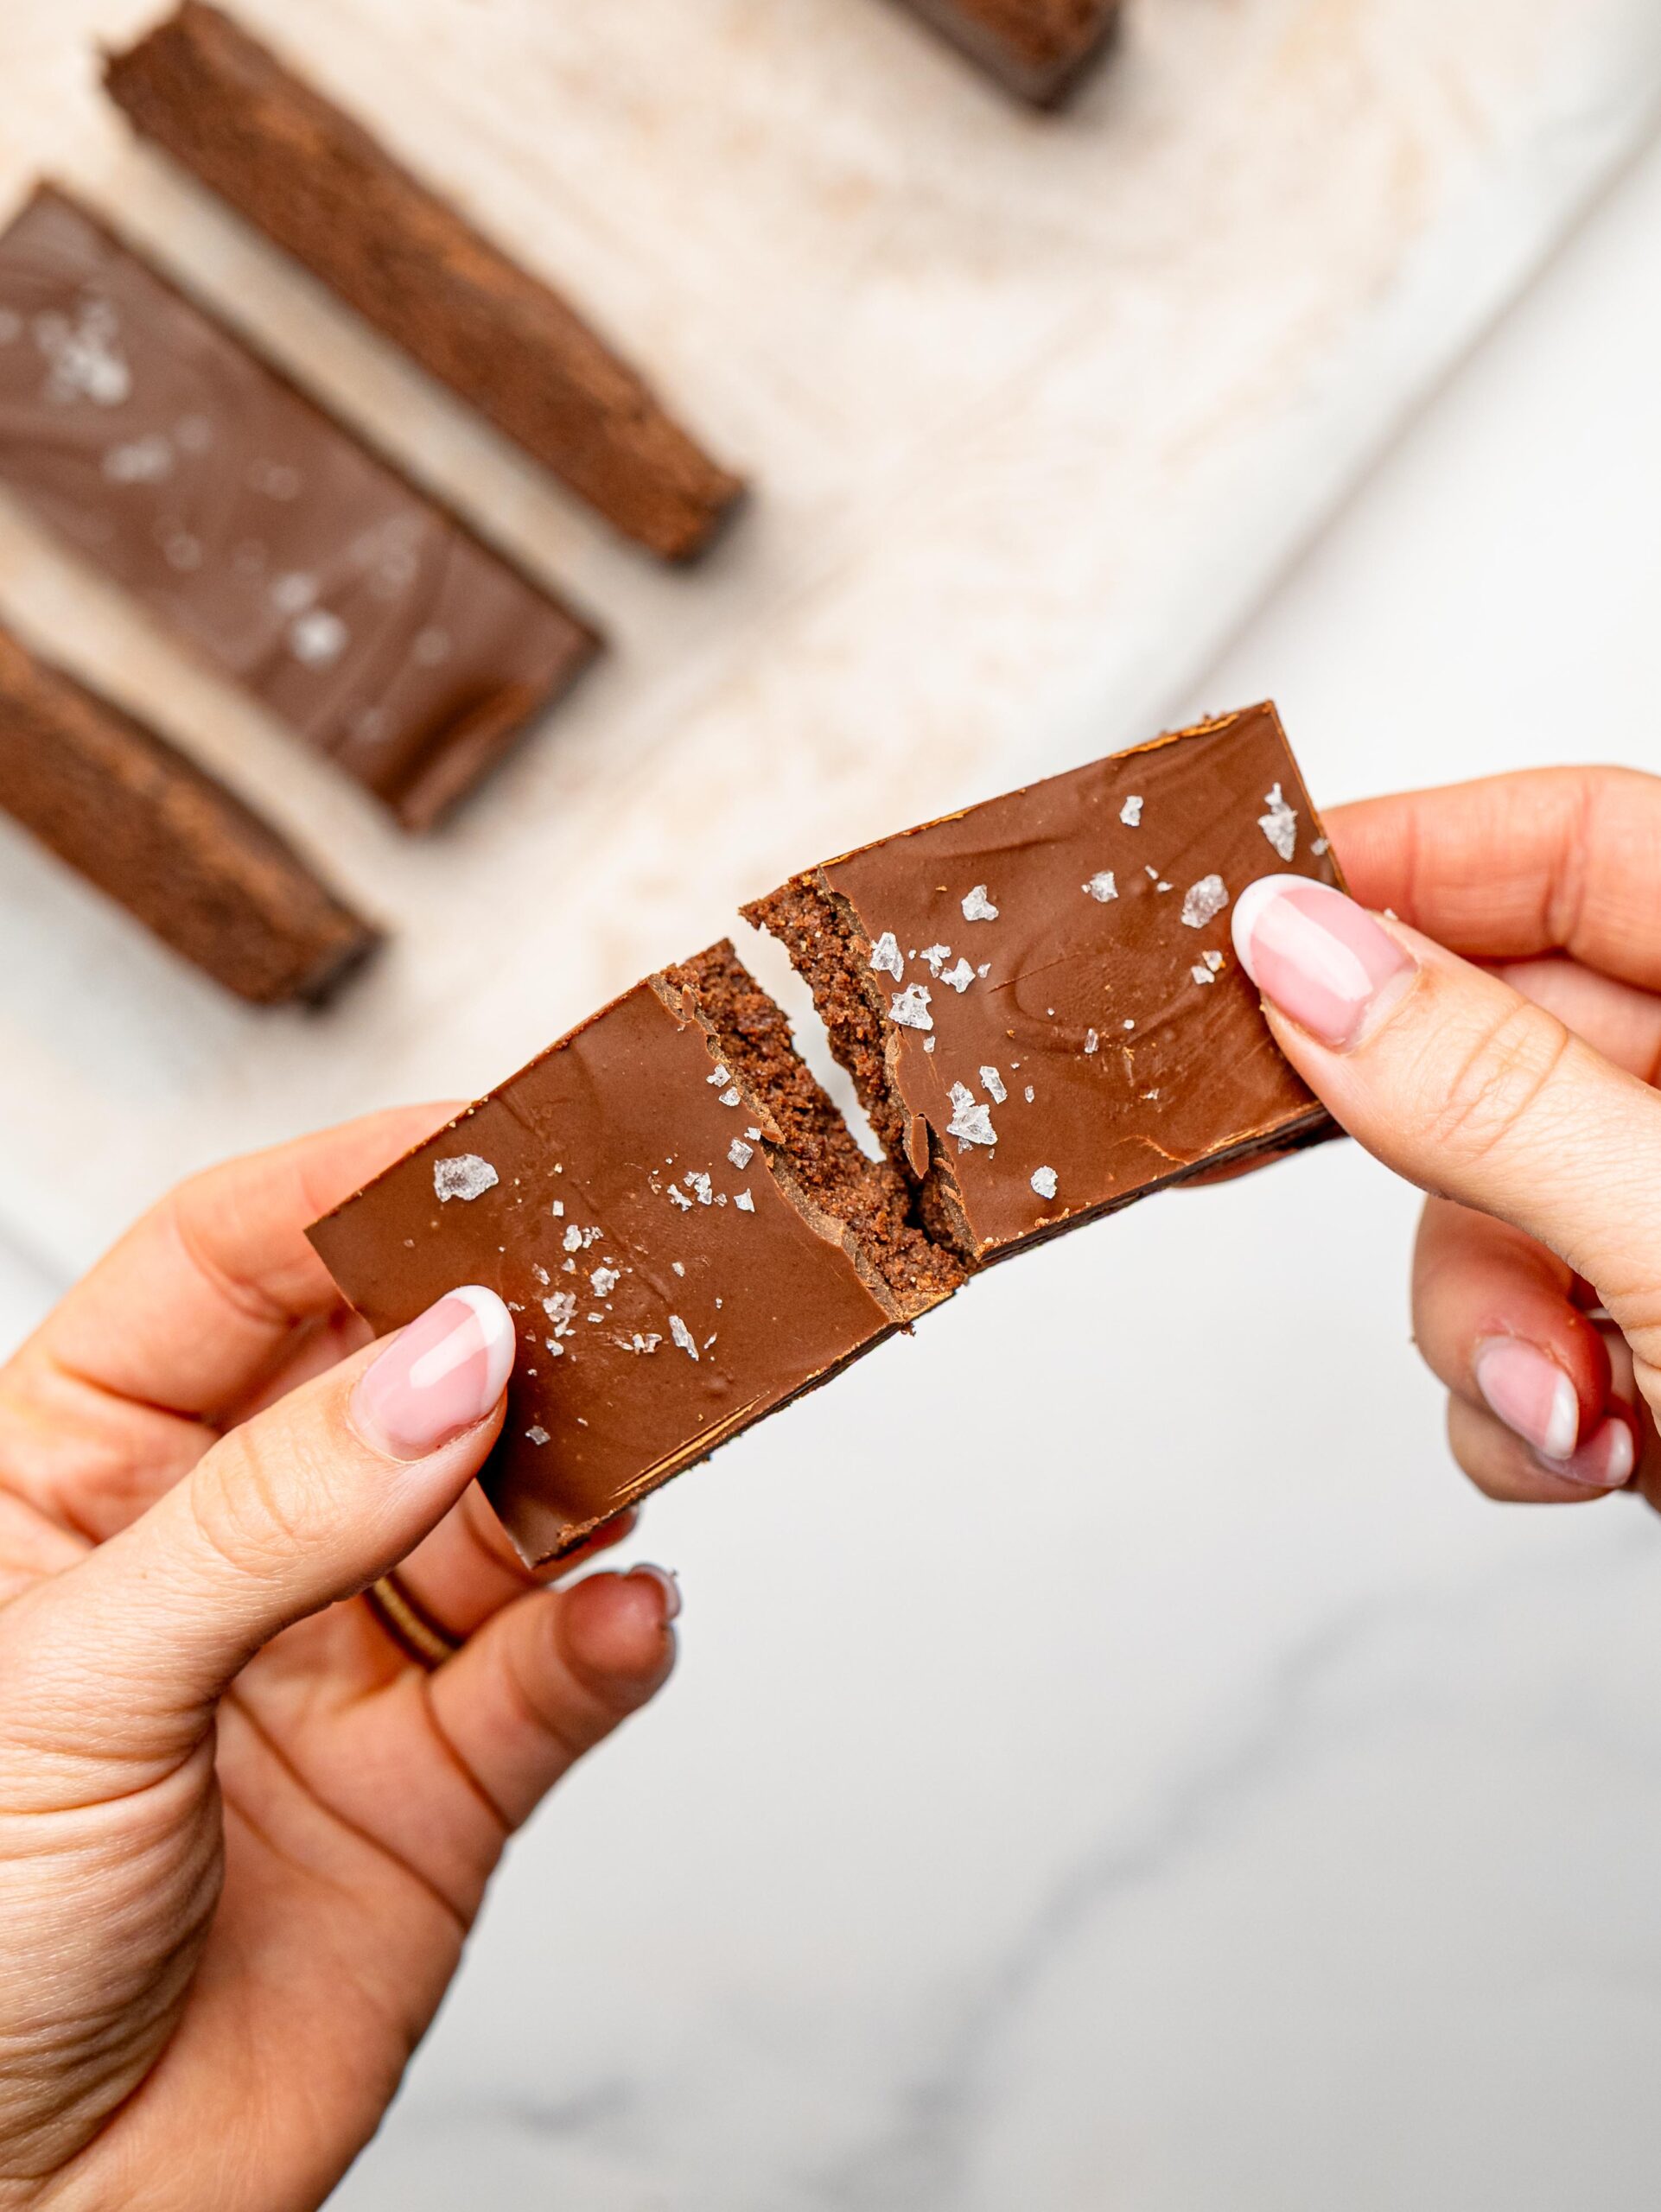
- Rich, fudgy texture. Unlike many homemade protein bars that turn out dry or chalky, these bars are soft, chewy, and almost brownie-like, with a smooth dark chocolate topping.
- No baking required. Simply mix the ingredients together, press the mixture into a pan, top with melted chocolate, and let the refrigerator do the rest.
- Made with simple ingredients. You’ll only need a handful of pantry staples like chocolate protein powder, peanut butter, oat flour, cocoa powder, and honey.
- Perfect for meal prep. Make a batch at the beginning of the week for an easy grab-and-go breakfast, post-workout snack, or afternoon pick-me-up.
- Naturally gluten free. As long as you use certified gluten-free oat flour (or gluten-free oats blended into flour), these homemade protein bars are completely gluten free.
- Easy to customize. Swap the peanut butter for almond butter or sunflower seed butter, use maple syrup instead of honey, or add your favorite mix-ins to make them your own.
Ingredients Needed
You’ll only need a handful of simple pantry ingredients to make these homemade chocolate protein bars. The exact measurements can be found in the recipe card at the bottom of the page.
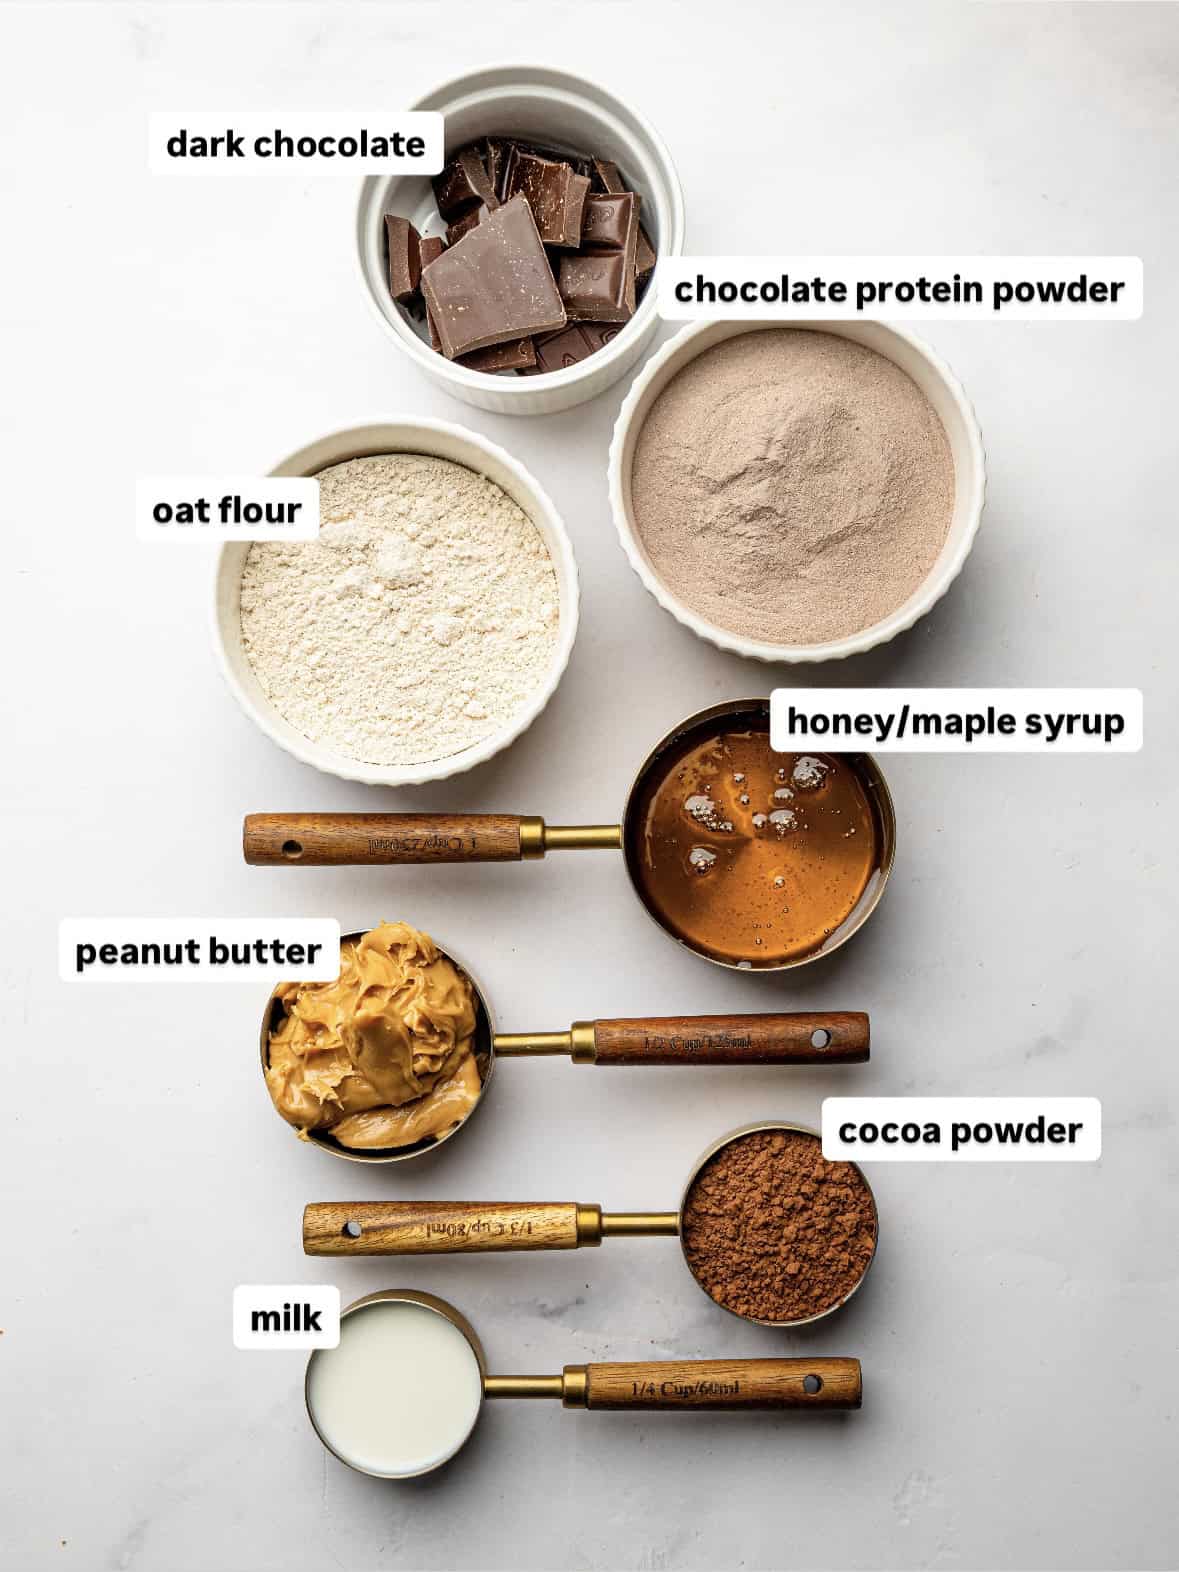
Chocolate Protein Powder: Chocolate whey protein powder gives these bars their rich chocolate flavor while adding plenty of protein. I recommend using a protein powder you already enjoy drinking, as the flavor really comes through in the finished bars.
Oat Flour: Oat flour helps bind the bars together while keeping them soft and fudgy. You can use store-bought oat flour or easily make your own by blending rolled oats in a high-speed blender or food processor until they resemble a fine flour. If you’re gluten free, be sure to use certified gluten-free oats or oat flour.
Cocoa Powder: Unsweetened cocoa powder intensifies the chocolate flavor and helps give these bars their rich, brownie-like taste.
Peanut Butter: Natural peanut butter adds richness, healthy fats, and helps create the soft, chewy texture. I recommend using smooth, natural peanut butter that can be stirred easily, rather than one that’s very dry or overly thick.
Honey: Honey naturally sweetens the bars while helping hold everything together. It also contributes to their chewy texture.
Milk: Milk helps bring the mixture together. The exact amount you’ll need depends on the protein powder you use, so start with less and add more as needed until the mixture easily holds together when pressed.
Dark Chocolate: A layer of melted dark chocolate takes these bars to the next level. It adds a rich chocolate finish and pairs perfectly with the soft protein bar base.
Flaky Sea Salt: Optional, but highly recommended! A sprinkle of flaky sea salt enhances the chocolate flavor and balances the sweetness beautifully.
Ingredient Substitutions
This recipe is very flexible, making it easy to adapt to what you have on hand.
- Peanut butter: Swap for almond butter, cashew butter, or sunflower seed butter. Just keep in mind that different nut and seed butters vary in consistency, so you may need to adjust the amount of milk slightly. If you’re looking for a nut-free chocolate protein bar recipe, try my Chocolate Brownie Protein Bars.
- Honey: Maple syrup works just as well and creates a slightly softer bar.
- Chocolate protein powder: Most chocolate whey protein powders work well in this recipe. If using a plant-based protein powder, you may need a little extra milk, as they tend to absorb more liquid.
- Milk: Dairy milk, almond milk, oat milk, or soy milk all work well.
- Dark chocolate: Feel free to use milk chocolate if you prefer a sweeter topping.
Equipment You’ll Need
One of the best things about this recipe is that you don’t need any special equipment.
You’ll need:
- A large mixing bowl
- A rubber spatula or sturdy wooden spoon
- Measuring cups and spoons, or a kitchen scale for the most accurate results
- A 20 x 20 cm (8 x 8-inch) square baking pan or dish
- Parchment paper, to make lifting the bars out of the pan easy
- A microwave-safe bowl (or small saucepan) for melting the chocolate
- A sharp knife for slicing
Optional but helpful: An offset spatula makes it really easy to spread both the protein mixture and the chocolate topping into smooth, even layers, but the back of a spoon works just as well.
How to Make Healthy Chocolate Protein Bars
These no-bake chocolate protein bars are incredibly easy to make and come together in just a few simple steps.
Step 1: Combine the wet ingredients
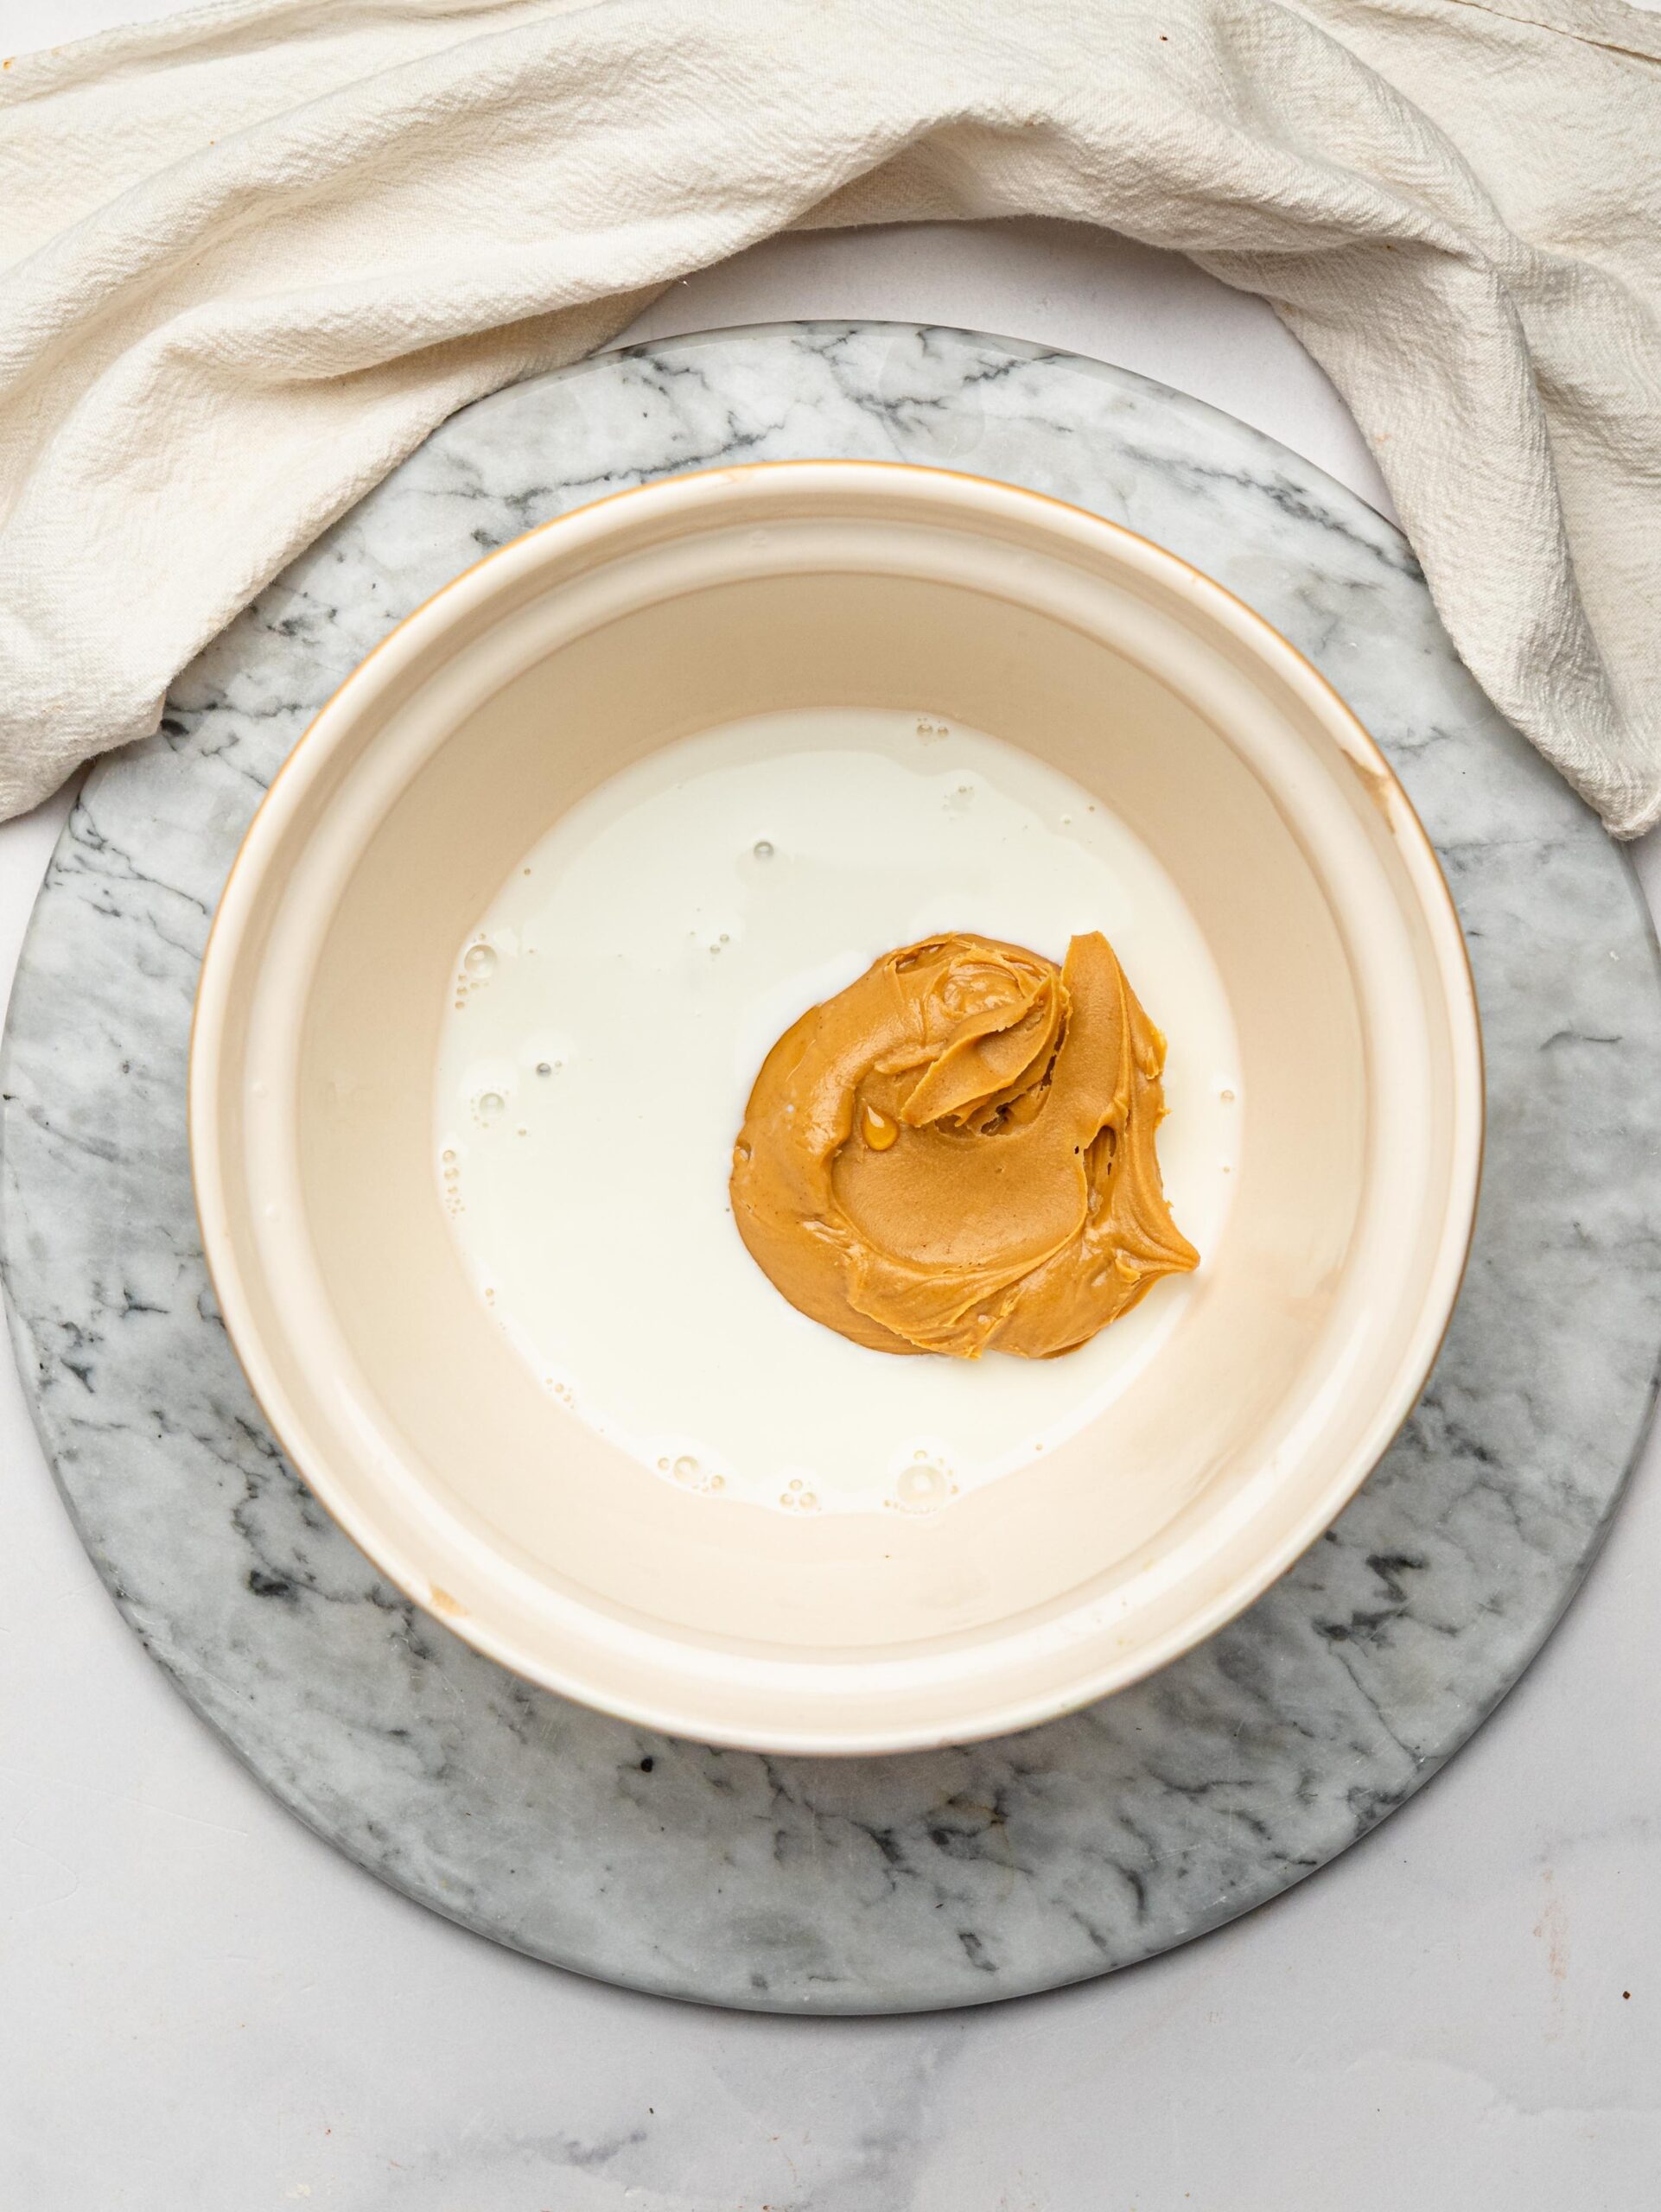
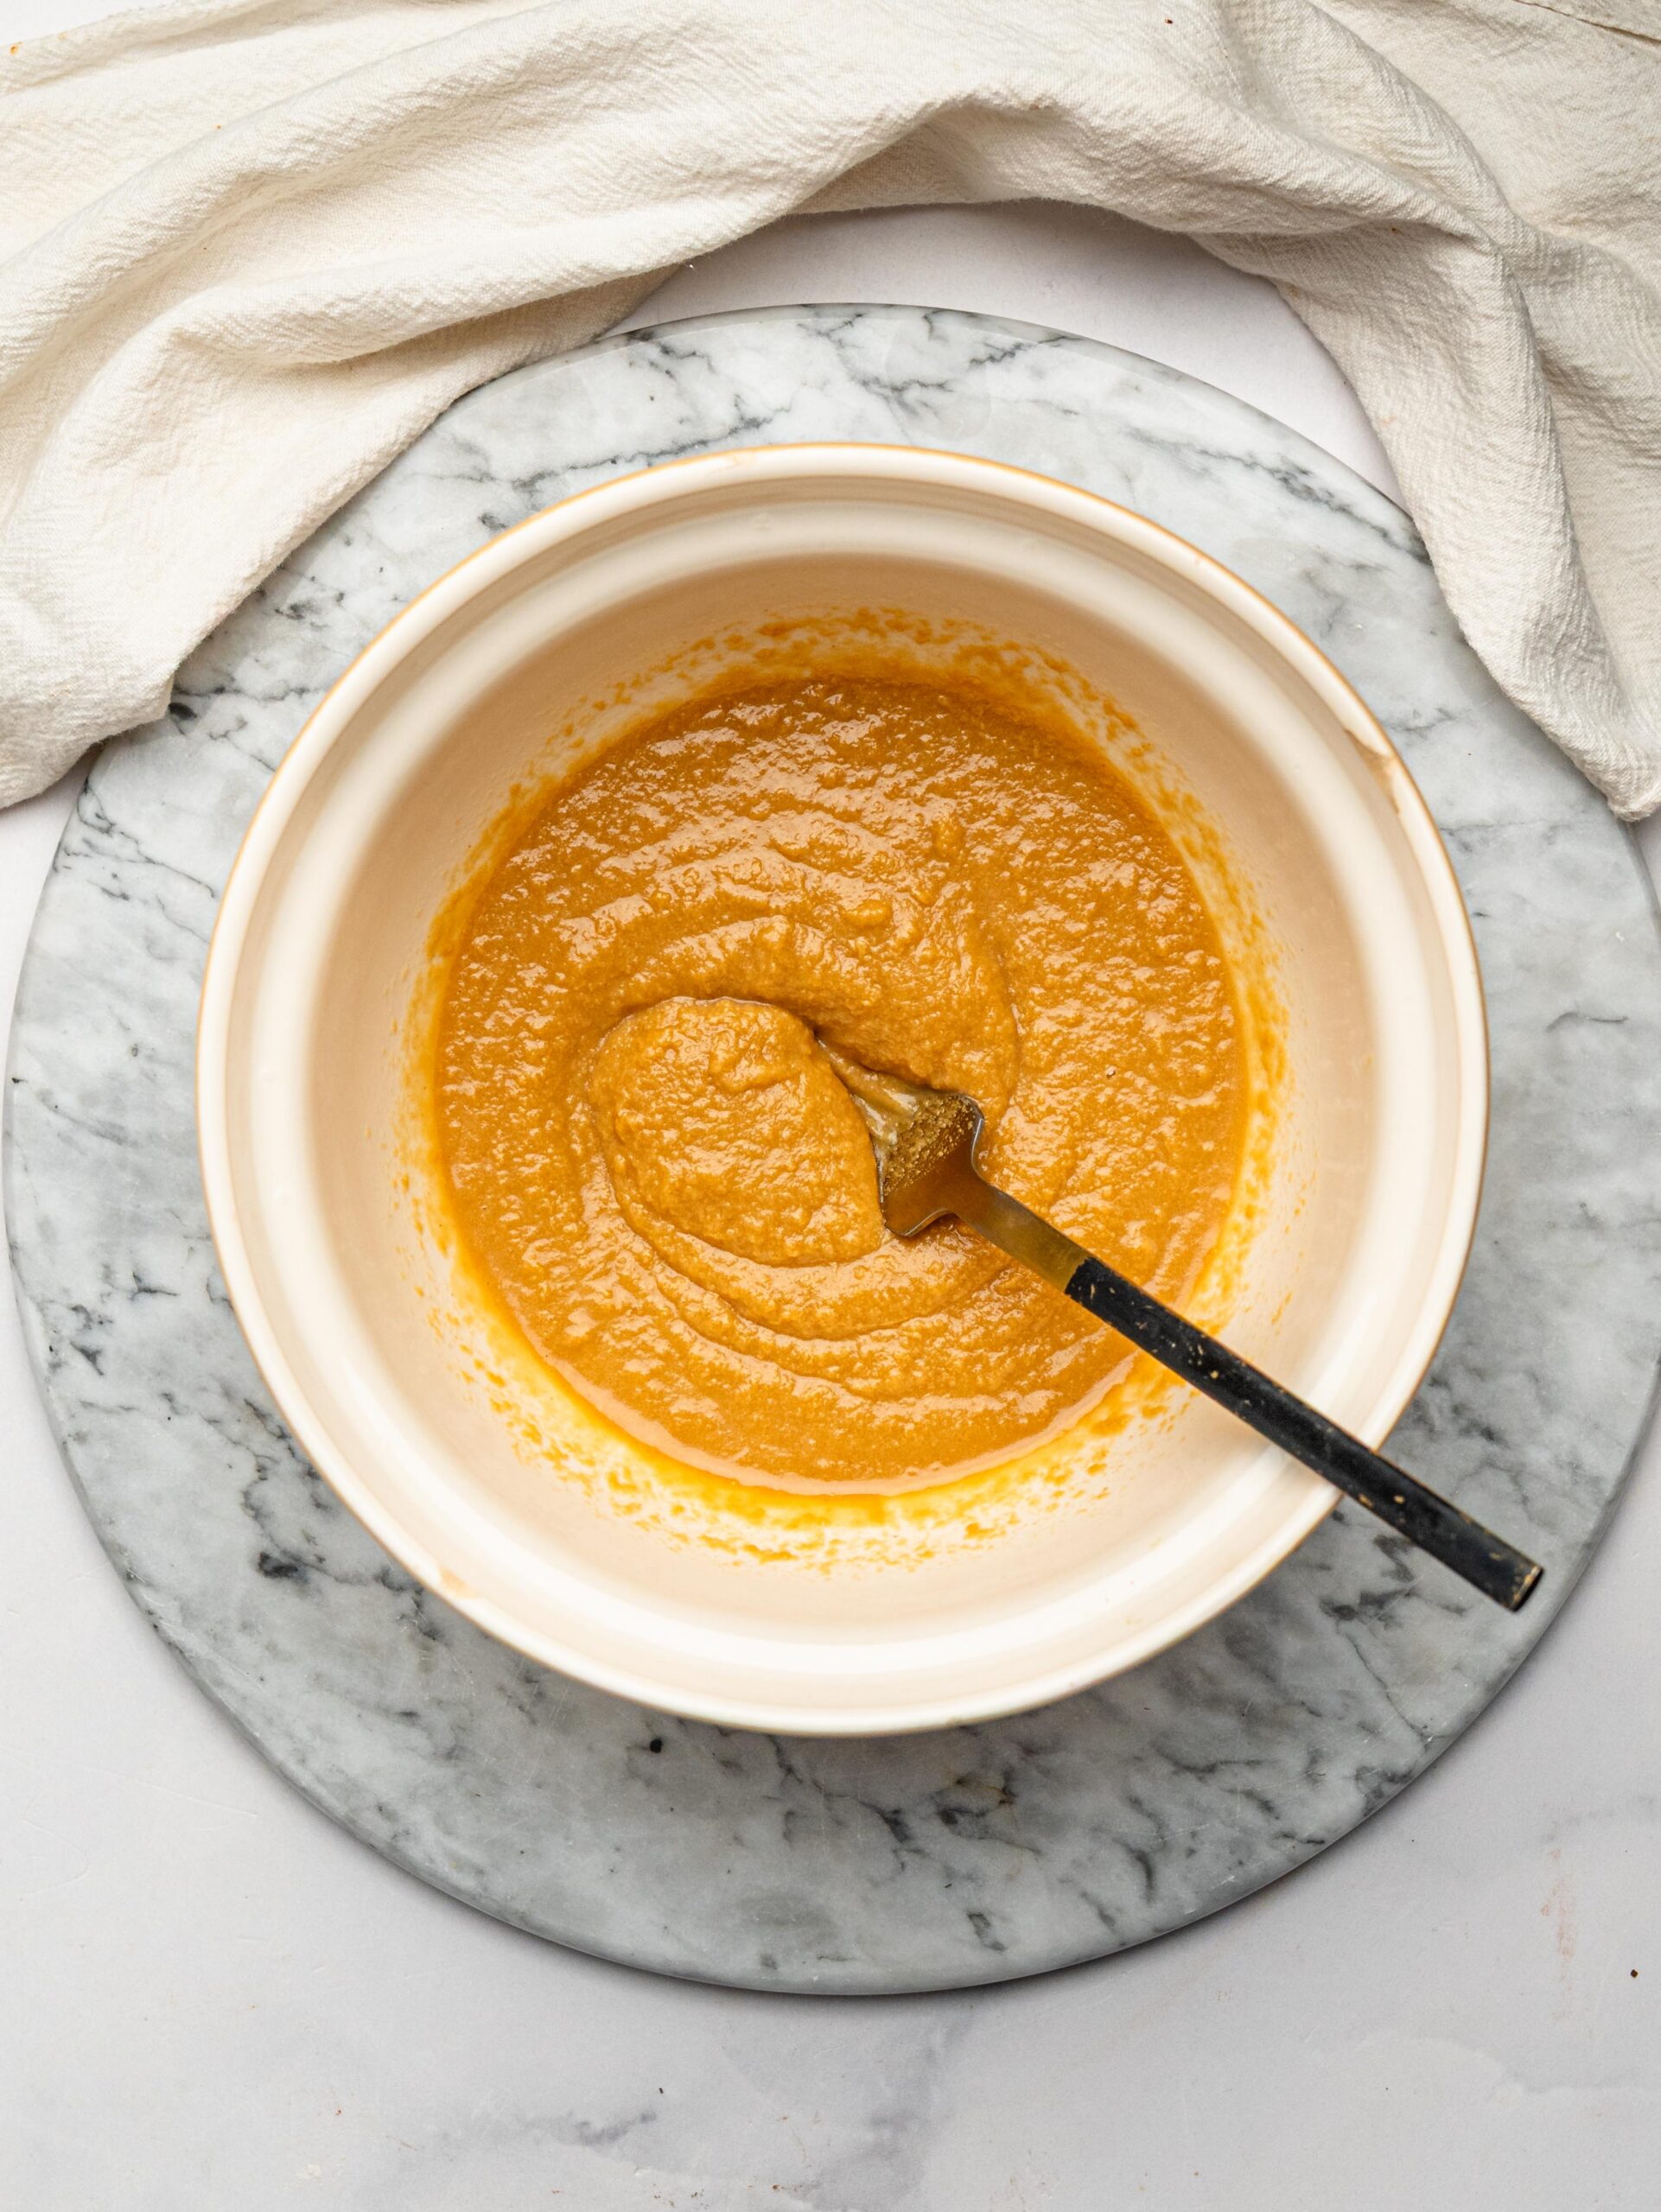
Add the peanut butter, honey, and milk to a large mixing bowl. Stir until smooth and well combined. If your peanut butter is quite firm, you can microwave it for 10–15 seconds to make mixing easier.
Step 2: Mix in the dry ingredients
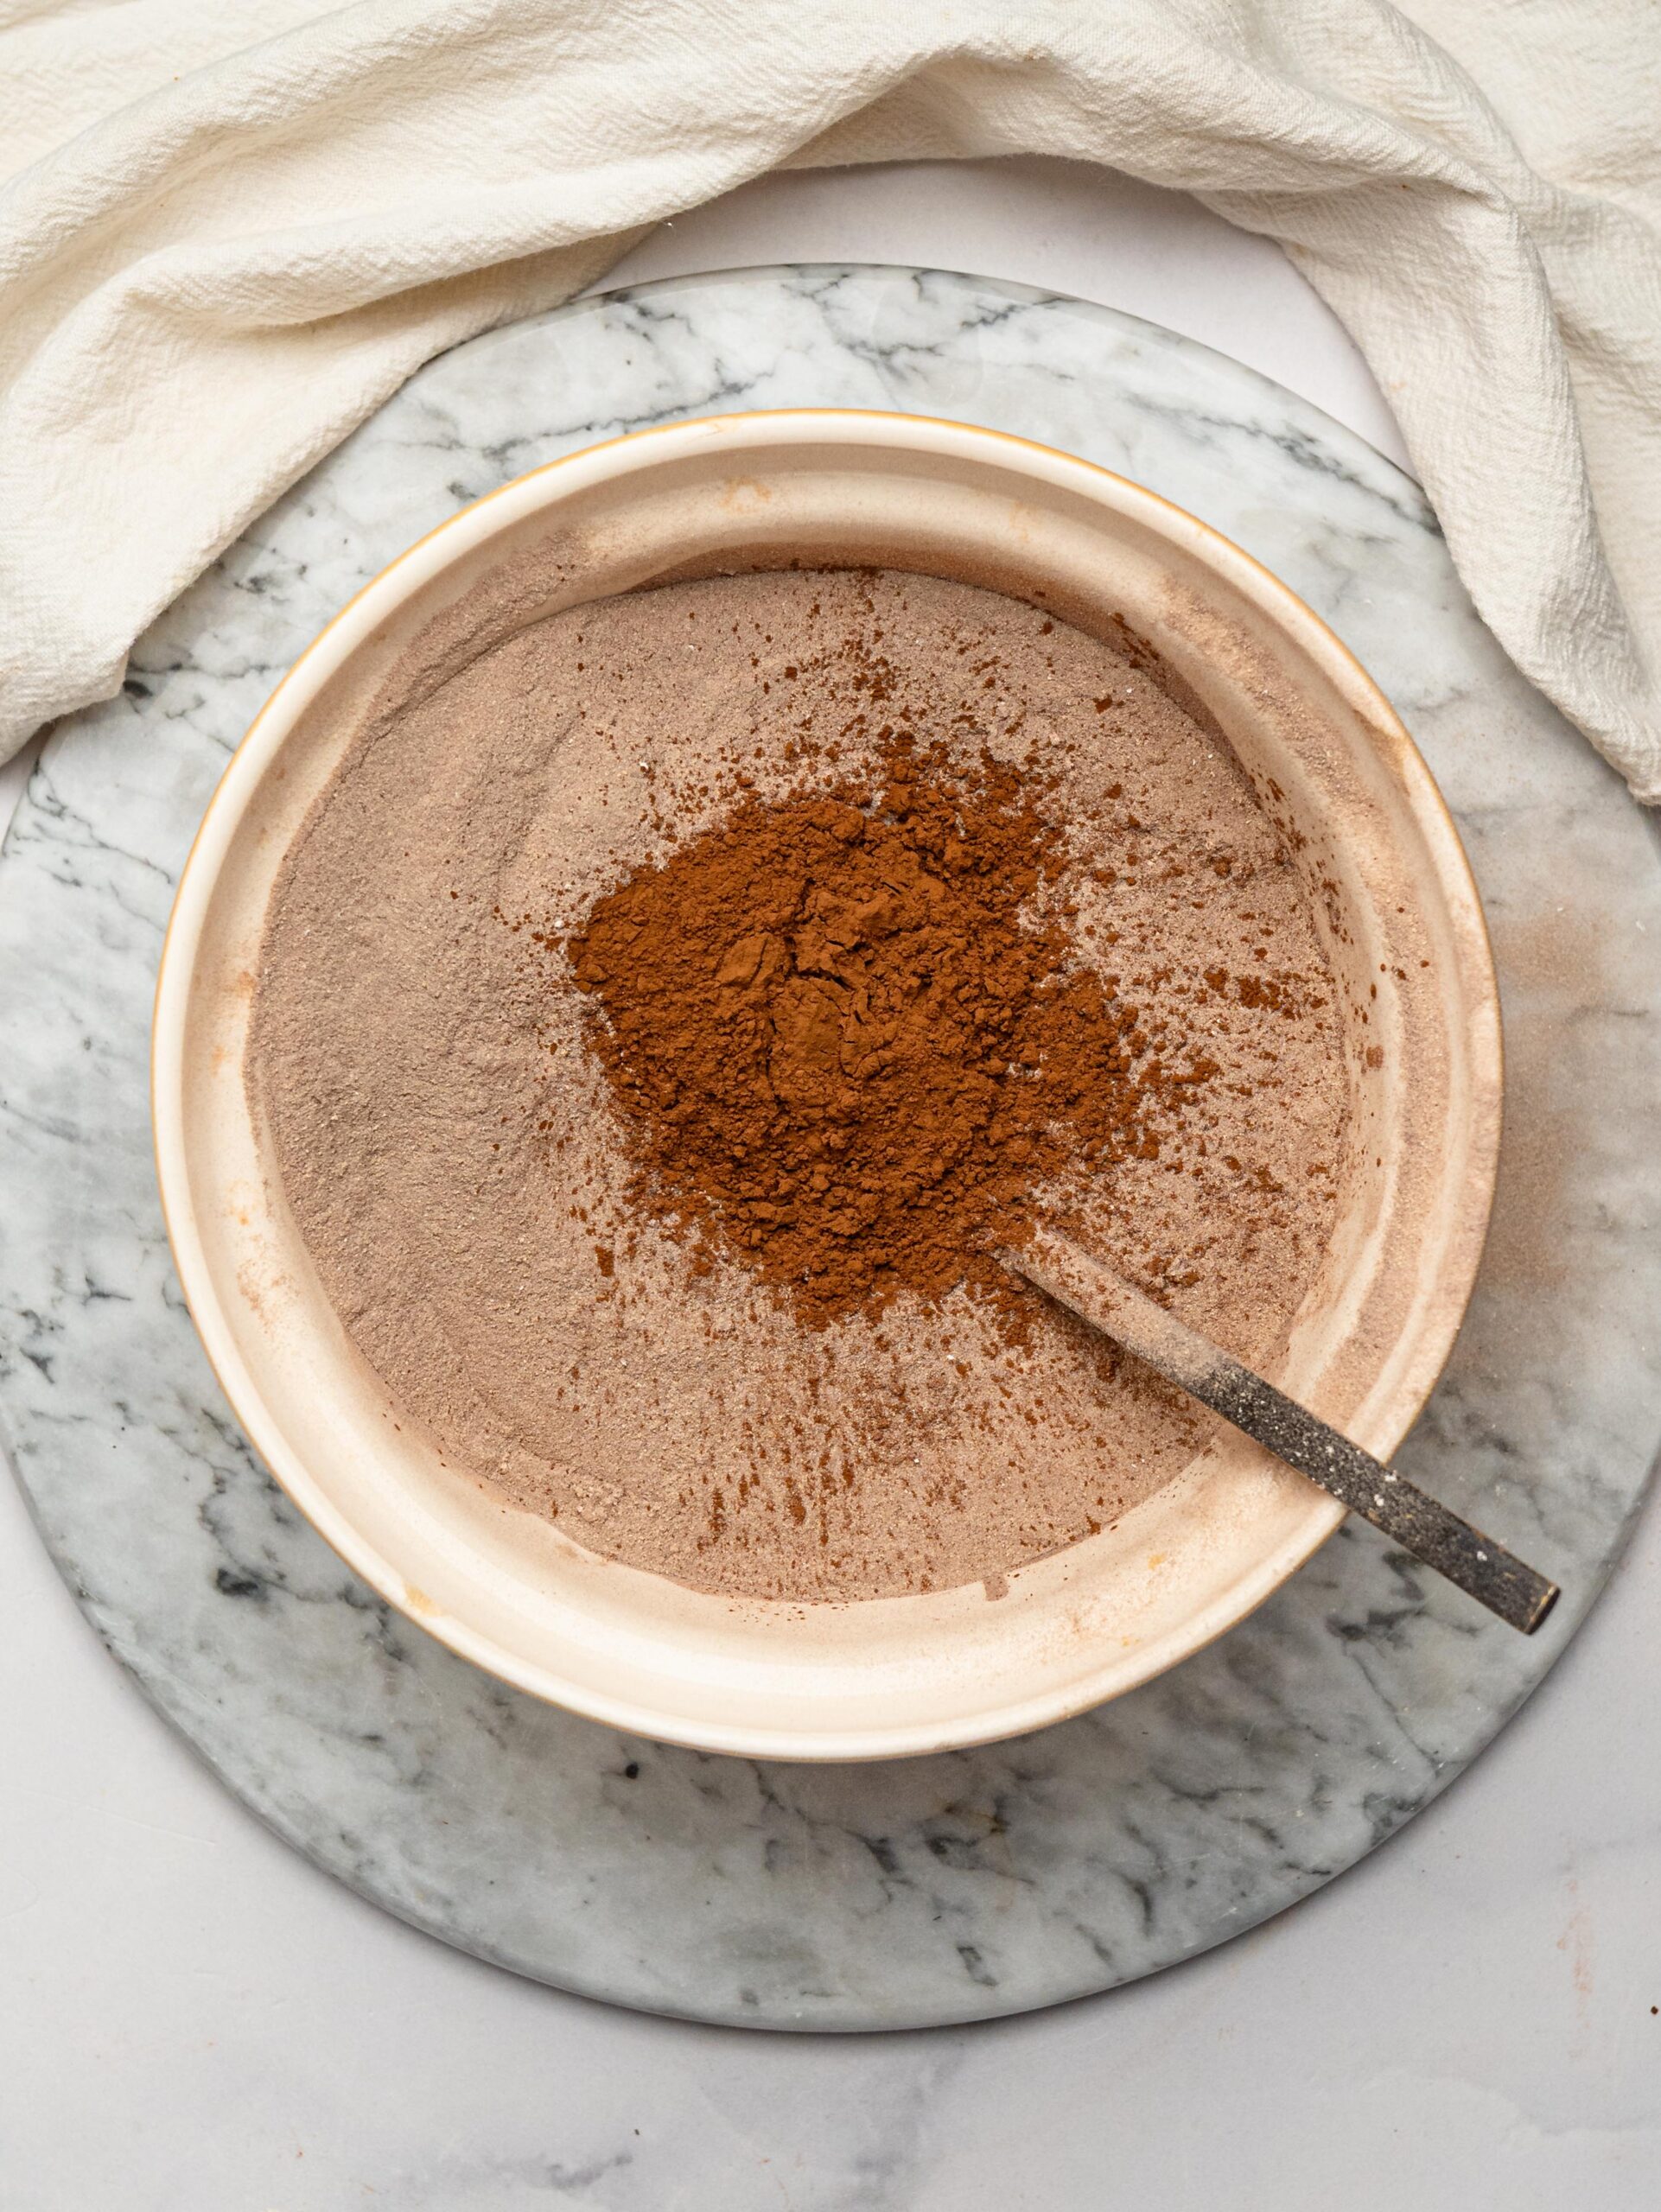
Add the chocolate protein powder, oat flour, cocoa powder, and salt. Stir until everything is evenly combined. At this stage, the mixture will be quite thick and crumbly.
Step 3: Add the milk
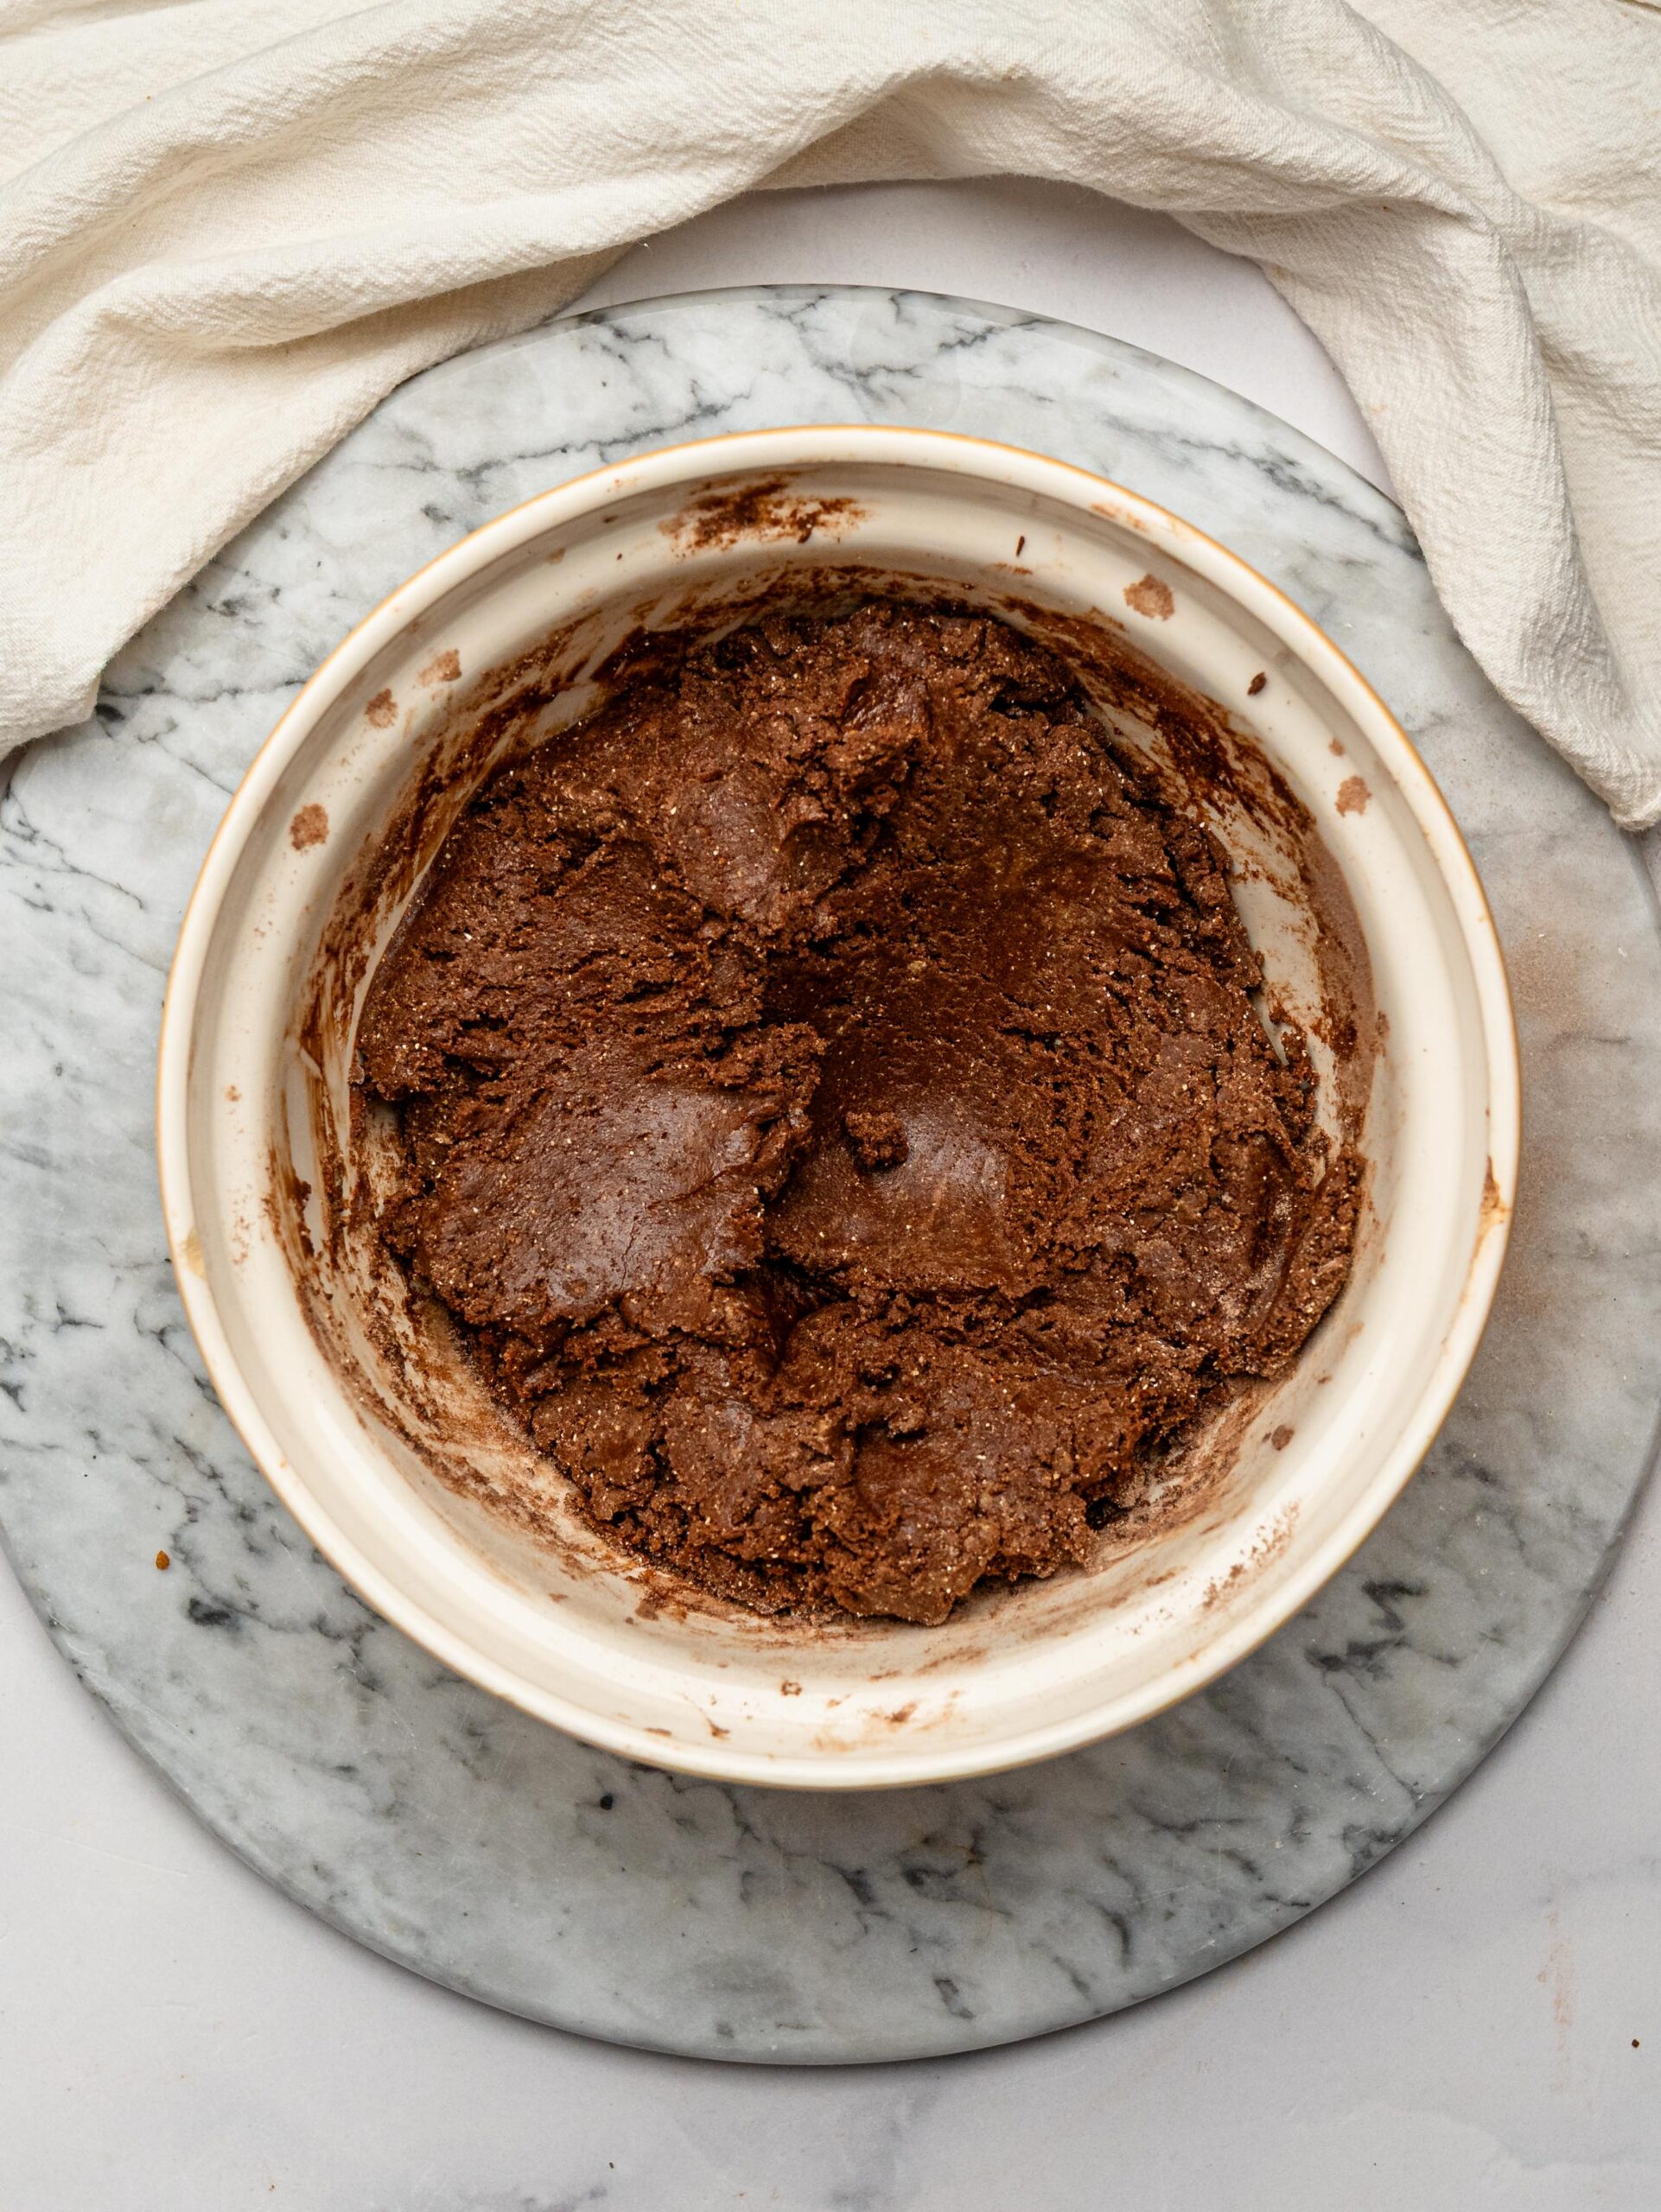
If the mixture is too dry, add more milk one tablespoon at a time.
The mixture should hold together easily when pressed between your fingers. It shouldn’t feel dry or crumbly, but it also shouldn’t be sticky.
Step 4: Press into the pan
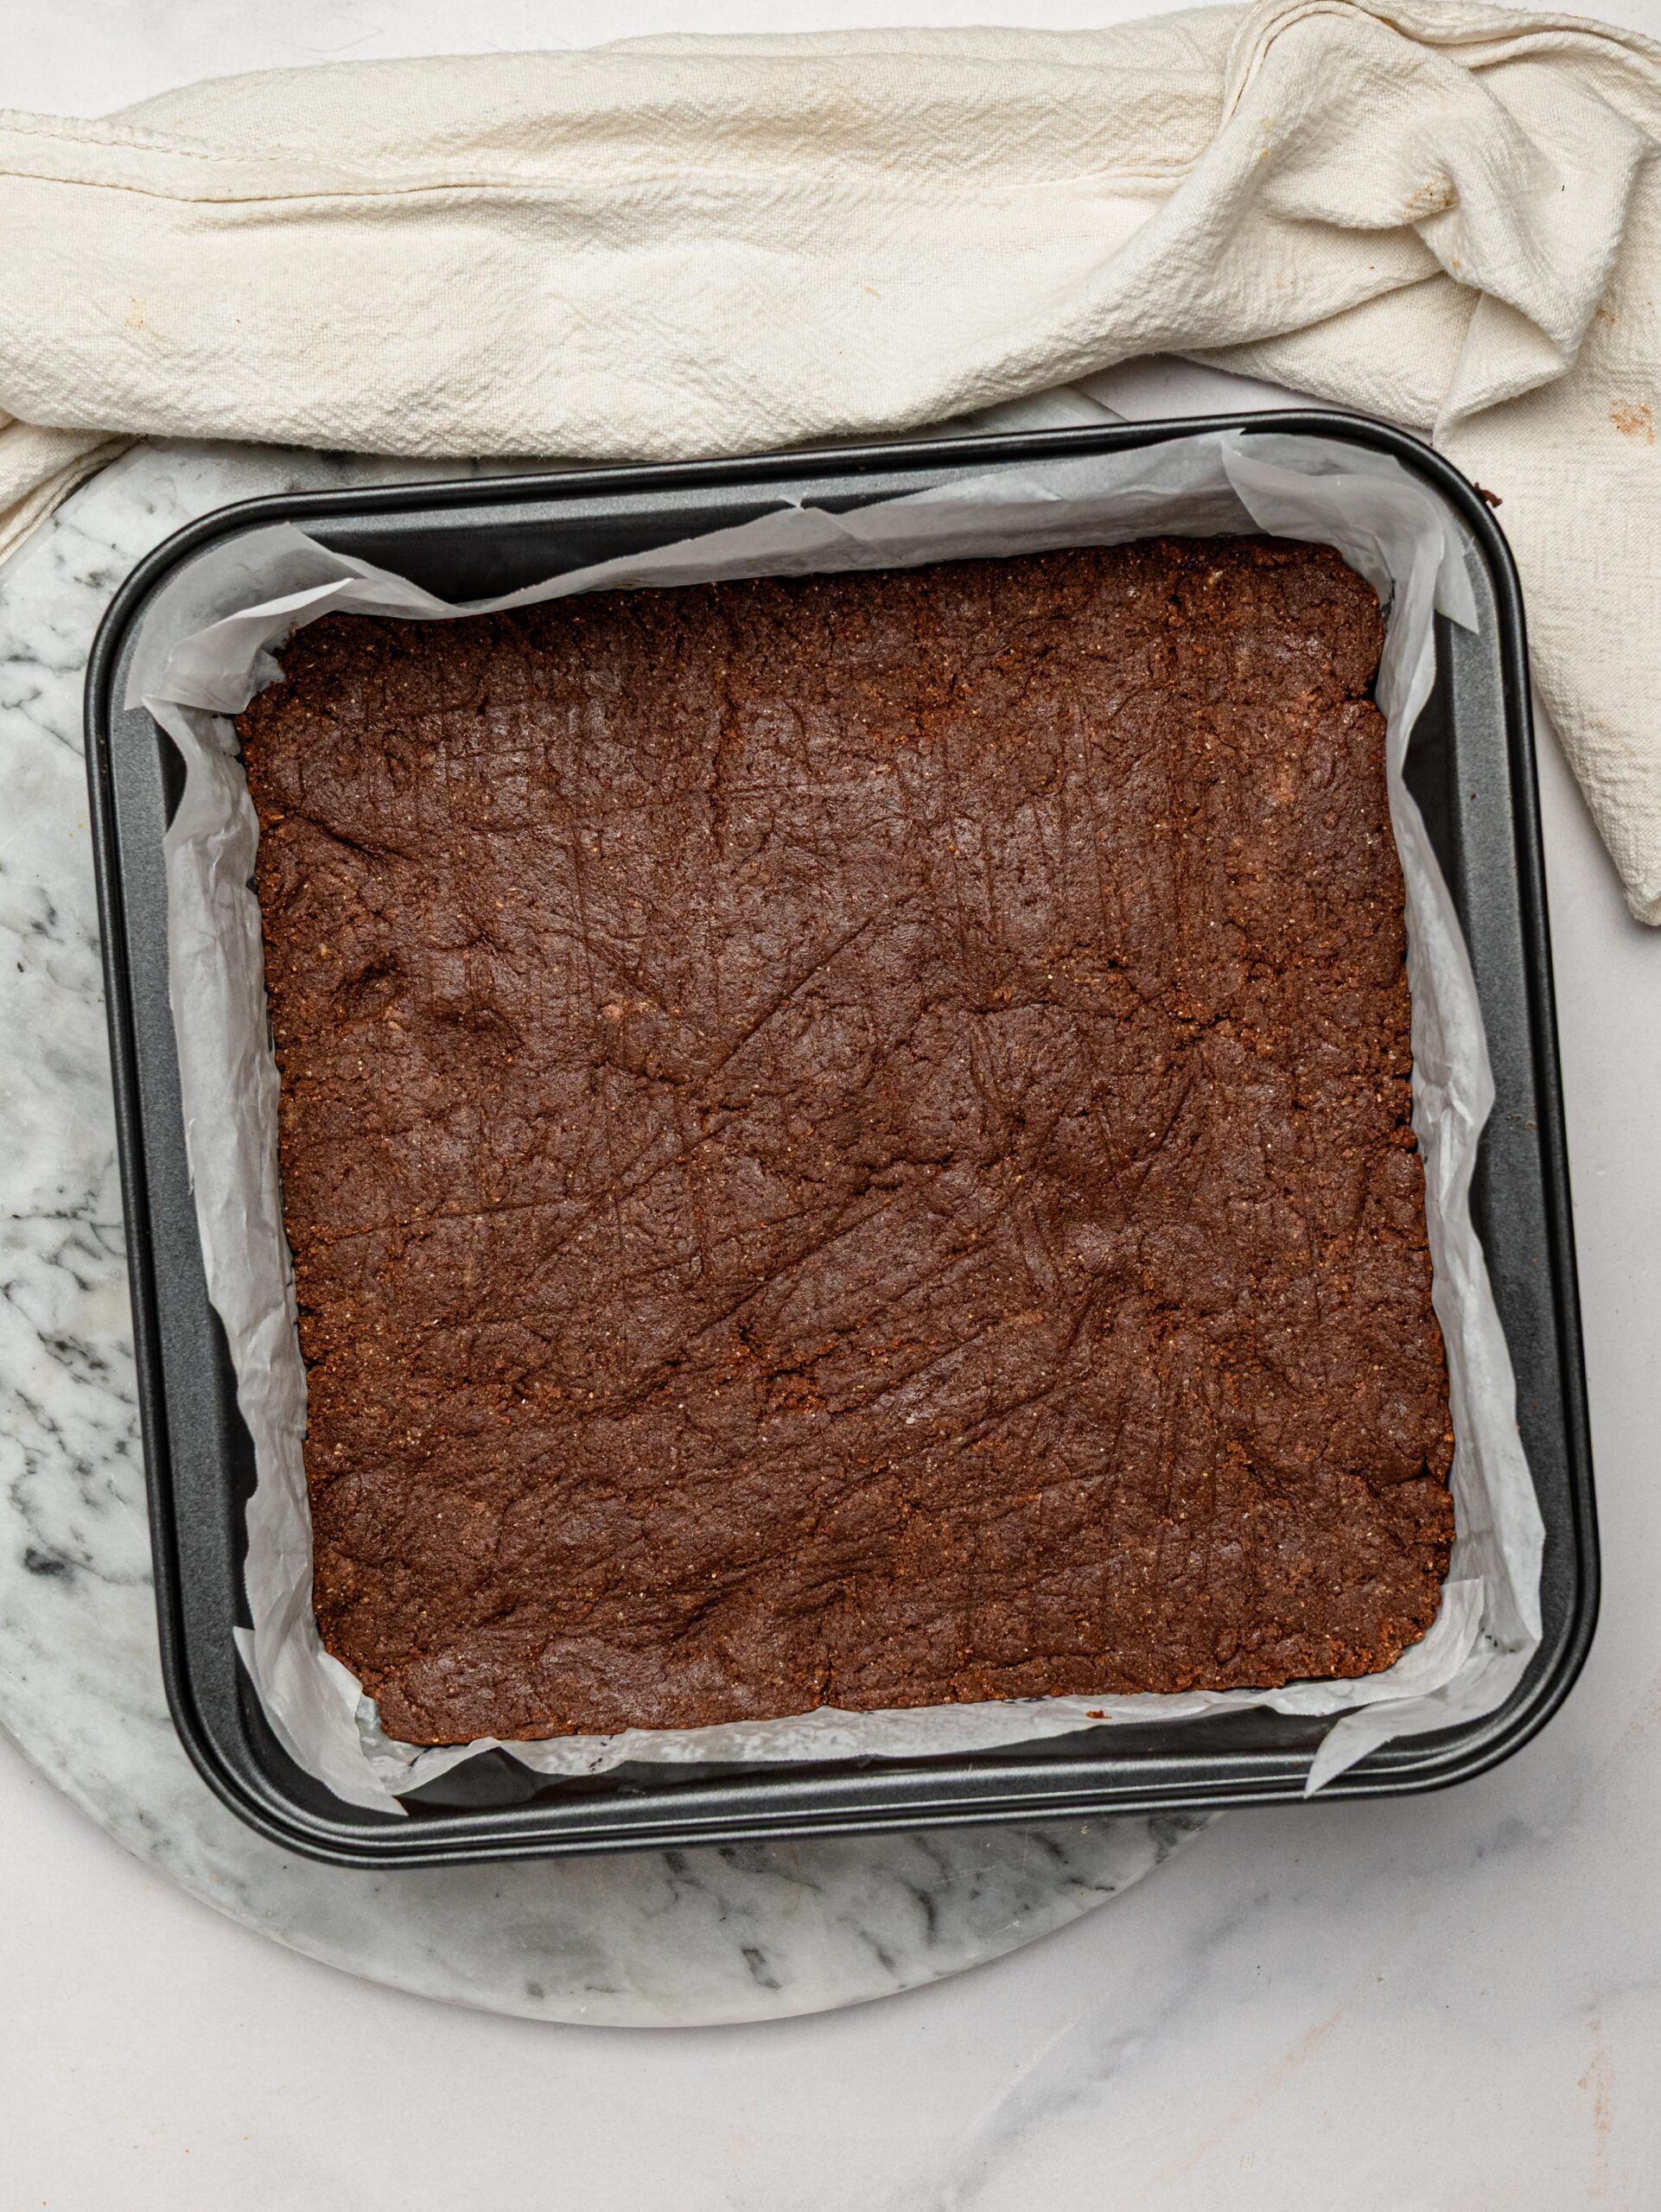
Line a 20 x 20 cm (8 x 8-inch) baking pan with parchment paper. Transfer the mixture to the pan and press it down firmly into an even layer using the back of a spoon, an offset spatula, or the bottom of a measuring cup.
Step 5: Make the chocolate topping
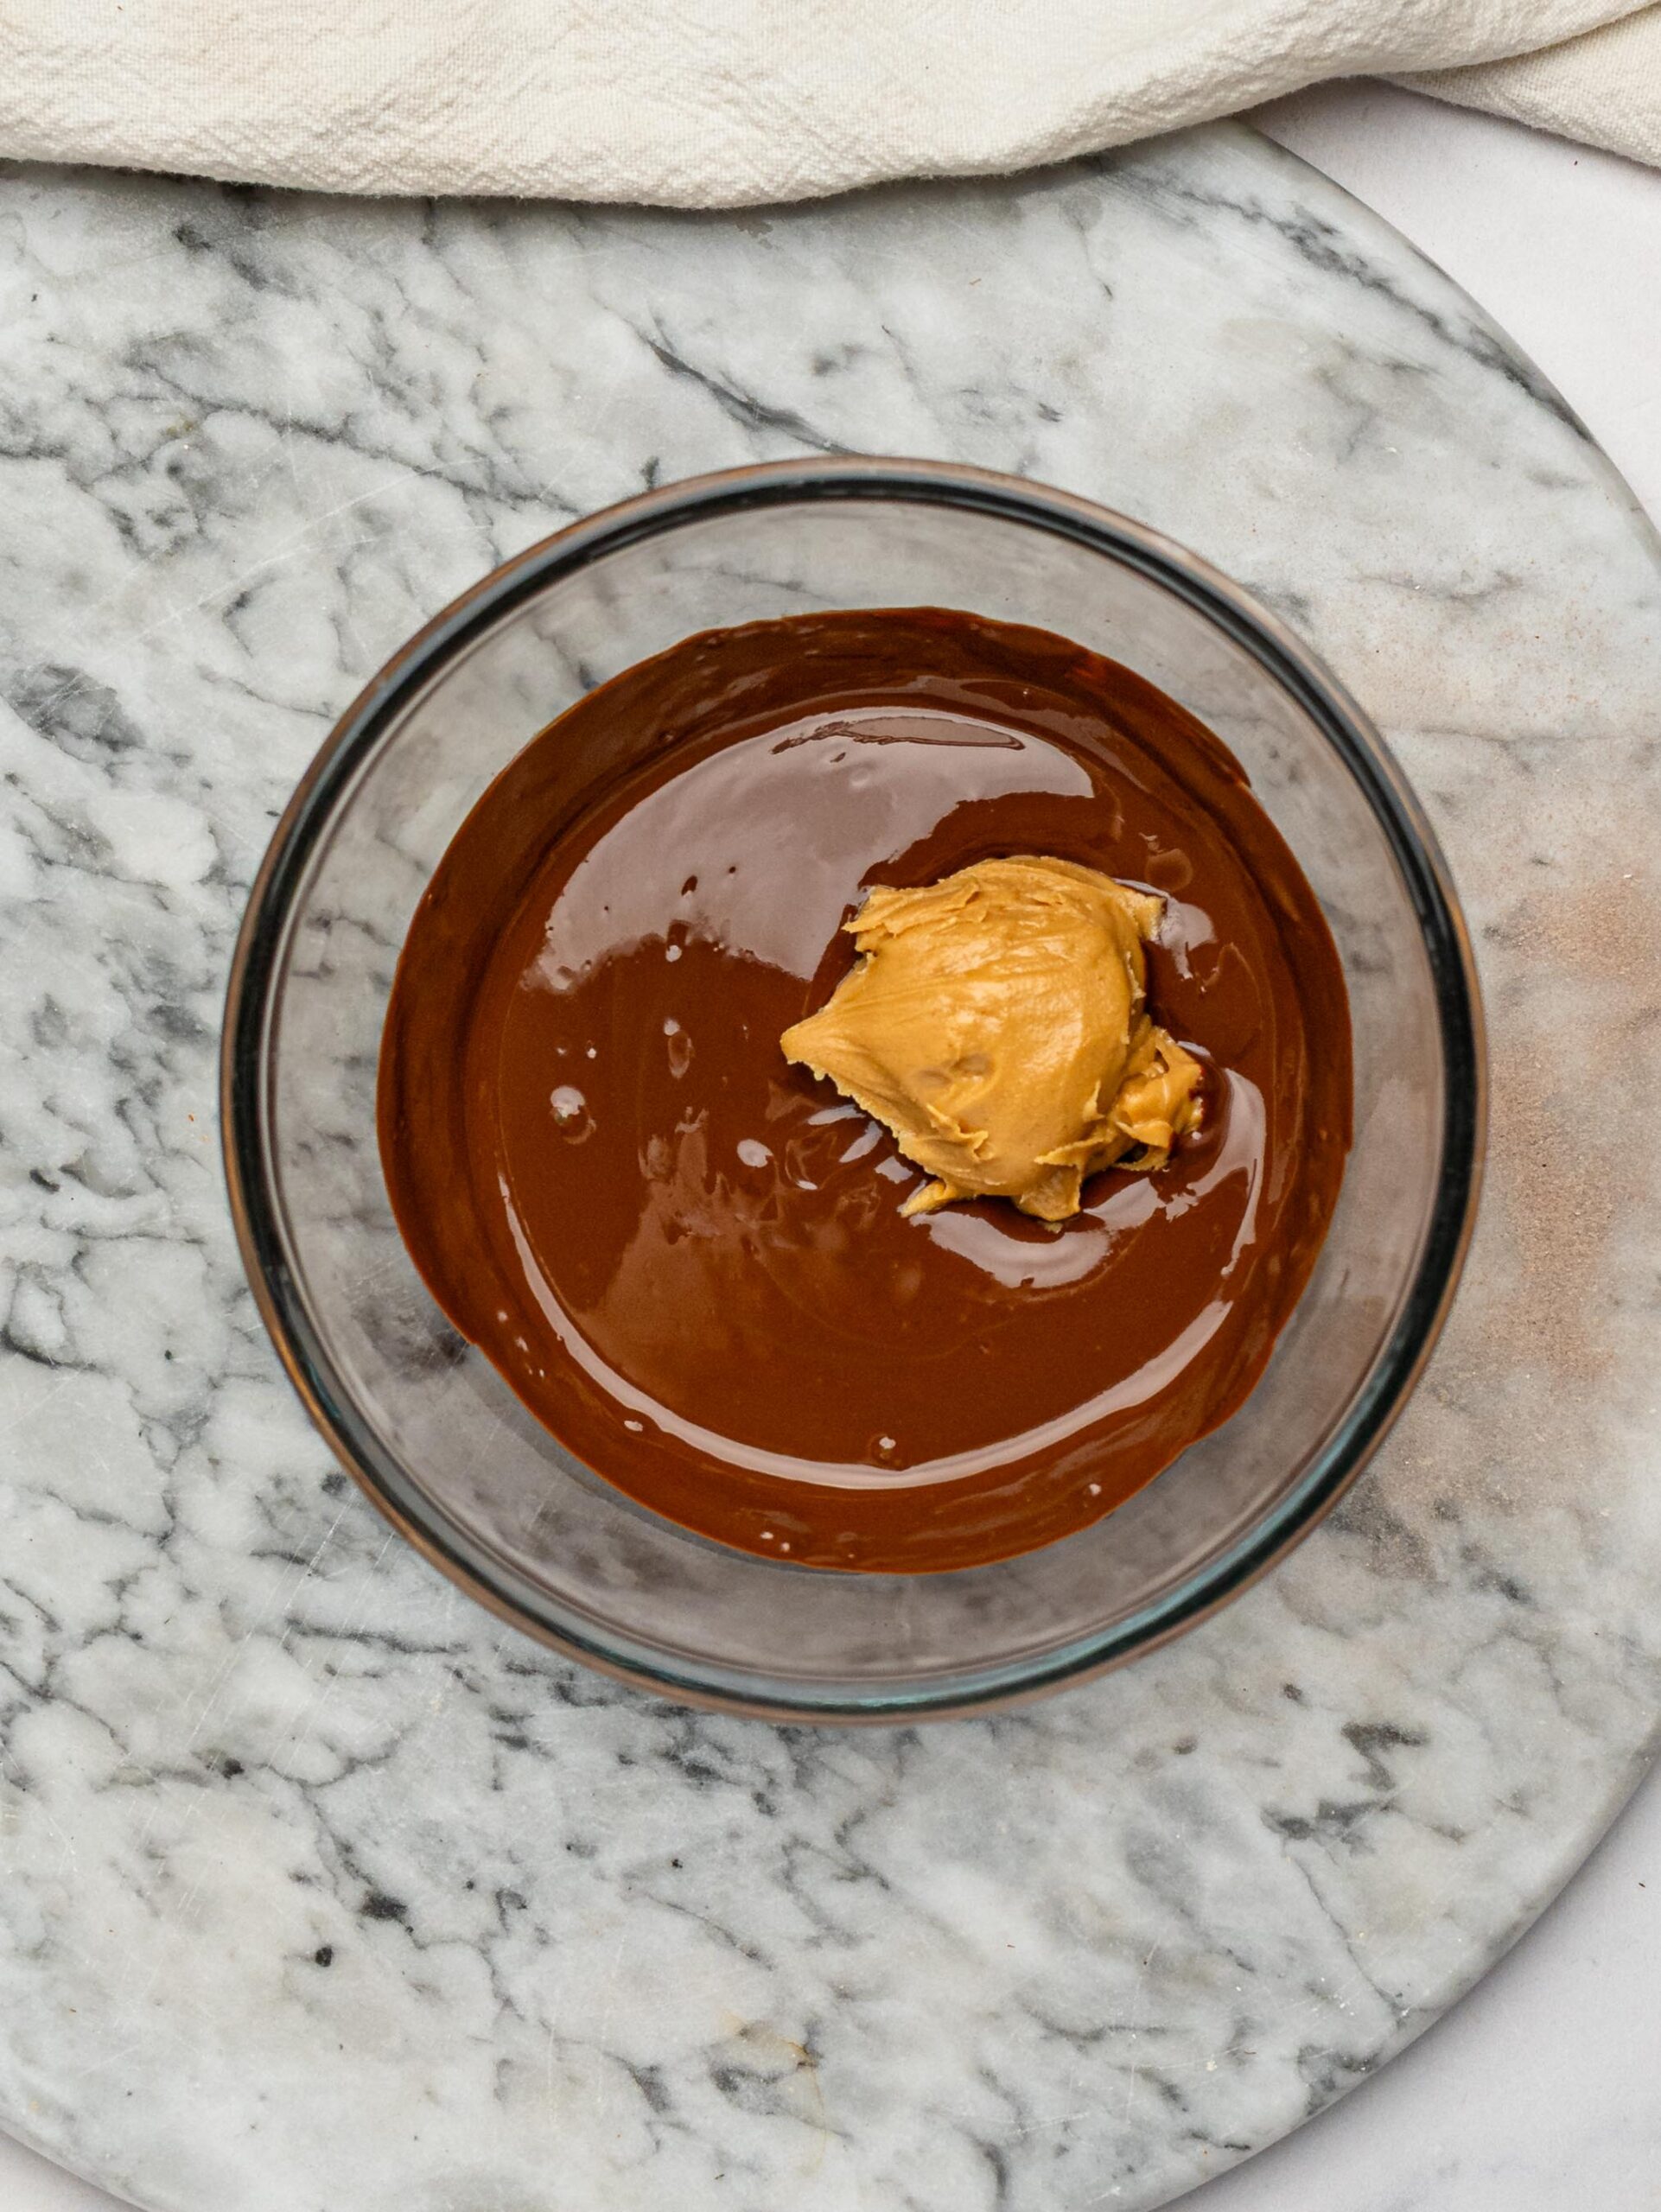
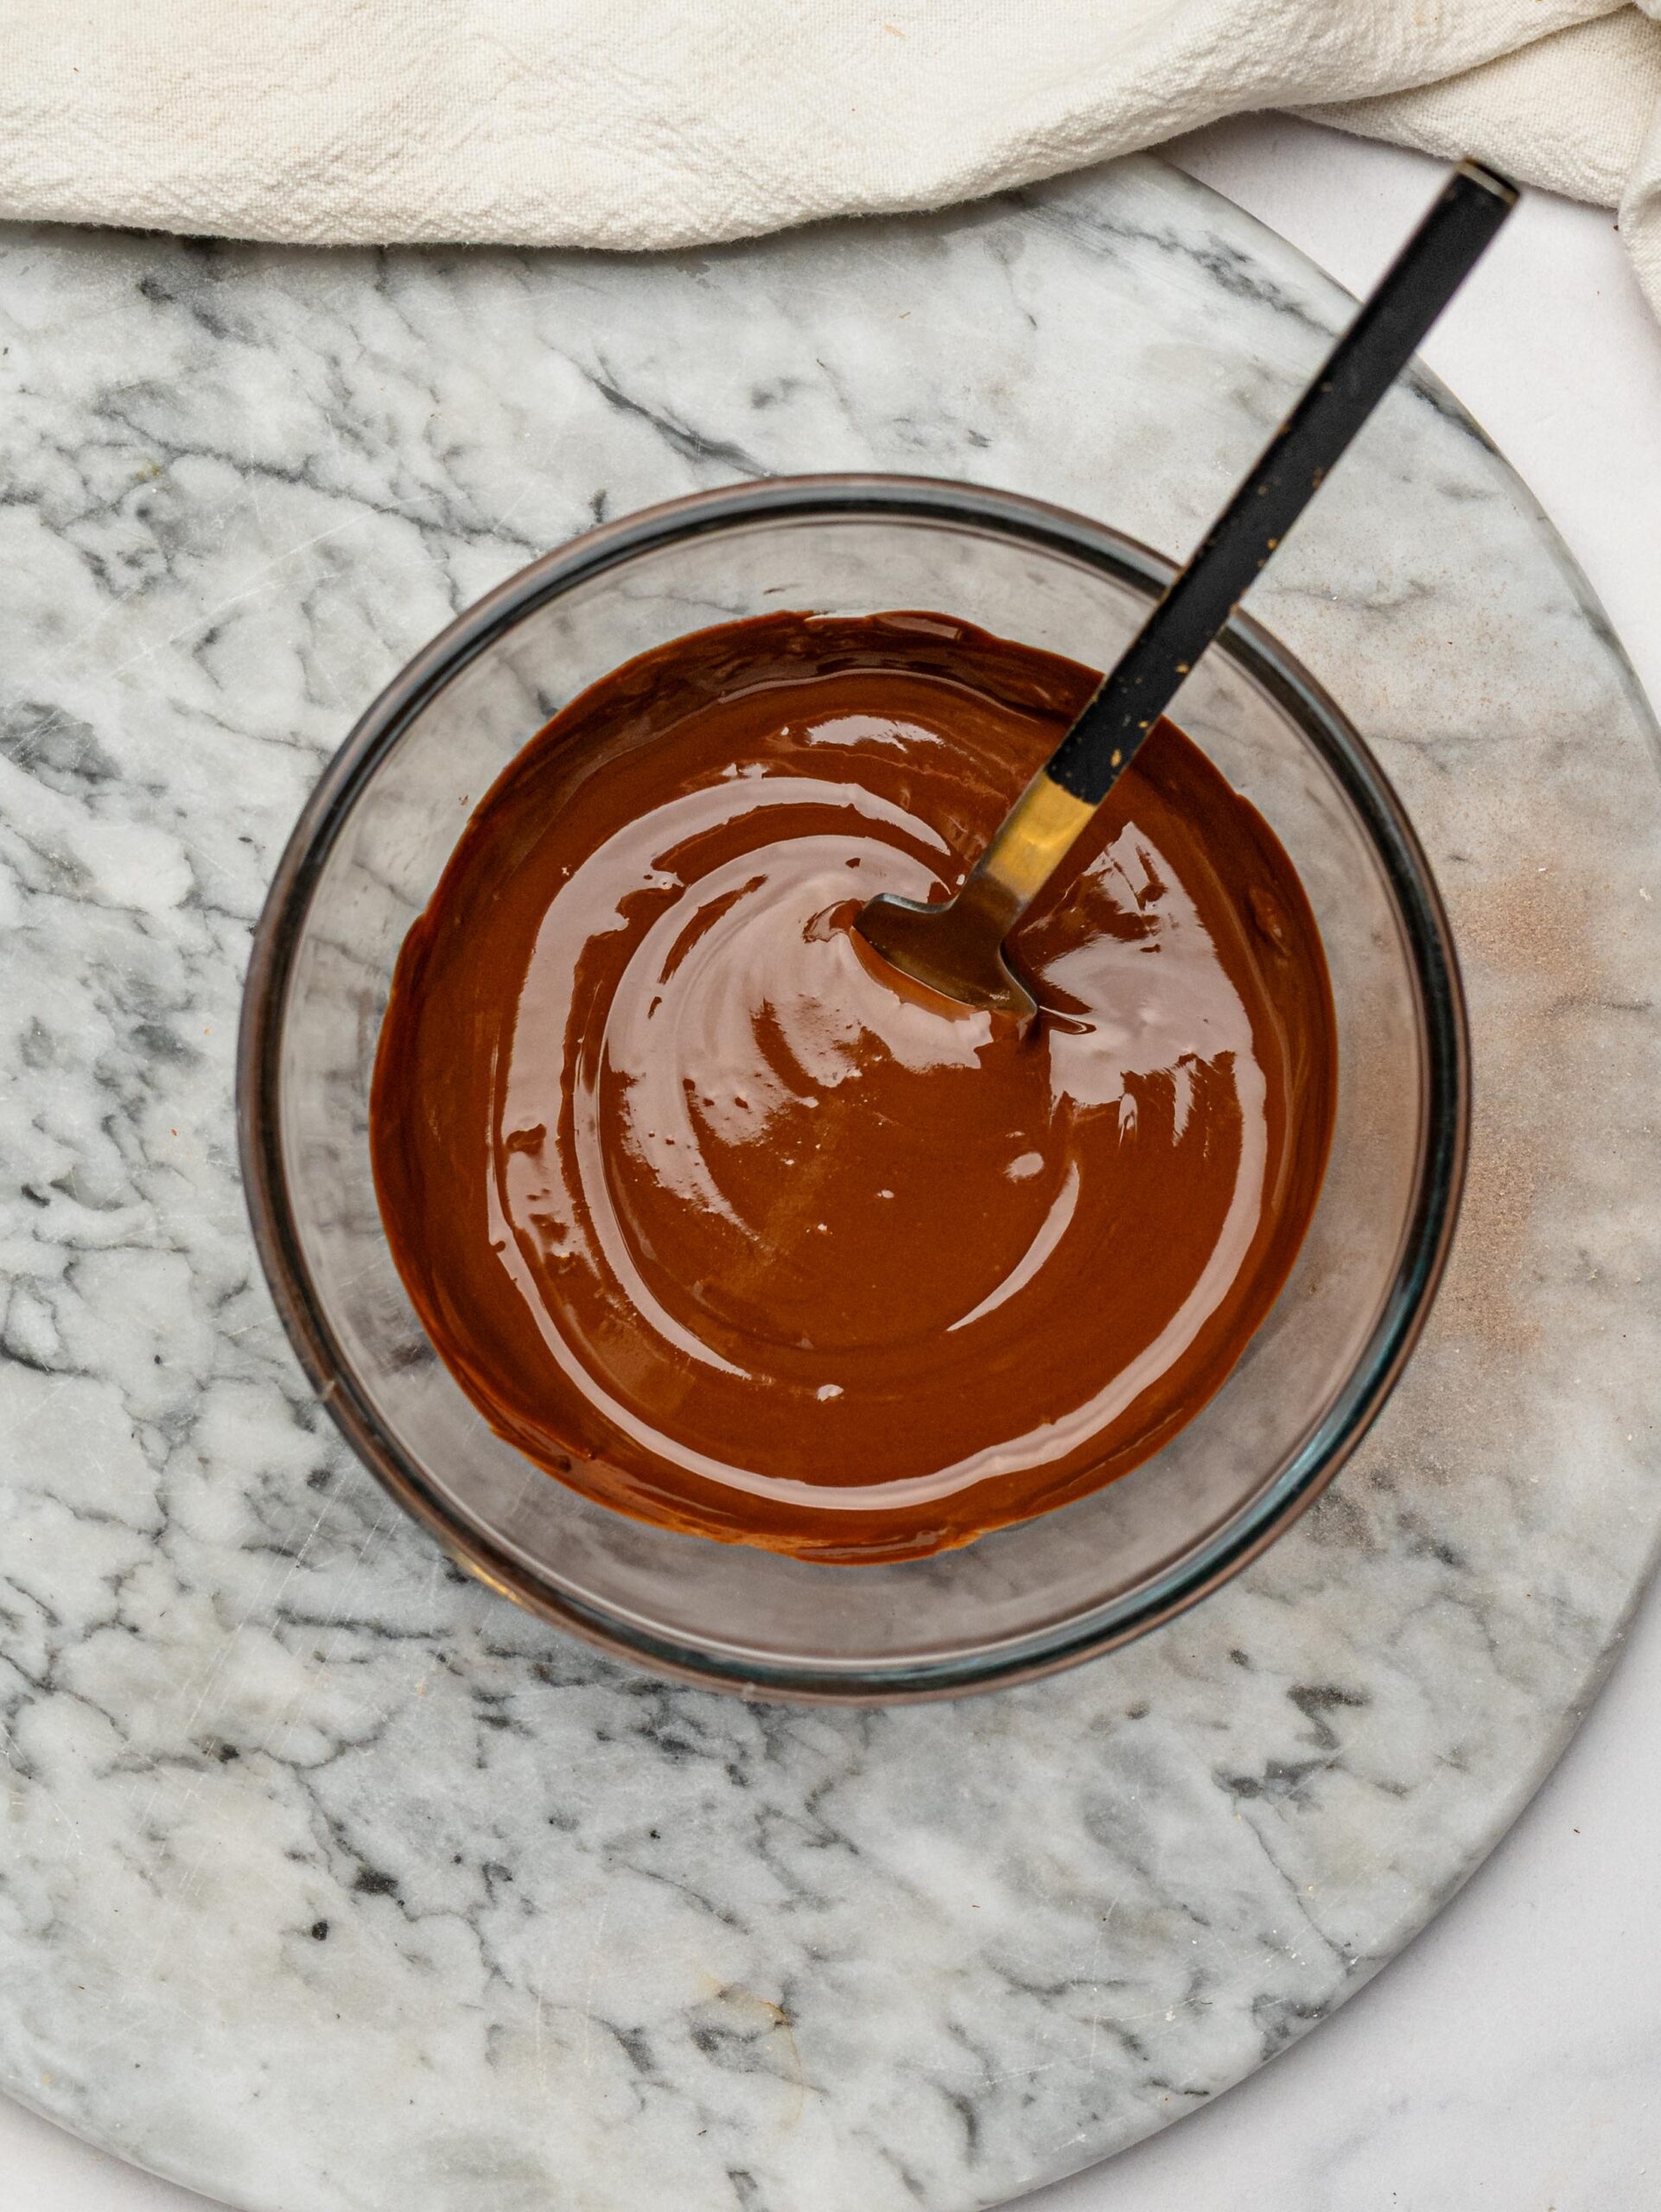
Add the dark chocolate and peanut butter to a microwave-safe bowl. Microwave in 20-second intervals, stirring between each, until completely smooth. Alternatively, melt them together over a double boiler.
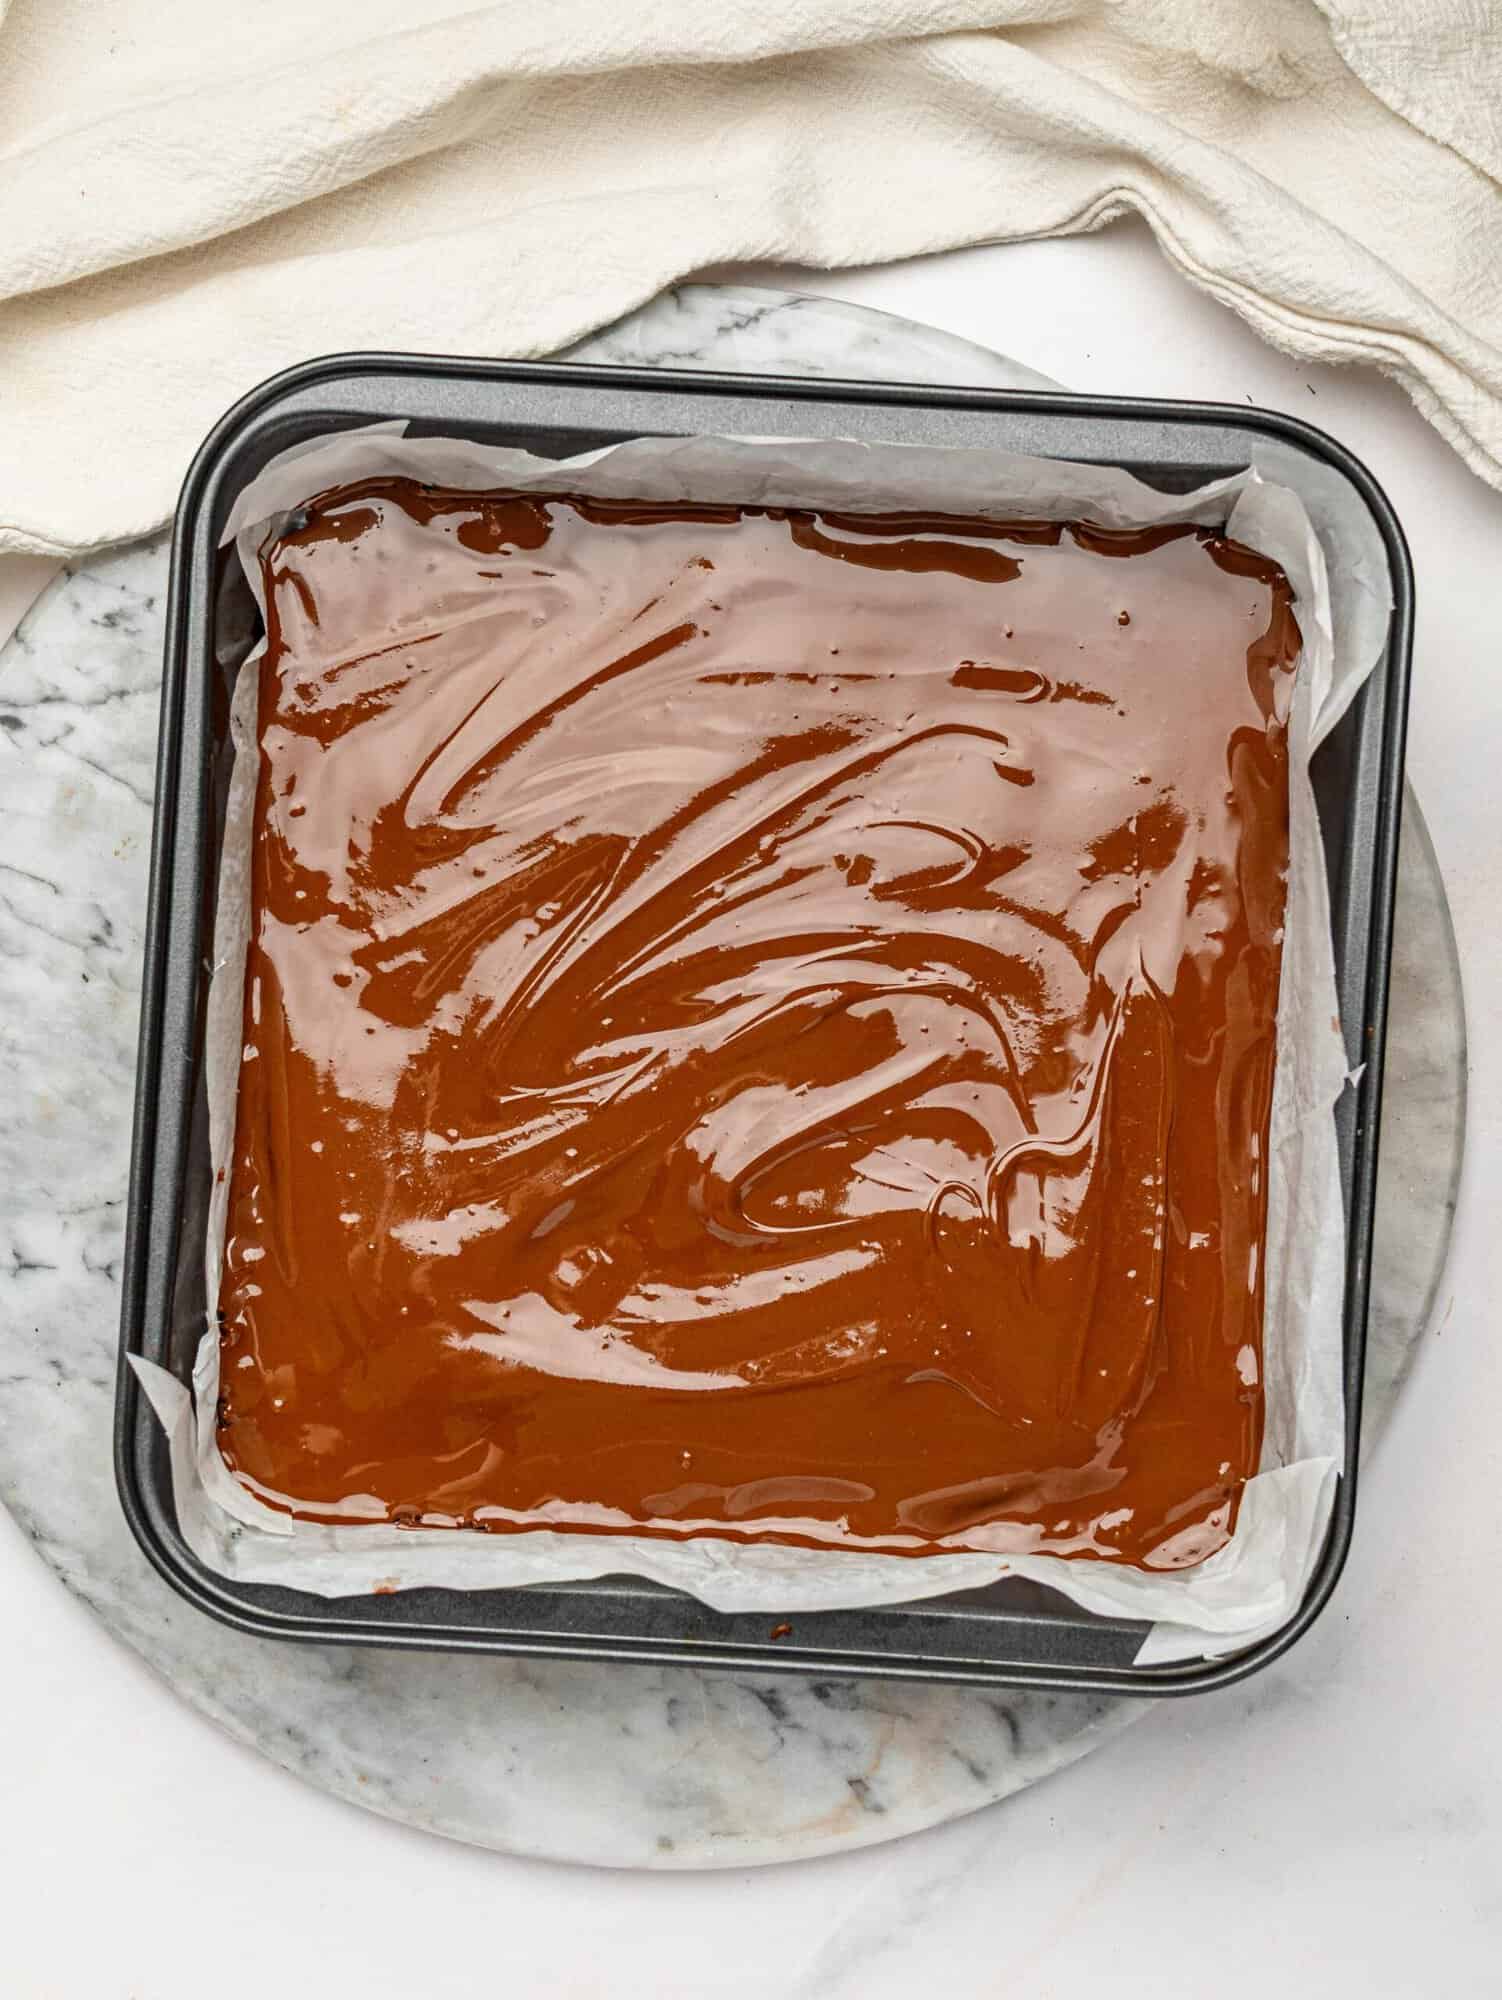
Pour the melted chocolate over the protein bar base and spread into an even layer. Sprinkle with flaky sea salt if desired.
Step 6: Chill
Refrigerate for 1–2 hours, or until the chocolate has completely set and the bars are firm.
Step 7: Slice and serve
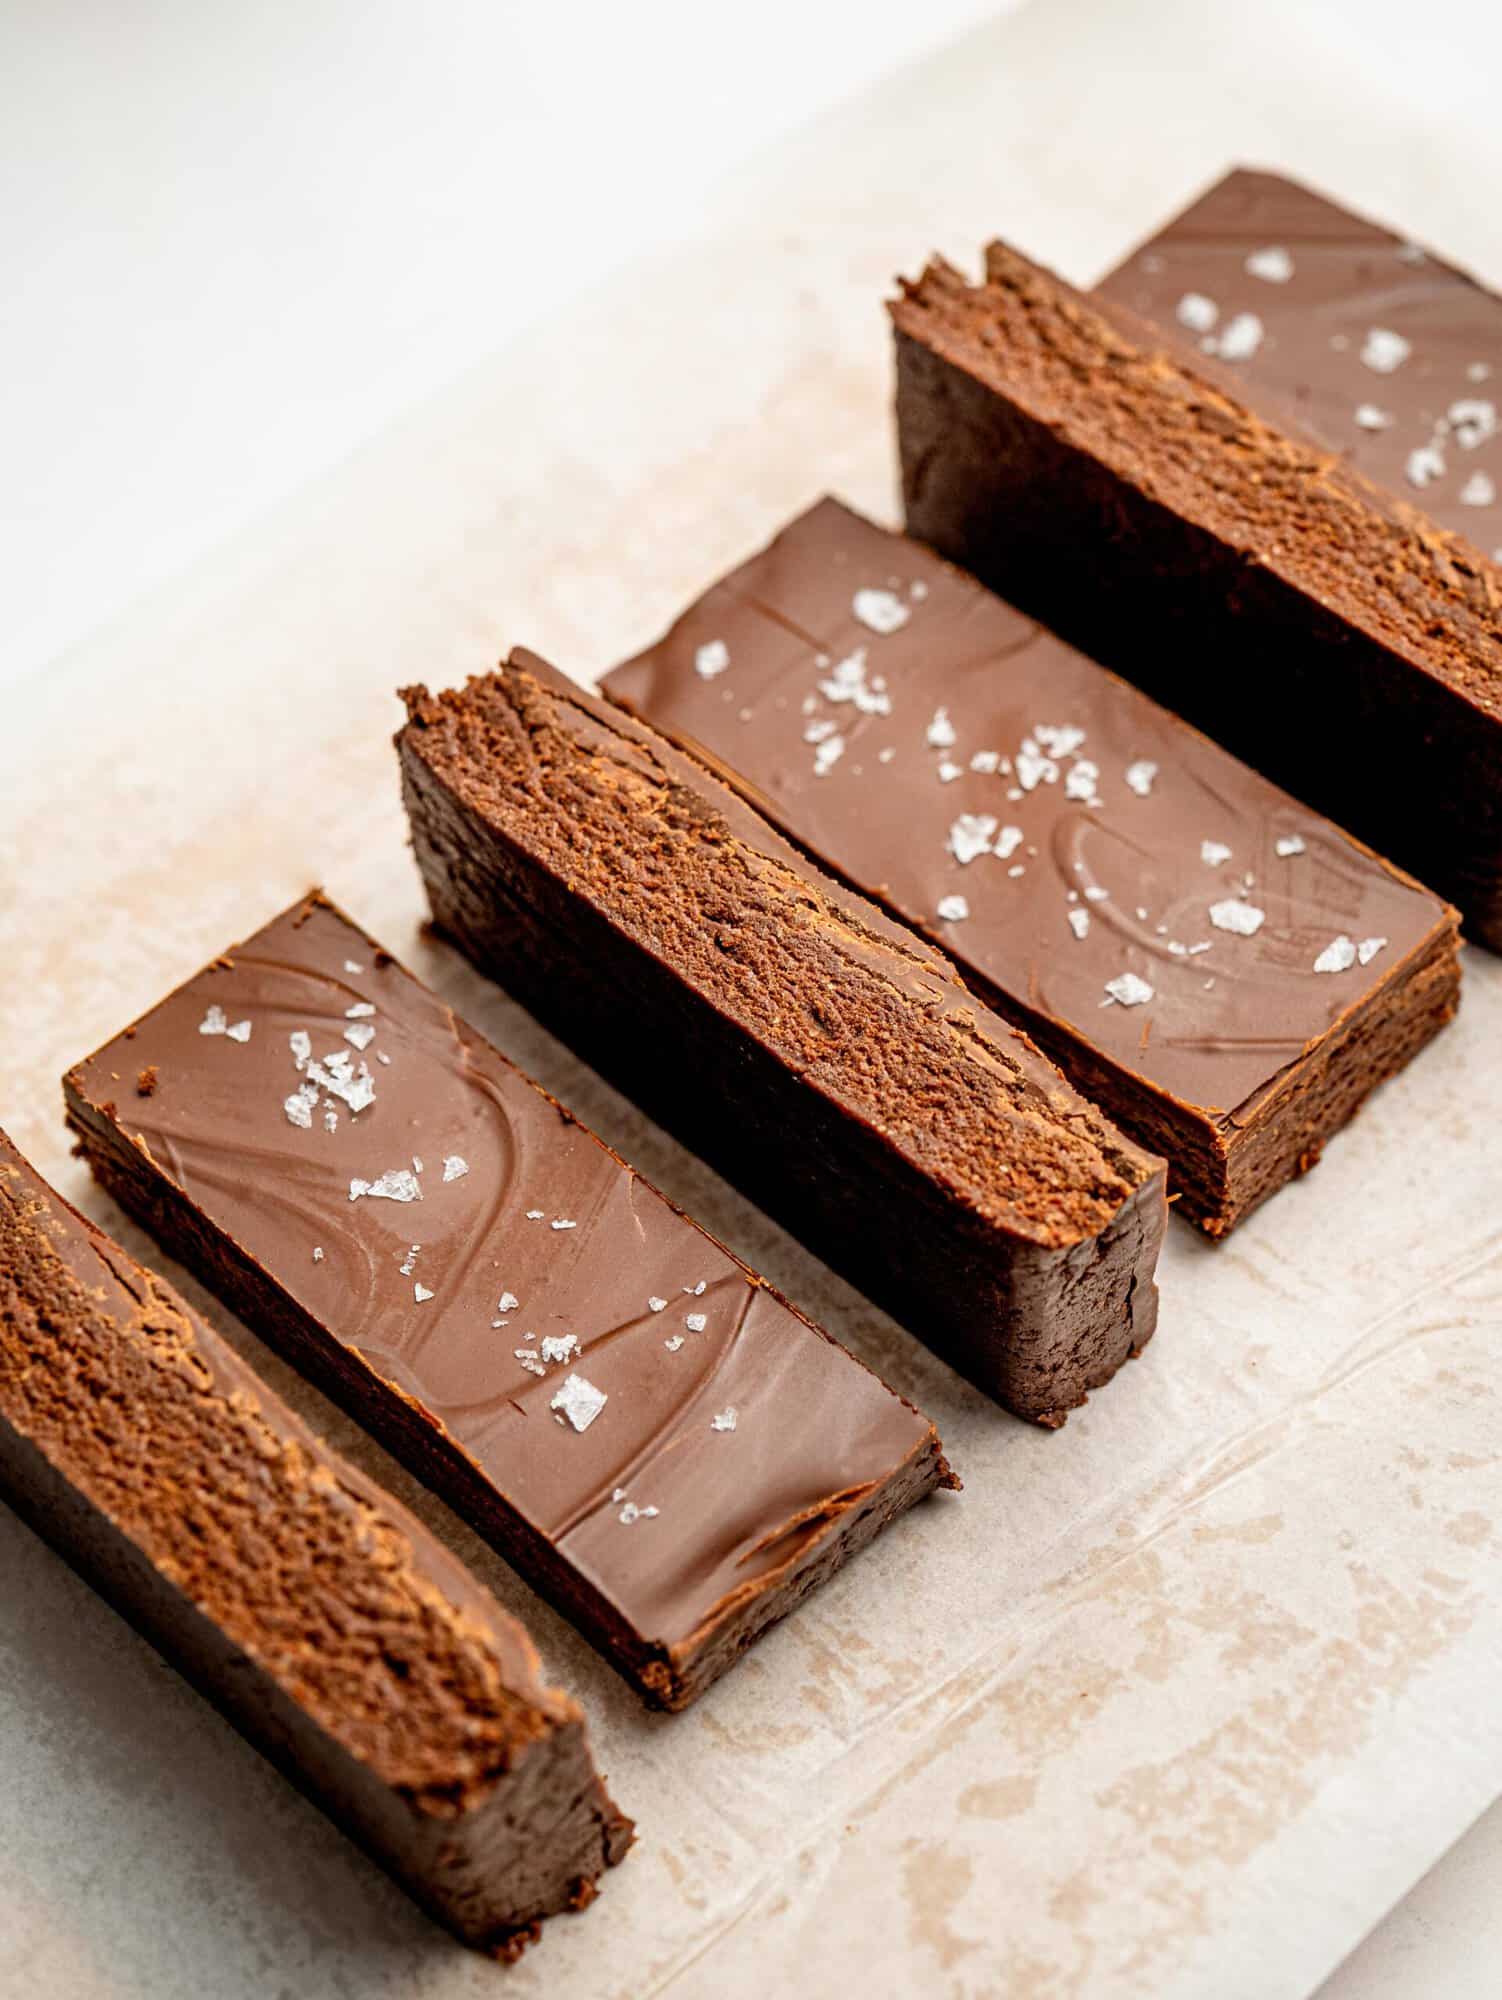
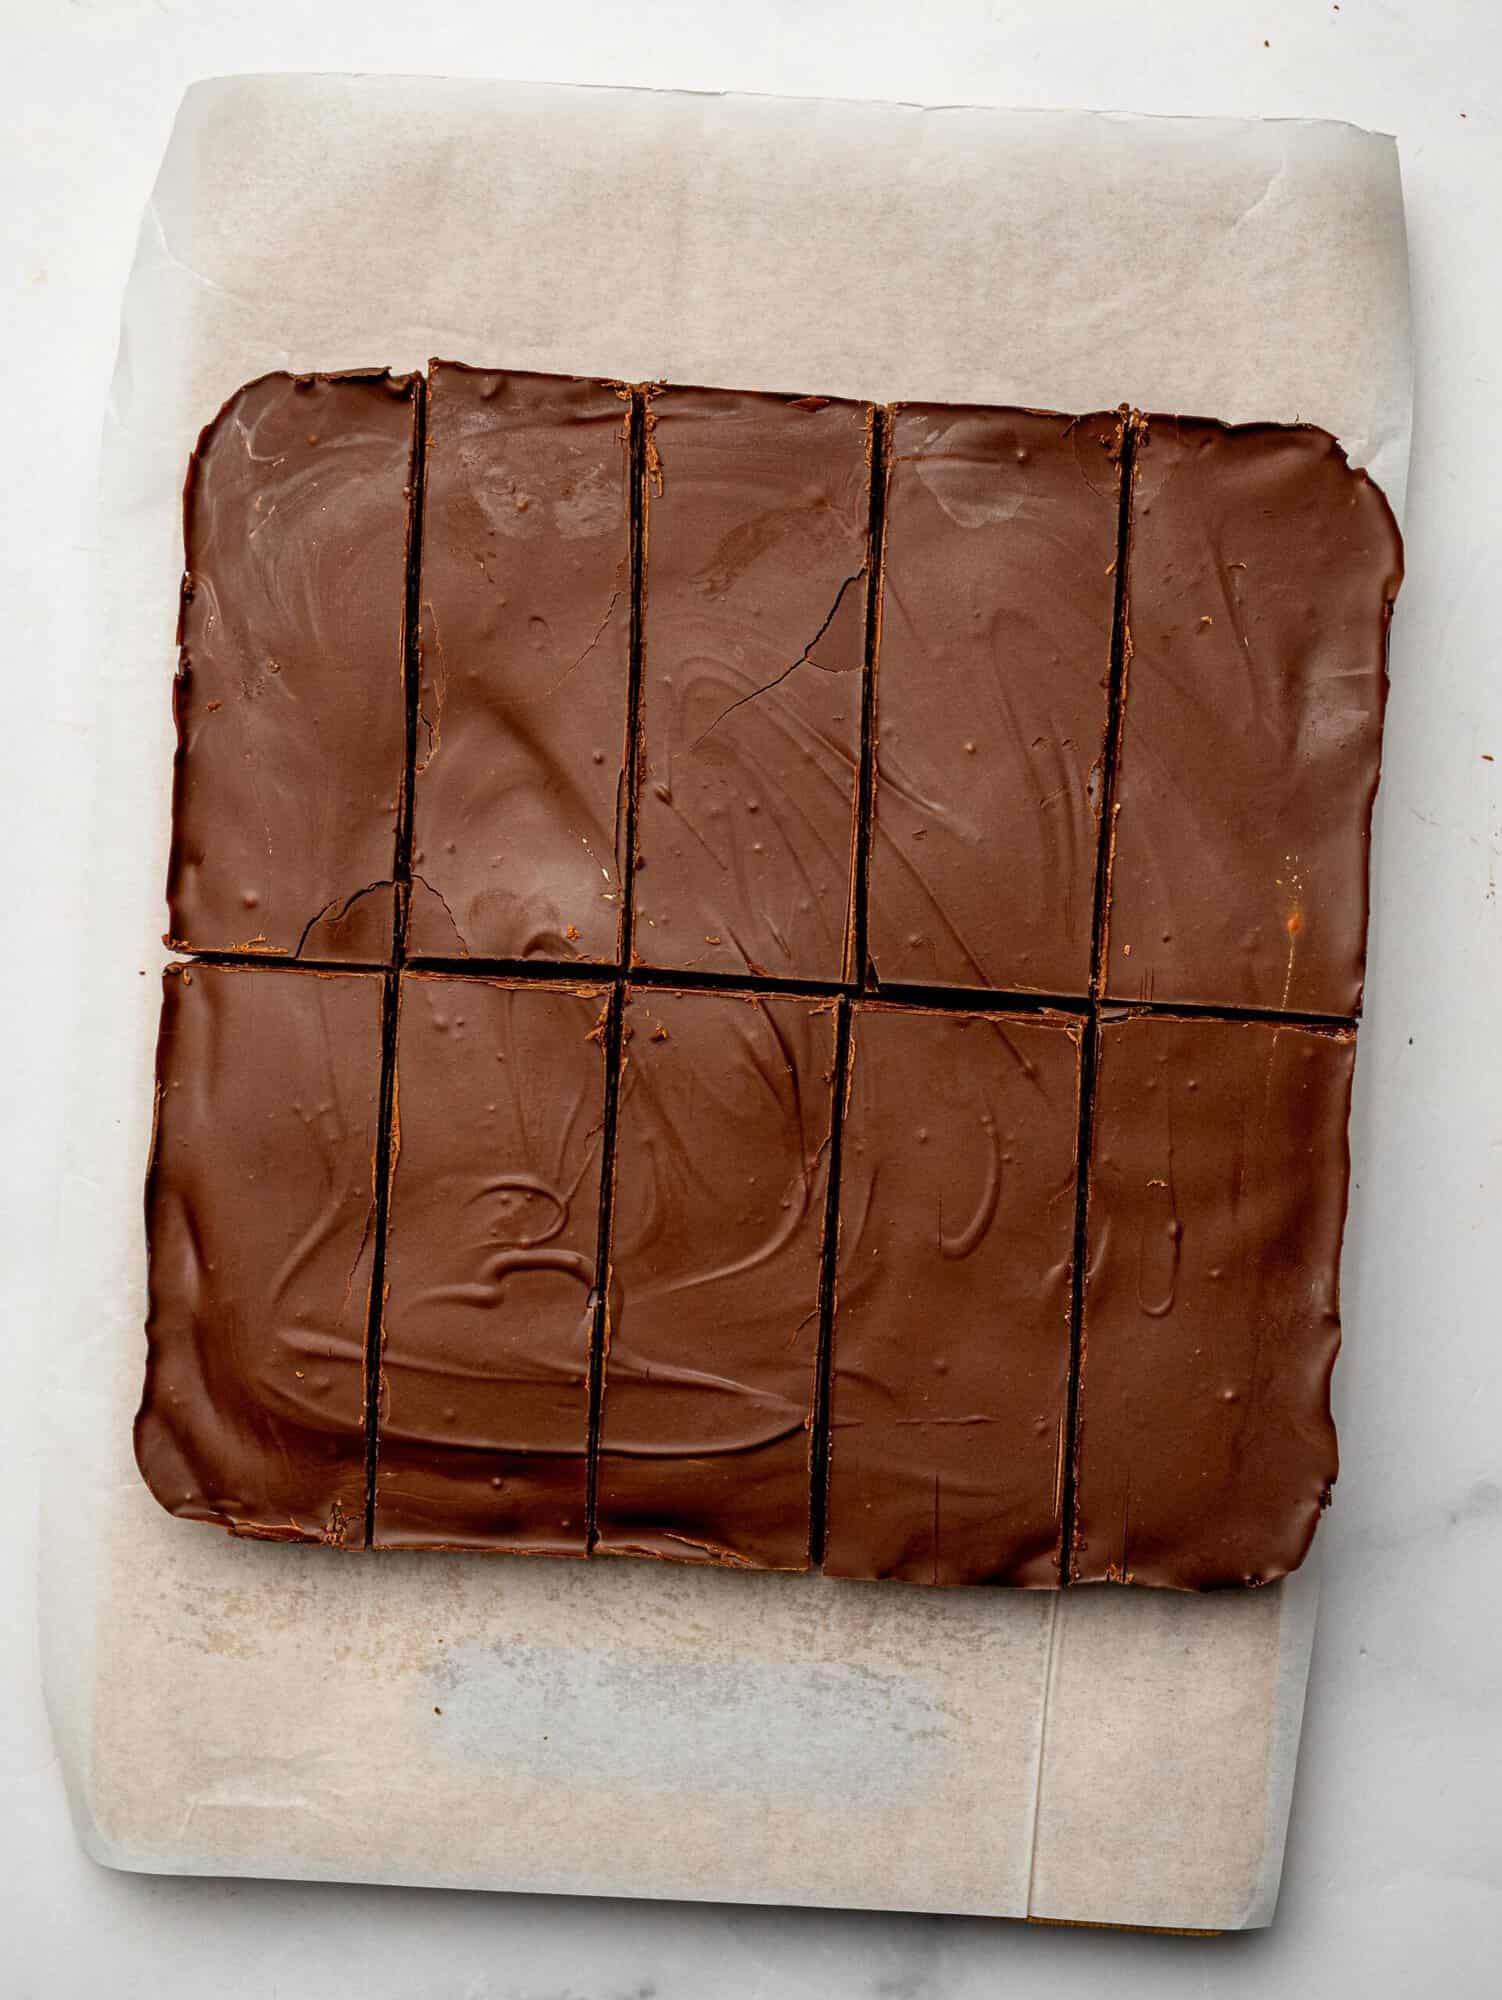
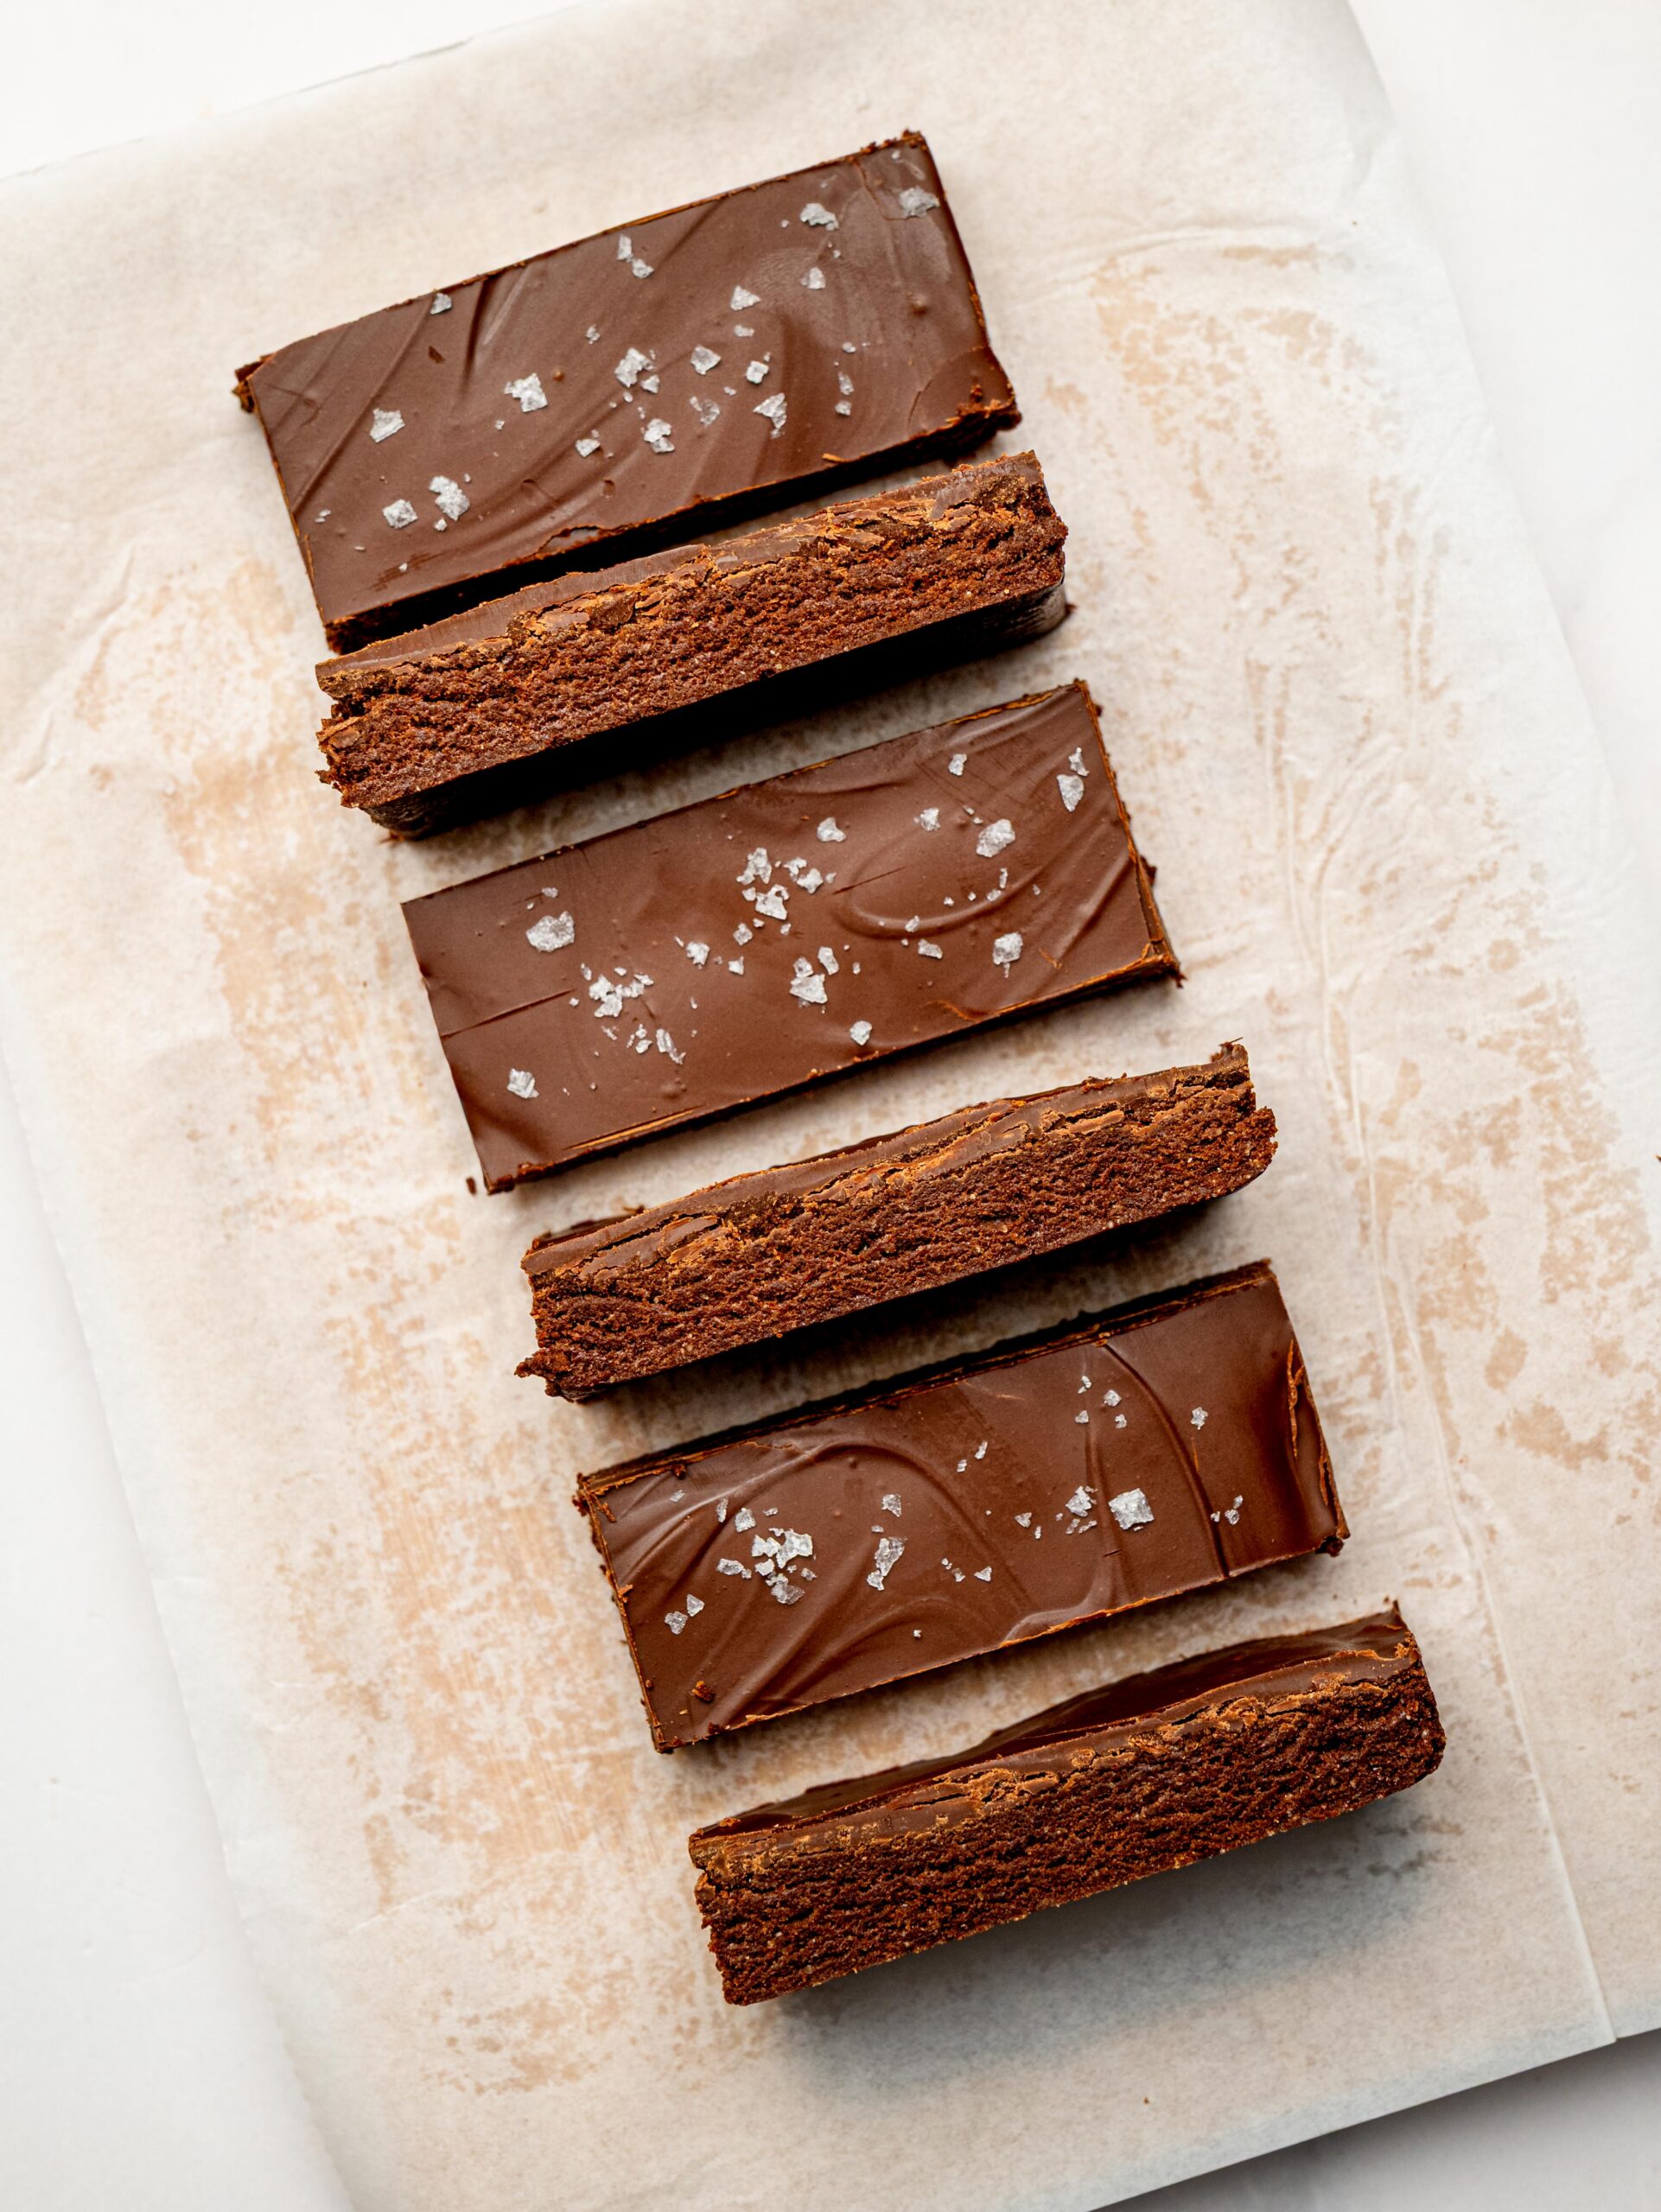
Remove the bars from the refrigerator and let them sit at room temperature for about 10 minutes before slicing. Use a warm, sharp knife and wipe it clean between each cut for neat, bakery-style bars.
My Top Tips
After testing this recipe a few times, these are the biggest things I learned.
- Different protein powders absorb different amounts of liquid: This is by far the most important tip for this recipe. Some protein powders are much more absorbent than others, so don’t worry if your mixture seems too dry after adding the first amount of milk. Add extra milk one tablespoon at a time until the mixture easily holds together when pressed.
- The texture should be soft, not sticky: It’s tempting to keep adding milk, but stop as soon as the mixture comes together. If it becomes sticky, the finished bars will be softer than intended.
- Press the mixture down firmly: Take your time pressing the mixture into the pan. Compacting it well helps the bars hold together once sliced.
- Chill before slicing: The bars need enough time to firm up before cutting. If you try slicing them too soon, the chocolate topping may crack and the bars won’t hold their shape as well.
- Use a warm knife for clean slices: For the neatest bars, let them sit at room temperature for about 10 minutes. Run a sharp knife under hot water, dry it, and wipe it clean between each cut.
Variations & Customizations
One of the best things about these homemade chocolate protein bars is how easy they are to customize.
Chocolate Peanut Butter Protein Bars: Love peanut butter? Stir a handful of peanut butter chips into the base or drizzle extra melted peanut butter over the chocolate topping before chilling.
Nut-Free Protein Bars: Replace the peanut butter with sunflower seed butter for a delicious nut-free alternative.
Double Chocolate Protein Bars: Fold a handful of dark chocolate chips into the base before pressing it into the pan for even more chocolate in every bite.
Add Some Crunch: Mix chopped roasted peanuts, cacao nibs, or crispy rice cereal into the base for extra texture.
Boost the Protein: If you’d like even more protein, reduce the oat flour slightly and add a little extra protein powder. Just remember that you’ll likely need more milk to bring the mixture together.
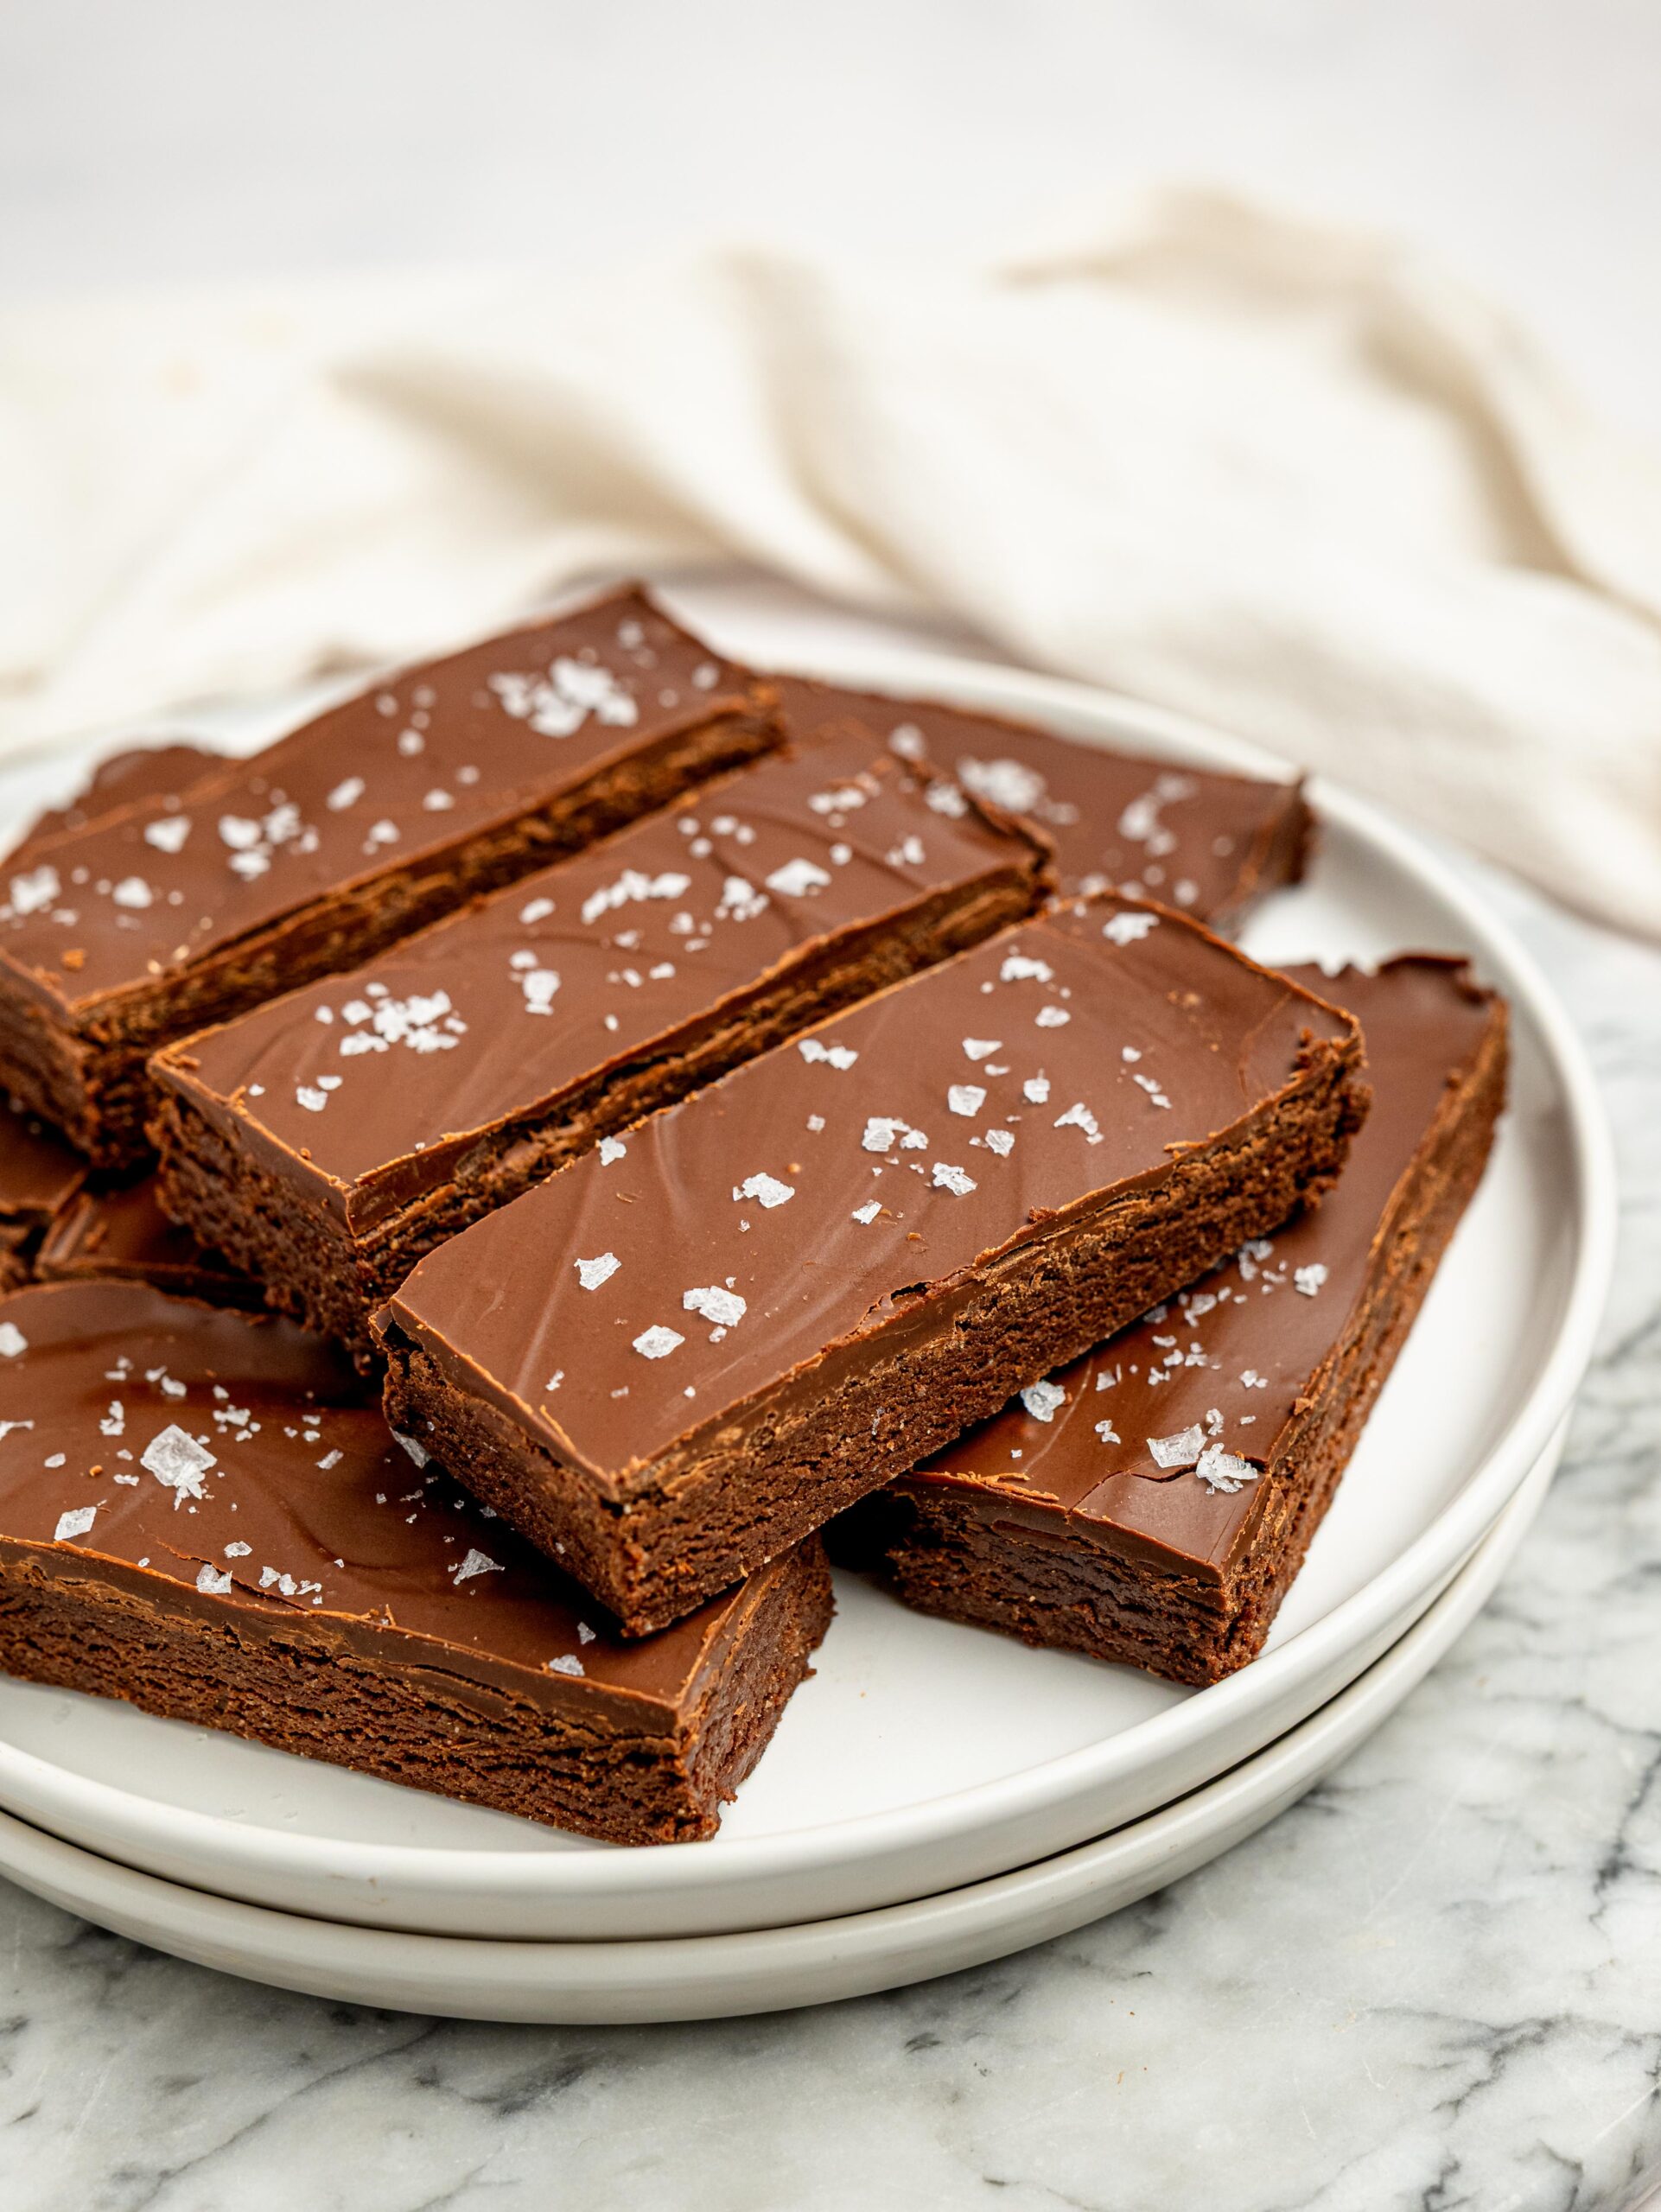
How to store Homemade Chocolate Protein Bars
Store these homemade chocolate protein bars in an airtight container in the refrigerator for up to 1 week.
For longer storage, freeze the bars for up to 3 months. I like wrapping them individually before freezing so they’re easy to grab whenever I need a quick snack. Simply let them thaw at room temperature for 15–20 minutes before enjoying.
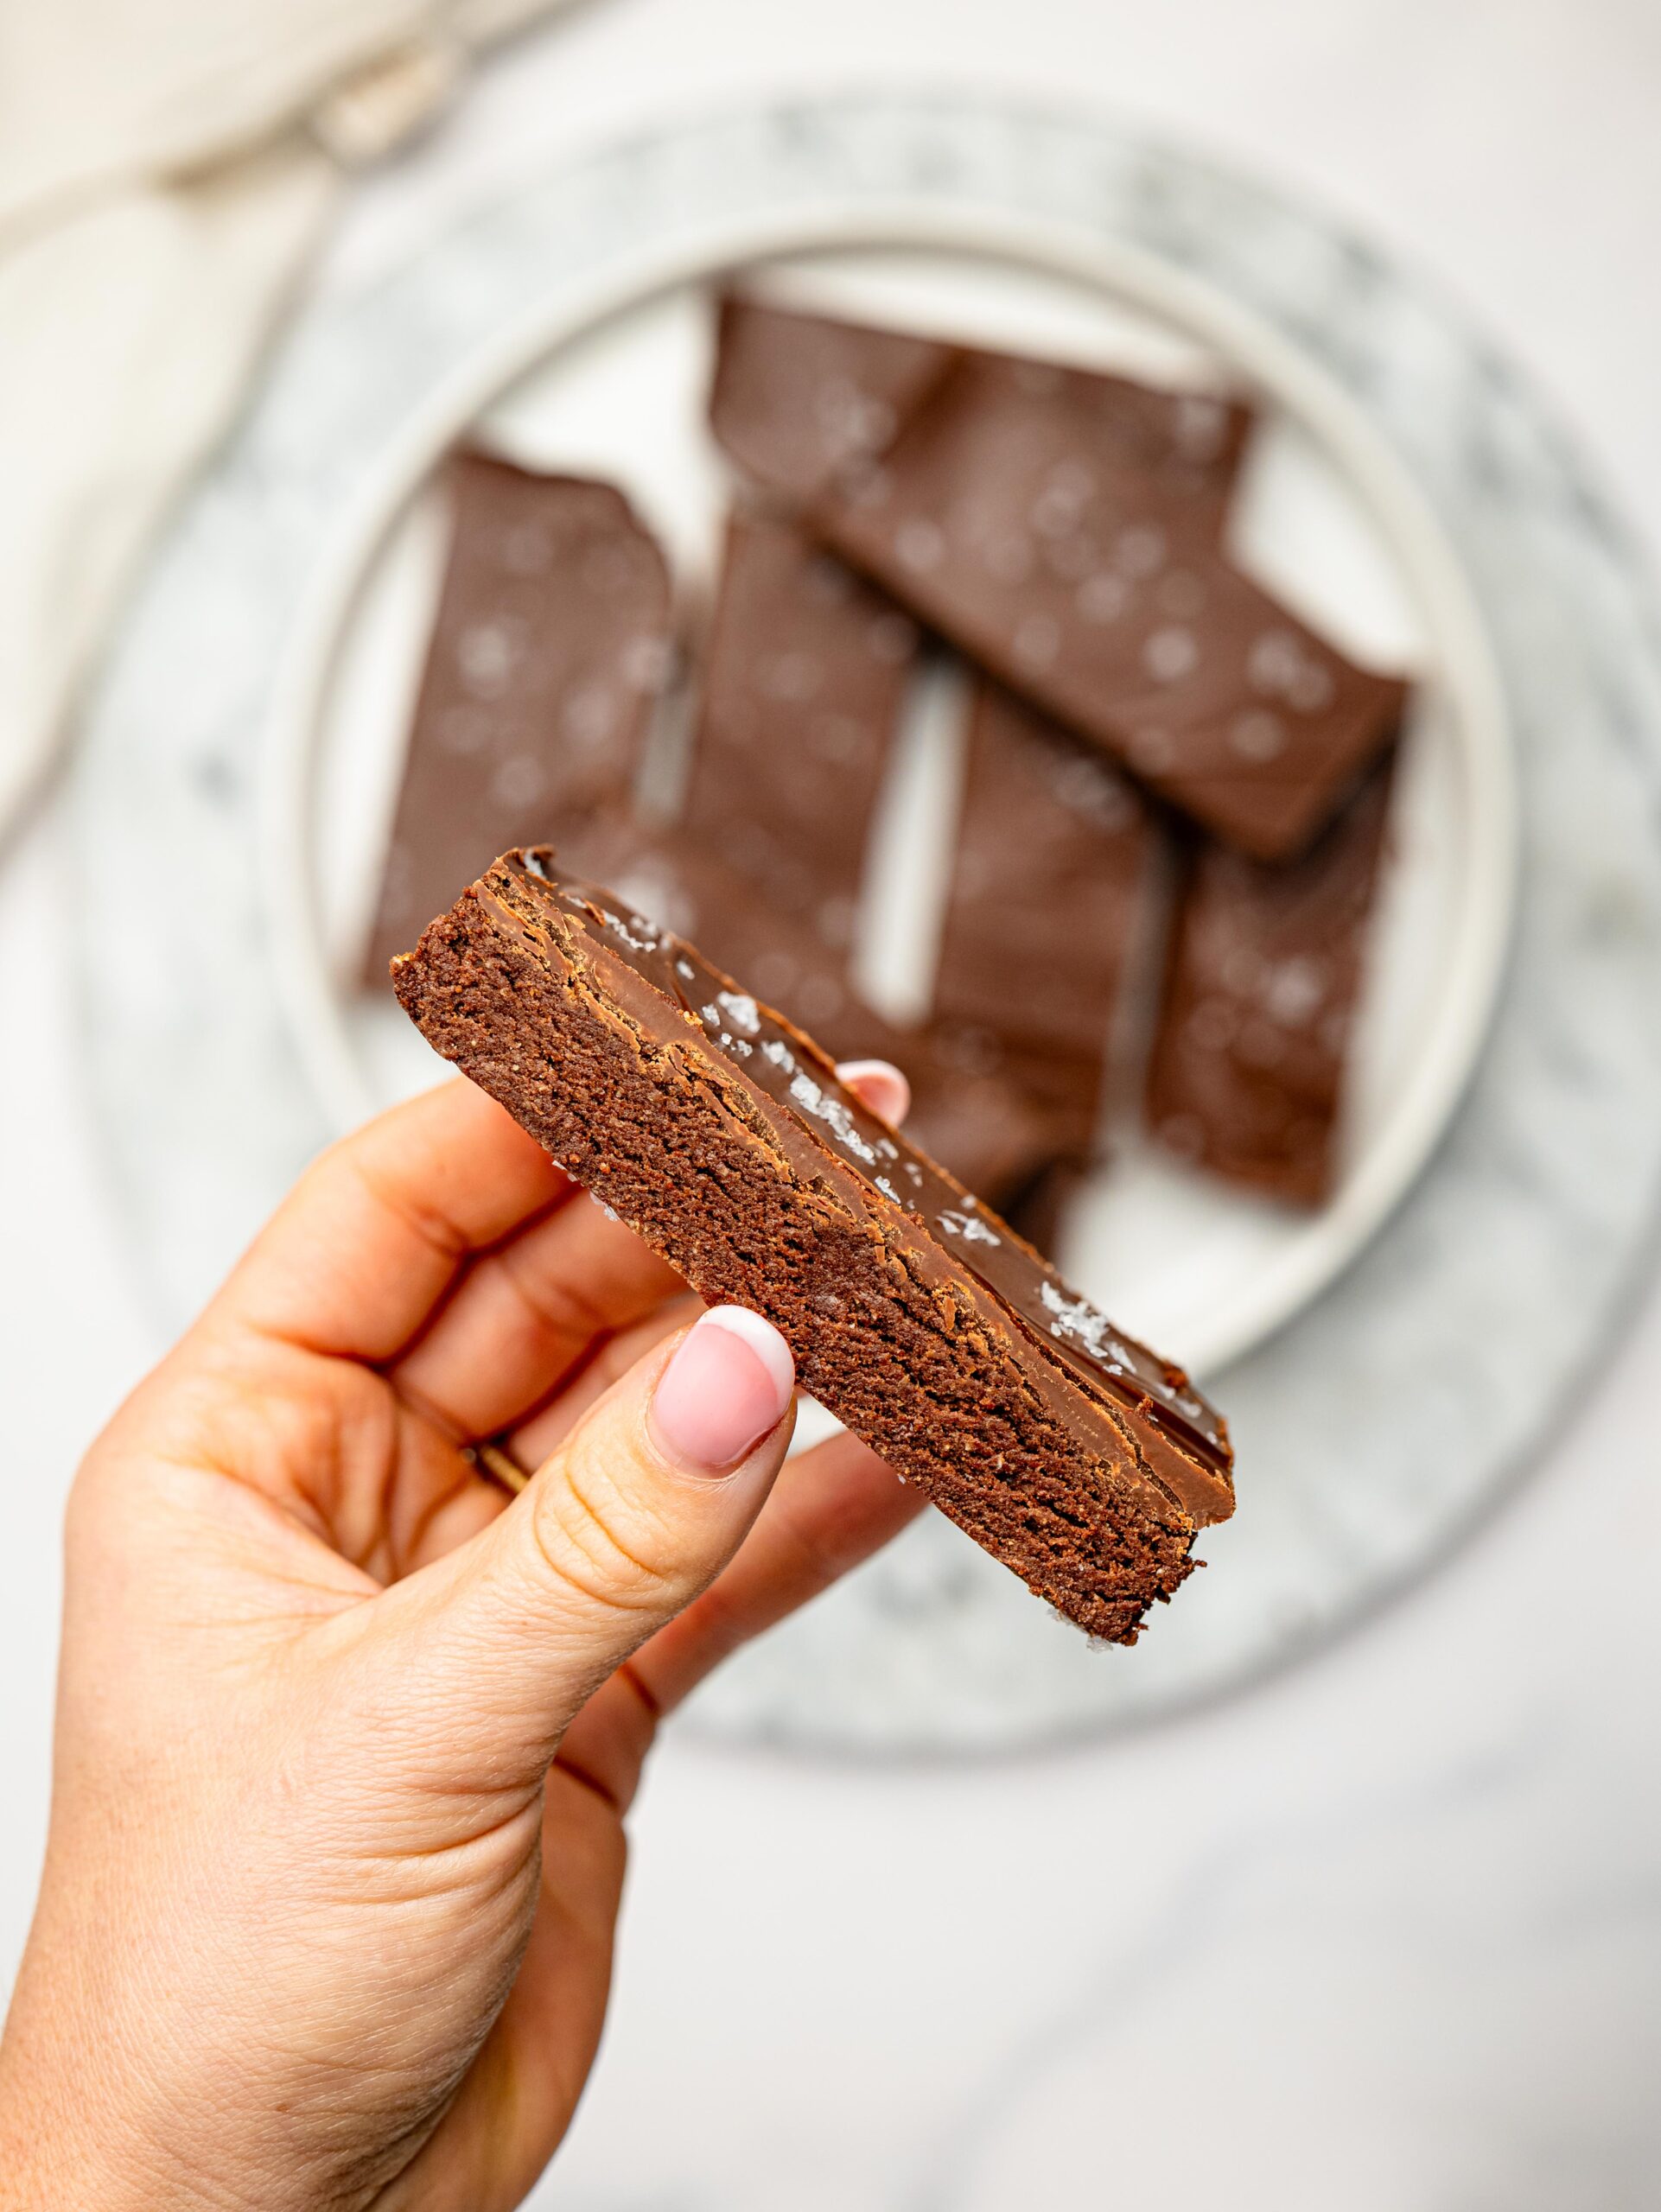
Frequently Asked Questions
Yes! This recipe works with most whey protein powders, and you can experiment with different flavors too. Chocolate protein powder gives the richest chocolate flavor, but vanilla protein powder also works well. Just keep in mind that different protein powders absorb liquid differently, so you may need to add a little more or less milk to achieve the right consistency.
Absolutely. Almond butter, cashew butter, or sunflower seed butter are all great substitutes.
Yes! Simply blend rolled oats in a high-speed blender or food processor until they resemble a fine flour. It’s a great budget-friendly alternative to store-bought oat flour.
The most common reason is not adding enough milk. Different brands of protein powder absorb different amounts of liquid, so don’t be afraid to add an extra tablespoon or two until the mixture comes together easily.
Yes, as long as you use certified gluten-free oat flour (or certified gluten-free rolled oats) and a gluten-free protein powder.
Definitely! These bars freeze really well for up to 3 months. Just thaw them for a few minutes before eating.
Yes. Maple syrup works well and creates a slightly softer texture than honey.
more high-protein snack recipes
- Birthday Cake Protein Bars
- Chocolate Chip Protein Cookies
- Protein Peanut Butter Cups
- Protein Chocolate Mousse
Hey! If you make this recipe, I would love it if you could leave me some feedback and a rating ⭐⭐⭐⭐⭐ in the comment section at the bottom of the page! Also, let me know on Facebook, Instagram or Pinterest! I can’t wait to hear your thoughts and see your photos!
No-Bake Chocolate Protein Bars
Equipment
- Rubber Spatula or Wooden Spoon
- 20cm x 20cm Baking Tin (8 x 8-inch)
Ingredients
For the Protein Bars
- 125 g natural peanut butter
- 90 g honey
- 80 g oat flour
- 135 g chocolate whey protein powder
- 30 g unsweetened cocoa powder
- Pinch of salt
- ¼ cup milk (more as needed)
For the Chocolate Layer
- 120 g dark chocolate
- 30 g peanut butter
- Flaky sea salt optional
Instructions
- Line a 20 x 20 cm (8 x 8-inch) baking pan with parchment paper.
- In a large mixing bowl, stir together the peanut butter and honey until smooth.
- Add the oat flour, chocolate protein powder, cocoa powder, and salt. Mix until combined.
- Add ¼ cup of milk and continue mixing. Gradually add more milk, one tablespoon at a time, until the mixture holds together easily when pressed. I used about 8 tablespoons (½ cup), but this may vary depending on your protein powder.
- Transfer the mixture to the prepared pan and press it firmly into an even layer.
- Melt the dark chocolate and peanut butter together in the microwave in 20-second intervals, stirring between each, or over a double boiler until smooth.
- Pour the melted chocolate over the protein bar base and spread evenly. Sprinkle with flaky sea salt if using.
- Refrigerate for 1–2 hours, or until the chocolate has completely set.
- Remove from the refrigerator and let the bars sit at room temperature for about 10 minutes before slicing. Use a warm, sharp knife, wiping it clean between each cut for the neatest slices.
Video
Notes
- Different protein powders absorb different amounts of liquid, so you may need more or less milk than listed. The mixture should hold together easily without feeling sticky.
- Store the bars in an airtight container in the refrigerator for up to 1 week.
- Freeze for up to 3 months and thaw for a few minutes before serving.
- For a gluten-free recipe, use certified gluten-free oat flour (or blend certified gluten-free rolled oats into flour) and a gluten-free protein powder.
Nutrition
Let me know in the comments below if you make this Chocolate Protein Bars Recipe!