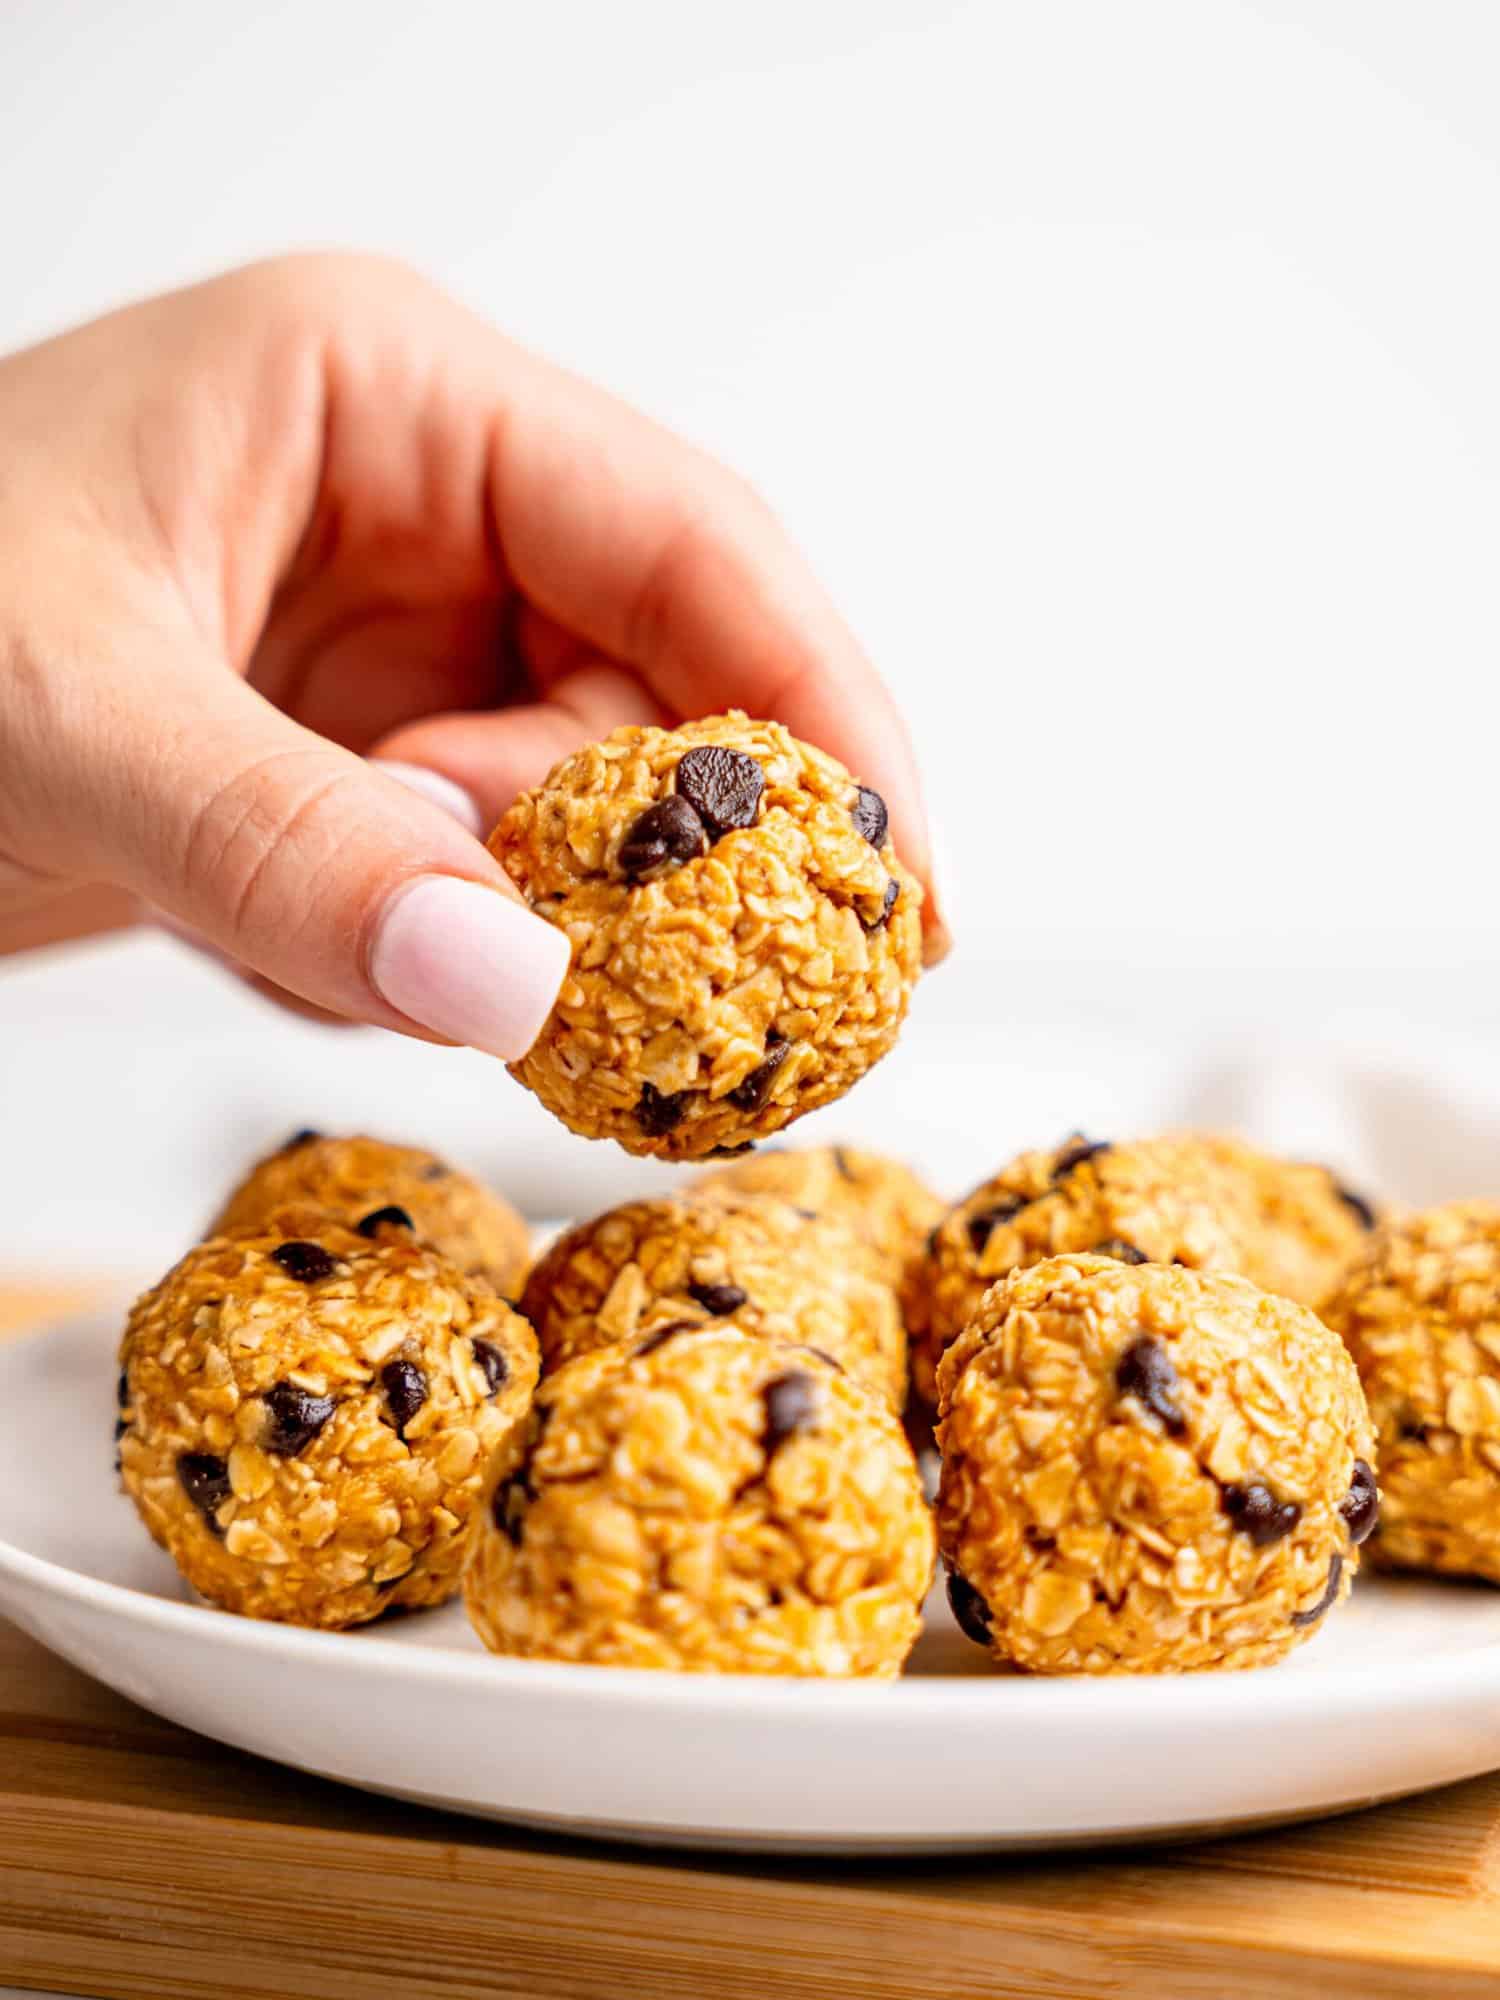
These Brownie Protein Bars are a perfect high-protein snack or dessert; they’re slightly chewy and taste like brownie batter! Made with simple, nourishing ingredients, they are very easy to prep, no baking is required and they contain 13g of protein each!

Protein bars are one of my all-time favorite snacks. I just love a sweet snack that provides my body with nutrients, protein, and fuel, and these Brownie Protein Bars do just that. The problem with store-bought protein bars is that most of the time, they are filled with strange, unpronounceable ingredients, and I am NOT a fan of words I can’t pronounce. That’s why I always prefer homemade protein bars; I know exactly what I’m putting in them.
It may seem like a lot of unnecessary effort to make your own protein bars when you can just buy them, but honestly, these no-bake protein bars are incredibly quick and easy to make. It takes five minutes to put together, and then you have eight protein bars ready for the week ahead. Not only are they better for you than shop-bought protein bars, they’re also A LOT more affordable, and I kind of feel a sense of pride eating something delicious that I made at home.
These brownie protein bars contain oat flour, yogurt, protein powder, and just a couple of other ingredients. They don’t need to be baked, they’re nut-free, gluten-free, and can easily be made dairy-free and vegan.
I urge you to try this recipe and my Protein Twix Bars while you’re at it. I promise you will never have to buy a single protein bar again.

Why You’ll Love These Brownie Protein Bars:
- They’re made with 6 simple ingredients.
- They contain 13g of protein each.
- They provide a good dose of fiber.
- They give you a wonderful energy boost, so they’re a perfect pre-workout snack.
- They taste like brownie batter!?
- No baking required.
- They’re gluten-free, dairy-free, and nut-free.
- They can easily be made vegan and refined sugar-free.
- Ready in under 10 minutes.
- They’re good for your soul and your body.
Ingredients, Health Benefits, and Substitutions
These are the ingredients you’ll need to make these Brownie Protein Bars. You can find the exact measurements in the recipe card at the bottom of this page.

Oat Flour – As a base ingredient for these no-bake protein bars, you’ll need oat flour. You can buy oat flour or make your own by simply blending whole oats. I like to prep a batch of oat flour and keep it in a jar ready to be used. Some blenders aren’t as powerful, so I recommend sifting your homemade oat flour to get rid of any bits of oats your blender may have missed. The oats in these protein bars also provide extra protein and fiber. There is no substitute for this ingredient.
Chocolate Protein Powder – I use Whey Protein Powder, but you can also use a plant-based protein powder to make vegan protein bars (read notes).
Cocoa Powder – To make these Brownie Protein Bars even more chocolatey, as well as adding a dose of antioxidants which is an added bonus.
Liquid Sweetener – To add a touch of sweetness to the protein Twix while still keeping them refined sugar-free. I like to use honey because it’s nice and thick, but you can use maple syrup, agave, date syrup, etc.
Yogurt – To bring the protein bars to the right consistency while increasing the protein value and providing a dose of calcium for strong bones. I recommend using a thick yogurt like Greek Yogurt or Coconut Yogurt for a vegan version.
Extras – I like to add some chocolate chips for a crunch and extra deliciousness. You could also add in some chopped nuts, as well as some vanilla extract and a pinch of salt to enhance and balance the flavors.

a note about protein powder
I’ve used many different protein powders in my day and I’m afraid to tell you that they’re all different. Some protein powders absorb more liquid, some less; which makes using protein powders in recipes like these a bit tricky. BUT there’s an easy solution to this problem – simply watch the amount of liquid that you add.
Start with the amount of yogurt listed in the recipe card below and then if you notice your mixture is too dry, add a small splash more yogurt (literally a tablespoon at a time) until you reach the correct consistency. If you feel the mixture is too wet, add some extra cocoa powder.

Equipment Needed
- Blender or Food Processor (if making oat flour from scratch)
- Mixing Bowl
- Wooden Spoon
- Loaf Pan or other small pan
- Parchment Paper
How to Make No-Bake Brownie Protein Bars
Here is a detailed summary of how to make these Brownie Protein Bars. I’ve also included some photos, and you can find the recipe video in the recipe card. At the bottom of this page is a summarized version that can be printed.
Step One:
Add oat flour, protein powder, cocoa powder, yogurt, liquid sweetener, and salt and vanilla extract if using.
Step Two:
Fold the ingredients together with a wooden spoon. The mixture may seem too dry at first, but keep mixing – you’ll get a good arm workout in! The mixture should be sticky but not wet or dry. If it seems too dry, you can add a small bit more yogurt, and if it seems too wet, add a bit more cocoa powder.


Step Three:
Add your chocolate chips or nuts if using and fold them in.

Step Four:
Line your loaf pan with parchment paper for easy removal.
Step Five:
Press the mixture into your pan in an even layer.

Step Six:
Place the tin in the freezer until set and then slice into bars or small squares. You can store these brownie protein bars in the fridge for a chewy texture or in the freezer for a more solid texture.

Extra Tips and Tricks
Absolutely! Here are some extra tips and tricks to make your Brownie Protein Bars even more delicious and foolproof:
Experiment with Flavors – While this recipe yields classic chocolate brownie flavor, feel free to get creative with different protein powders and flavorings. Try salted caramel protein powder for a vanilla brownie twist
The Right Texture – The texture of your protein bars can vary depending on factors like humidity and the thickness of your yogurt. If your mixture seems too dry, add a touch more yogurt. If it’s too wet, add a bit more oat flour or cocoa powder until you achieve a sticky but manageable consistency.
Mix-ins – Get creative with mix-ins! While chocolate chips and nuts are classic choices, you can customize your bars with a variety of add-ins like shredded coconut, dried fruit, or even a swirl of nut butter for added flavor and texture.
Double Batch – These bars are so delicious and convenient to have on hand that it’s worth considering doubling the recipe. That way, you’ll always have a stash of protein-packed snacks ready whenever hunger strikes.
Customize for Dietary Needs – This recipe is already gluten-free, dairy-free, and nut-free, but you can easily adapt it to fit other dietary preferences or restrictions. Simply swap out ingredients as needed, such as using a plant-based protein powder for a vegan version or choosing certified gluten-free oats for those with gluten sensitivities.
With these tips and tricks in mind, you’ll be well-equipped to whip up a batch of irresistible Brownie Protein Bars that are sure to become a staple in your snack rotation. Enjoy!

How to Store Brownie Protein Bars
Here are some storage instructions to ensure your Brownie Protein Bars stay fresh and delicious:
Refrigeration: For a chewy consistency, store them in an airtight container or sealable plastic bag. Place them in the refrigerator to maintain their freshness. They will keep well in the fridge for up to a week.
Freezing: For a more solid consistency, or if you want to extend the shelf life of your protein bars, you can freeze them. Place in a freezer-safe airtight container with parchment paper between the layers to prevent them sticking together. They will remain fresh in the freezer for up to a few months. Leave for a few minutes to soften slightly before eating.
On-the-Go: If you want to take your Brownie Protein Bars on the go, consider packing them in a small container or snack bag. They’re perfect for tossing into a lunchbox, gym bag, or purse for a convenient and satisfying snack anytime, anywhere.
By following these storage instructions, you can ensure that your Brownie Protein Bars stay fresh and flavorful, allowing you to enjoy them whenever hunger strikes.

FAQ
Can I substitute the liquid sweetener with a granulated sweetener?
Yes, but you may need to adjust the amount and add a bit of liquid to compensate for the texture difference.
Can I bake these bars instead of freezing them?
These bars are designed to be no-bake for convenience, but you can experiment with baking them at a low temperature if desired.
Can I use flavored yogurt instead of plain?
Yes, flavored yogurt can add extra flavor to the bars. Just be mindful of the added sugars and additives.
more easy and healthy high-protein recipes
- No-Bake Protein Twix Bites
- Easy and Healthy Protein Cheesecakes
- Homemade Rocky Road Protein Bars
- 4-ingredient protein scones (without butter)
Hey! If you make this recipe, I would love it if you could leave me some feedback and a rating ⭐⭐⭐⭐⭐ in the comment section at the bottom of the page! Also let me know on Facebook, Instagram or Pinterest! I can’t wait to hear your thoughts and see your photos!

No-Bake Brownie Protein Bars
Equipment
- Blender or Food Processor (if making oat flour from scratch)
- Wooden Spoon
Ingredients
- 240 g Oat Flour or Blended Oats (2 cups)
- 80 g Chocolate Protein Powder (⅔ cup)
- 45 g Cocoa Powder (⅓ cup)
- 120 g Yogurt (½ cup)
- 80 g Liquid Sweetener (¼ cup)
- 60 g Chocolate Chips or Nuts (⅓ cup) optional
- Pinch of Salt optional
- 1 tsp Vanilla Extract optional
Instructions
- Line your loaf pan with parchment paper for easy removal.
- Blend and sift your oats if making from scratch.
- Add oat flour, protein powder, cocoa powder, yogurt, liquid sweetener and salt and vanilla to a bowl.
- Fold with a wooden spoon until combined. If too wet: add more cocoa powder; if too dry: add more yogurt.
- Fold in chocolate chips or nuts.
- Press the mixture firmly and evenly into your loaf pan. Place in the freezer for at least 10 minutes or until solid.
- Slice into 8 bars or 16 squares.
- Store in the fridge for a chewy texture or in the freezer for a solid texture.

