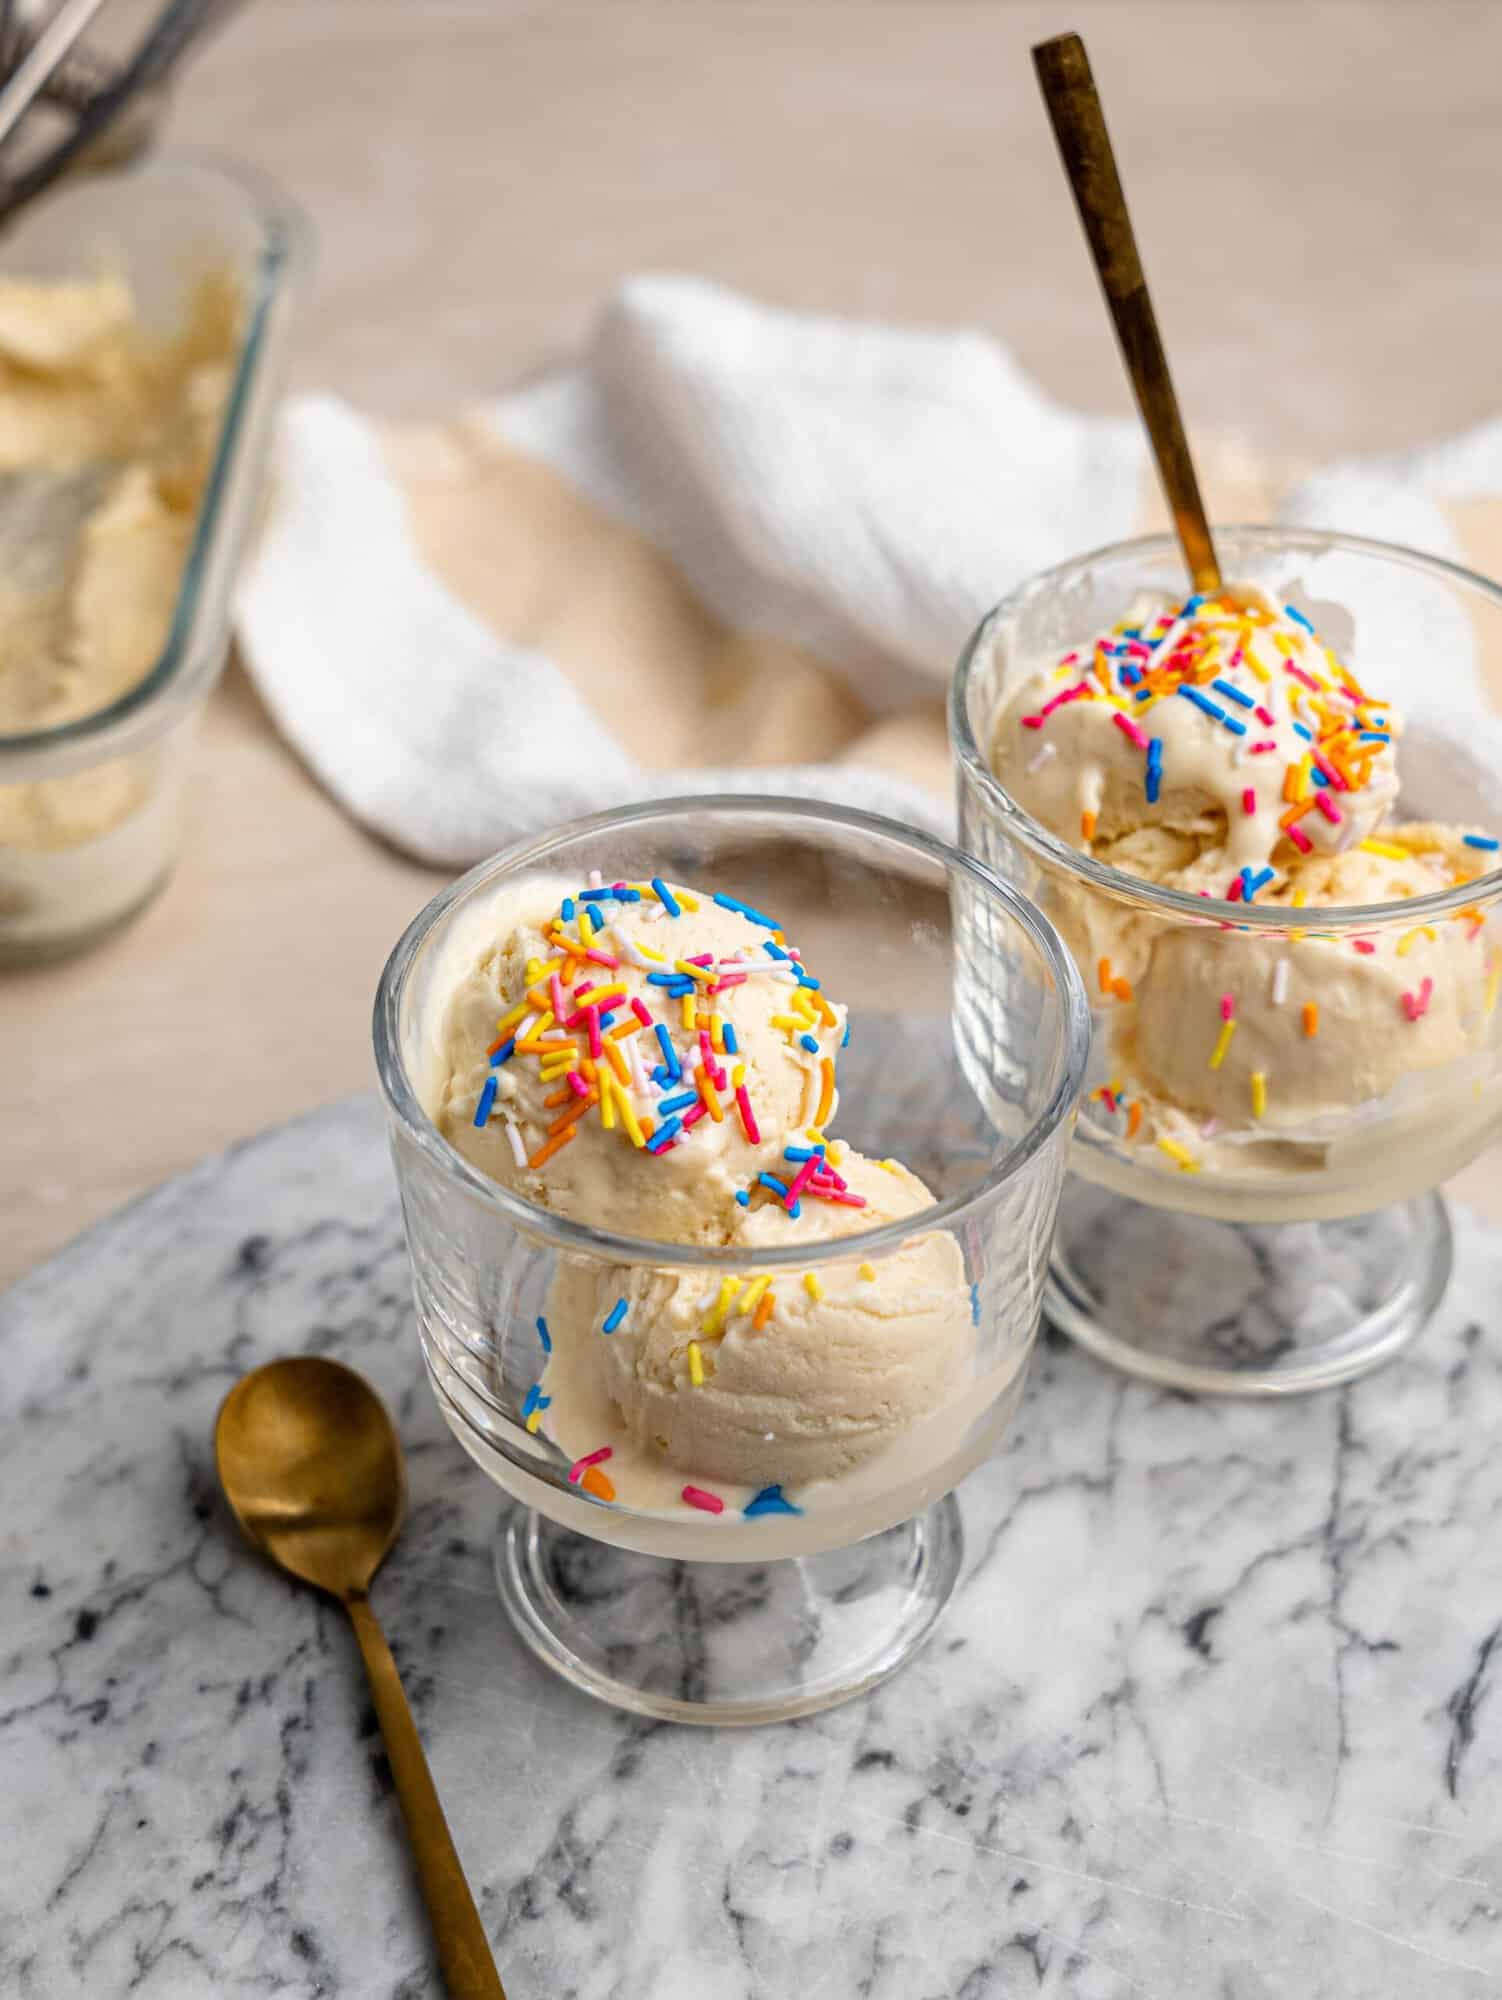
This Protein Powder Ice Cream Recipe is proof that you don’t need an ice cream maker to make seriously creamy, delicious ice cream at home. It has a rich, creamy texture, tastes like a proper dessert and has 18.5g of protein per serving. Even better, the base comes together in just a few minutes with cottage cheese, Greek yogurt, vanilla protein powder and a handful of simple ingredients.
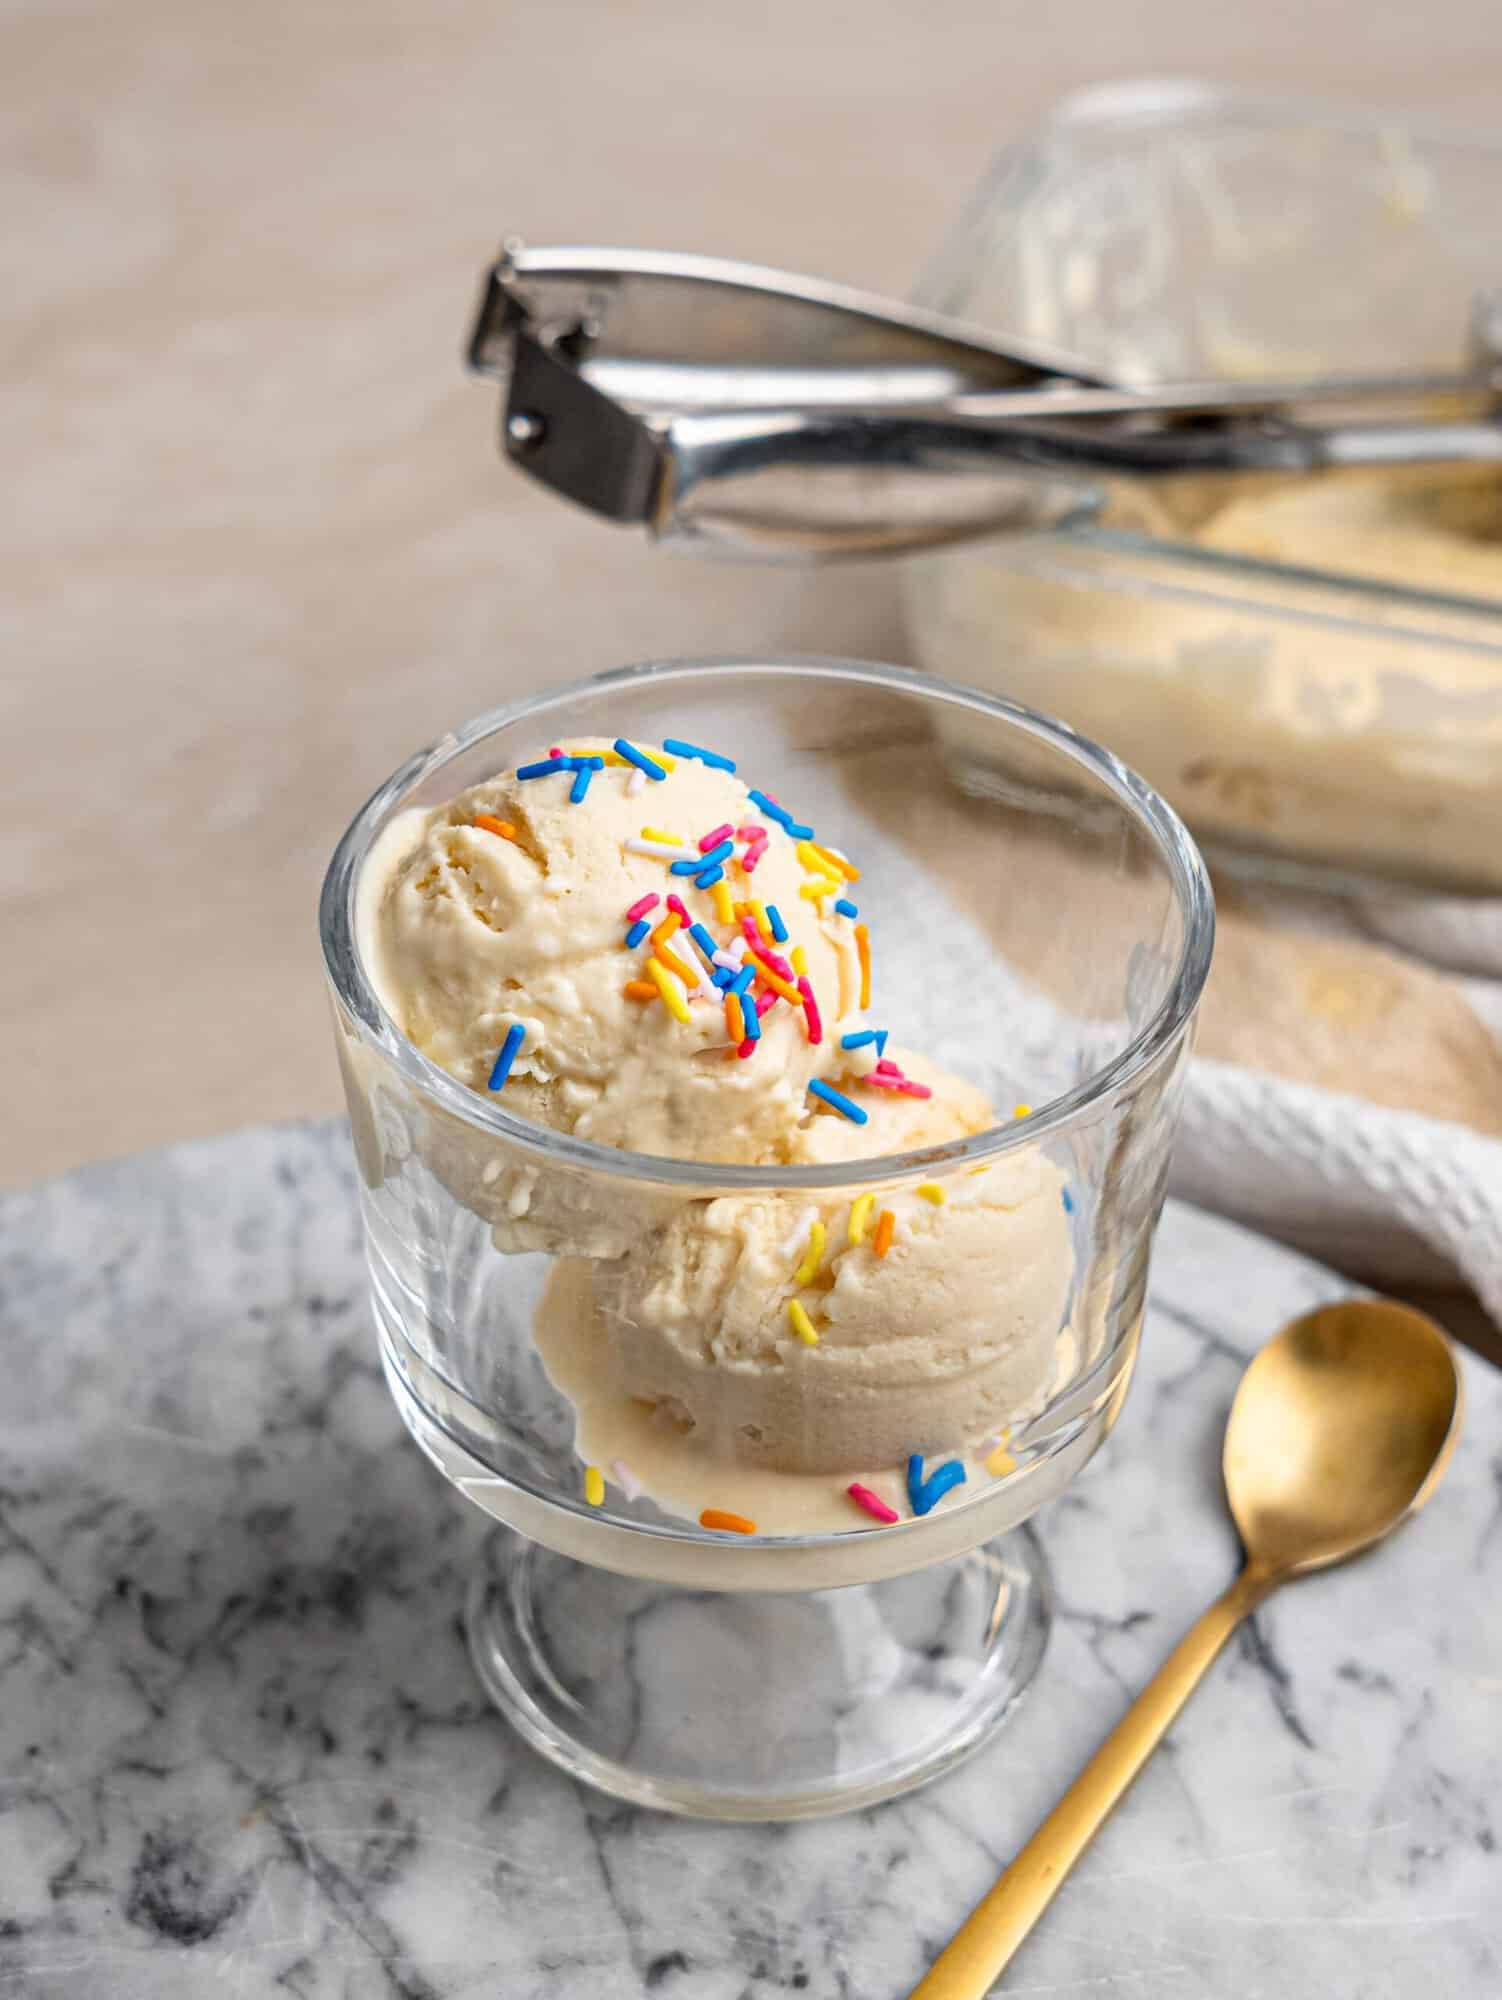
I tested this recipe because I wanted a protein ice cream that I would actually be excited to eat, not one that tasted like a frozen protein shake. And honestly, I was so happy with how it turned out. It’s creamy, sweet and satisfying, and once you add your favorite toppings or mix-ins, it feels much more indulgent than the ingredients would suggest.
And you don’t need a Ninja Creami or any other special equipment to make it. The mixture is blended until completely smooth, then frozen and stirred as it sets to help create that creamy texture. So if you’ve been wanting to try homemade protein ice cream but don’t have an ice cream machine, this is the recipe for you.
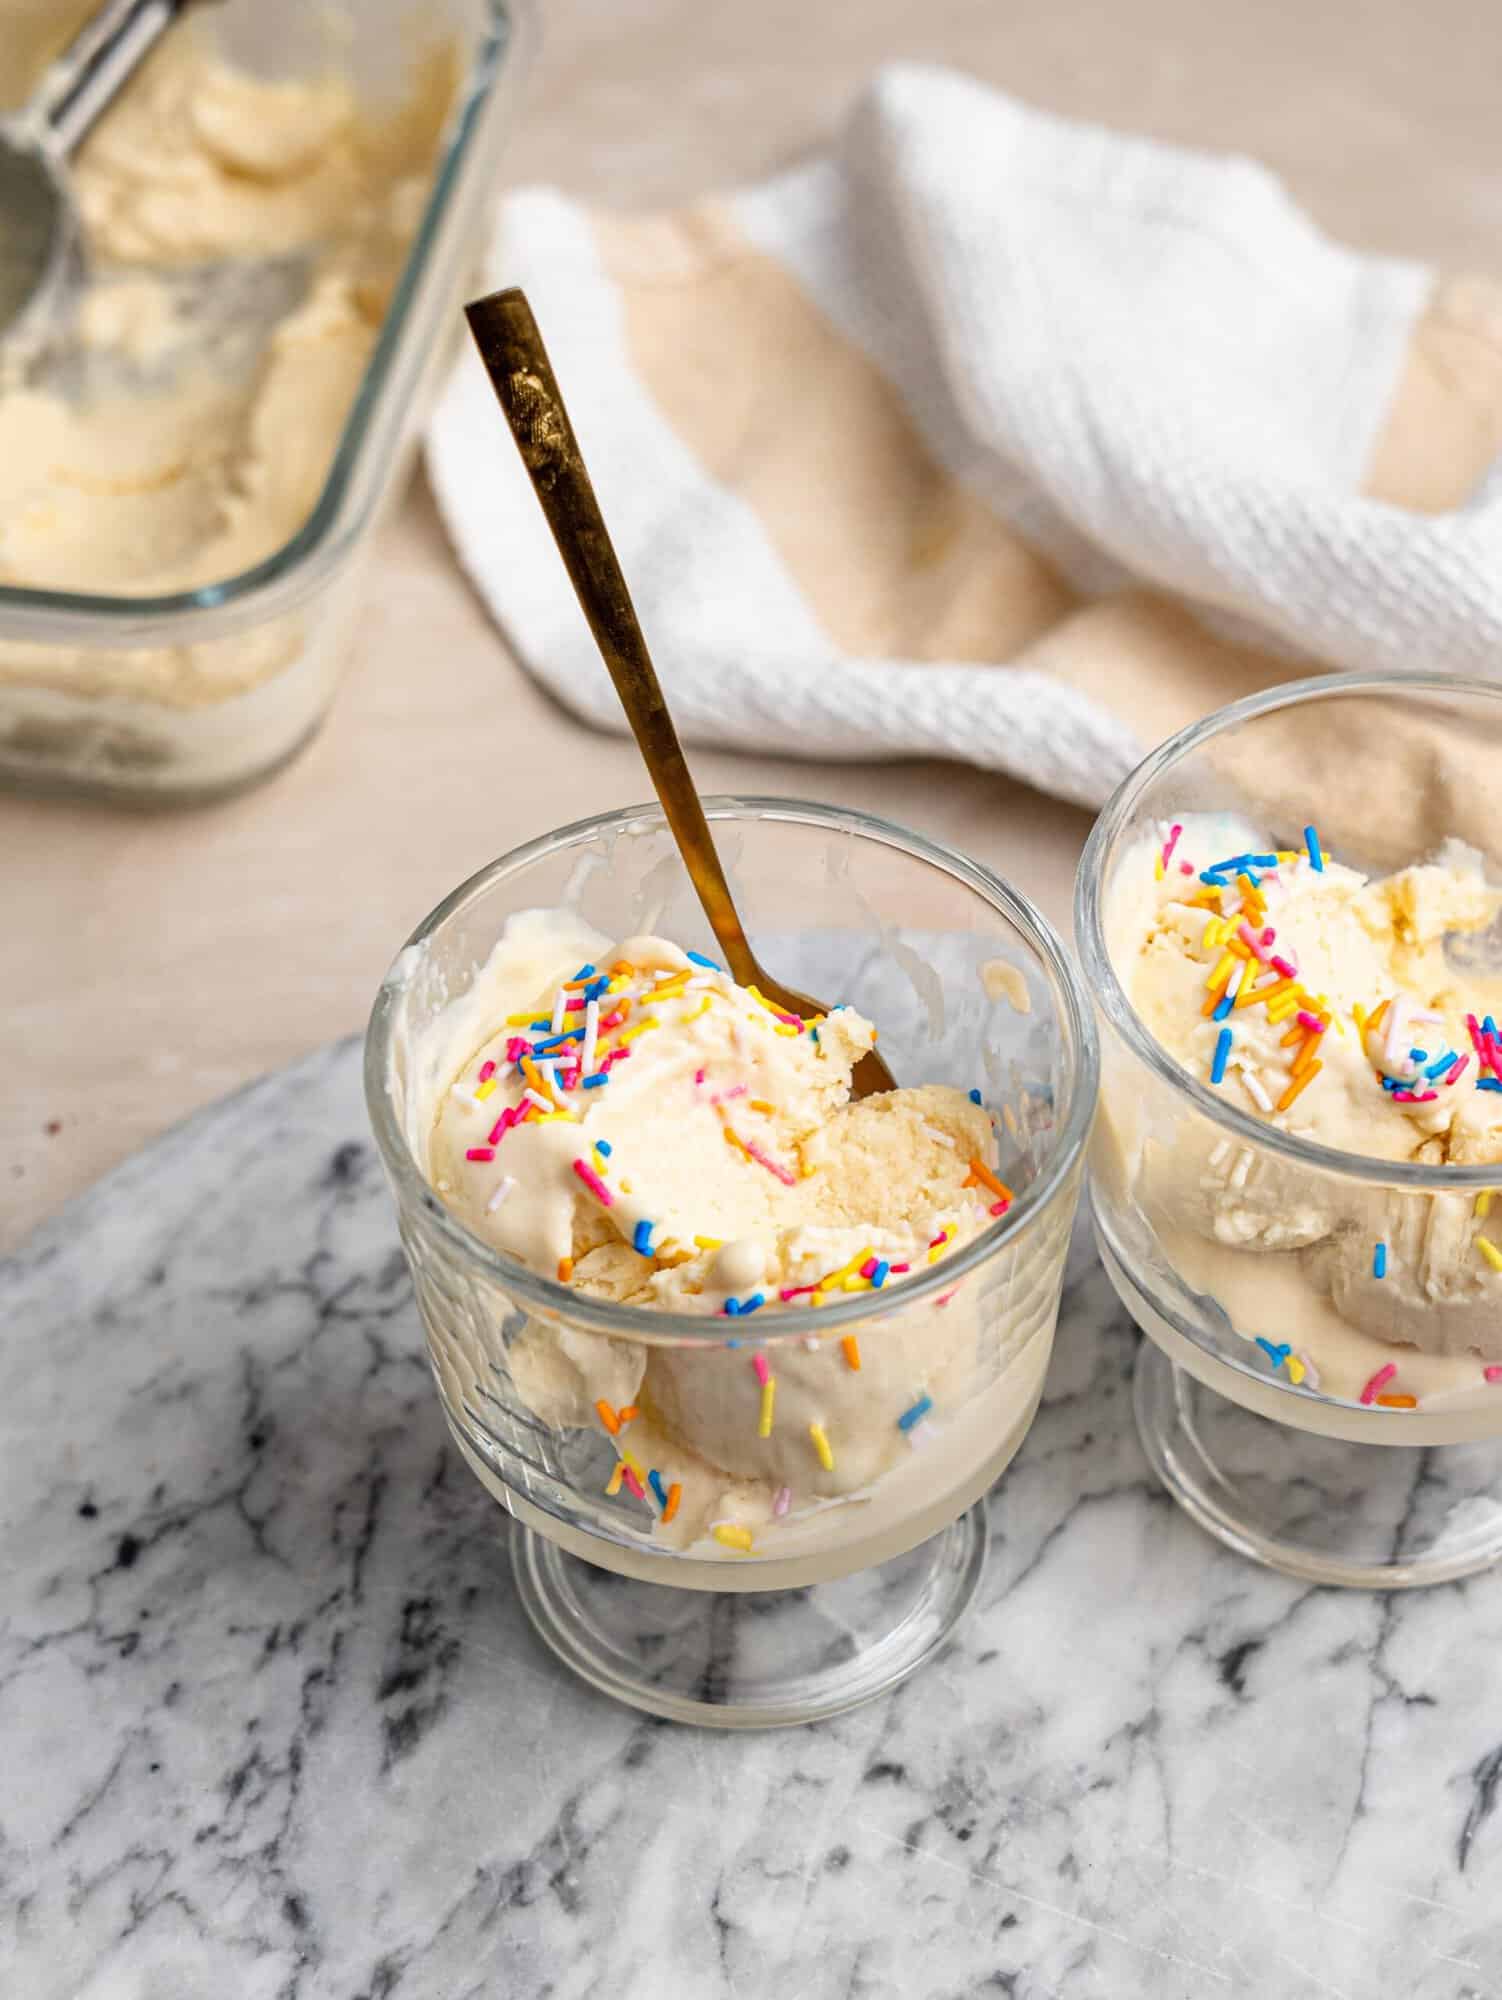
Protein Powder Ice Cream Recipe (No Ice Cream Maker)
This protein ice cream is made with a simple base of cottage cheese, Greek yogurt and vanilla protein powder, which gives it a creamy texture and plenty of protein. It’s an easy high protein dessert that you can customize with your favorite flavors and toppings.
The recipe is designed to be made completely without an ice cream maker. Instead, you’ll freeze and stir the mixture at intervals to help create a creamy texture as it freezes, so you can enjoy homemade protein ice cream without needing a special machine.
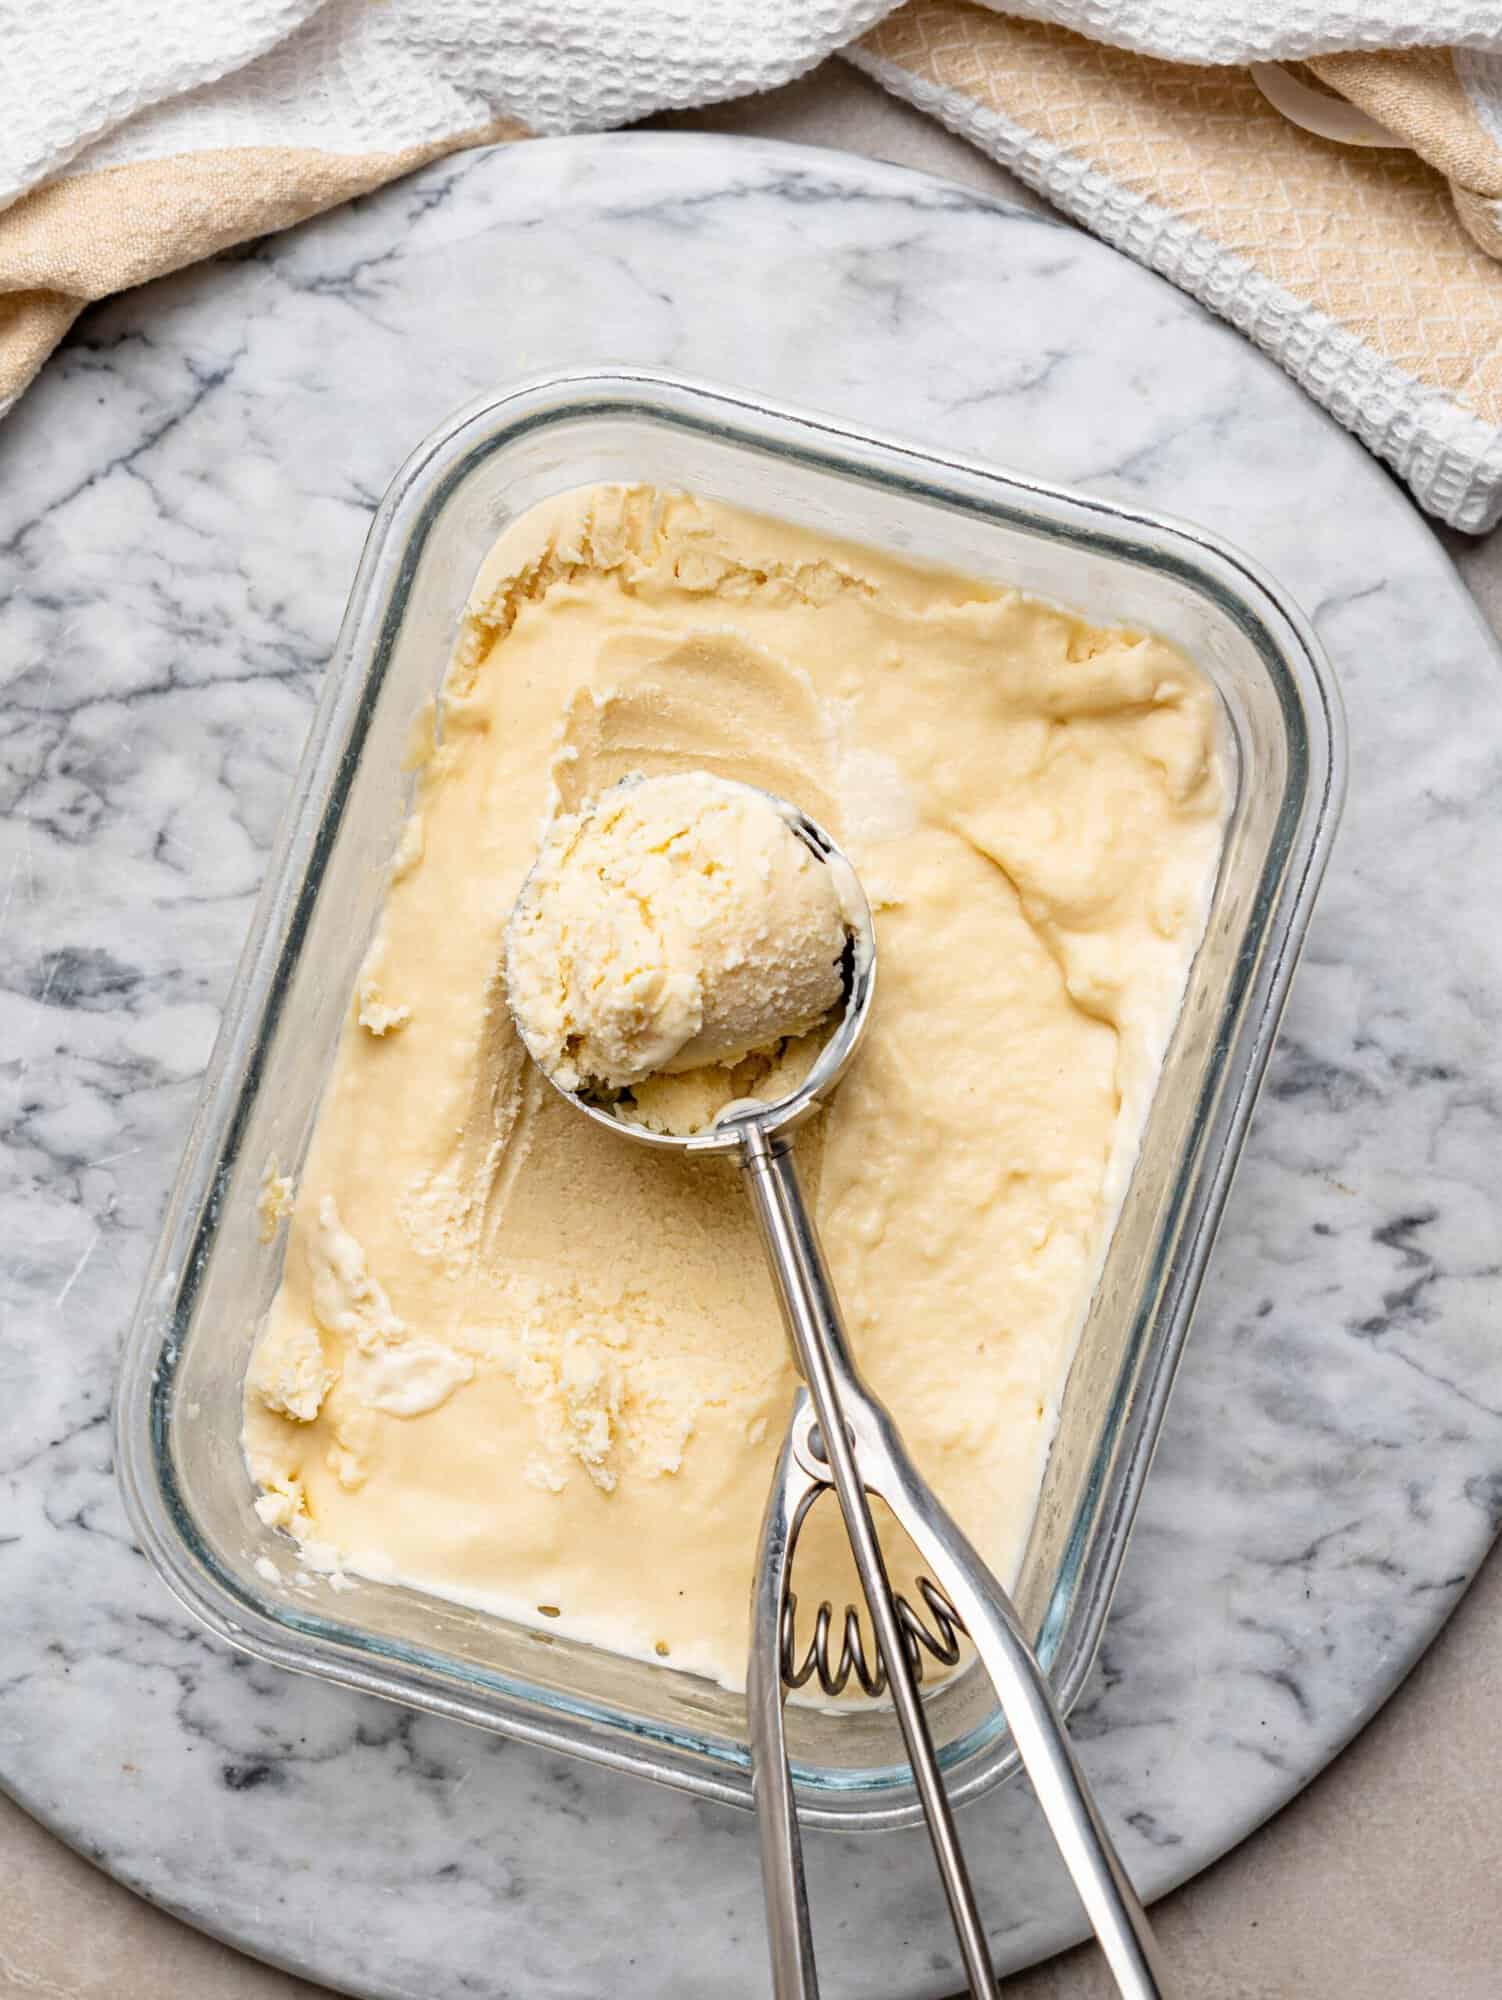
Can You Add Protein Powder to Ice Cream?
Yes! Adding protein powder to homemade ice cream is an easy way to make a frozen dessert with more protein, while also adding sweetness and flavor.
For this recipe, I use vanilla protein powder because it creates a creamy vanilla base that works well with lots of different toppings and mix-ins.
Different protein powders can affect the finished texture, though. Protein powder absorbs liquid, so adding too much can make the ice cream thick or slightly dry. Some plant-based protein powders can also produce a grainier texture than whey protein.
- Vanilla protein powder: Best for a classic vanilla base and easy to customize.
- Chocolate protein powder: Gives the ice cream a richer chocolate flavor and works especially well with peanut butter or chocolate chips.
- Whey protein: Works well if you want to make a whey protein ice cream, but the exact texture will depend on the brand and type of powder you use.
For the best result, use a protein powder you already enjoy the taste of, since its flavor will come through in the finished ice cream.
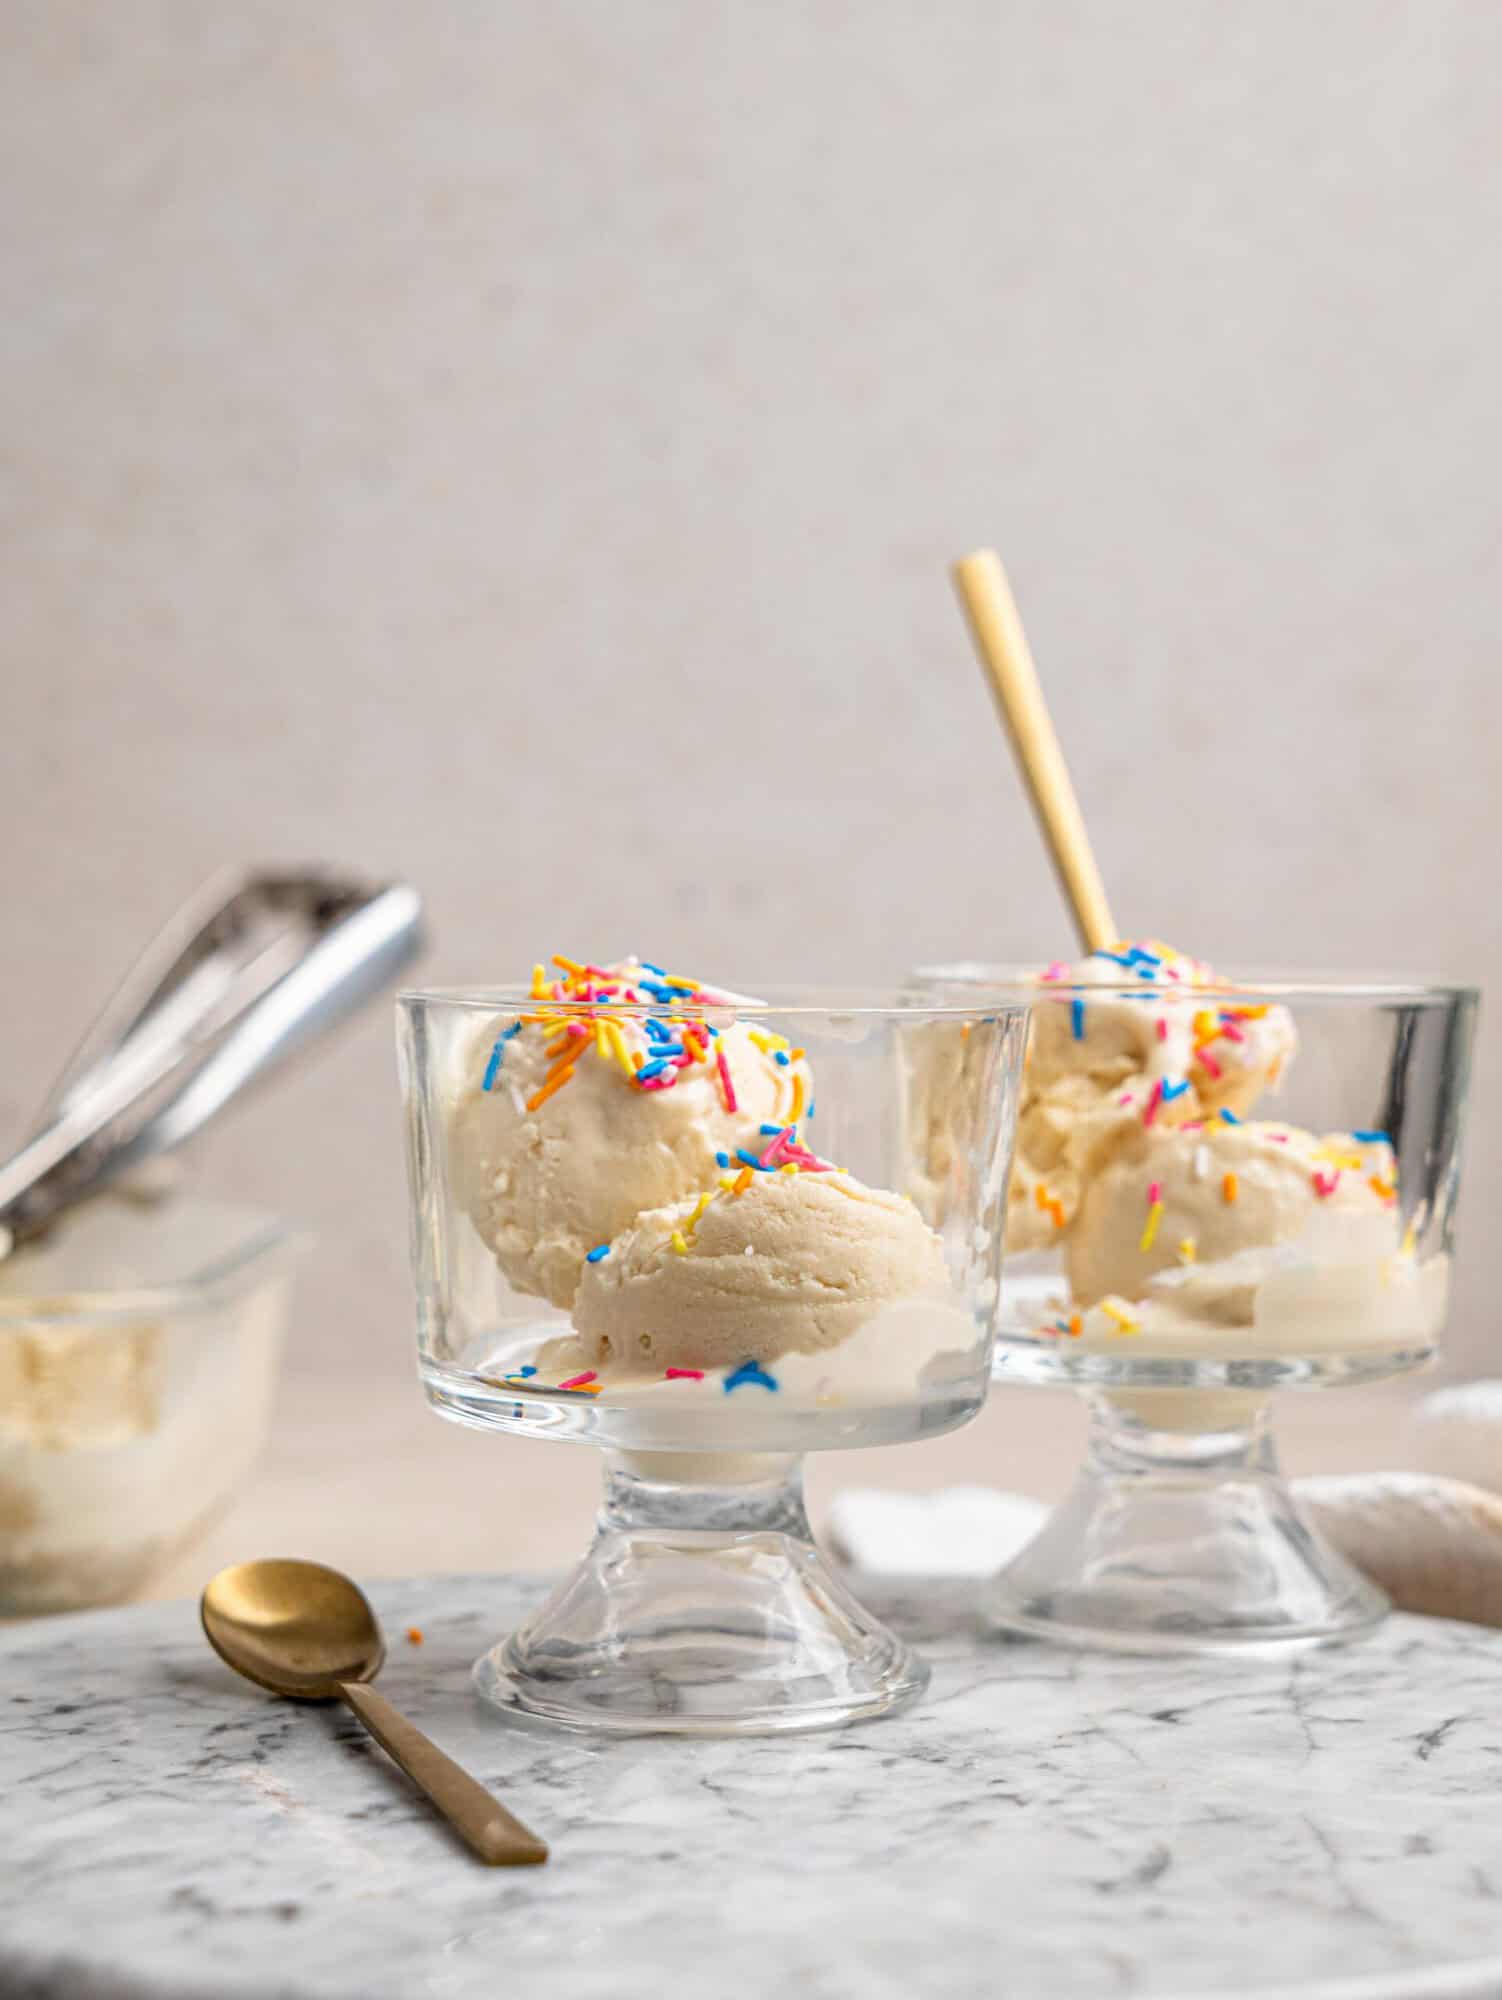
How to Get Protein Ice Cream Creamy Without an Ice Cream Maker
Making homemade ice cream without an ice cream maker can be tricky because the mixture can freeze into large ice crystals, leaving you with something hard and icy rather than creamy. An ice cream maker normally churns the mixture as it freezes, which helps create a smoother texture.
For this recipe, a few simple techniques help achieve a creamy result without a machine:
- Blend the cottage cheese well. Blend it until completely smooth before adding the other ingredients. This gives the ice cream a smooth base without any cottage cheese curds.
- Use a creamy base. The combination of cottage cheese and Greek yogurt gives the mixture a thick, creamy consistency while also adding protein.
- Keep the base thick. You don’t need to add any extra liquid to this recipe. Keeping the base thick helps limit the amount of water that freezes into ice crystals, which contributes to a creamier texture.
- Use a shallow container. A shallow freezer-safe container allows the mixture to freeze more evenly and makes it easier to stir.
- Freeze and stir. As the ice cream starts to freeze, stir it thoroughly, scraping the frozen edges into the softer center. Repeat this several times while it freezes.
- Don’t skip the stirring. Stirring breaks up ice crystals as they form, helping create a smoother, more scoopable texture without an ice cream maker.
- Let it soften before serving. If you’ve frozen the ice cream for several hours or overnight, let it sit at room temperature for around 10–15 minutes before scooping.
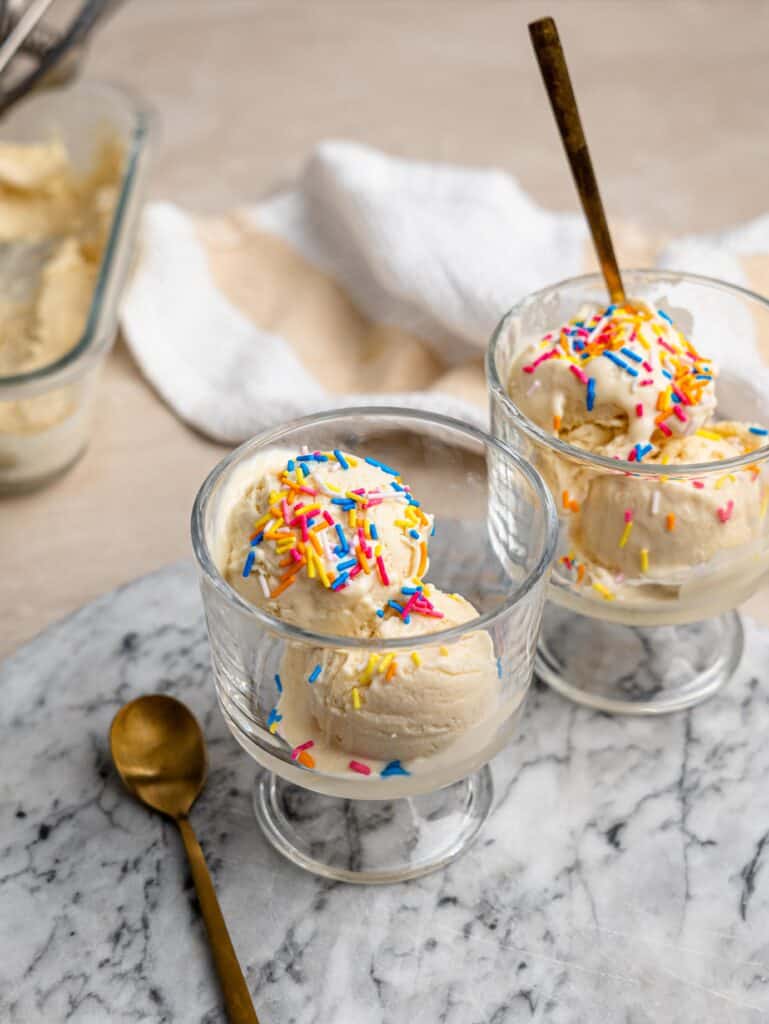
When I developed this recipe, I wanted the finished ice cream to be genuinely creamy and enjoyable, rather than simply being a frozen protein shake. After testing the recipe, I was really happy with how creamy and tasty it turned out. The freeze-and-stir method makes a noticeable difference and means you can make this high protein ice cream without needing a special machine.
How to Make Protein Powder Ice Cream Without an Ice Cream Maker
Making this protein powder ice cream is simple. Blend the ingredients until smooth, freeze the mixture in a shallow container, stir it at intervals as it freezes, then let it finish freezing until thick and scoopable.
Ingredients
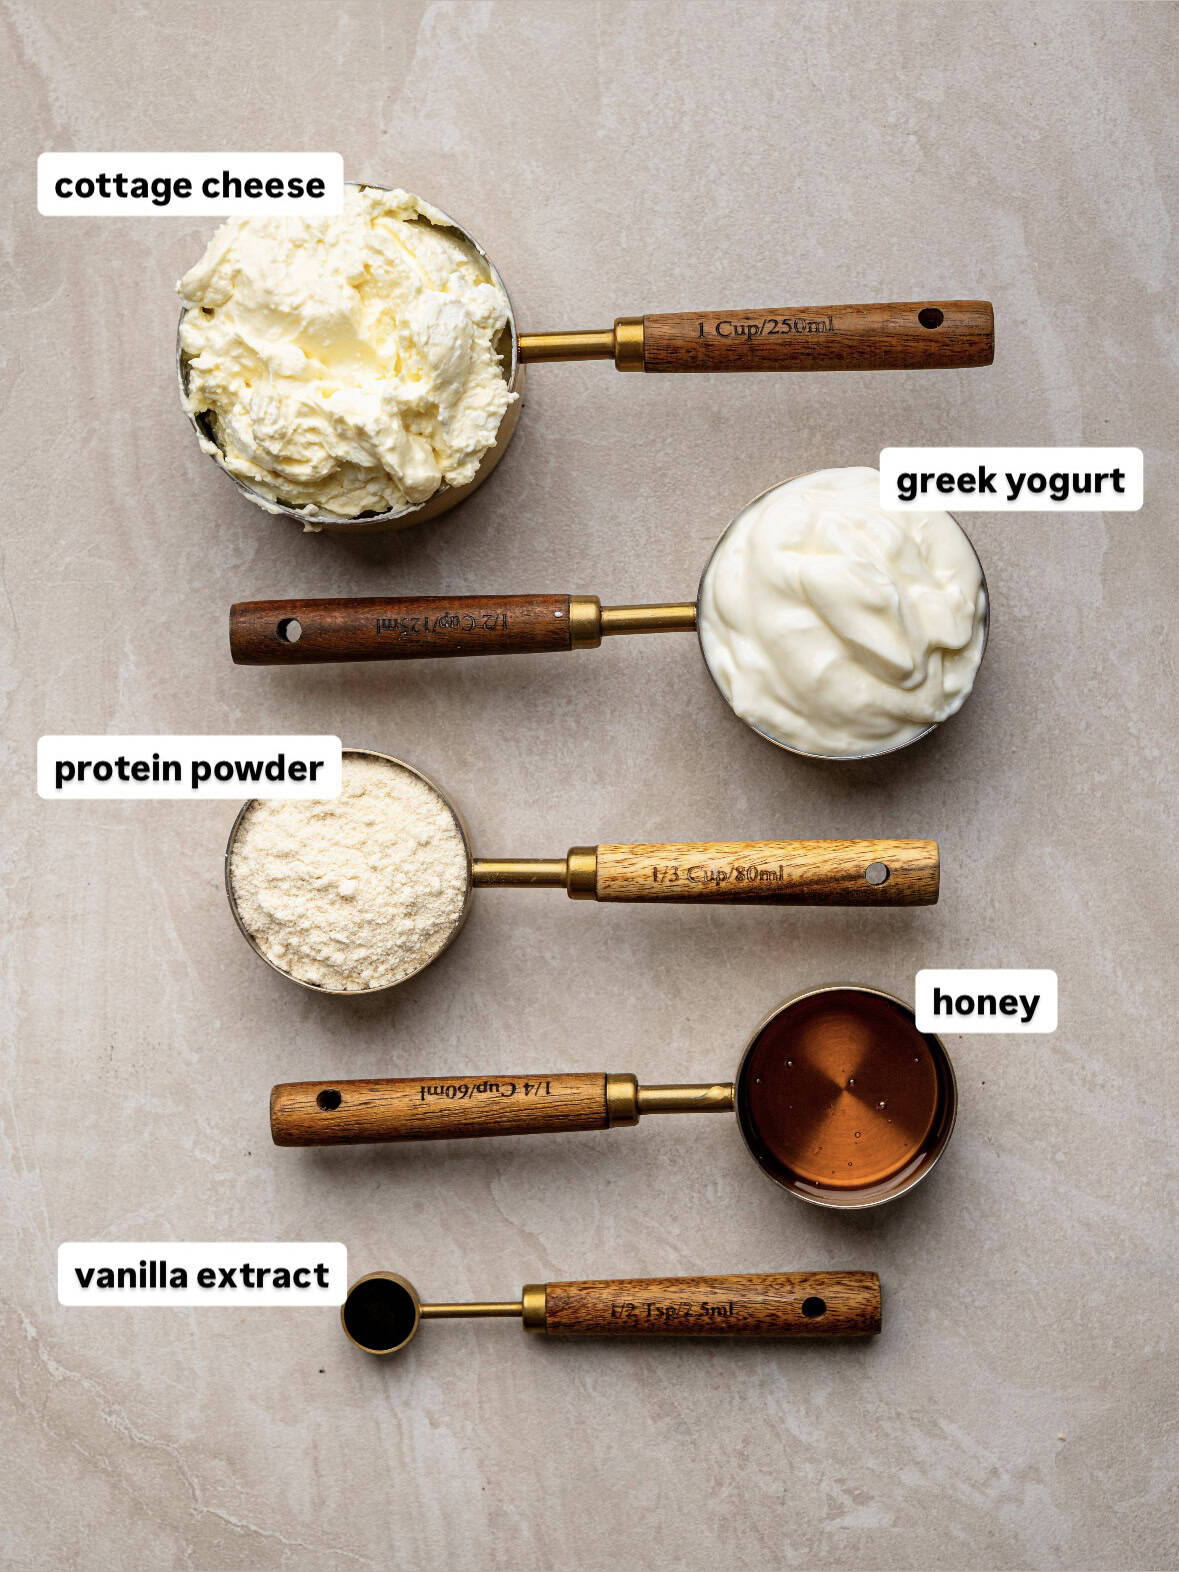
- Cottage cheese: Cottage cheese forms the creamy base of this ice cream and adds a good amount of protein. When blended until completely smooth, it gives the ice cream a creamy texture without leaving any noticeable curds.
- Greek yogurt: Greek yogurt adds extra creaminess and protein to the base, while its slight tang helps balance the sweetness.
- Vanilla protein powder: Vanilla protein powder adds protein, sweetness and vanilla flavor. I recommend using a protein powder that you already enjoy the taste of, as its flavor will come through in the finished ice cream.
- Honey: Honey adds extra sweetness and helps give the ice cream a softer texture once frozen. You can also use maple syrup.
- Vanilla extract: Vanilla extract enhances the vanilla flavor and gives the ice cream a more rounded, dessert-like taste.
- Salt: A small pinch of salt helps balance the sweetness and bring out the flavors in the ice cream.
This simple combination makes a creamy cottage cheese ice cream recipe with a good amount of protein, without needing cream or an ice cream maker.
Instructions
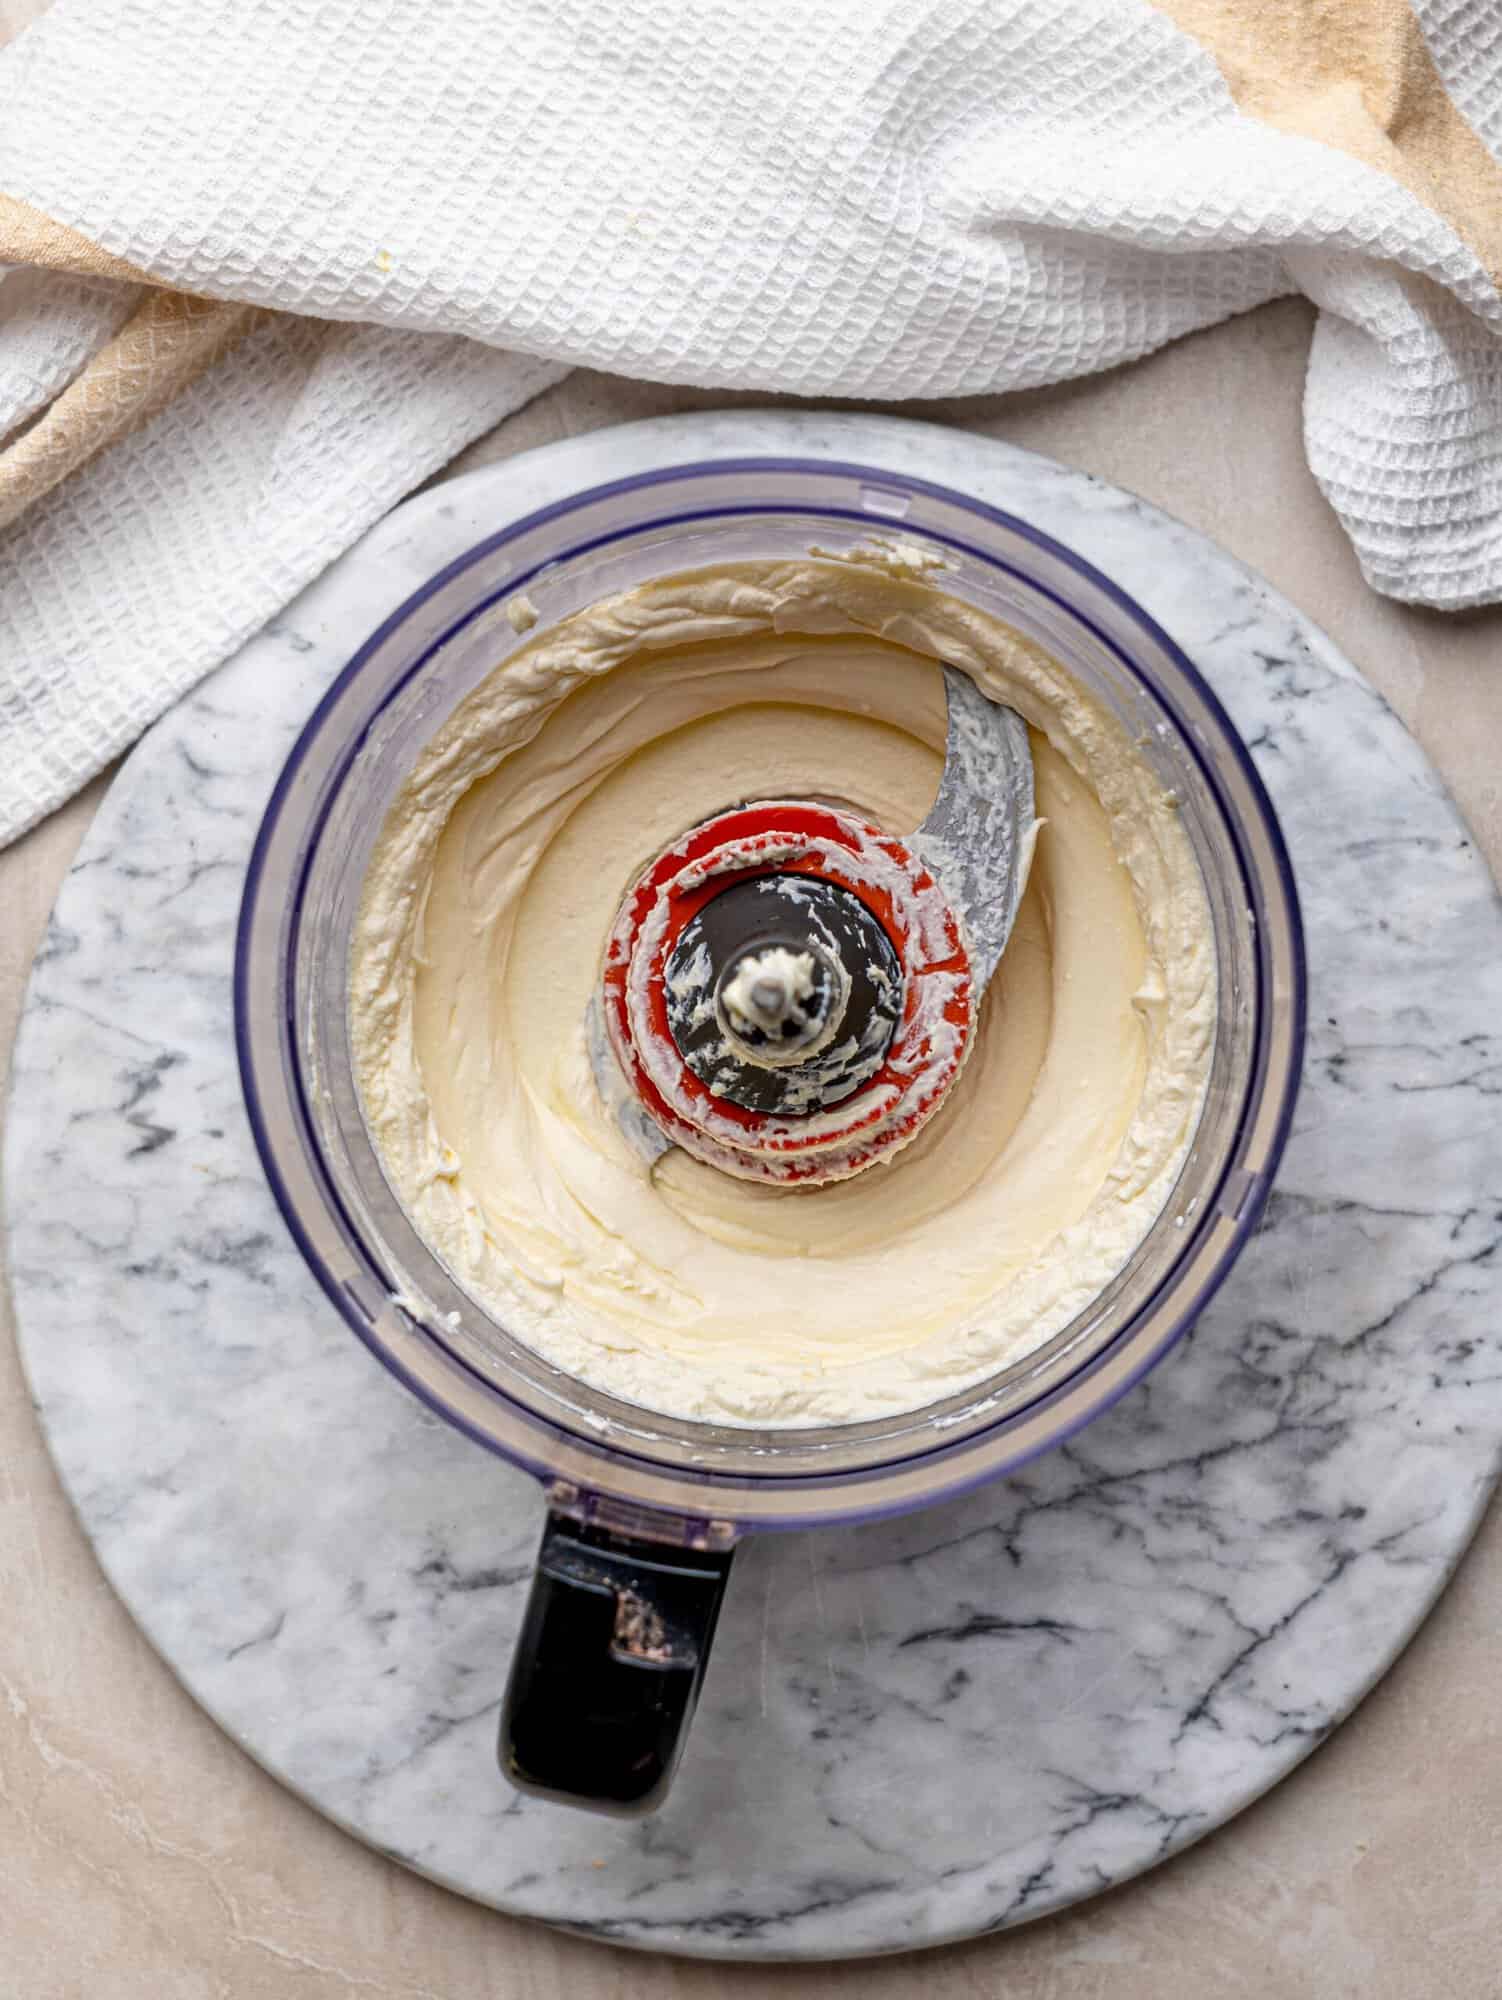
Step One: Blend the cottage cheese.
Add the cottage cheese to a blender and blend until completely smooth and creamy. Scrape down the sides if needed to make sure there are no visible curds.
Step Two: Add the remaining ingredients.
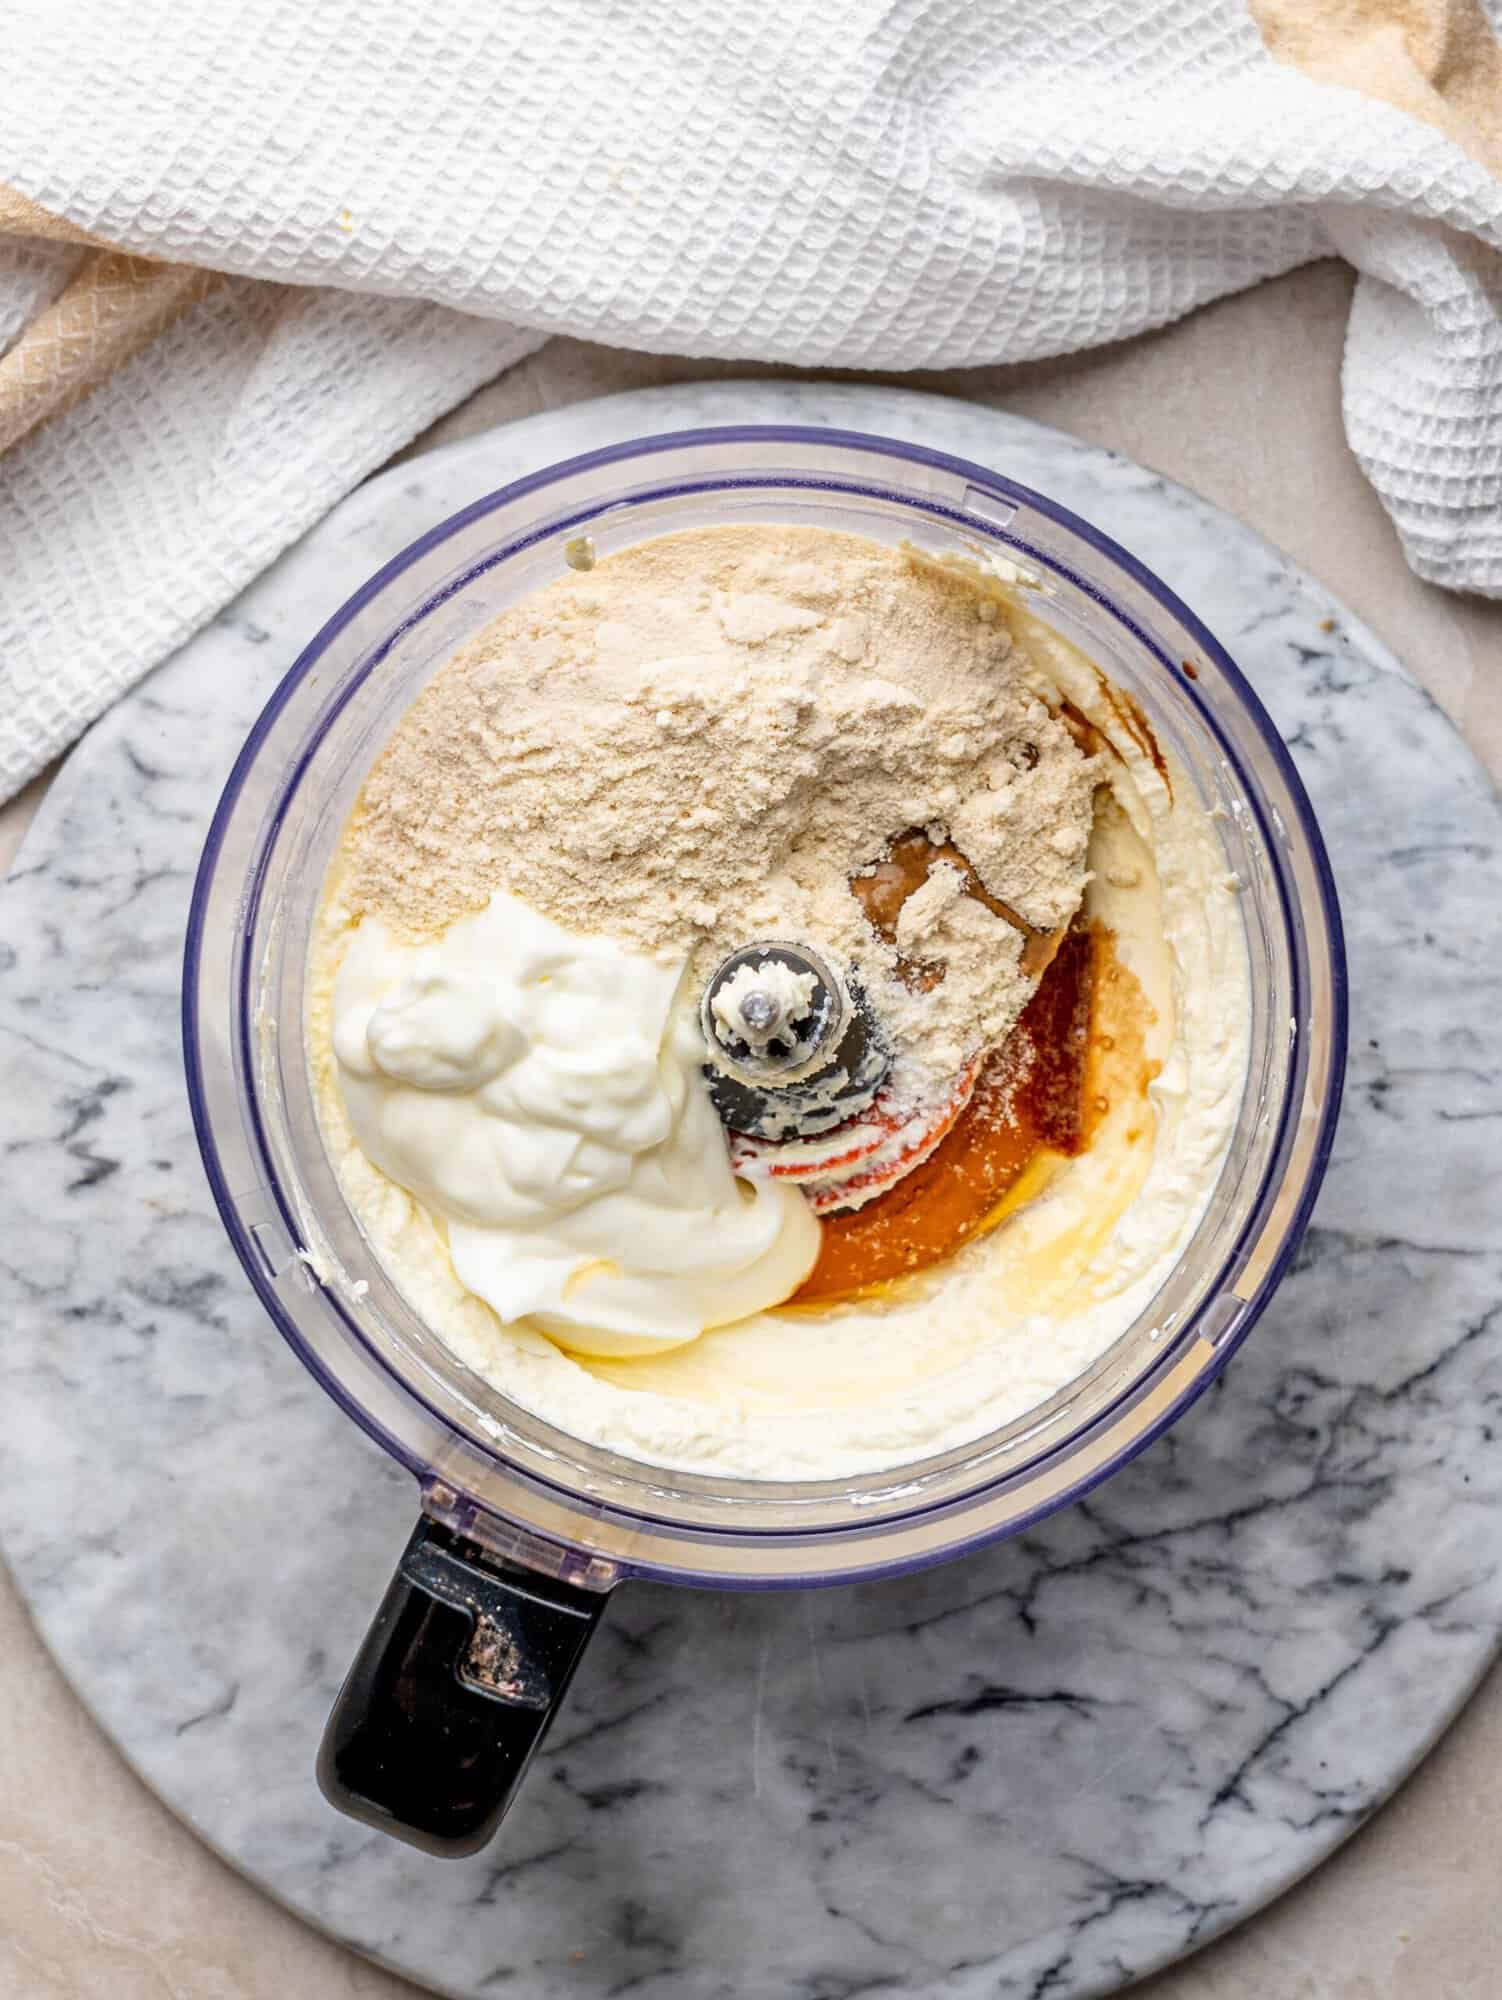
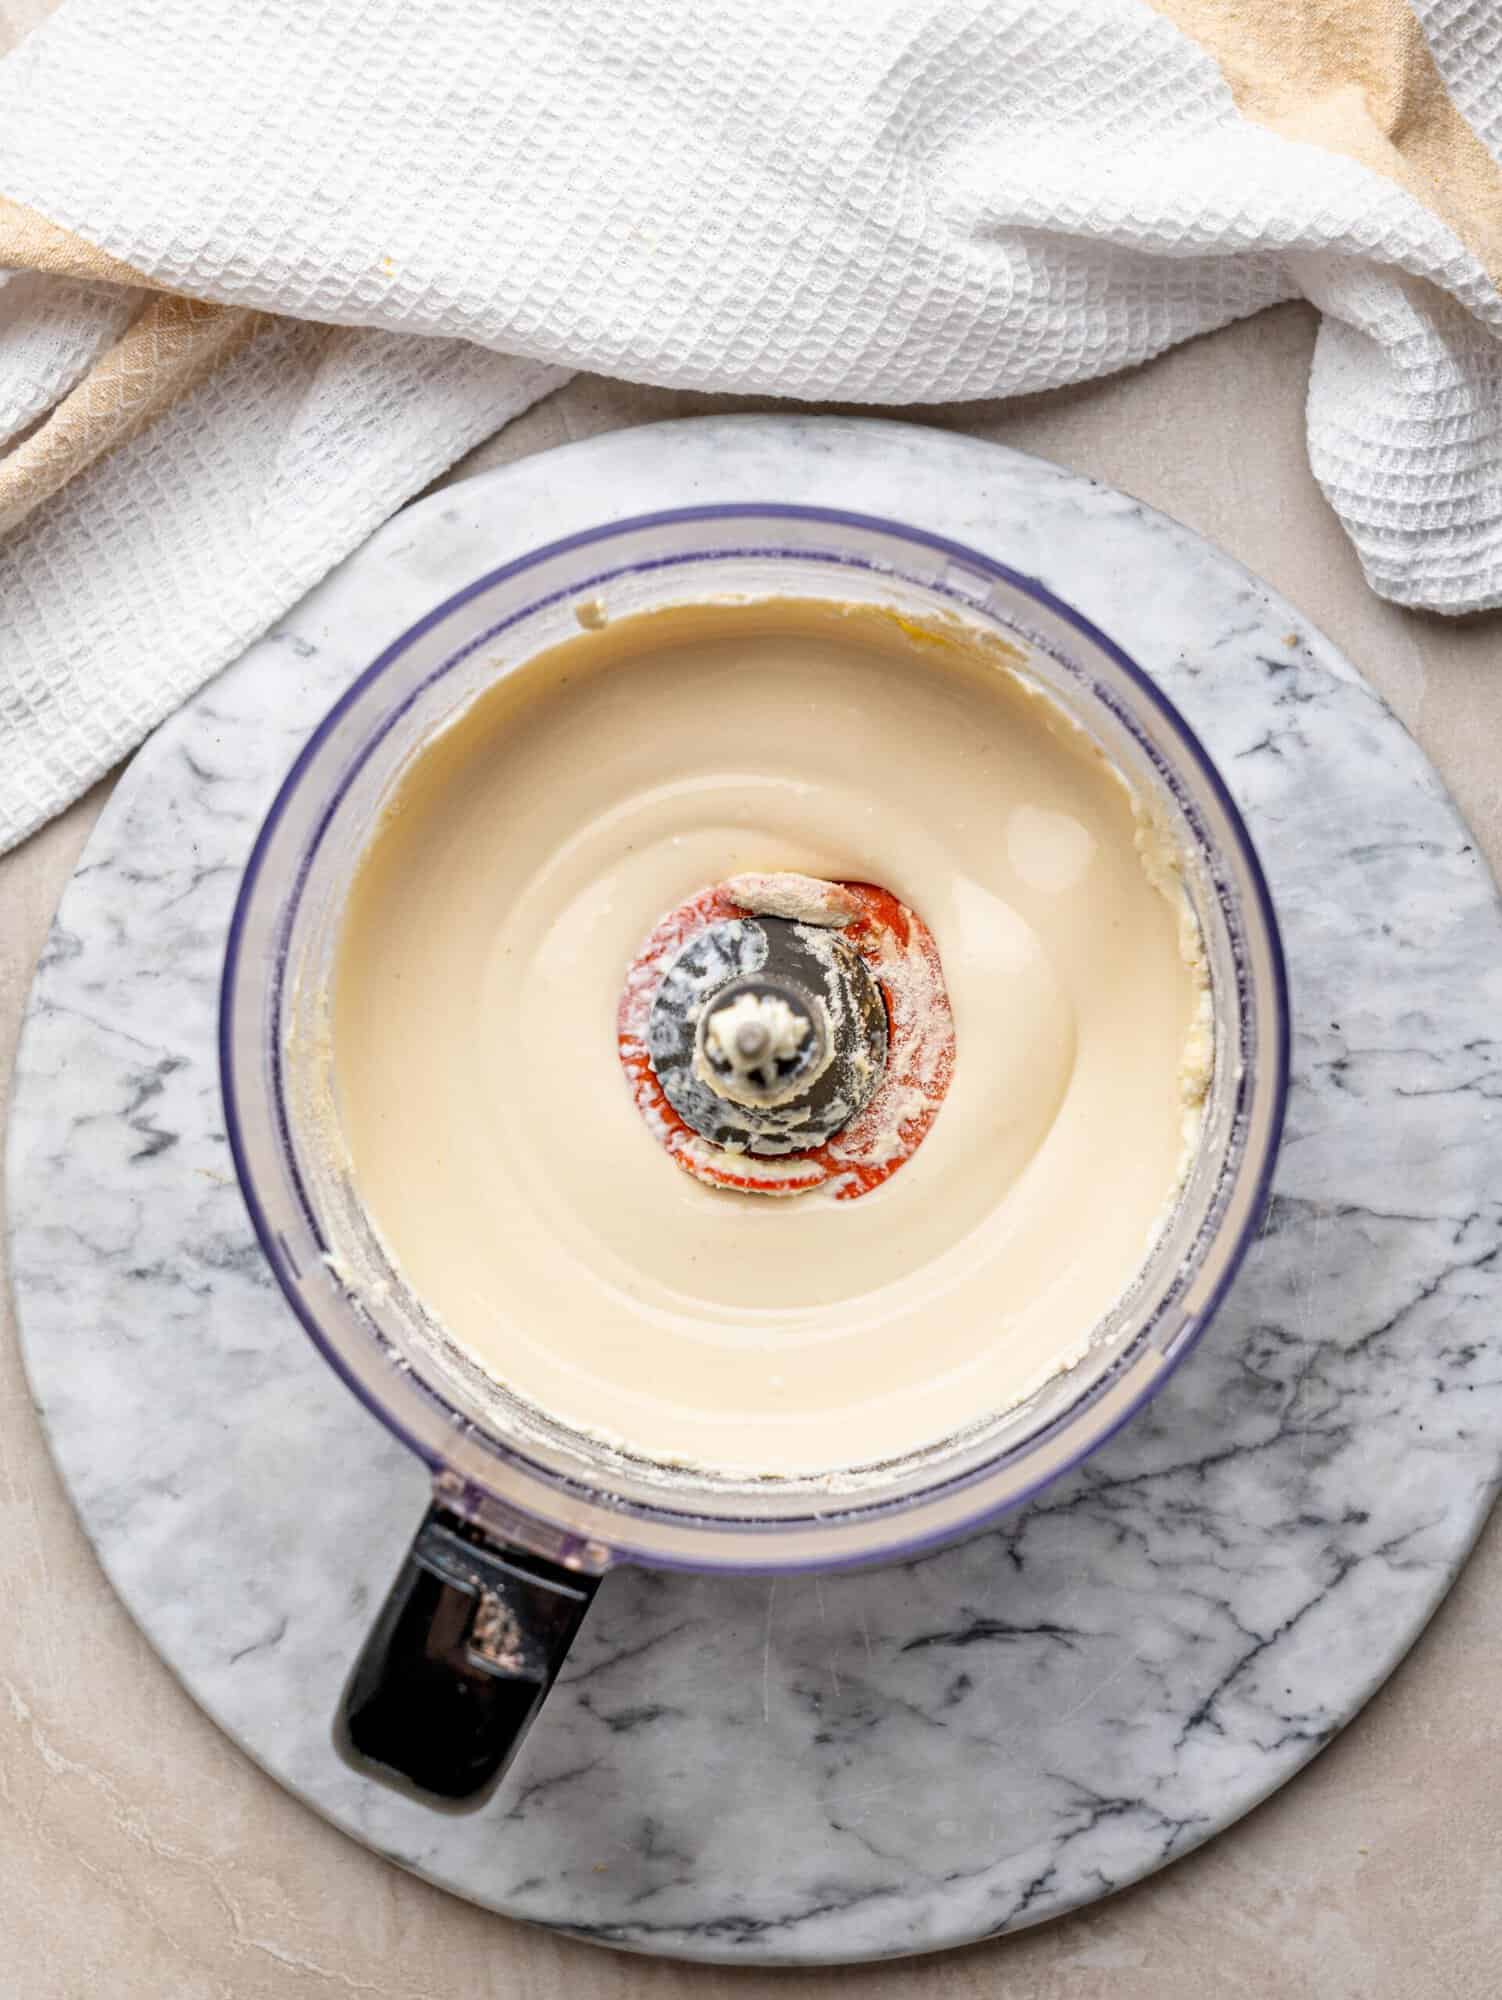
Add the Greek yogurt, vanilla protein powder, honey, vanilla extract and salt. Blend again until everything is completely smooth and well combined. The mixture should be thick, creamy and smooth.
Step Three: Transfer to a container.
Pour the mixture into a shallow, freezer-safe container and spread it out into an even layer. Cover the container and place it in the freezer.
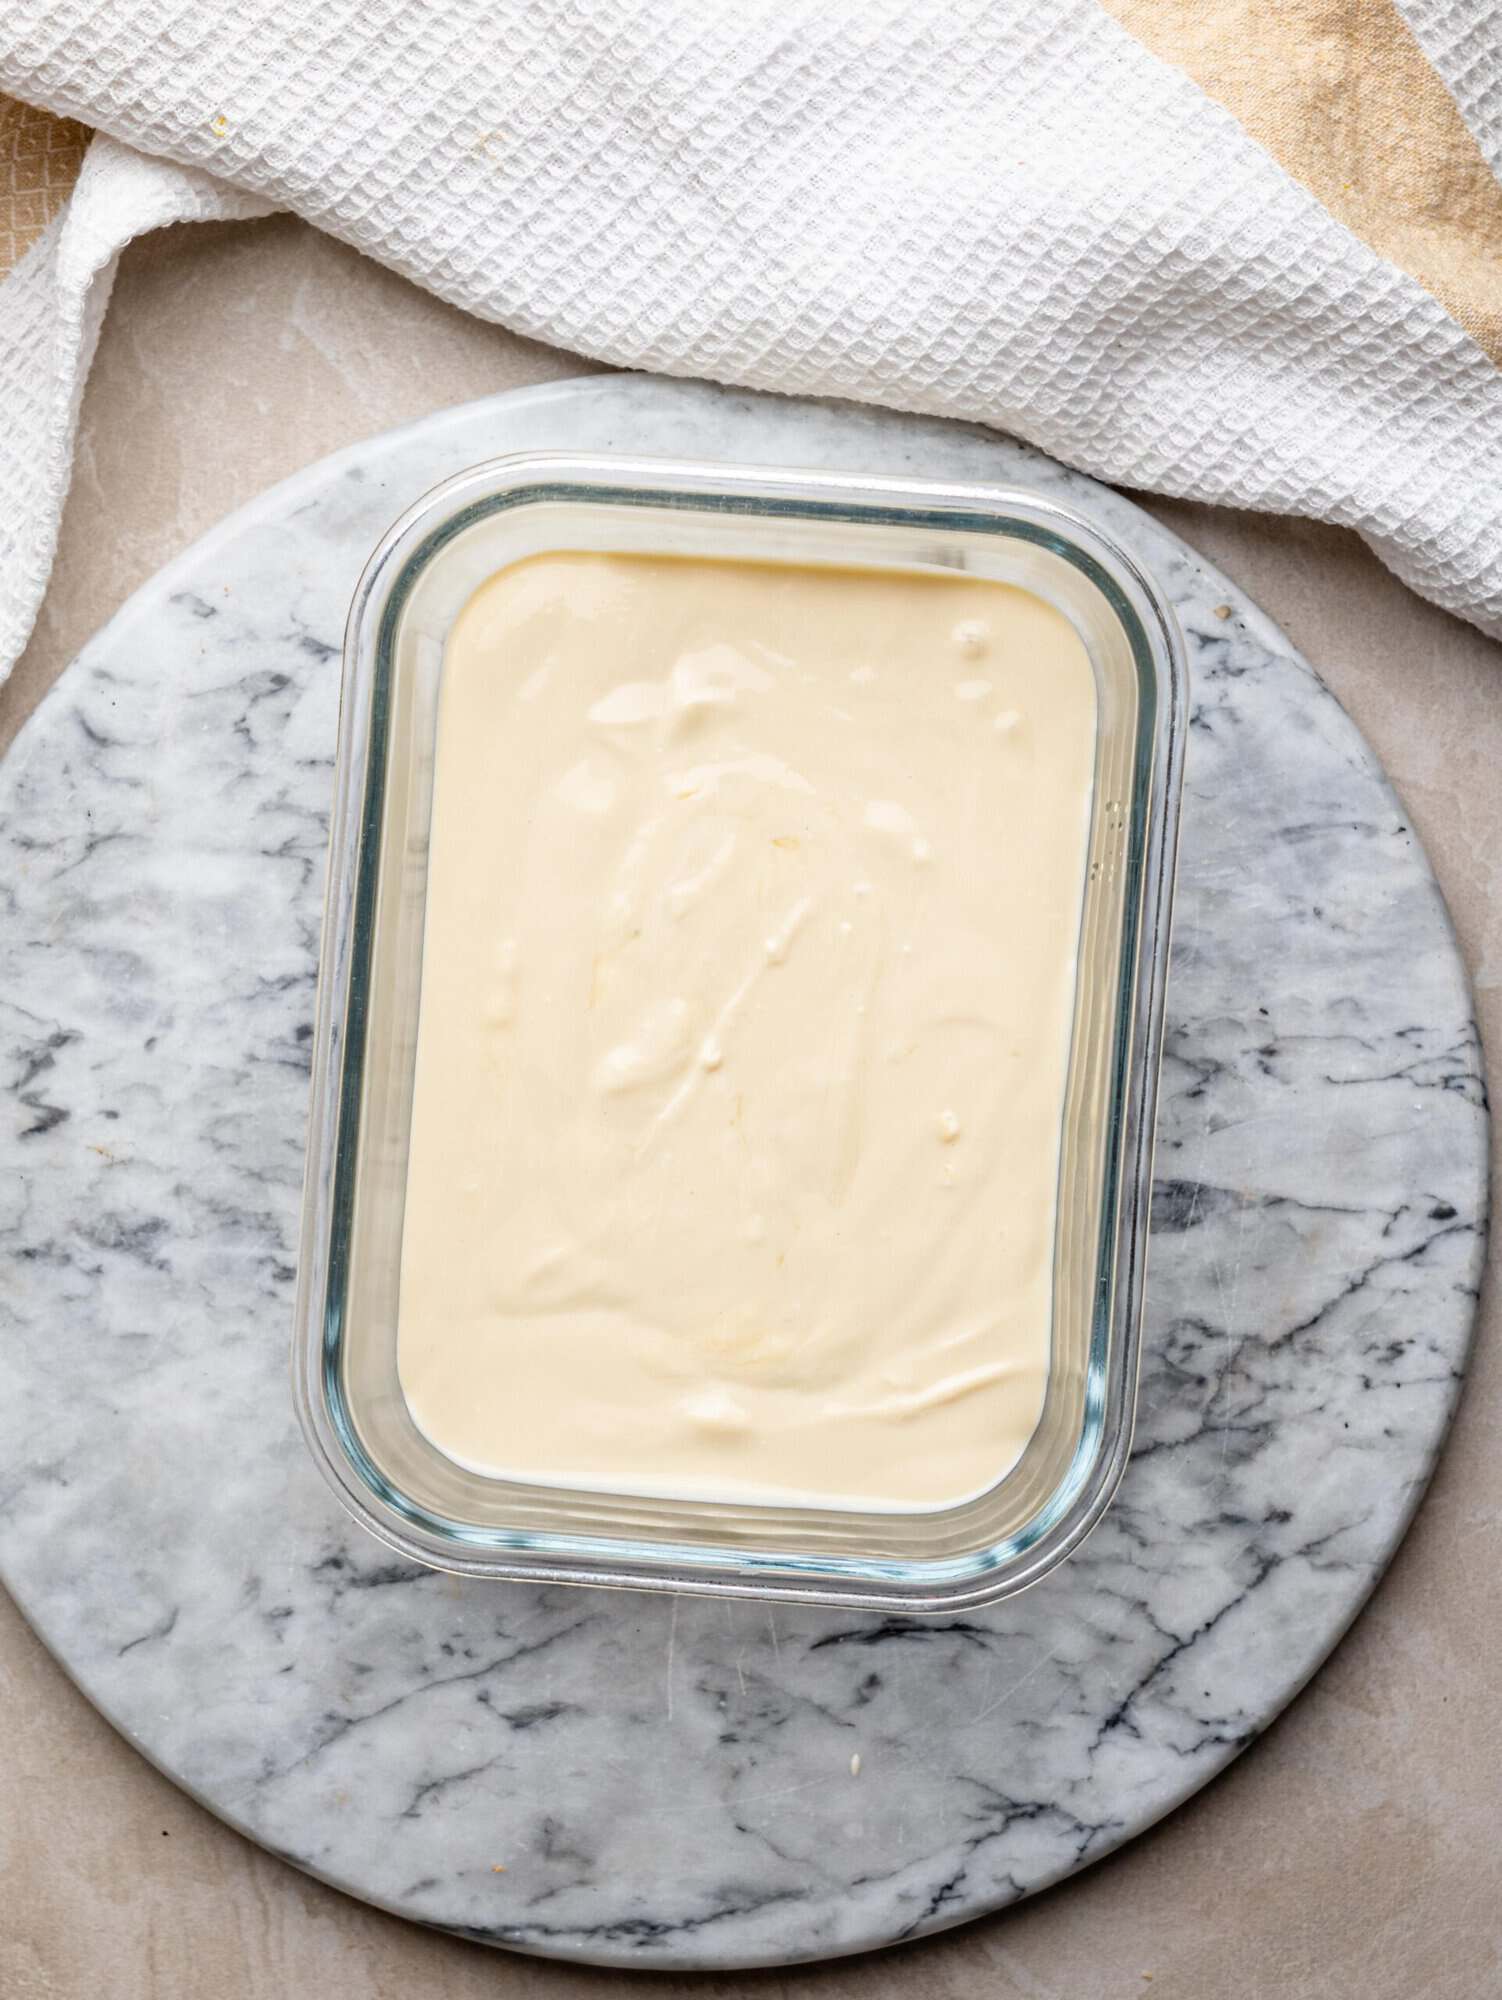
Step Four: Freeze until the edges begin to set.
Let the ice cream freeze for around 30-45 minutes, or until you can see that the mixture has started to firm up around the edges while the middle is still soft.
Step Five: Stir the ice cream.
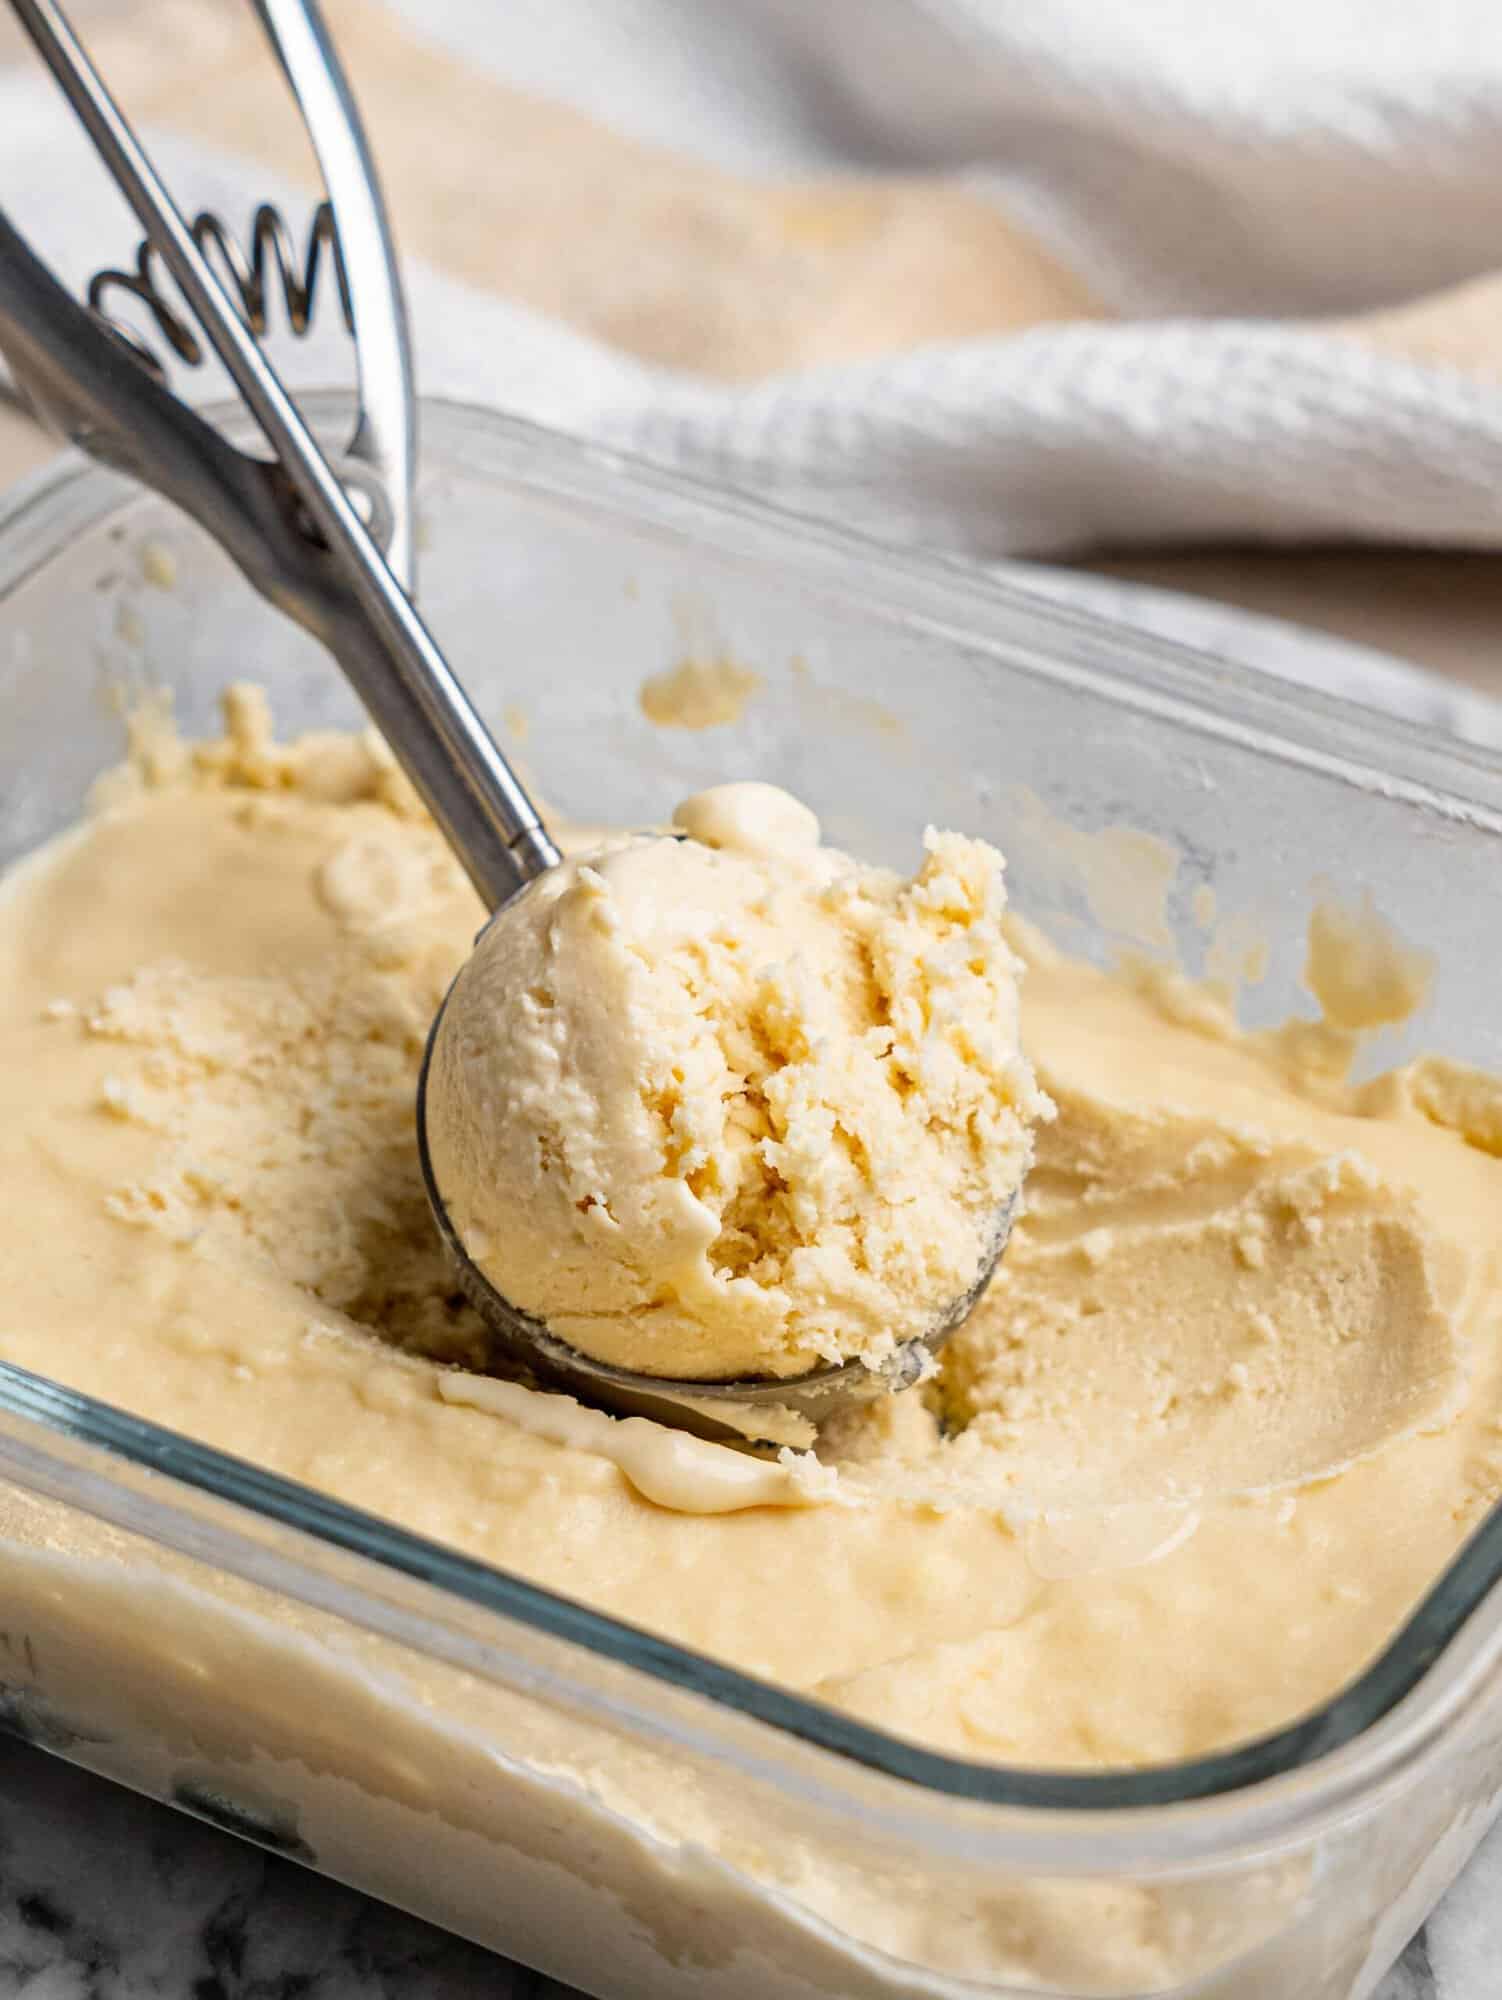
Remove it from the freezer and give it a thorough stir, scraping the frozen edges into the softer center. This helps break up the ice crystals as they form, which is important for getting a creamy texture without an ice cream maker.
Step Six: Continue freezing and stirring.
Return the container to the freezer and repeat the stirring process every 30-45 minutes for around 2-3 hours. Stir well each time, making sure to break up any firmer frozen sections before returning it to the freezer.
Step Seven: Let it finish freezing.
Once the ice cream has become thick and creamy, let it continue freezing until it reaches your desired consistency. If you’re making it ahead, you can freeze it overnight.
Step Eight: Soften and serve.
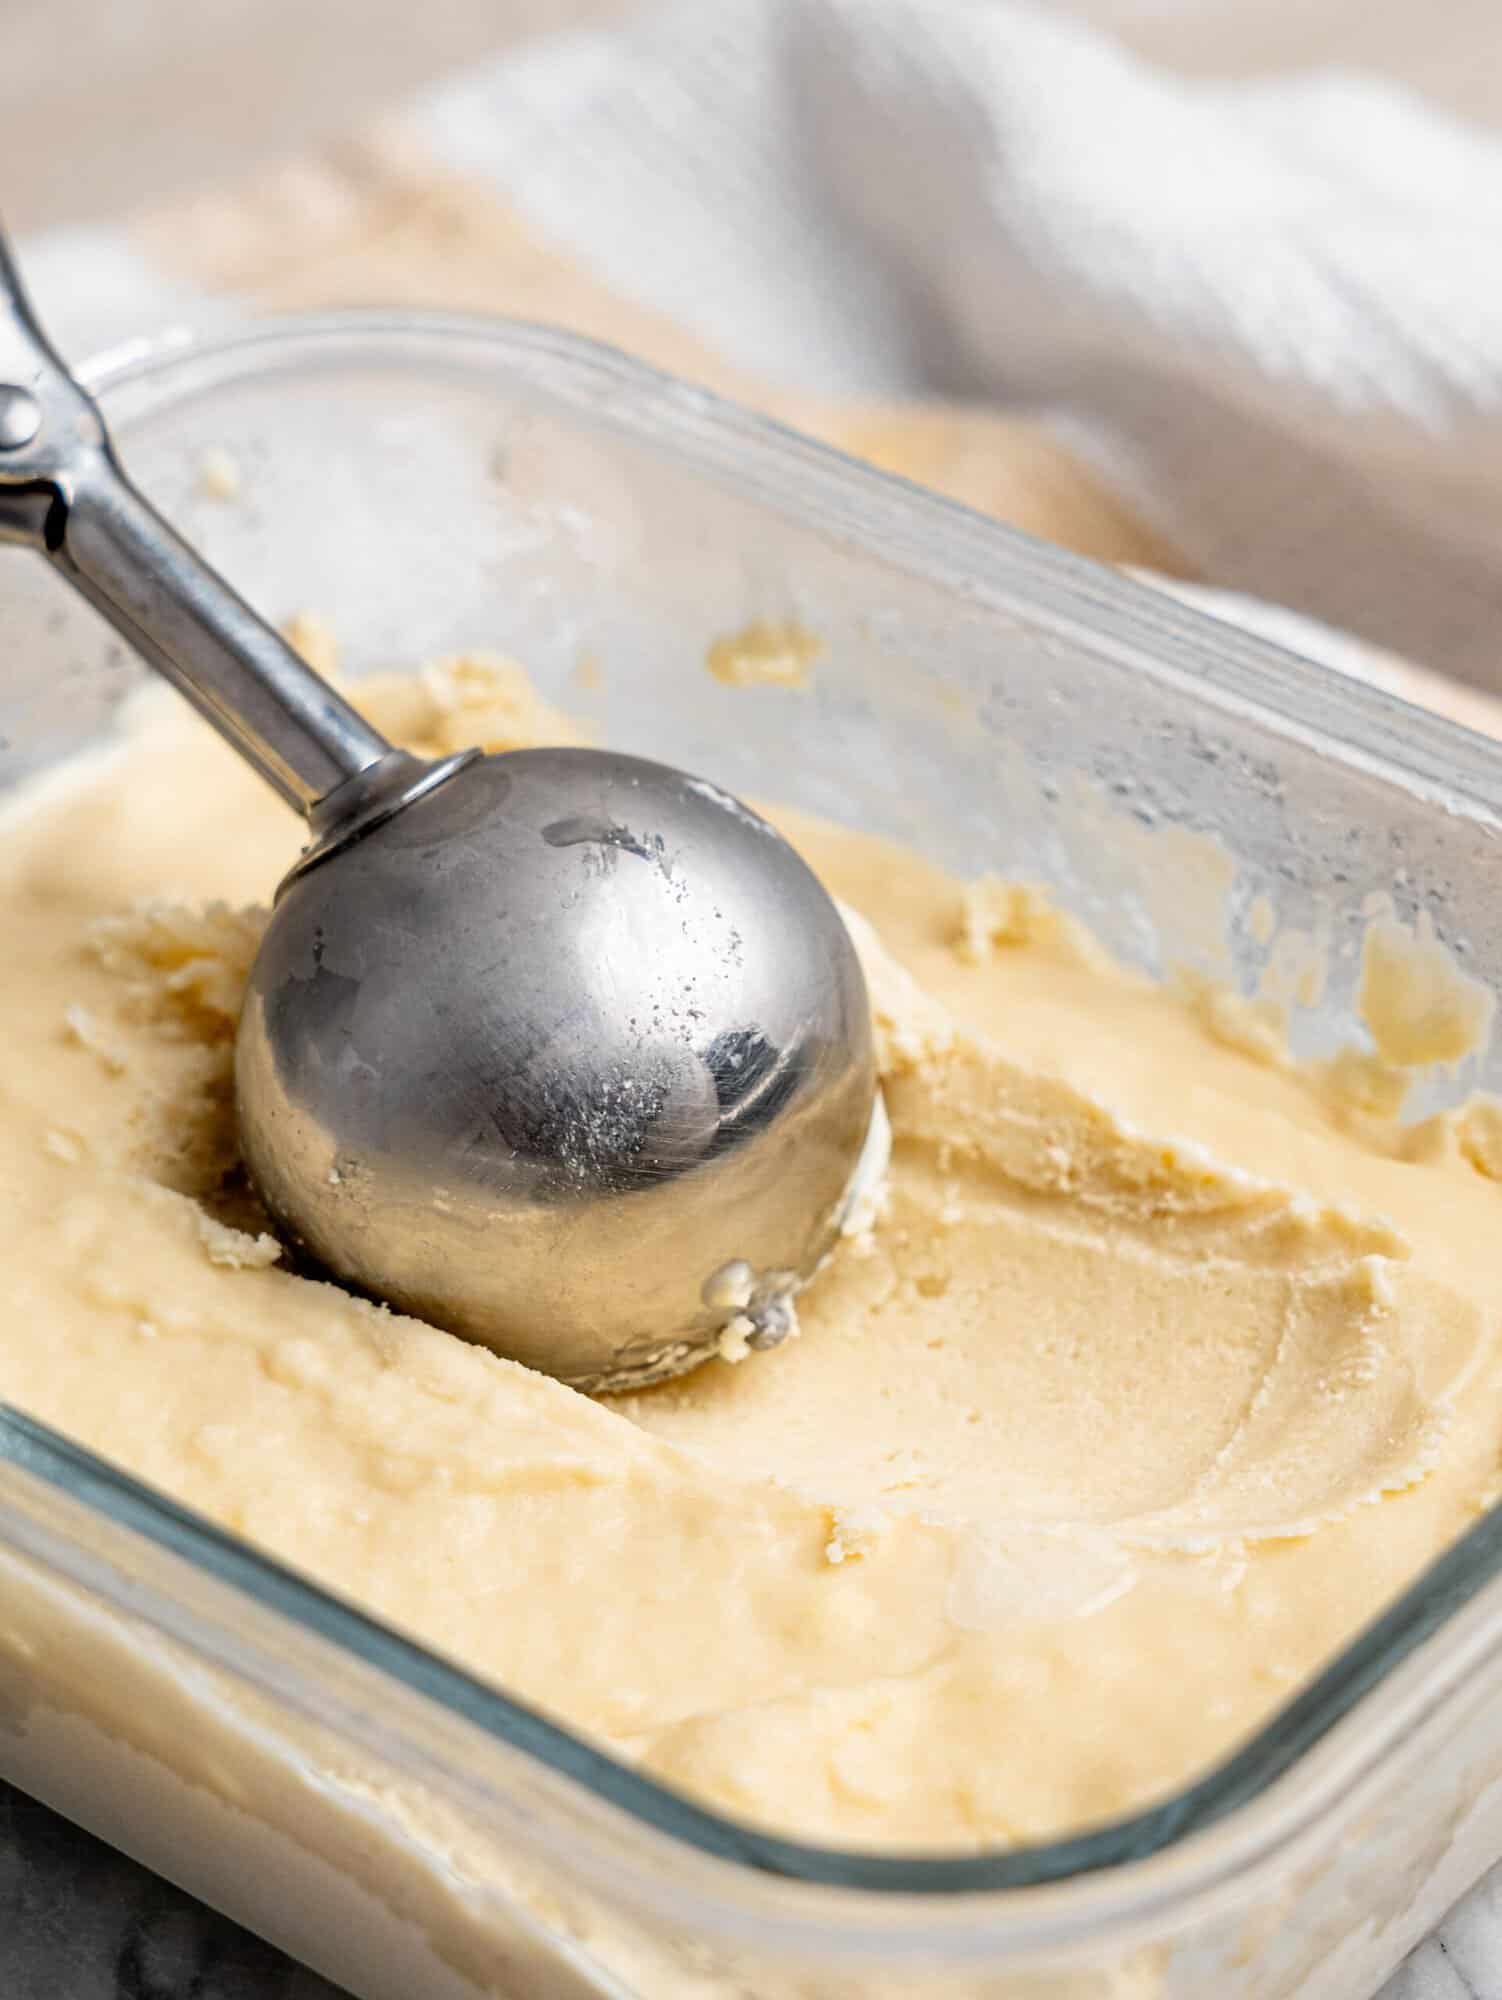
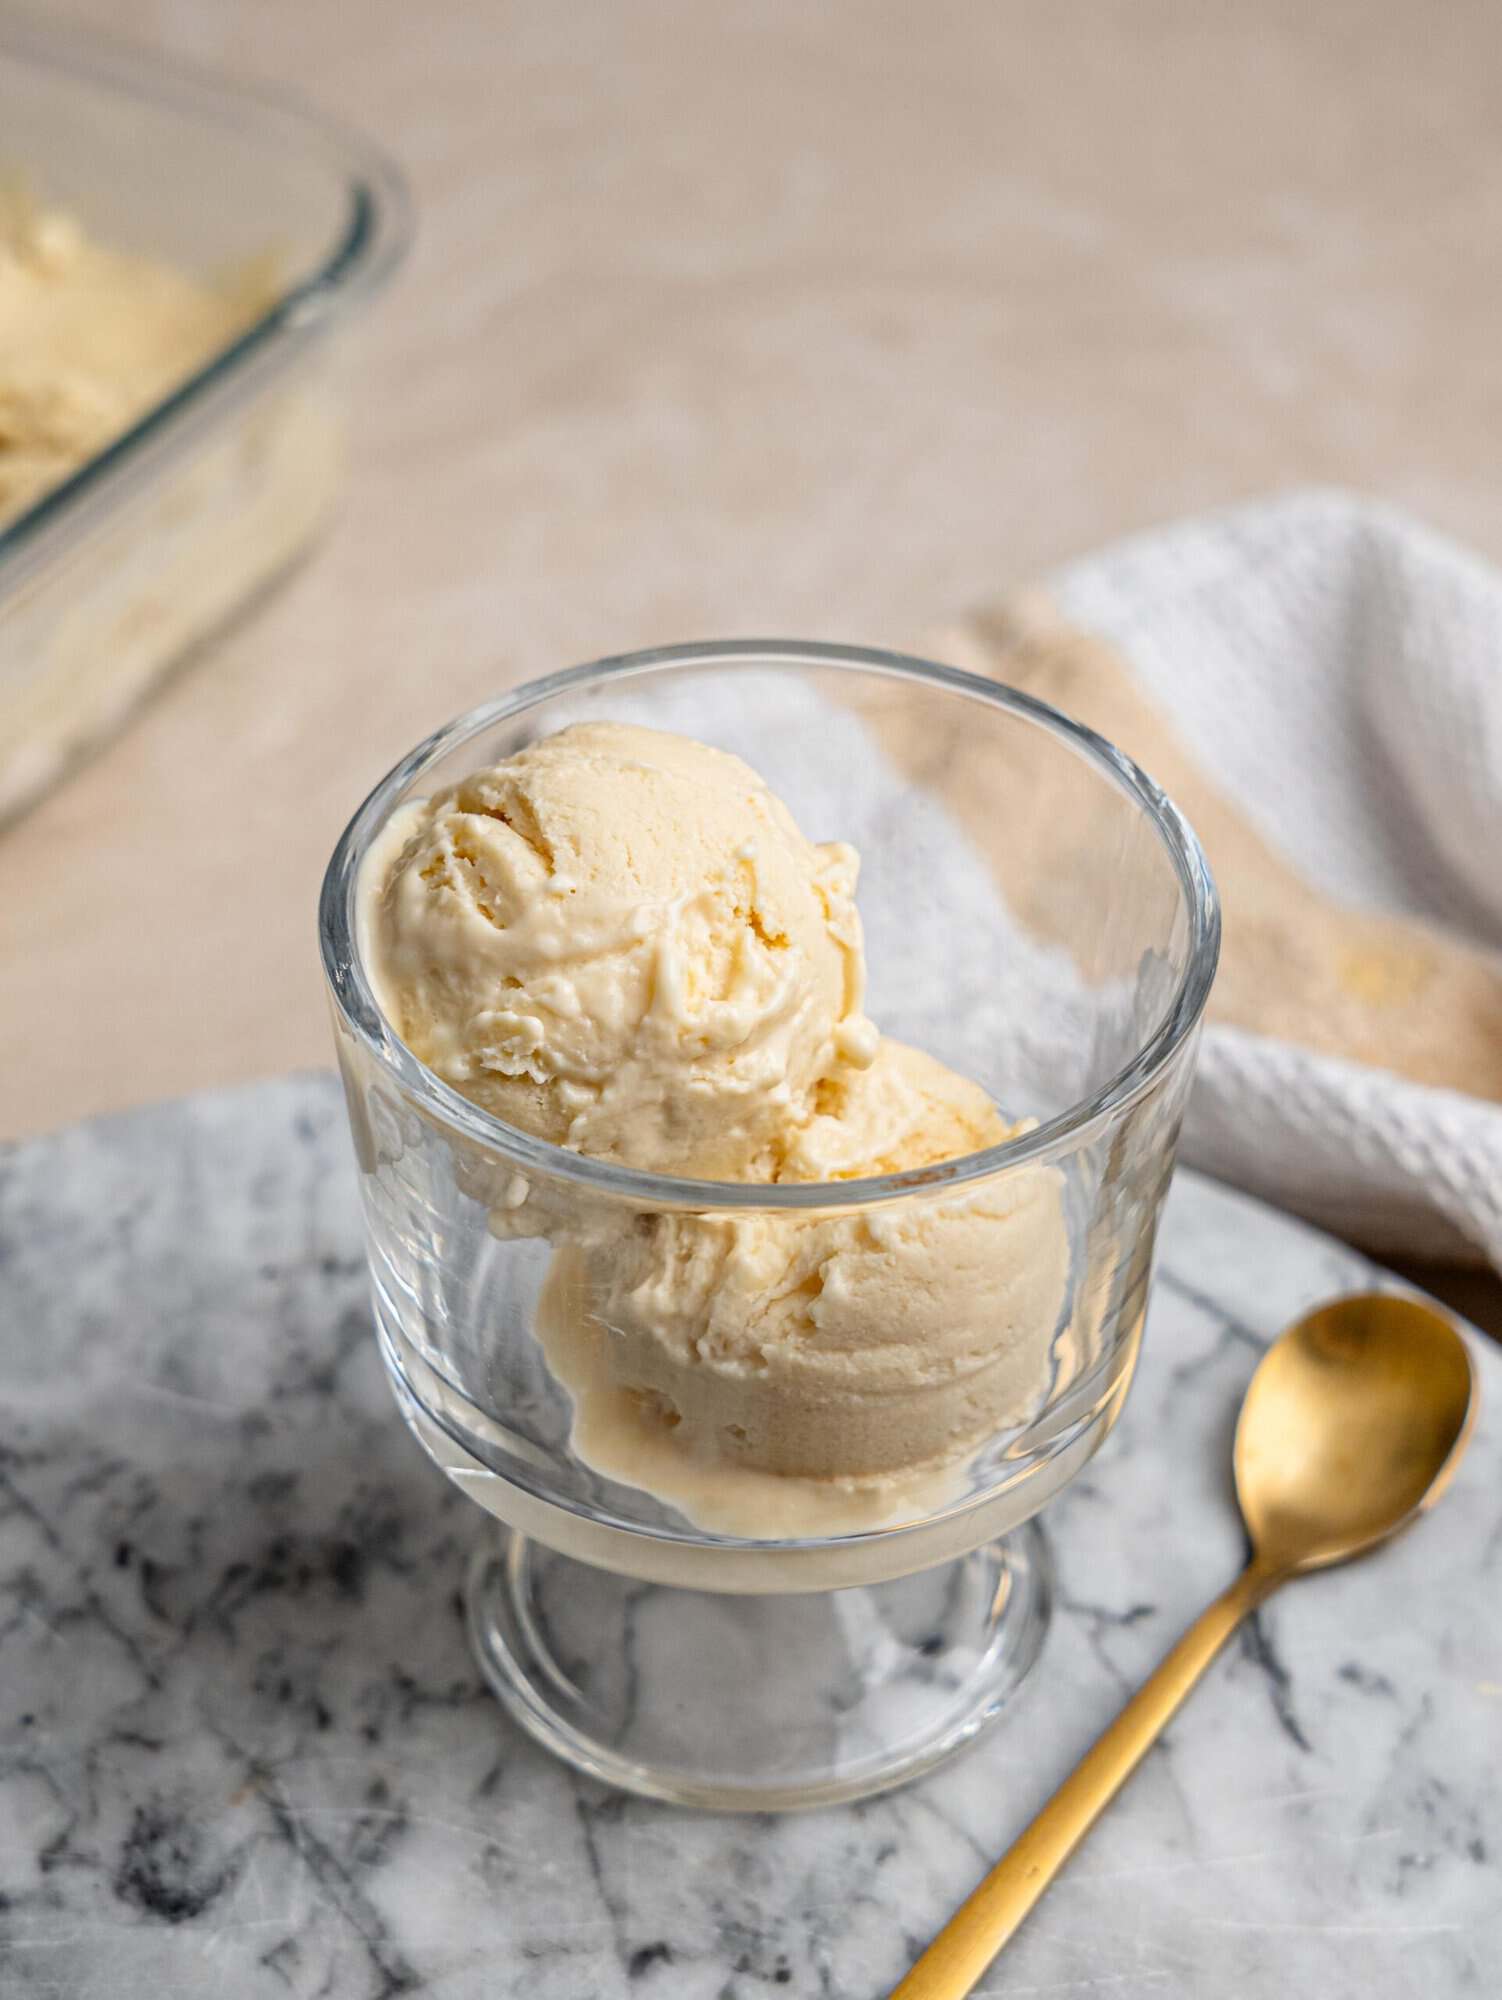
If the ice cream has been frozen for several hours or overnight, let it sit at room temperature for around 10-15 minutes before scooping. Serve with your favorite toppings and enjoy!
Can You Make This Protein Ice Cream in a Ninja Creami?
Yes! You can also use the blended base from this recipe to make Ninja Creami protein ice cream. Simply prepare the mixture as directed, then transfer it to your Ninja Creami container and follow the manufacturer’s freezing and processing instructions.
However, you don’t need a Ninja Creami for this recipe. The freeze-and-stir method is specifically designed to give you creamy protein ice cream without an ice cream maker.
Ways to Flavor Your Protein Ice Cream
The vanilla base is delicious on its own, but it’s also really easy to change up with different flavors and mix-ins.
Chocolate chip: Keep the vanilla protein powder base and stir through chocolate chips once the ice cream has started to firm up. You can also sprinkle a few extra on top before serving.
Peanut butter: Add a spoonful of peanut butter to the blended base for a creamy peanut butter ice cream. You can also swirl a little extra through the ice cream before the final freeze.
Chocolate: Swap the vanilla protein powder for chocolate protein powder and add a little unsweetened cocoa powder for a richer chocolate flavor. Taste the mixture before freezing and add a little extra honey if needed.
Cookies and cream: Make the vanilla version and mix through crushed chocolate sandwich cookies once the ice cream has started to thicken.
Strawberry: Blend fresh or frozen strawberries into the vanilla base for a fruity version. You may want to add a little extra honey depending on how sweet your strawberries are.
If you love homemade frozen desserts, you can also try my protein ice cream bars or this banana and chocolate ice cream bar.
Protein Powder Ice Cream Nutrition Facts
This protein ice cream makes 4 servings, with 18.5 grams of protein per serving, making it a great option when you’re craving something sweet but still want to add more protein to your day.
The combination of cottage cheese, Greek yogurt and protein powder makes this a high protein dessert while keeping the ice cream creamy and satisfying. It’s also a simple homemade alternative to store-bought lite ice cream, with the added benefit of being able to control the ingredients and flavors yourself.
The nutrition information for this recipe includes calories, protein, carbohydrates, fat and other key nutrients per serving. The exact values will depend on the specific brands of ingredients used, so I recommend calculating the nutrition using the products you actually use.
Nutrition per serving:
Calories: 145 calories
Protein: 18.5g
Carbohydrates: 8.1g
Fat: 3.3g
Fiber: 1.7g
Sugar: 7g
Tips & Notes
- Blend the cottage cheese until completely smooth. This is important for a creamy texture without any noticeable curds.
- Don’t skip the freeze-and-stir steps. Stirring the ice cream as it freezes helps break up ice crystals and gives it a smoother texture.
- Use a shallow container. This helps the mixture freeze more evenly and makes it easier to stir.
- Let it soften before scooping. If you’ve frozen the ice cream overnight, let it sit at room temperature for 10–15 minutes before serving.
Storage Instructions
To store: Cover the protein ice cream tightly and store it in a freezer-safe container in the freezer. For the best texture, enjoy it within 5 days.
To serve after freezing: If the ice cream has been frozen for several hours or overnight, let it sit at room temperature for 10–15 minutes before scooping. This helps it soften to a creamy, scoopable consistency.
To re-freeze: Re-freezing is not recommended once the ice cream has softened, as repeated freezing and thawing can create more ice crystals and affect the creamy texture.
Hey! If you make this recipe, I would love it if you could leave me some feedback and a rating ⭐⭐⭐⭐⭐ in the comment section at the bottom of the page! Also let me know on Facebook, Instagram or Pinterest! I can’t wait to hear your thoughts and see your photos!
Protein Powder Ice Cream Recipe (No Ice Cream Maker)
Equipment
- Spoon or spatula
Ingredients
- 250 g cottage cheese (1 cup)
- 150 g Greek yogurt (⅔ cup)
- 50 g vanilla protein powder (½ cup)
- 30 g honey (1½ tbsp)
- 1 tsp vanilla extract
- Pinch of salt
Instructions
- Add the cottage cheese to a blender and blend until completely smooth and creamy. Scrape down the sides if needed to make sure there are no visible curds.
- Add the Greek yogurt, vanilla protein powder, honey, vanilla extract and salt. Blend again until everything is completely smooth and well combined.
- Pour the mixture into a shallow, freezer-safe container and spread it into an even layer. Cover and place in the freezer.
- Freeze for around 30–45 minutes, or until the mixture has started to firm up around the edges while the center is still soft.
- Remove from the freezer and stir thoroughly, scraping the frozen mixture from the edges into the softer center. This helps break up the ice crystals as they form.
- Return the container to the freezer and repeat the stirring process every 30–45 minutes for around 2–3 hours. Make sure to break up any firmer frozen sections each time you stir.
- Once the ice cream is thick and creamy, allow it to finish freezing until it reaches your preferred consistency.
- If the ice cream has been frozen for several hours or overnight, let it sit at room temperature for around 10–15 minutes before scooping. Serve with your favorite toppings.
Video
Notes
- Blend the cottage cheese until completely smooth before adding the other ingredients. This is important for achieving a creamy texture without noticeable curds.
- Don’t skip the freeze-and-stir steps. Stirring as the mixture freezes helps break up ice crystals and creates a smoother, more scoopable texture.
- A shallow freezer-safe container works best because the mixture freezes more evenly and is easier to stir.
- Different protein powders can affect the texture and sweetness of the finished ice cream. Use a protein powder you enjoy the taste of.
- If frozen overnight, allow the ice cream to soften slightly before scooping.
Nutrition
Let me know in the comments below if you make this Protein Powder Ice Cream Recipe!