

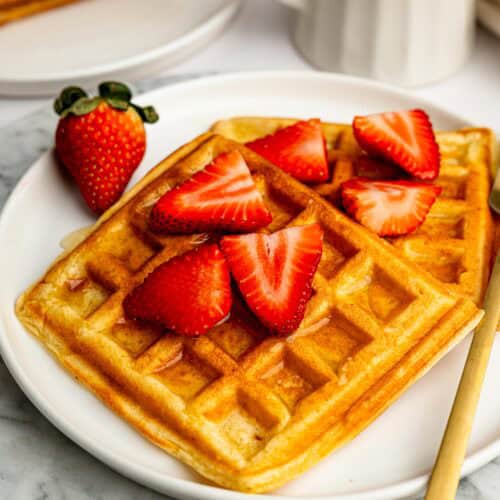
After making this Gluten Free Waffle Recipe almost every weekend while testing it, I finally landed on a version that’s crispy on the outside, light and fluffy on the inside, and incredibly easy to make. I make gluten-free breakfast recipes all the time, so I wanted these waffles to be simple enough for weekday meal prep but special enough for a slow weekend brunch.
If you’re ready to get cooking, use the Jump to Recipe button above, or keep reading for my best tips, ingredient swaps, and serving ideas.
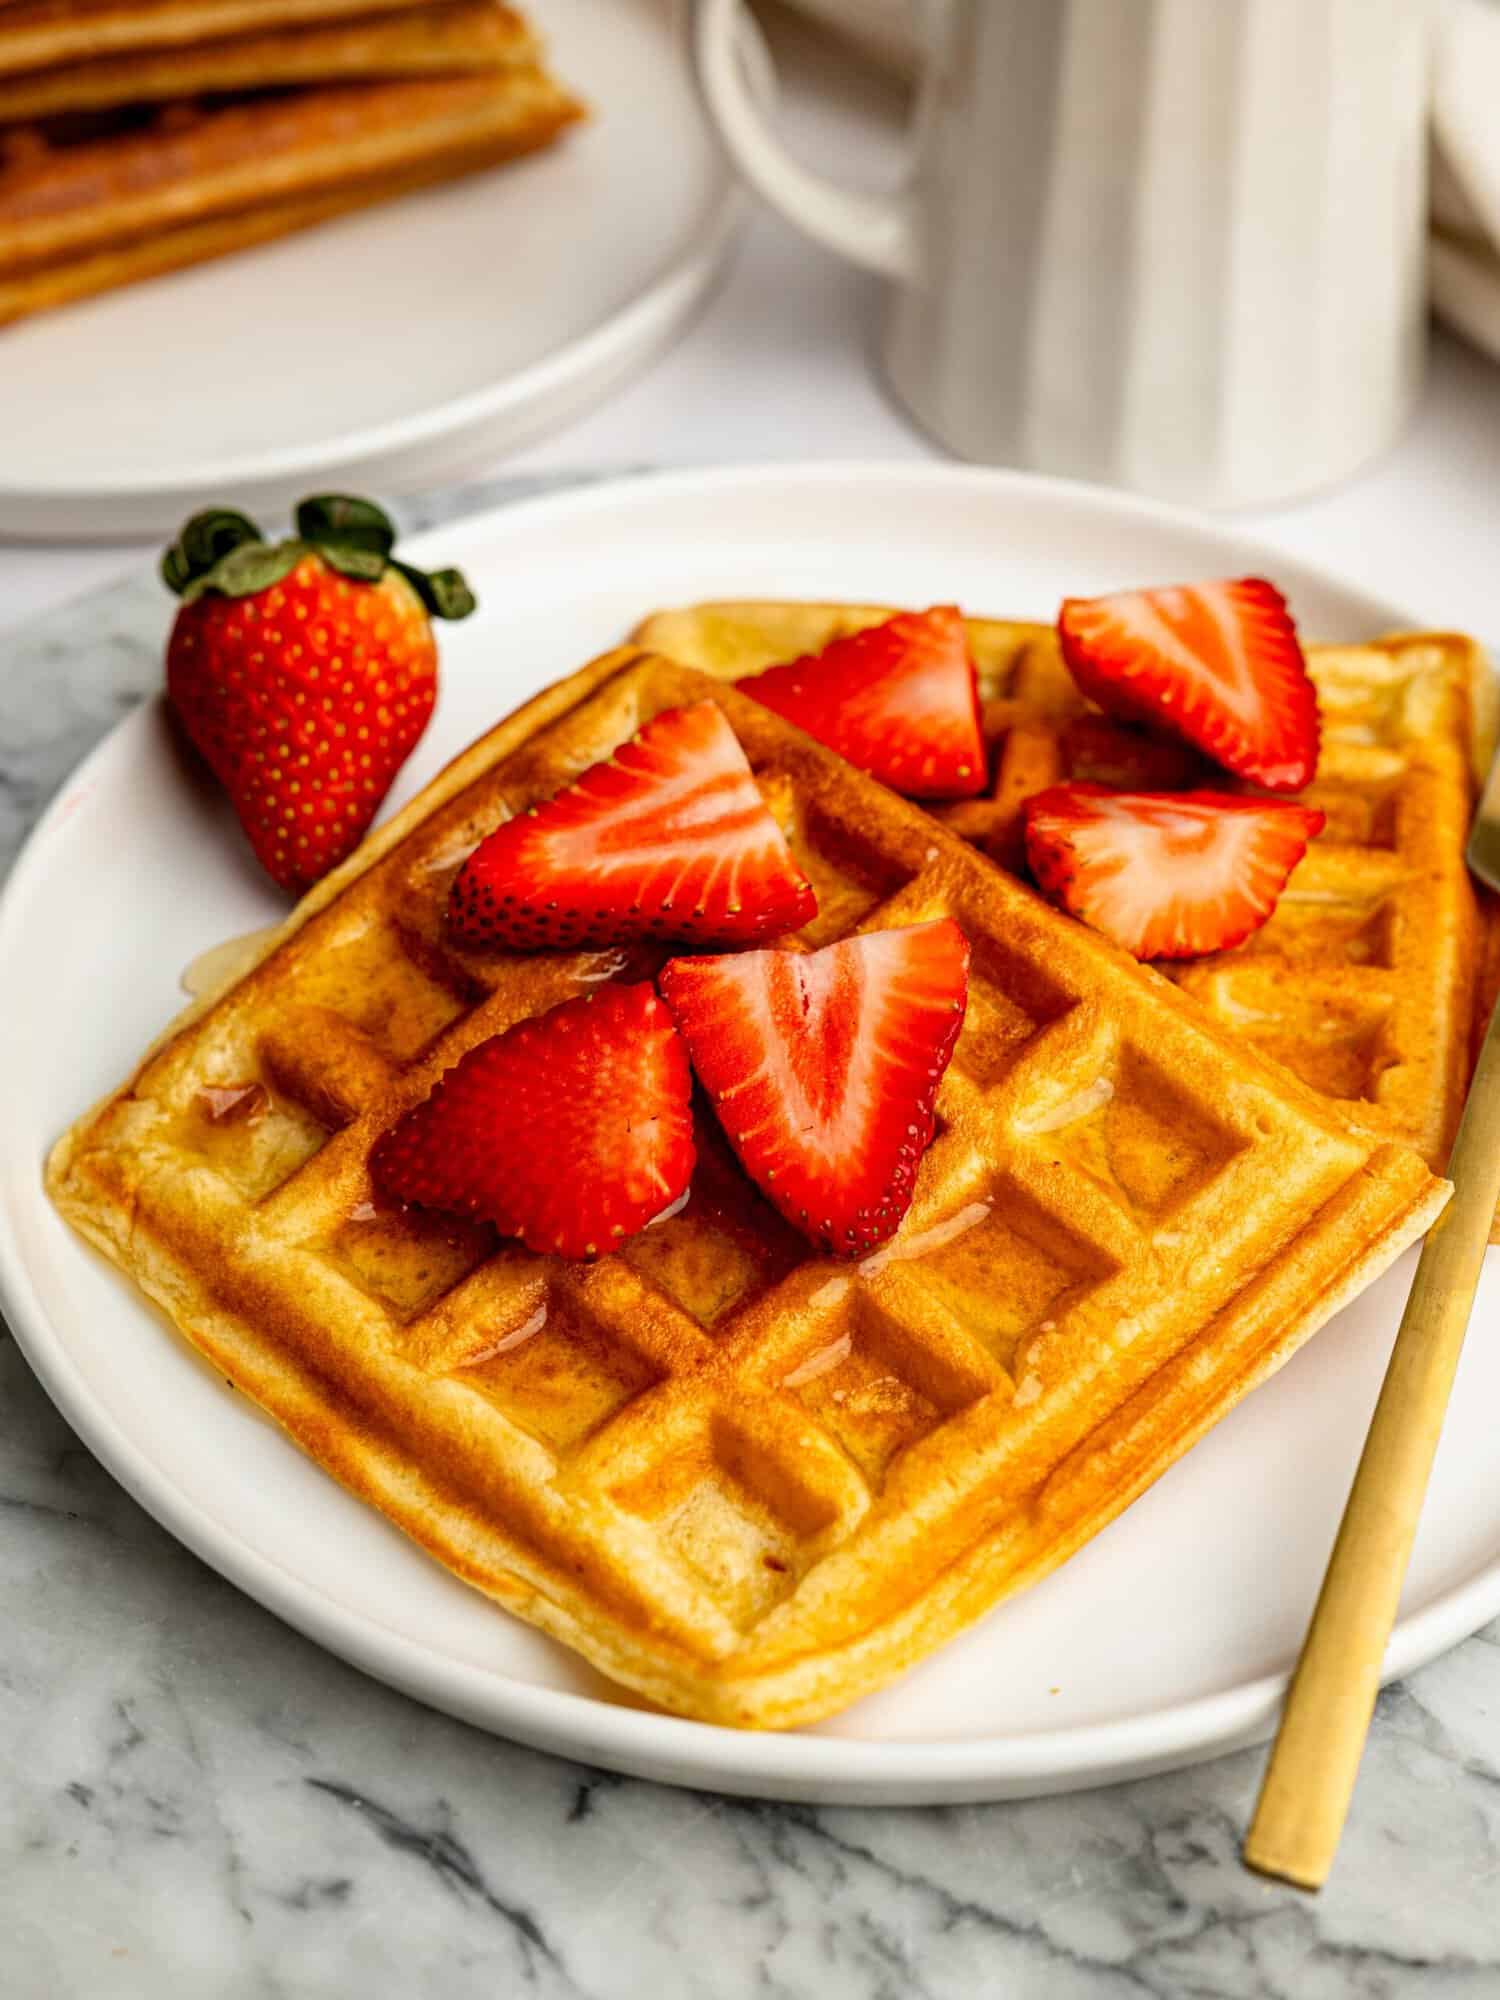
Gluten Free Waffle Recipe
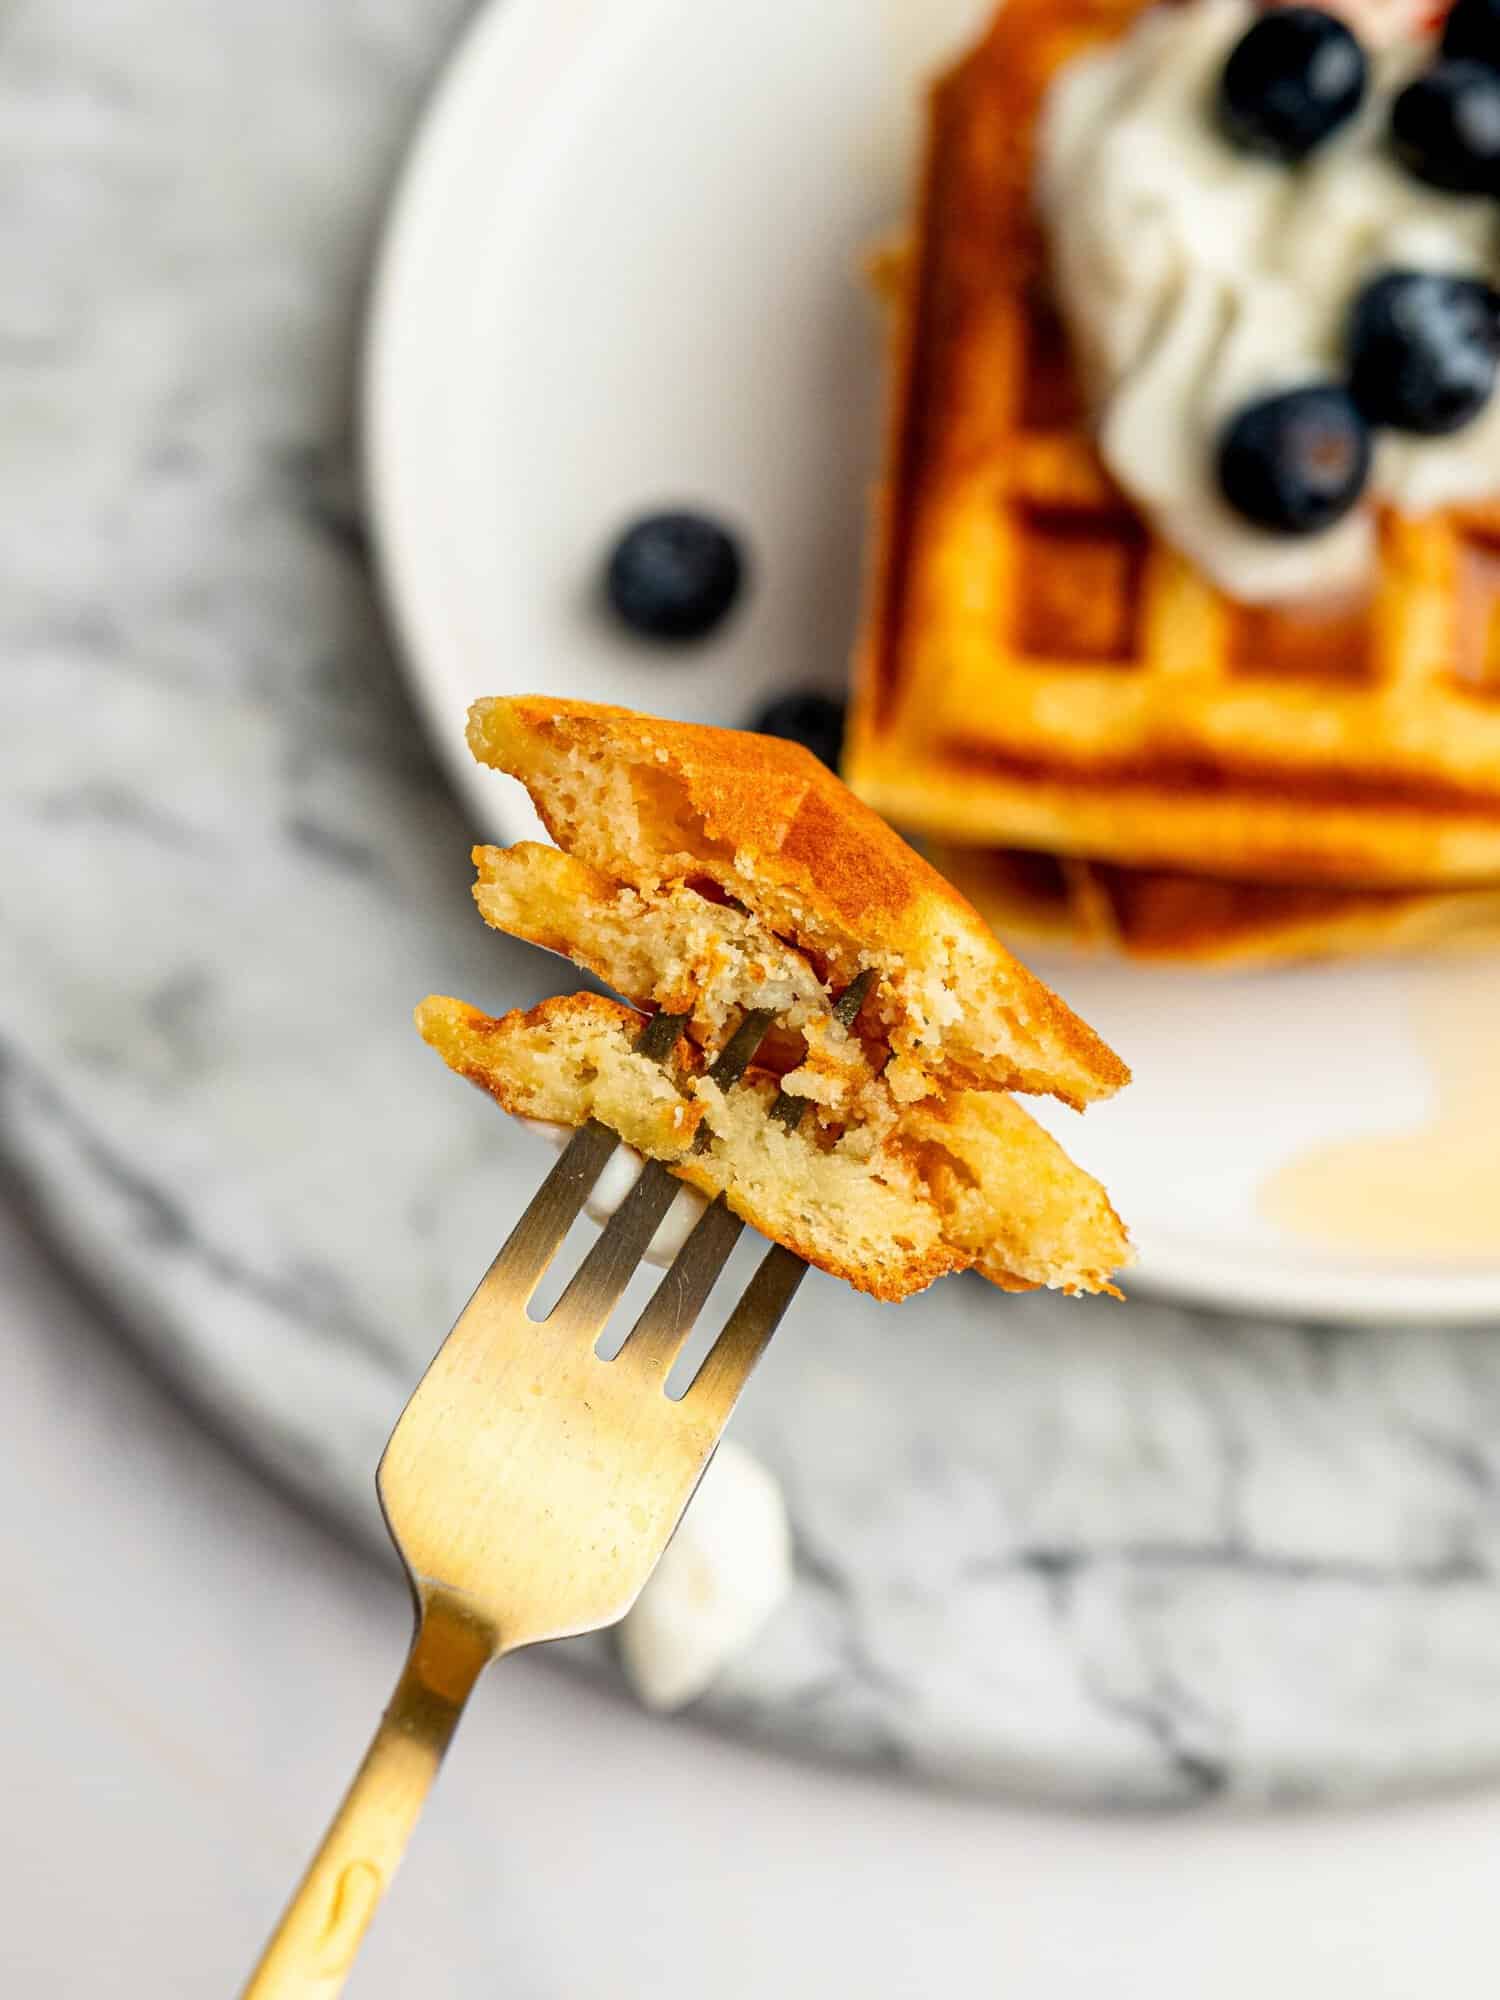
After testing both a gluten-free flour blend and an oat flour version, I finally landed on a recipe I know I’ll be making for years to come. The gluten-free flour version is beautifully light, fluffy, and crisp, while the oat flour version has a heartier texture that I love for meal prep. Both have earned a permanent spot in my breakfast rotation for different reasons.
One of my favorite things about this recipe is how simple it is. Everything comes together in one mixing bowl using everyday ingredients, and you can easily make it dairy-free by swapping the milk for your favorite dairy-free milk.
I love making a batch over the weekend, freezing the leftovers, and popping one into the toaster or air fryer during the week. Honestly, who doesn’t want waffles for breakfast on a random Tuesday?
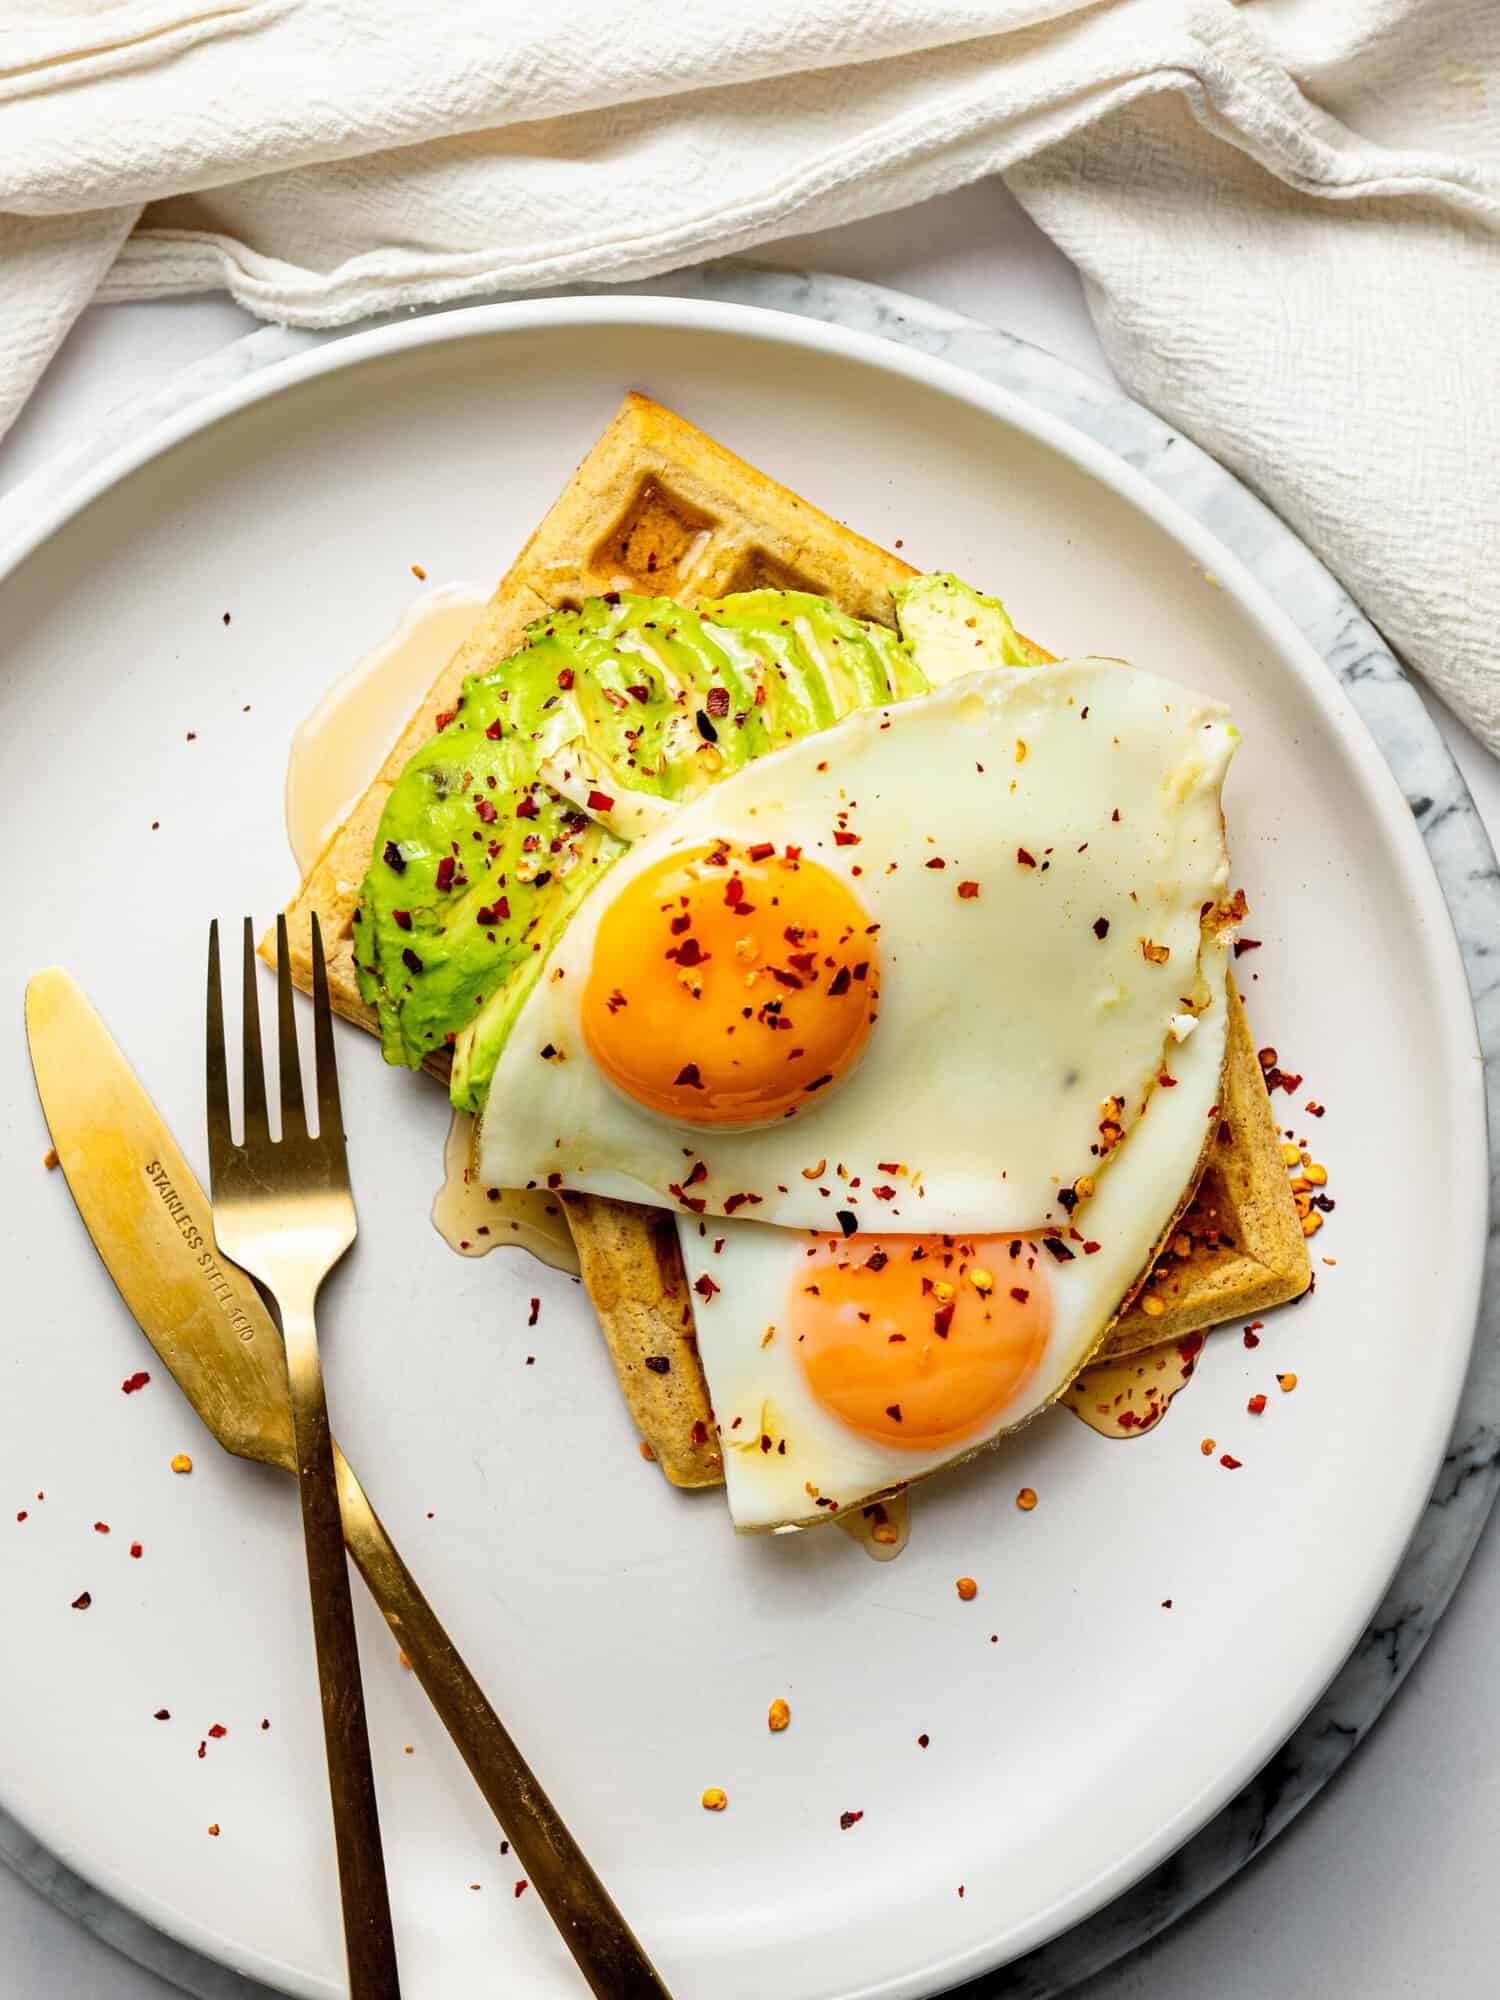
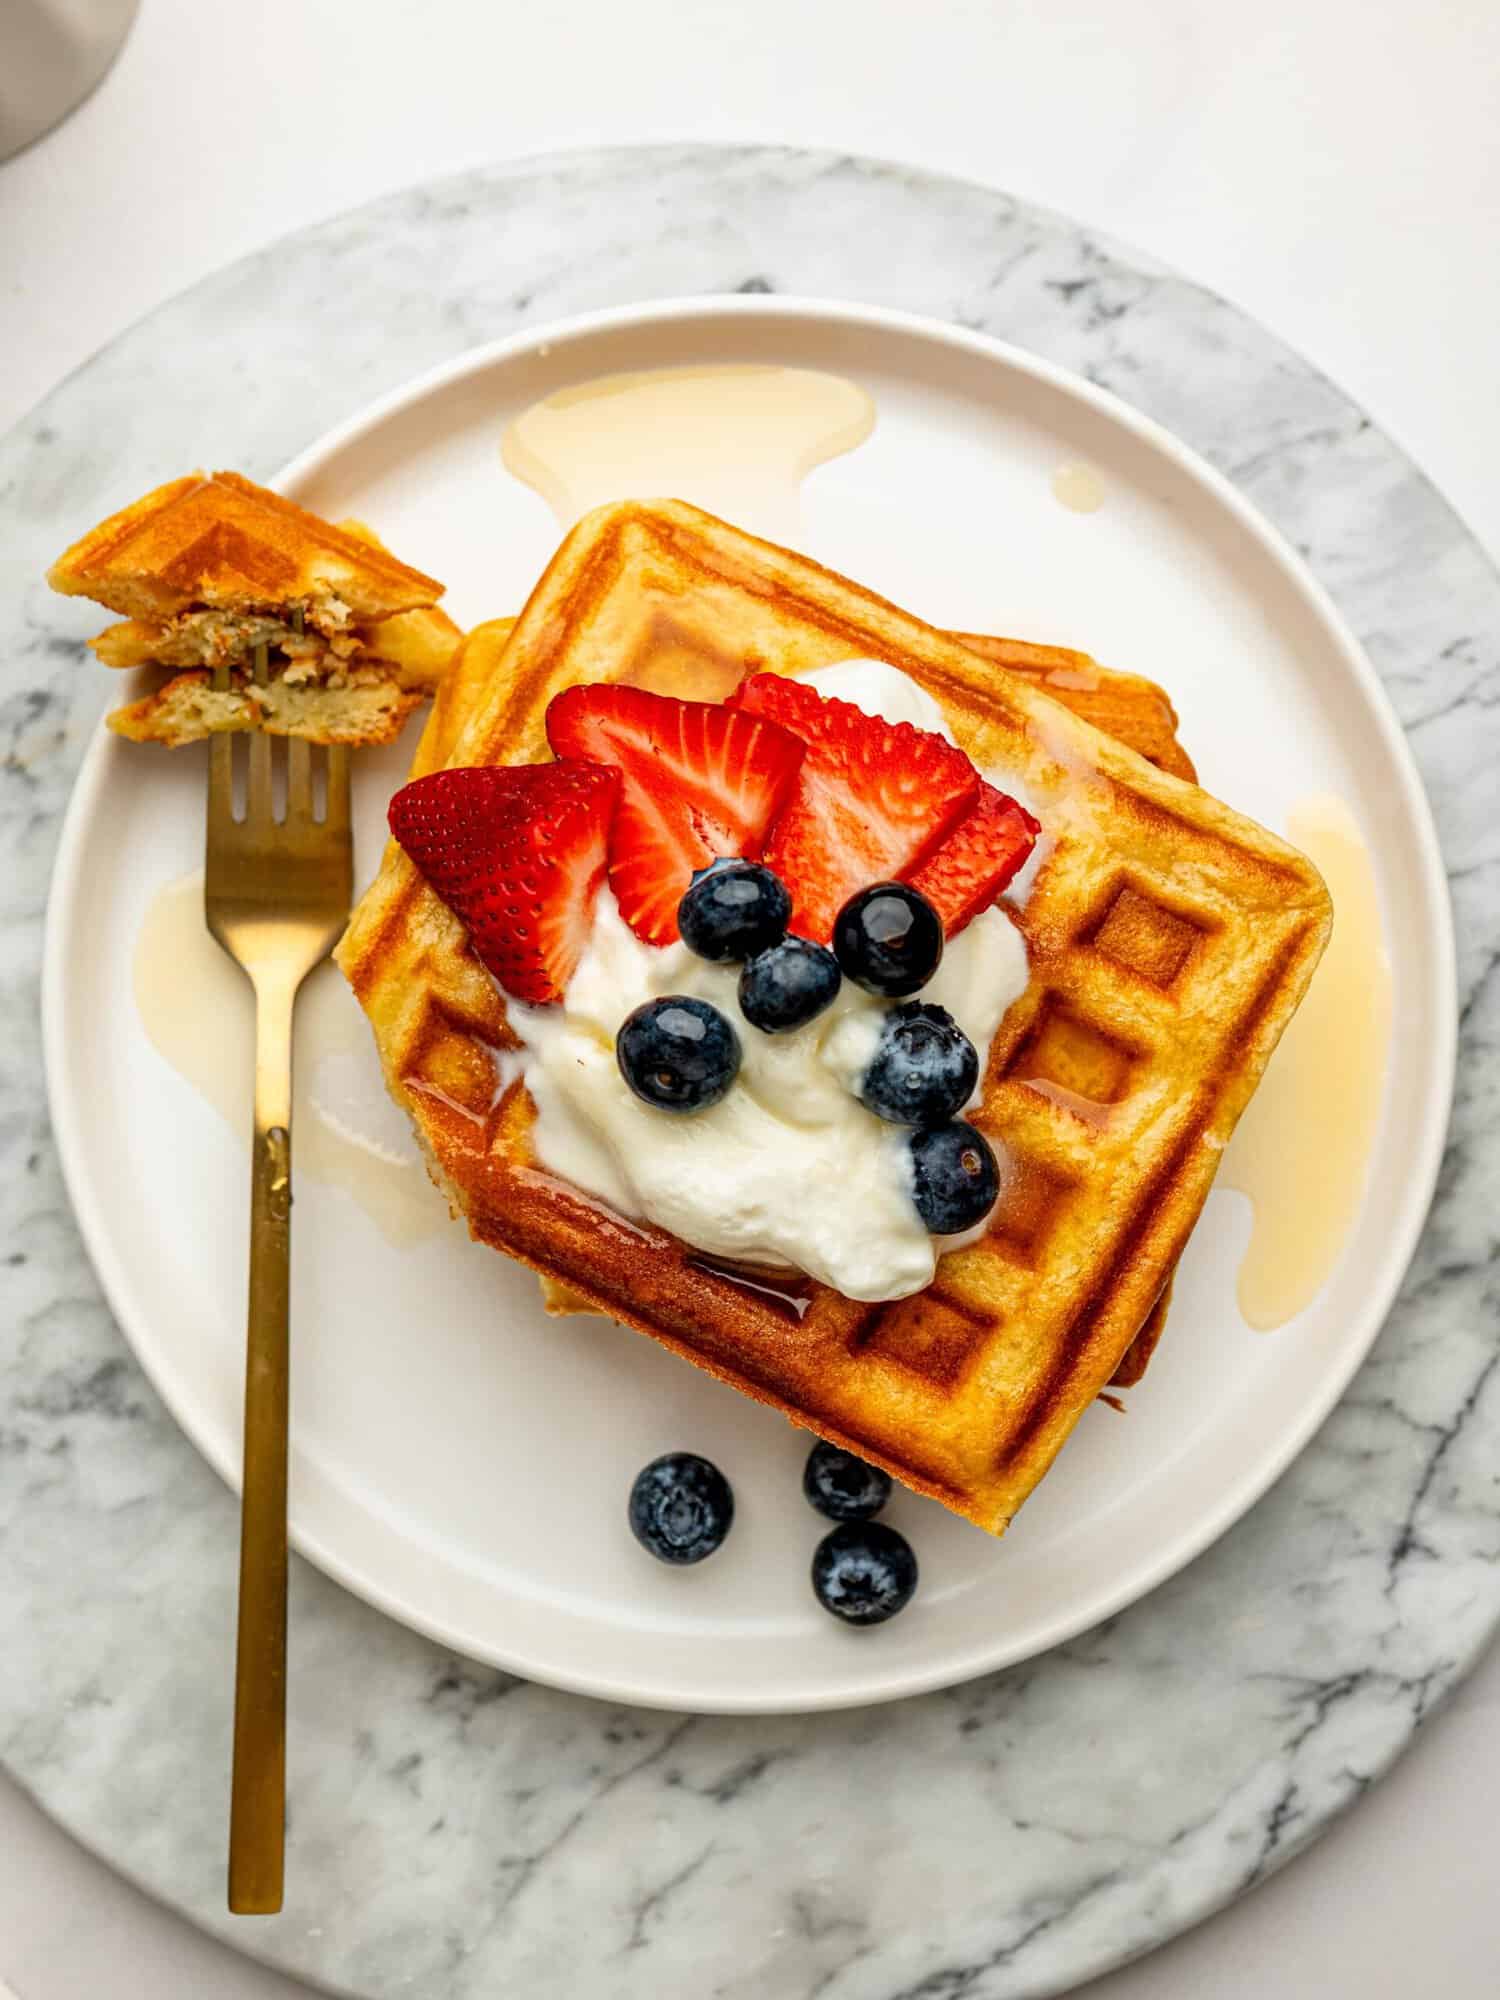
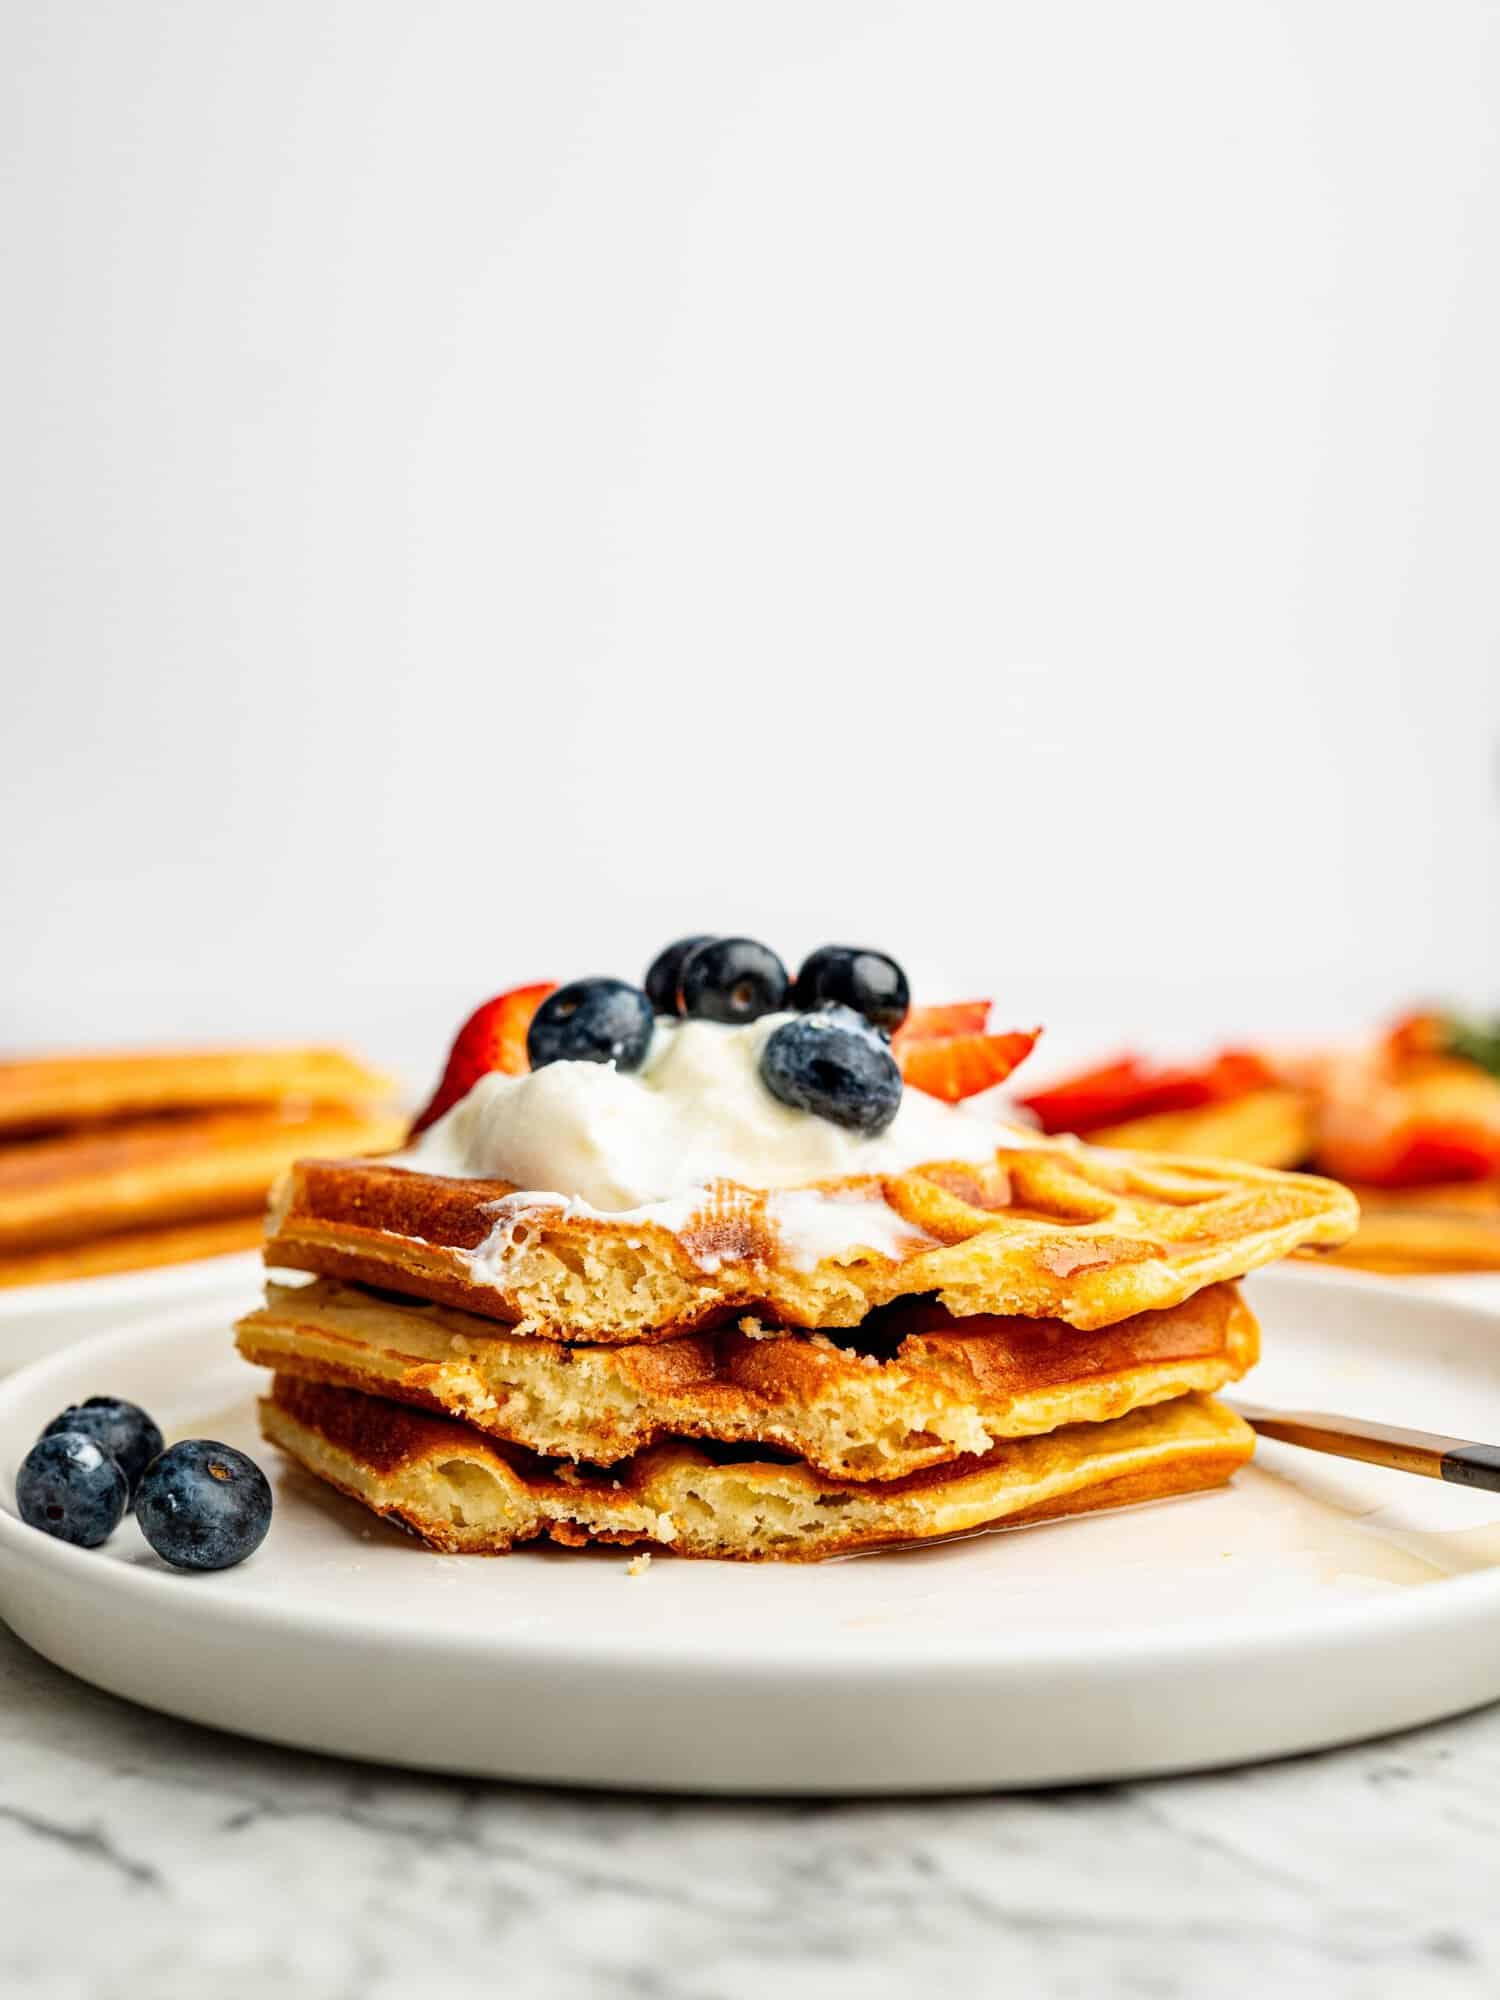
When it comes to toppings, I can never choose just one. If I’m craving something sweet, I’ll pile them high with Greek yogurt, fresh berries, and a drizzle of maple syrup or honey. But if you know me, you’ll know I’m definitely more of a savory kinda gal. My favorite combination is creamy avocado, eggs, and hot honey, it’s the perfect balance of sweet, savory, and satisfying.
Why you’ll love the Gluten Free Waffles
If you’re looking for a gluten free waffle recipe that’s easy enough for weekdays but special enough for brunch, here’s why I think you’ll love these:
- Tested two ways. I’ve made this recipe with both a gluten-free flour blend and oat flour, so you can choose the version that suits you best.
- Light, fluffy, and crispy. Crisp golden edges with a soft, fluffy center.
- One-bowl recipe. Minimal washing up, maximum reward.
- Simple pantry staples. No hard-to-find specialty ingredients.
- Easy to make dairy-free. Simply use your favorite dairy-free milk.
- Perfect for meal prep. Freeze a batch and enjoy homemade waffles all week.
- Sweet or savory. They’re just as delicious with whipped cream and berries as they are with avocado and eggs.
Ingredients You’ll Need
One of the best things about these gluten free waffles is that they’re made with simple ingredients you may already have in your pantry.
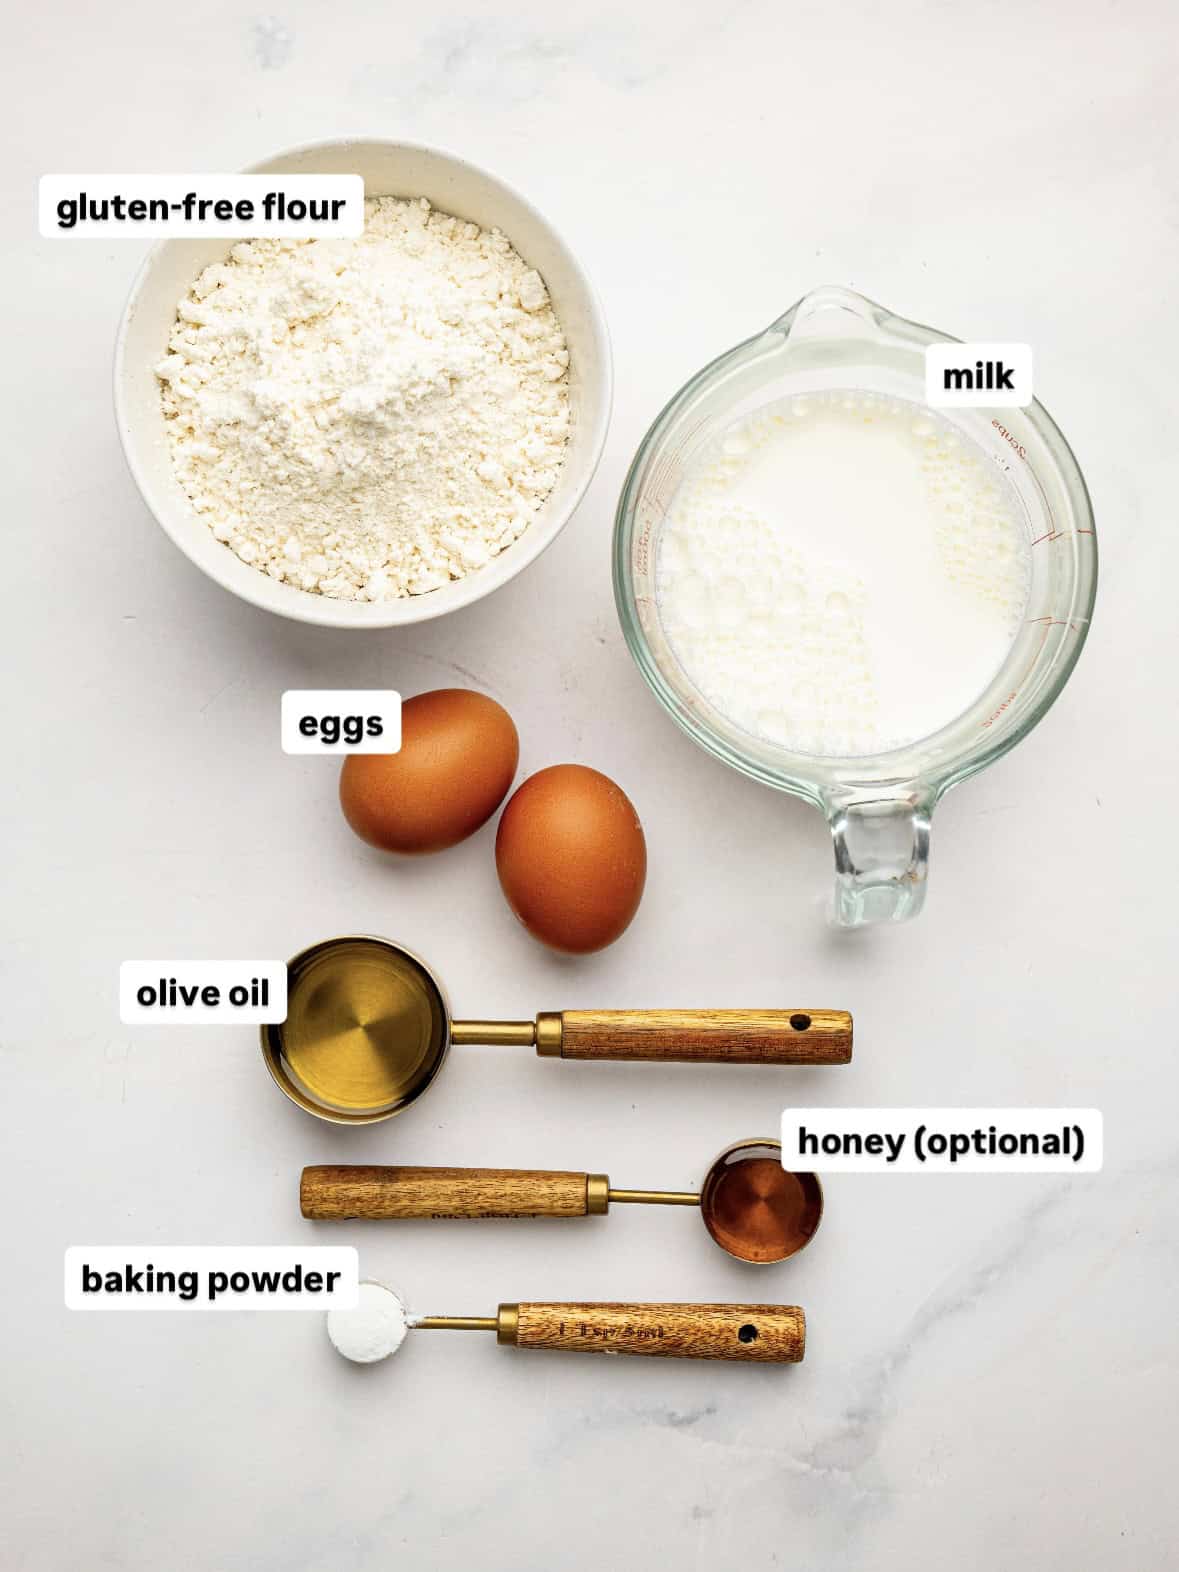
- Gluten-Free All-Purpose Flour Blend: I recommend using a good-quality gluten-free all-purpose flour blend that already contains xanthan gum. This gives the waffles structure while keeping them light, fluffy, and crisp. I tested this recipe using a South African gluten-free flour blend, but any similar all-purpose gluten-free flour blend with xanthan gum should work well.
- Baking Powder: Fresh baking powder gives the waffles their light, airy texture and helps them rise.
- Salt: Just a pinch enhances all the other flavors.
- Eggs: Eggs add structure and richness while helping bind the batter together.
- Milk: I use regular milk, but almond, oat, or soy dairy-free milk all work well.
- Olive Oil: Olive oil keeps the waffles moist and helps create beautifully golden edges.
- Vanilla Extract (Optional):: A little vanilla extract adds warmth and works perfectly with both sweet and savory toppings.
- Honey (Optional): Honey lightly sweetens the waffle batter and encourages browning. You can also use maple syrup, or leave it out entirely if you’re planning to add sweet toppings.
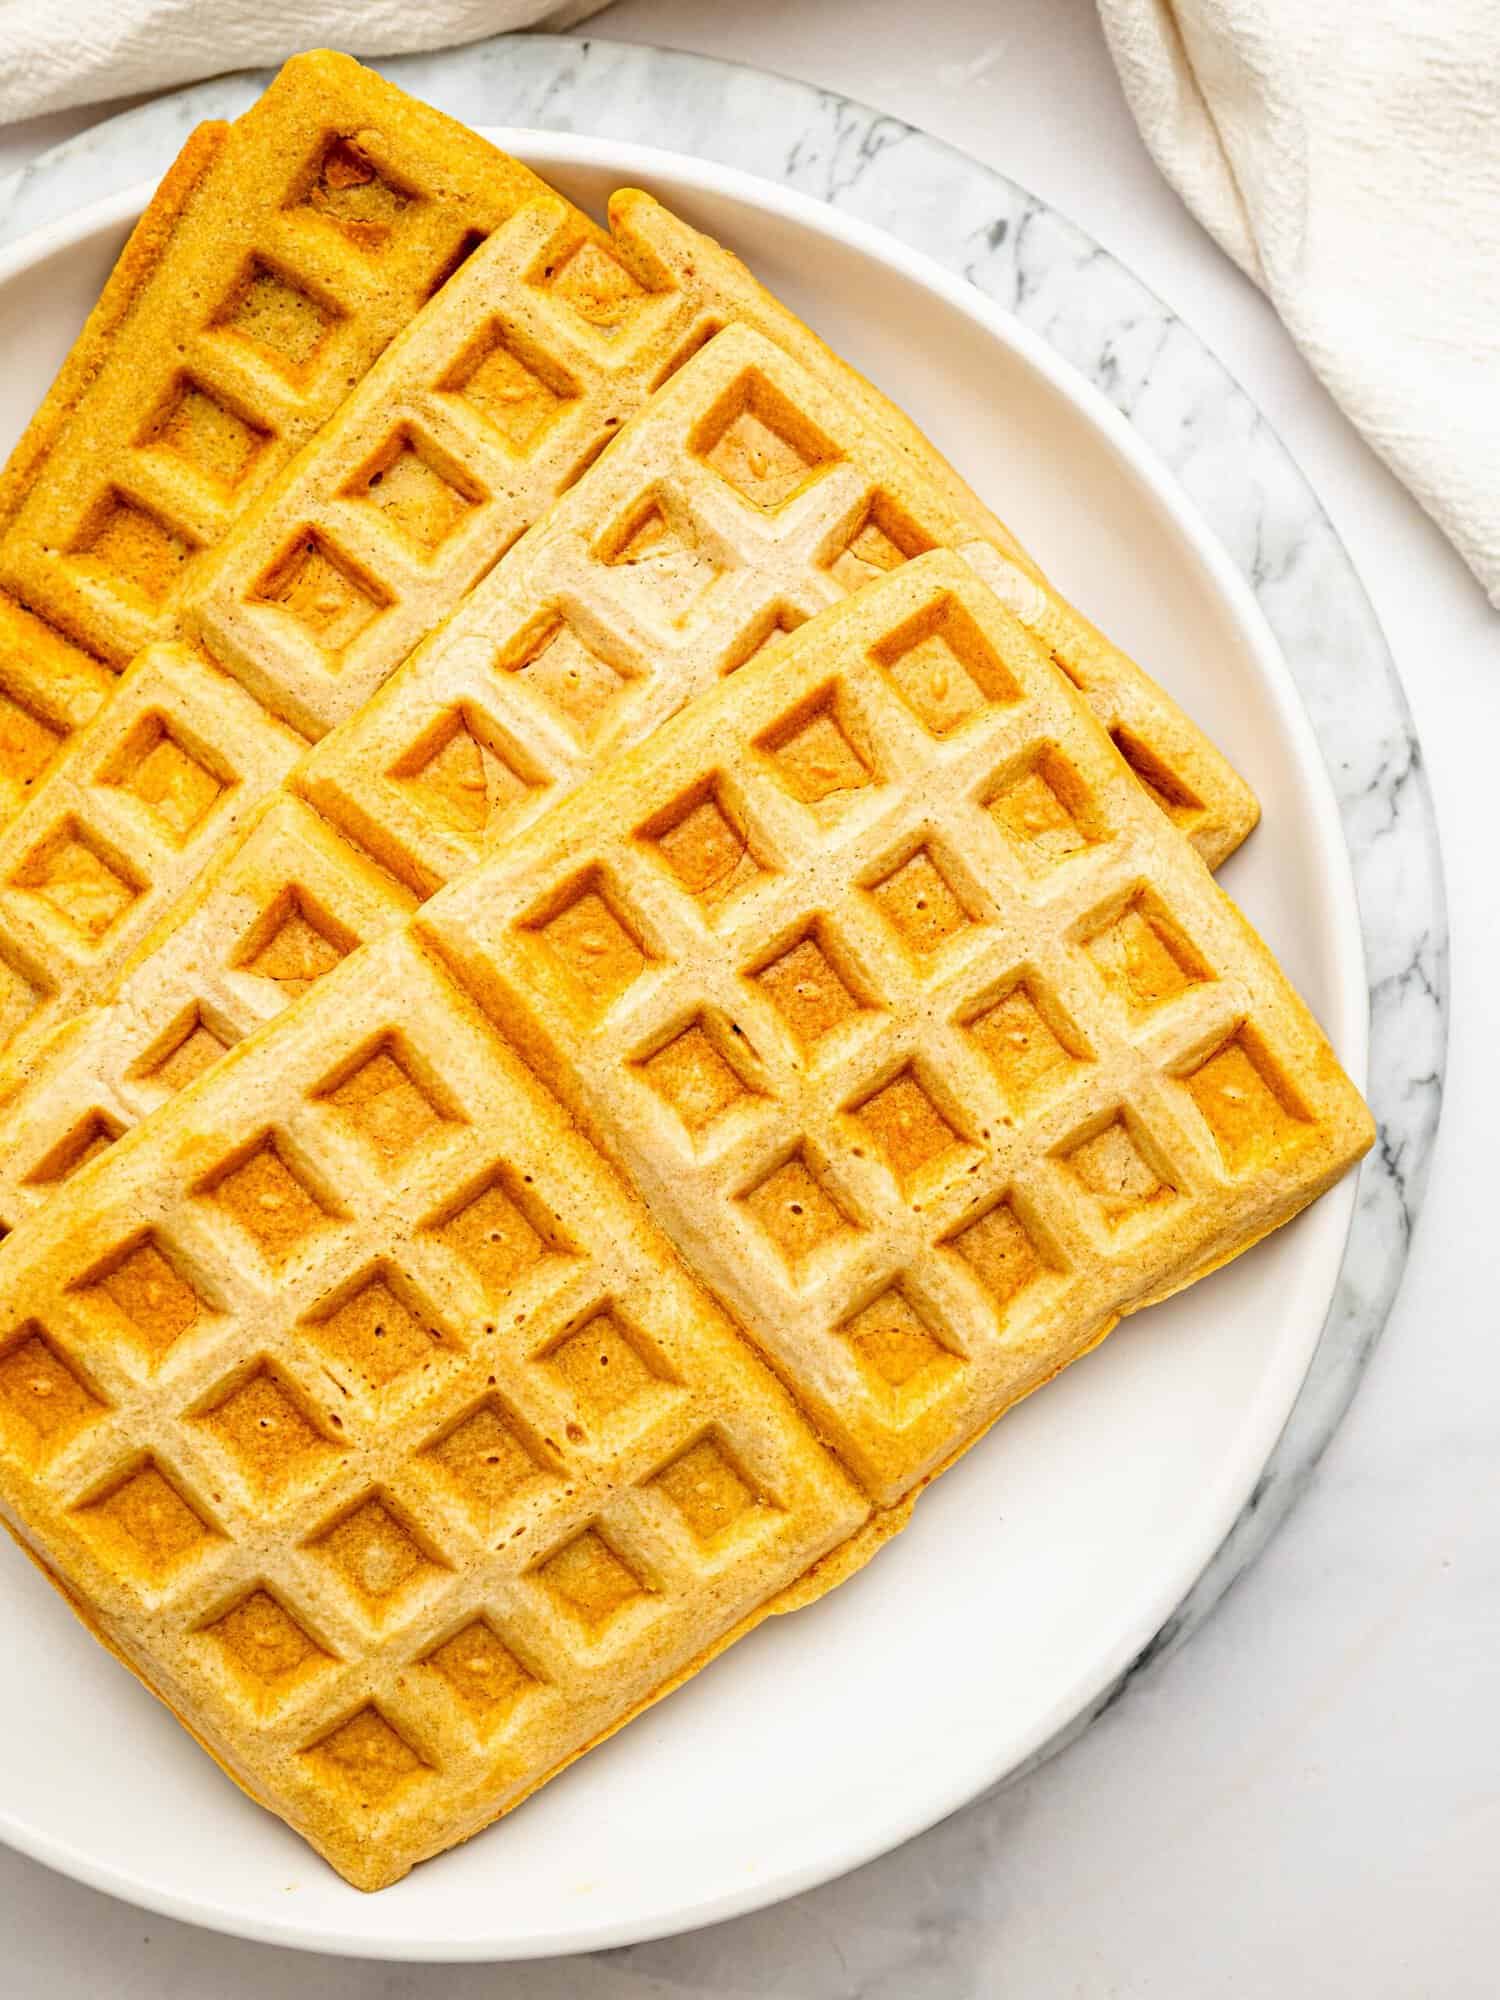
Ingredient Swaps
This recipe is incredibly flexible, so don’t worry if you’re missing an ingredient.
- Oat Flour: I also tested this recipe with certified gluten-free oat flour. The waffles are slightly denser and chewier, but they have a lovely nutty flavor and are fantastic for meal prep. Simply use 240 g oat flour, increase the milk to 360 ml, and let the batter rest for 10 minutes.
- Dairy-Free Milk: Replace regular milk with almond, oat, or soy milk for an easy dairy-free version.
- Olive Oil or Butter: Olive oil keeps the waffles beautifully moist, but melted butter works just as well if you prefer a richer flavor.
- Honey or Maple Syrup: Both add a subtle sweetness, so use whichever you have on hand.
- Cornflour (Cornstarch): If you like extra crispy waffles, replace 2 tablespoons of the gluten-free flour with 2 tablespoons of cornflour.
Equipment You’ll Need
You don’t need much to make this free waffle recipe, just a few basic kitchen tools.
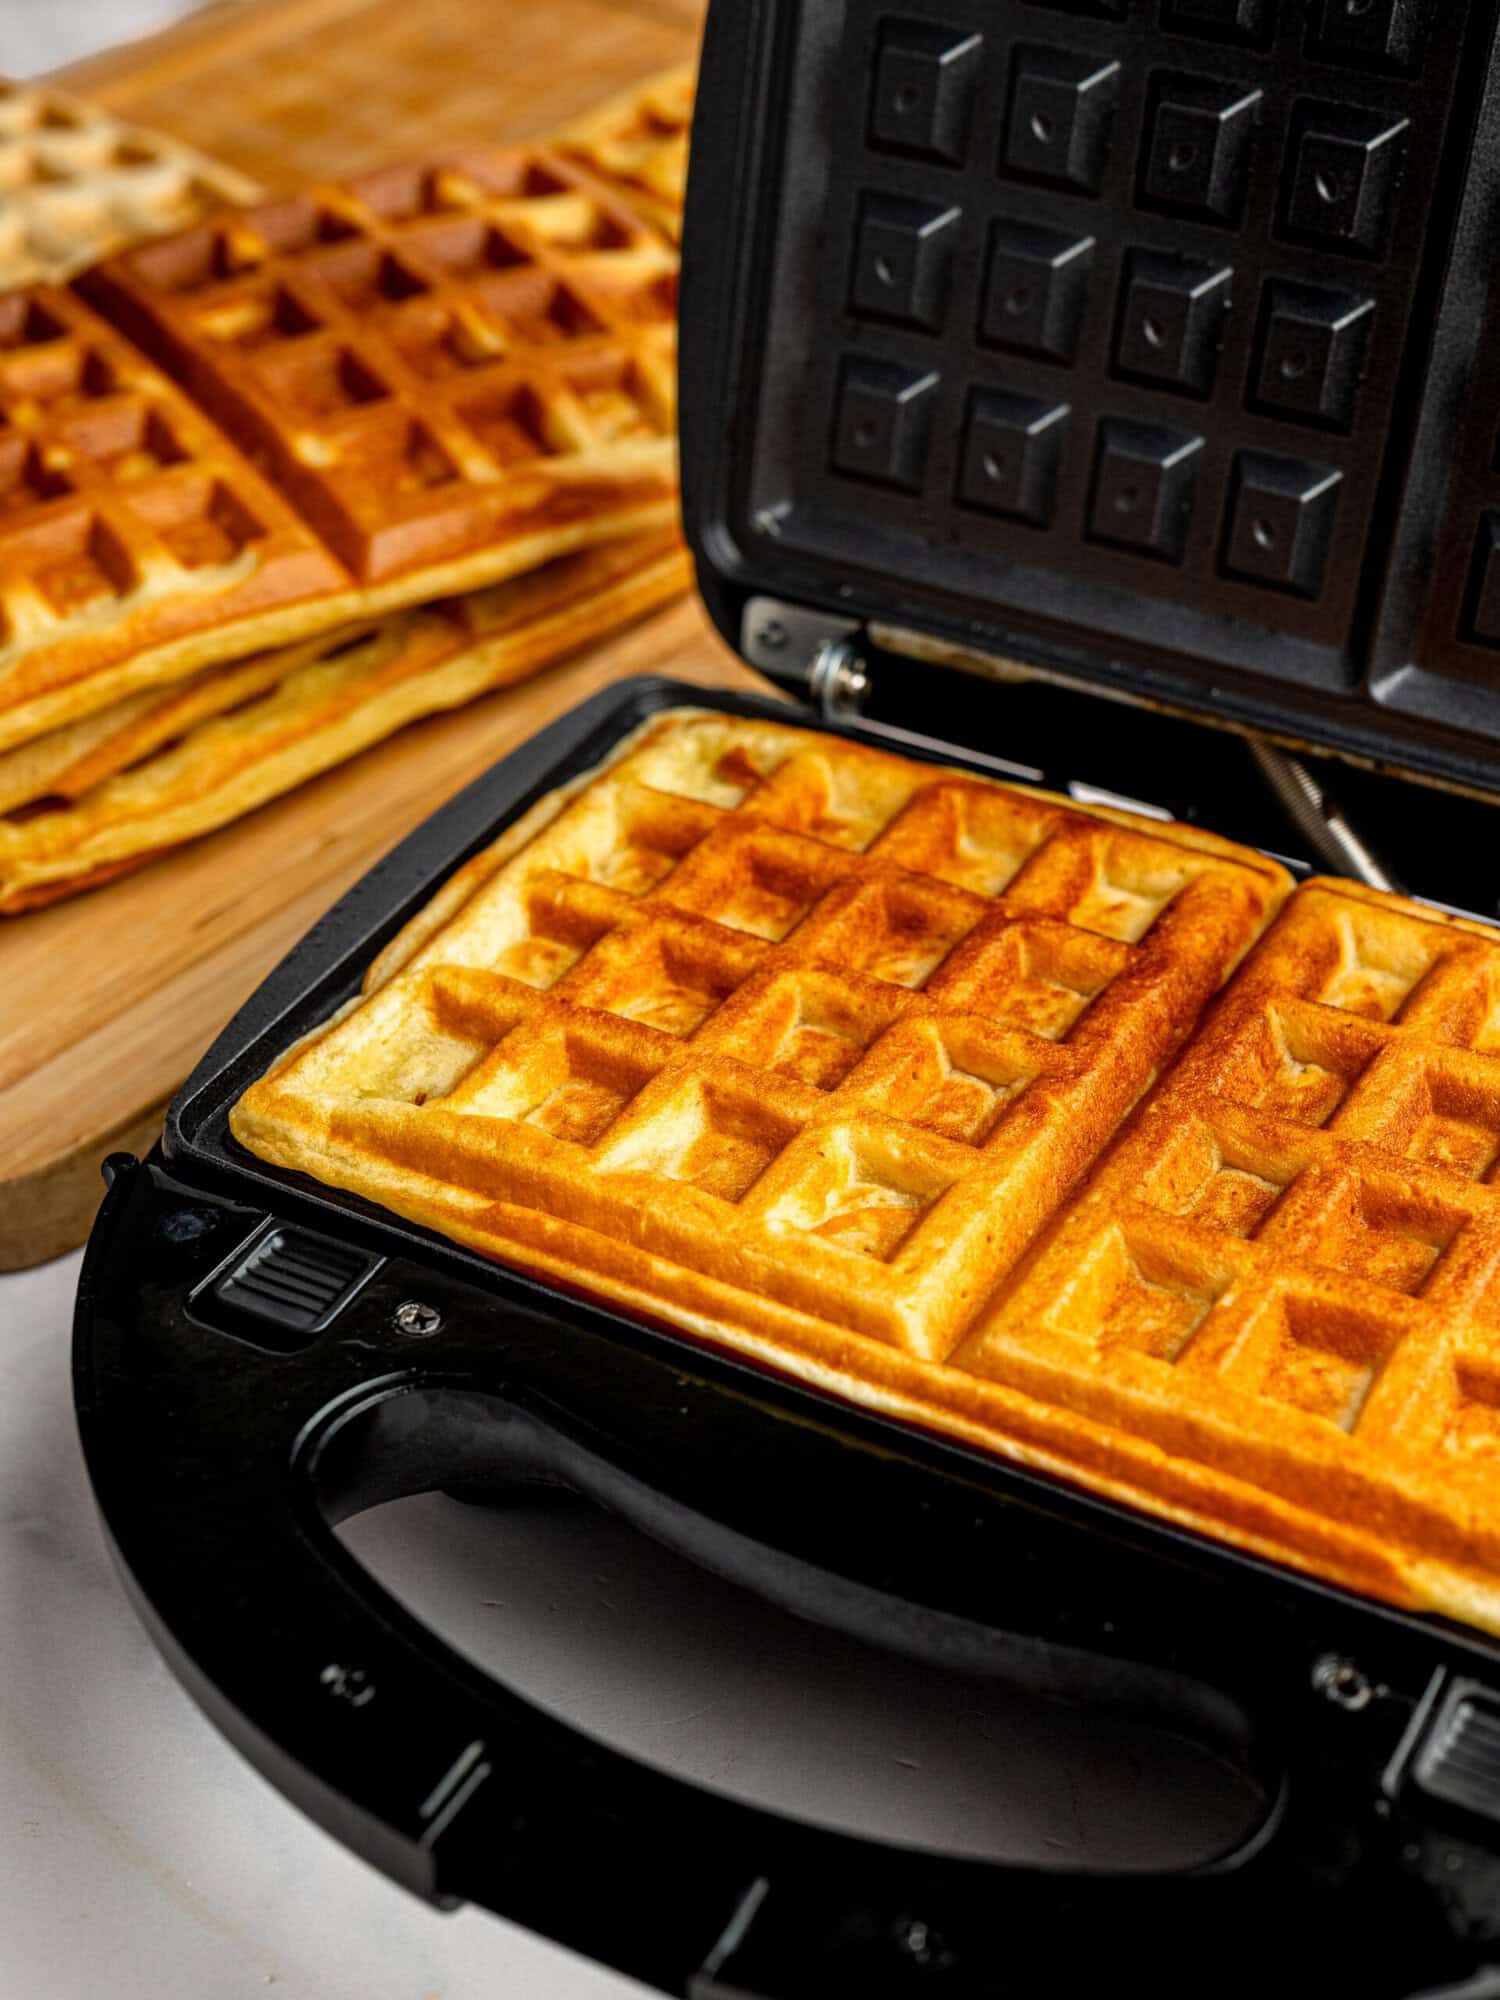
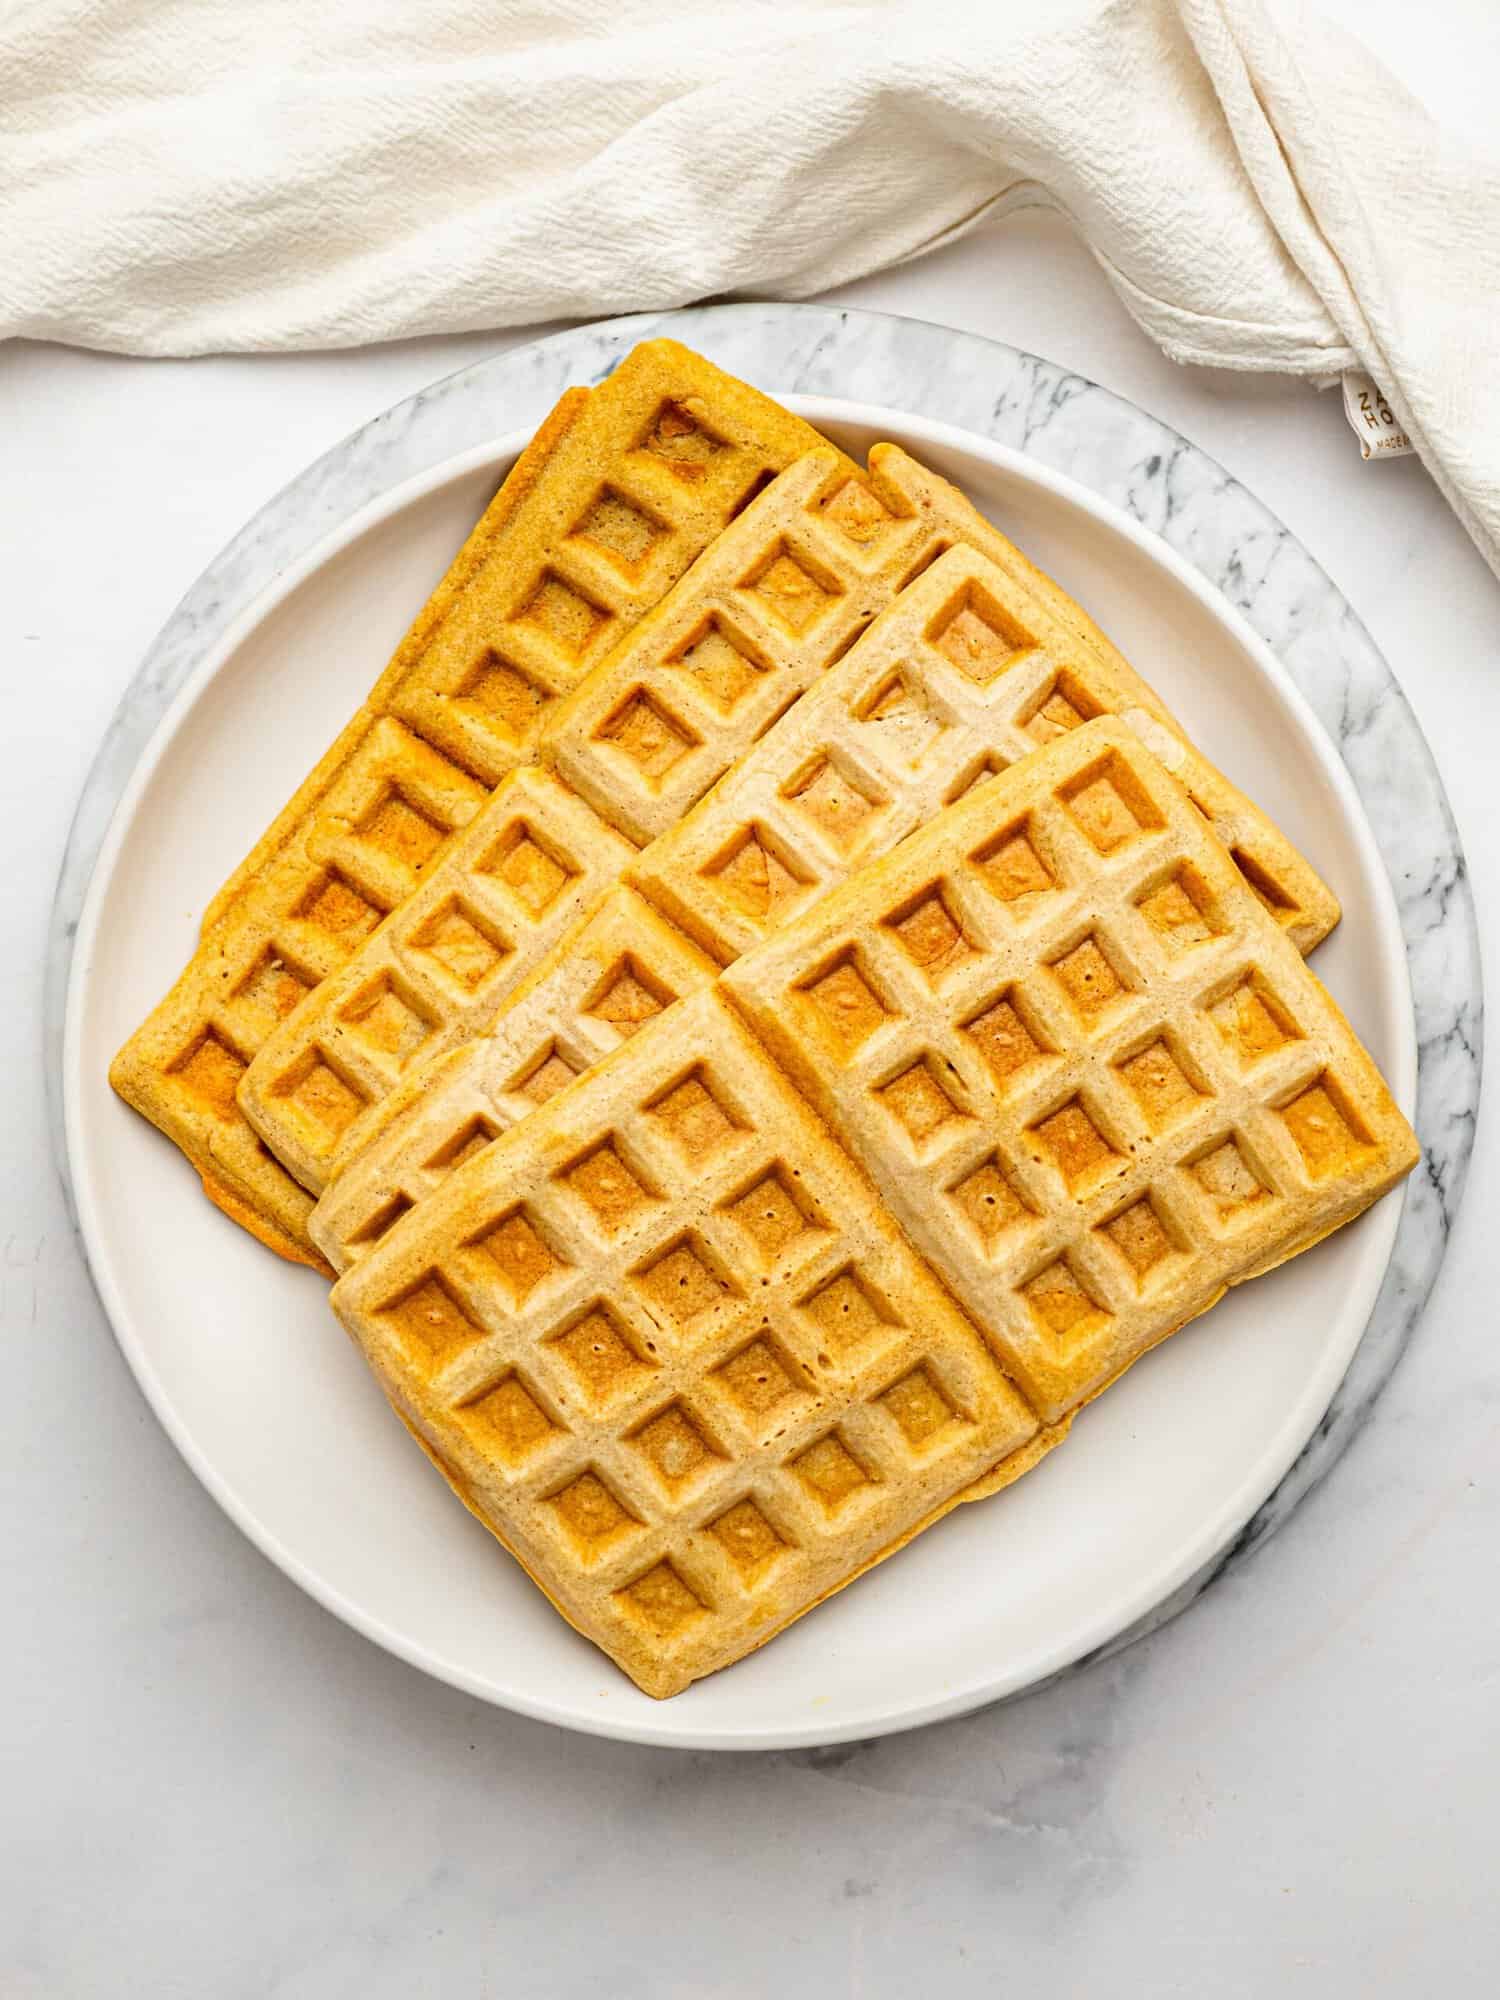
- Waffle Maker or Waffle Iron: Any waffle maker or waffle iron will work. My machine makes 4 large rectangular Belgian-style waffles, which can be broken into 8 smaller waffle halves, but the yield will vary depending on your machine.
- Large Mixing Bowl: Since everything comes together in one bowl, cleanup is quick and easy.
- Whisk: Use a whisk to combine the dry ingredients and wet ingredients into a smooth waffle batter. Be careful not to overmix.
- Measuring Cups or a Kitchen Scale: I recommend weighing the flour for the most accurate results.
- Wire Rack: Cooling the waffles on a wire rack instead of stacking them helps keep the outside crisp while you cook the remaining batches.
How to make Gluten Free Waffles
These homemade gluten free waffles come together in just one bowl, making them one of my favorite easy breakfast recipes. You’ll find the full recipe with exact measurements in the recipe card below, but here’s a quick overview of the process.
Step One: Whisk the Dry Ingredients
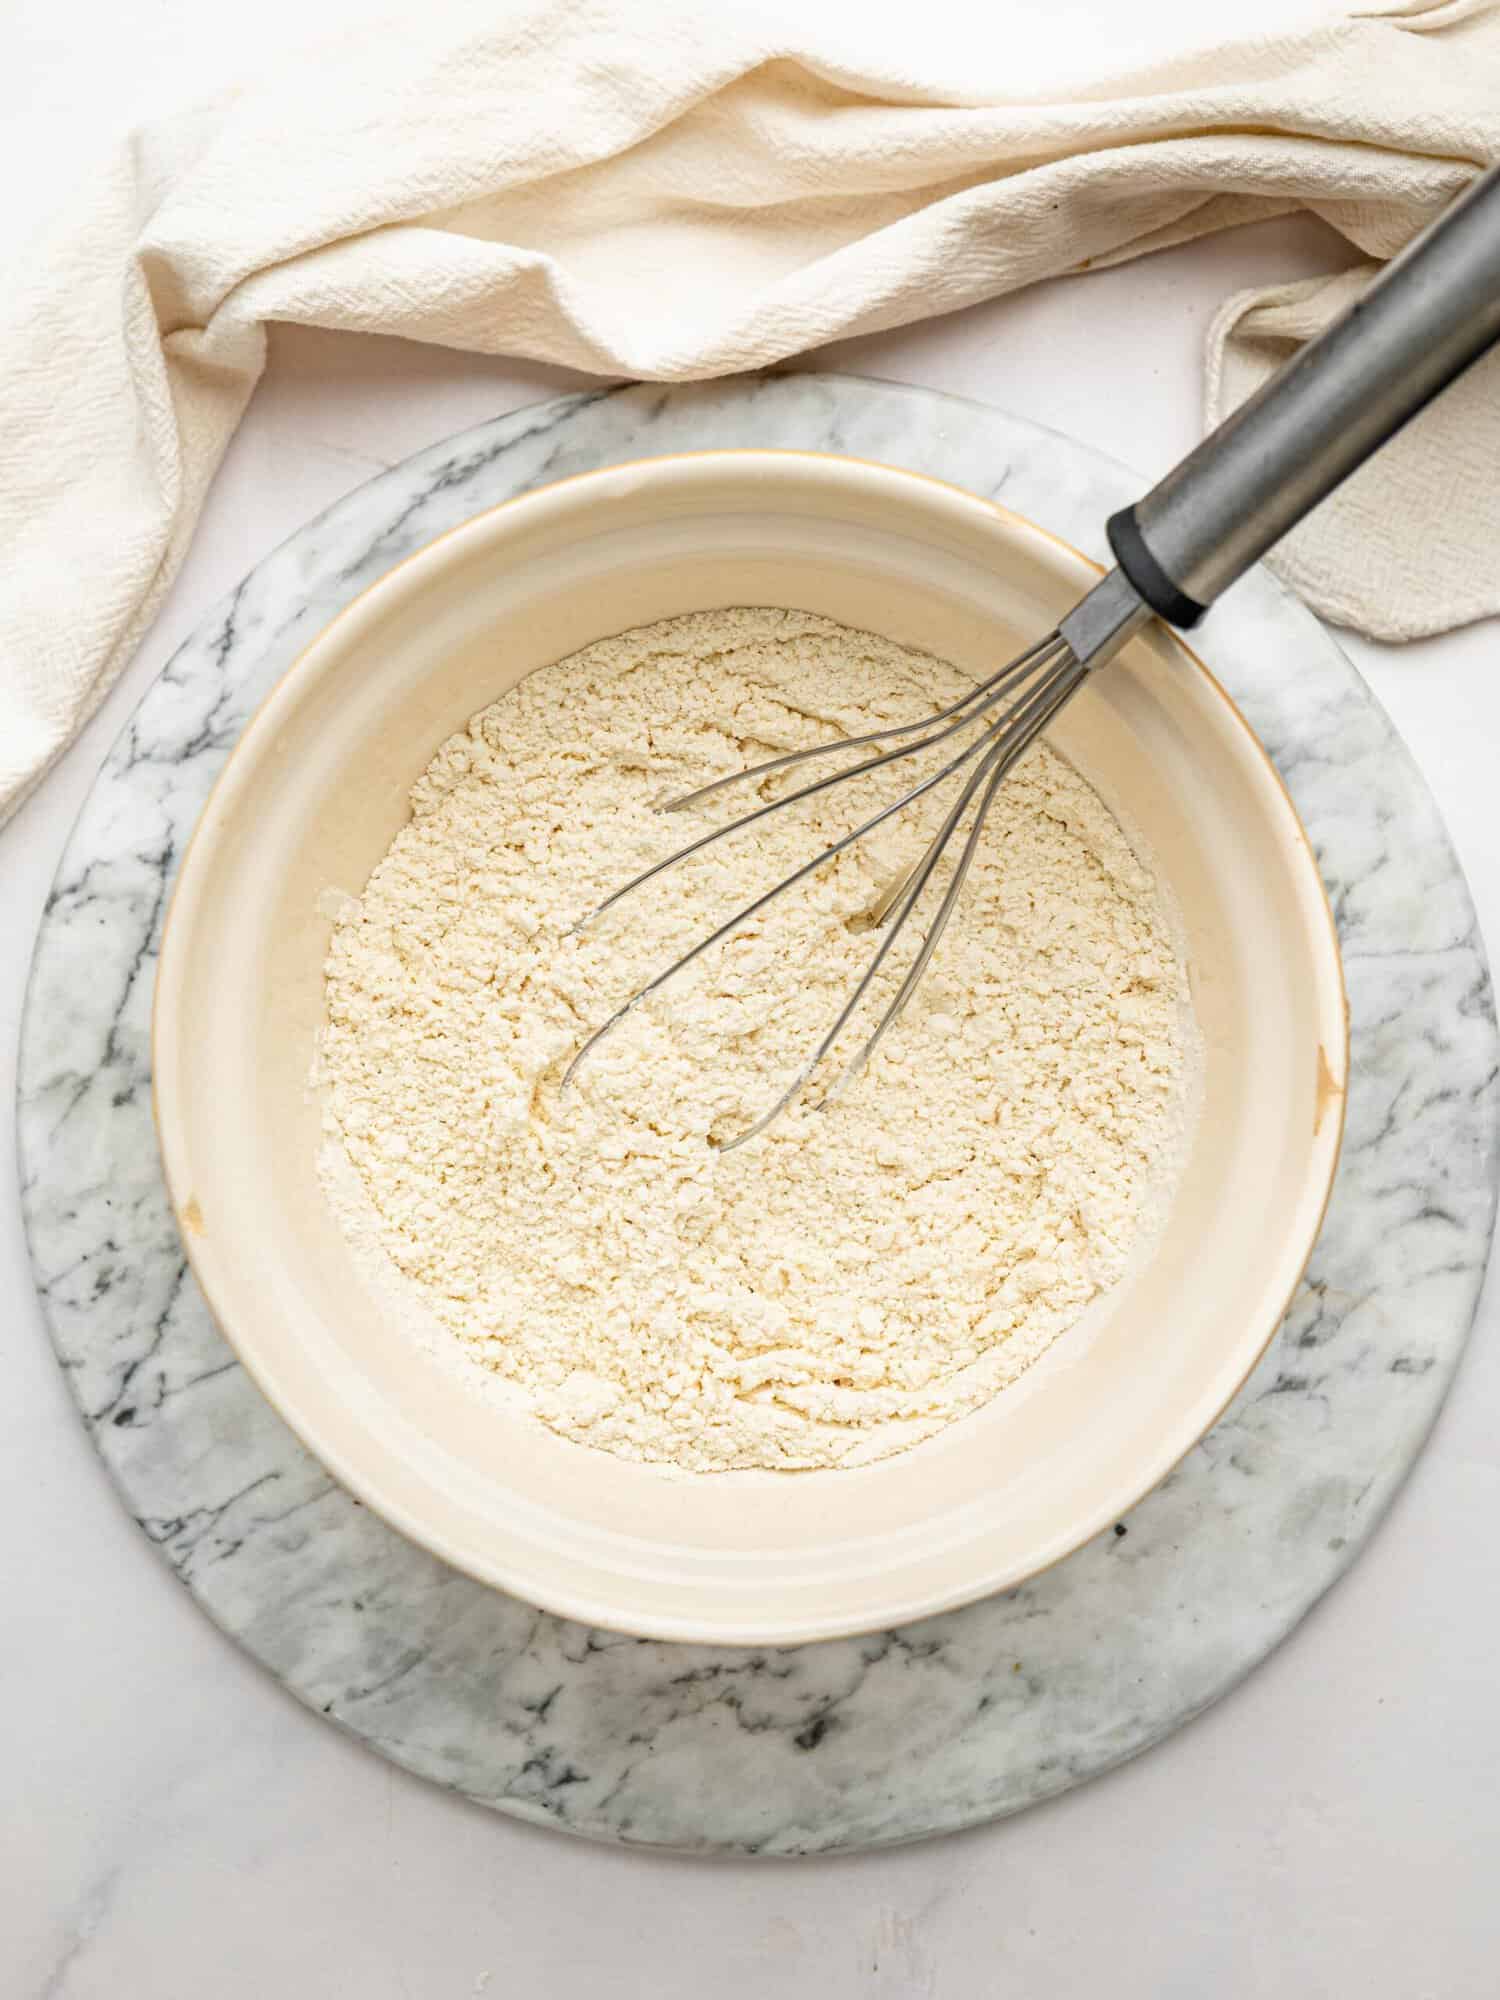
Add the gluten-free all-purpose flour blend, baking powder, and salt to a large mixing bowl. Whisk the dry ingredients together until everything is evenly combined.
Step Two: Add the Wet Ingredients
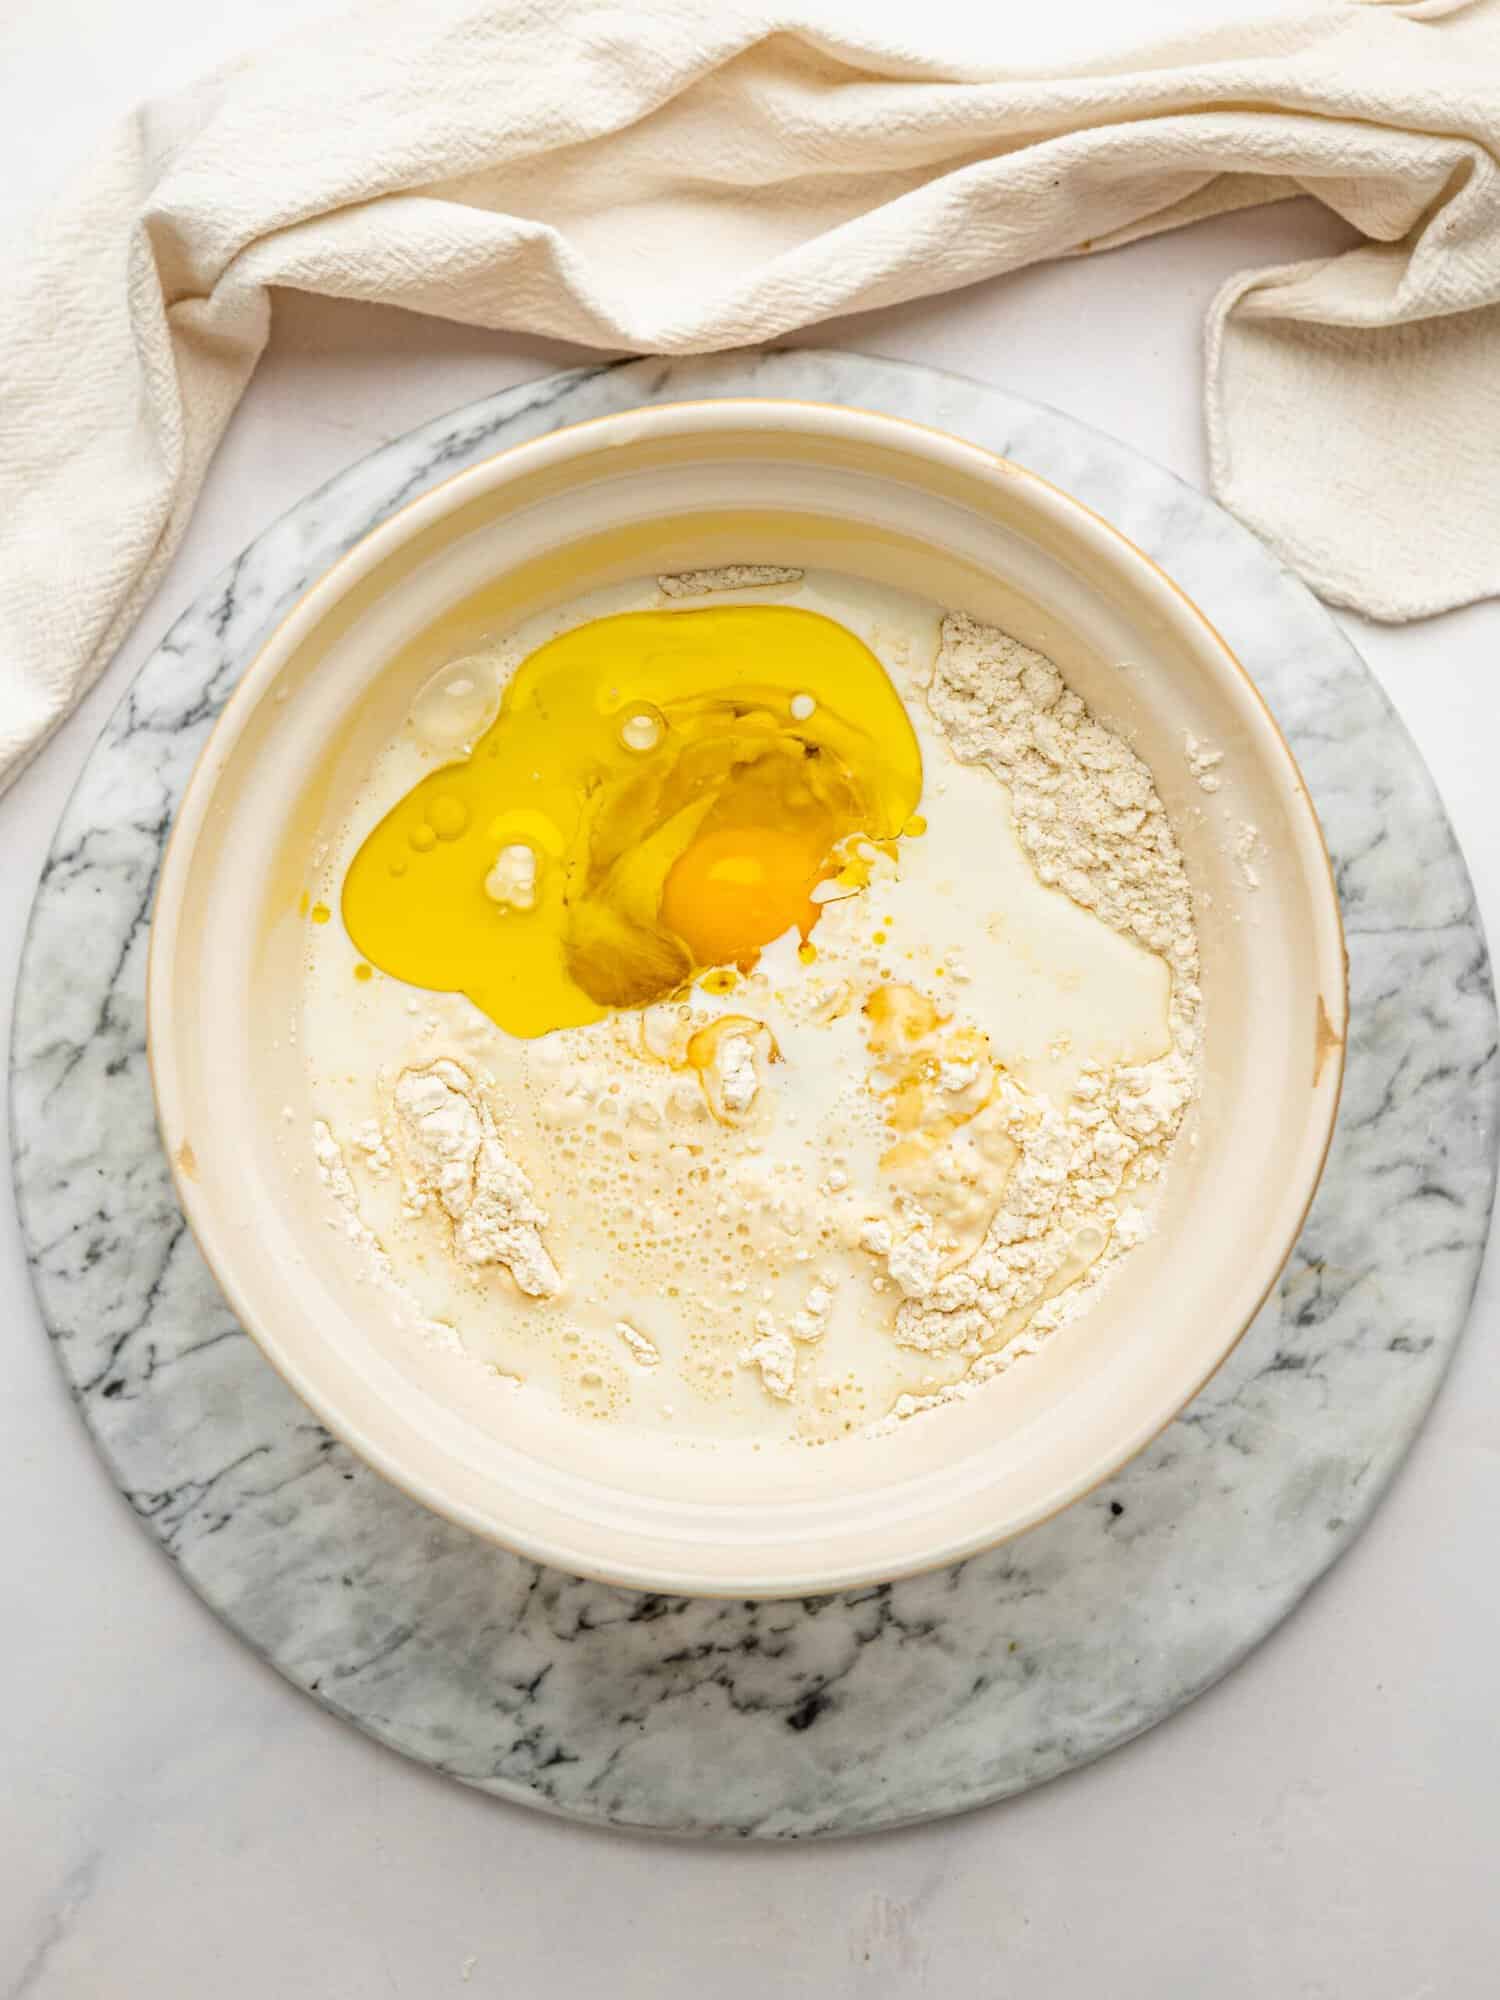
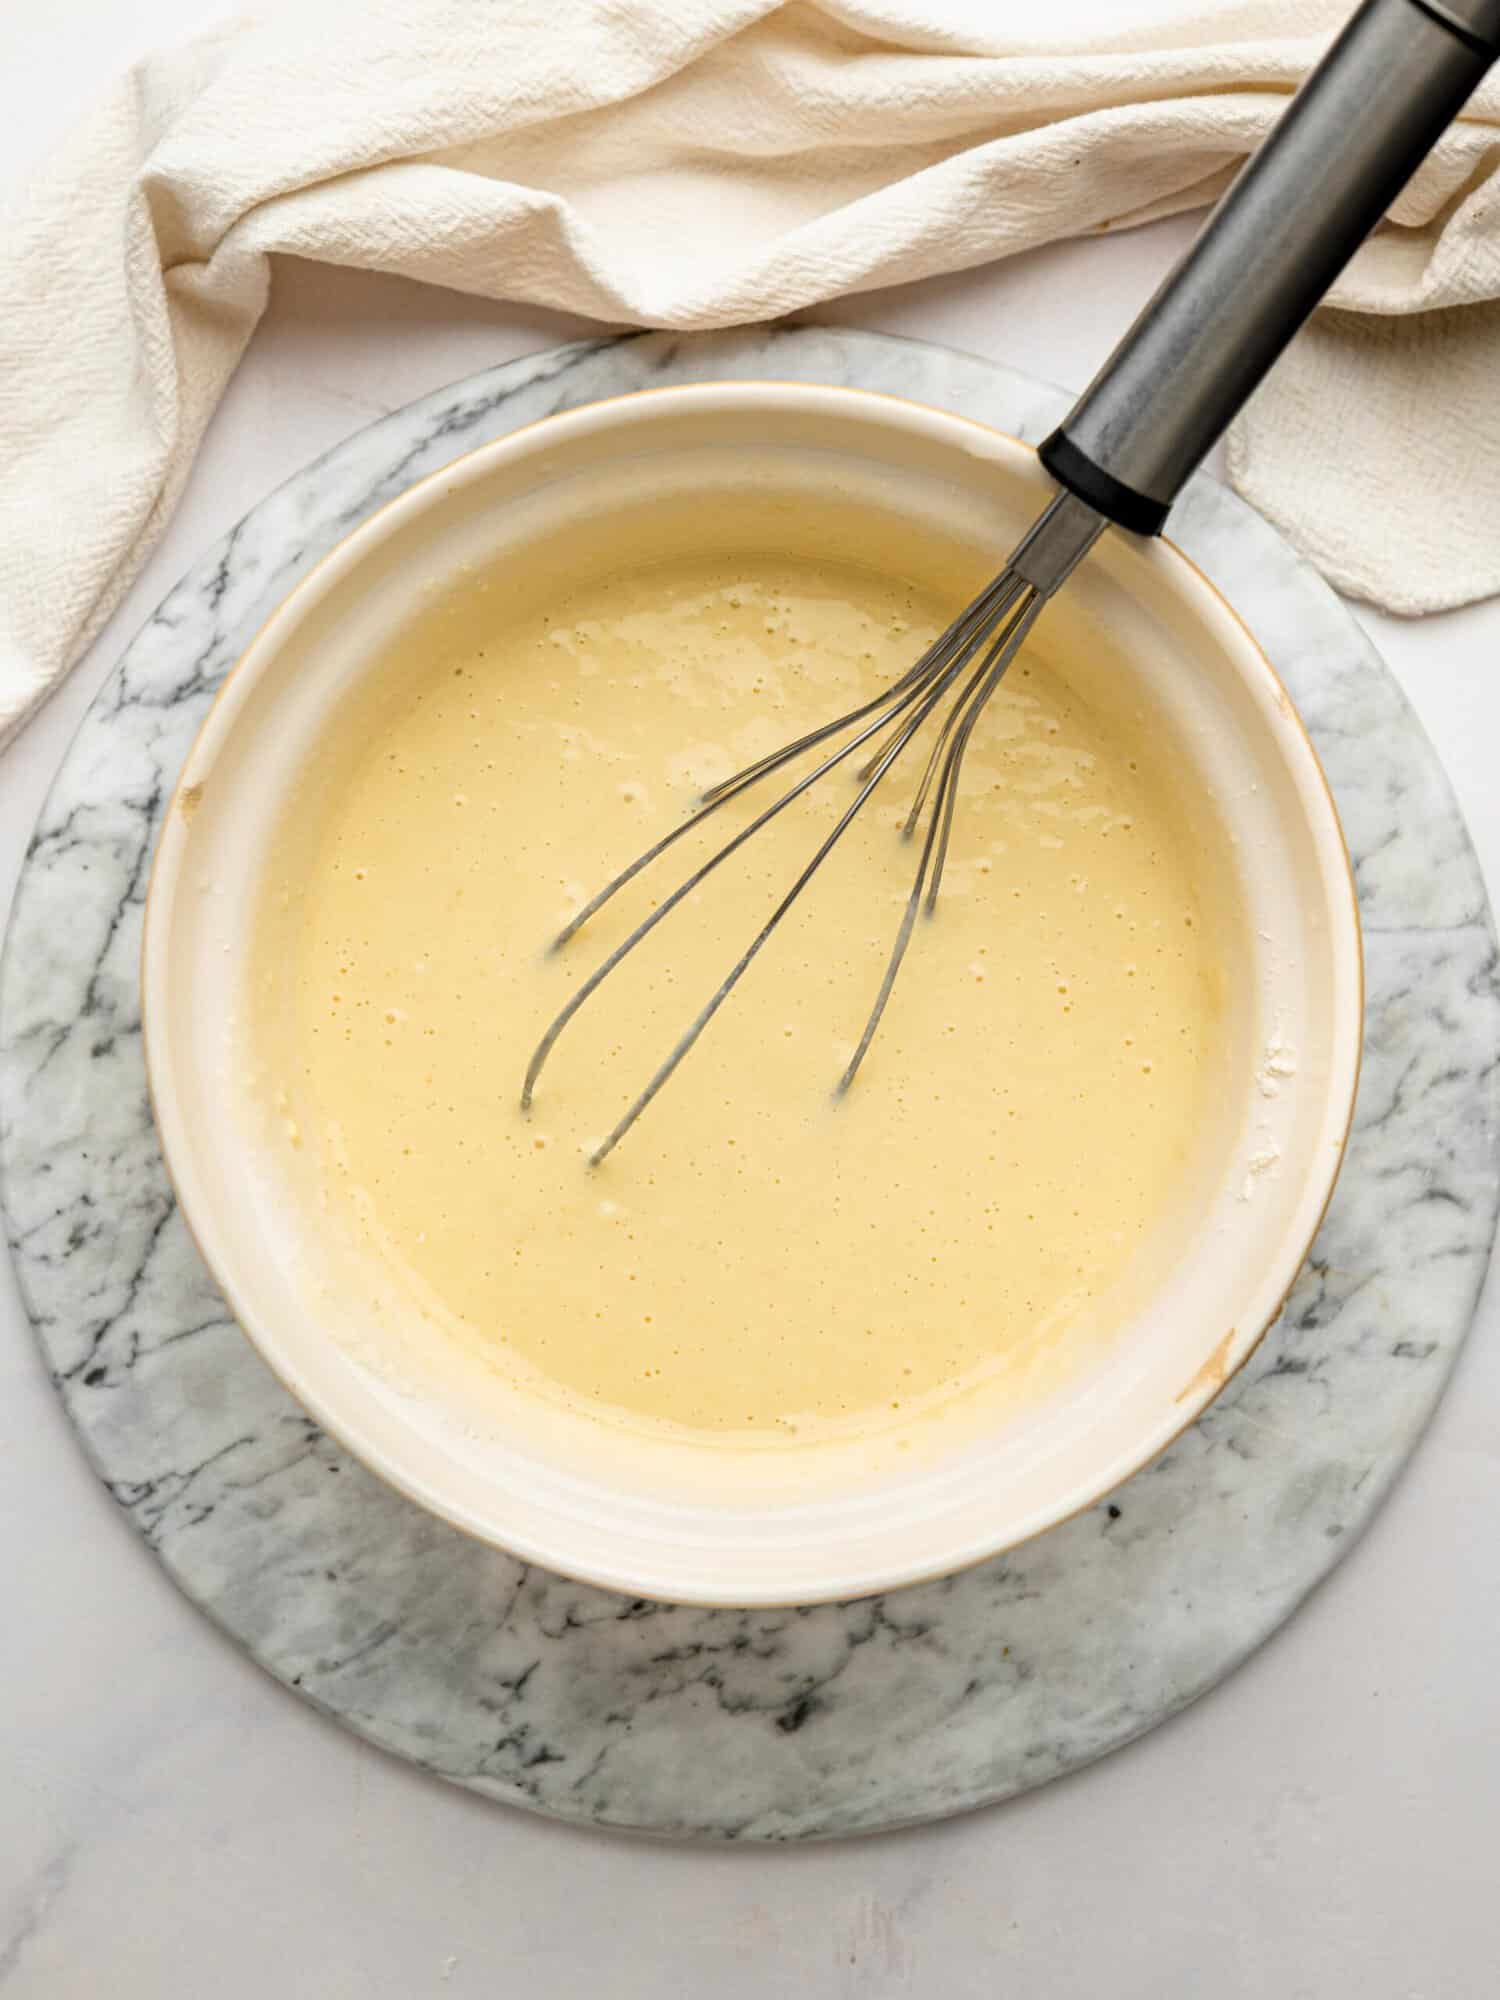
Add the eggs, milk, olive oil, vanilla extract, and honey (if using) directly to the bowl. Whisk the wet ingredients into the flour until you have a smooth waffle batter. Mix until just combined, being careful not to overmix.
Step Three: Let the Batter Rest
Allow the batter to rest for 10 minutes. This gives the gluten-free flour blend time to absorb the liquid, resulting in lighter, fluffier waffles. If the batter thickens too much, simply stir in a splash of milk.
Step Four: Cook the Waffles
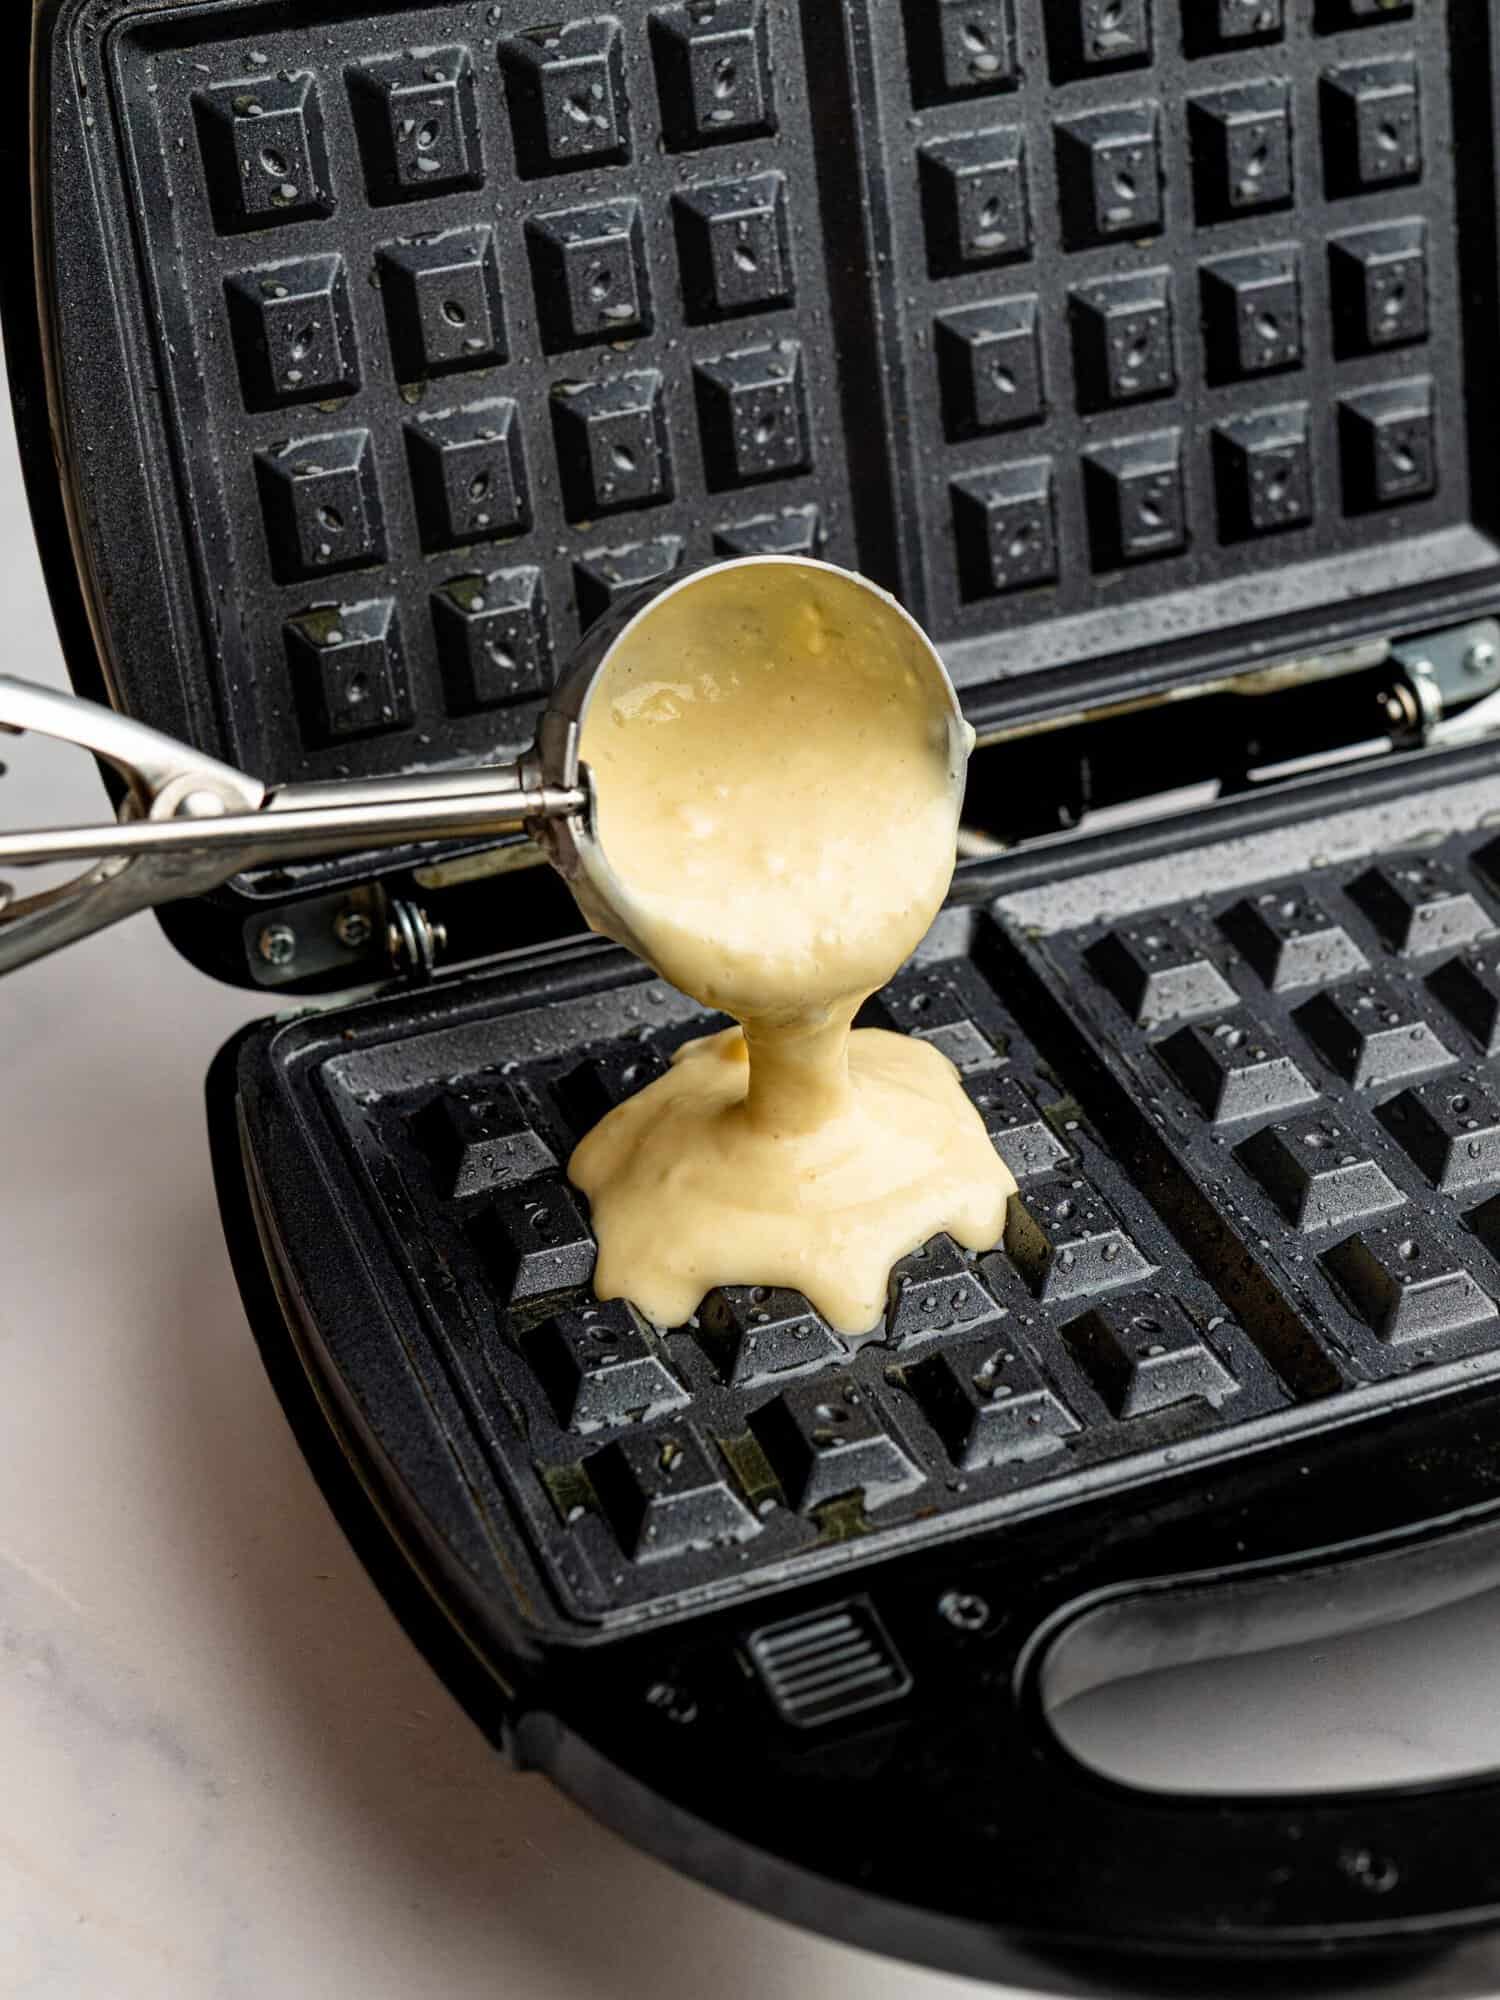
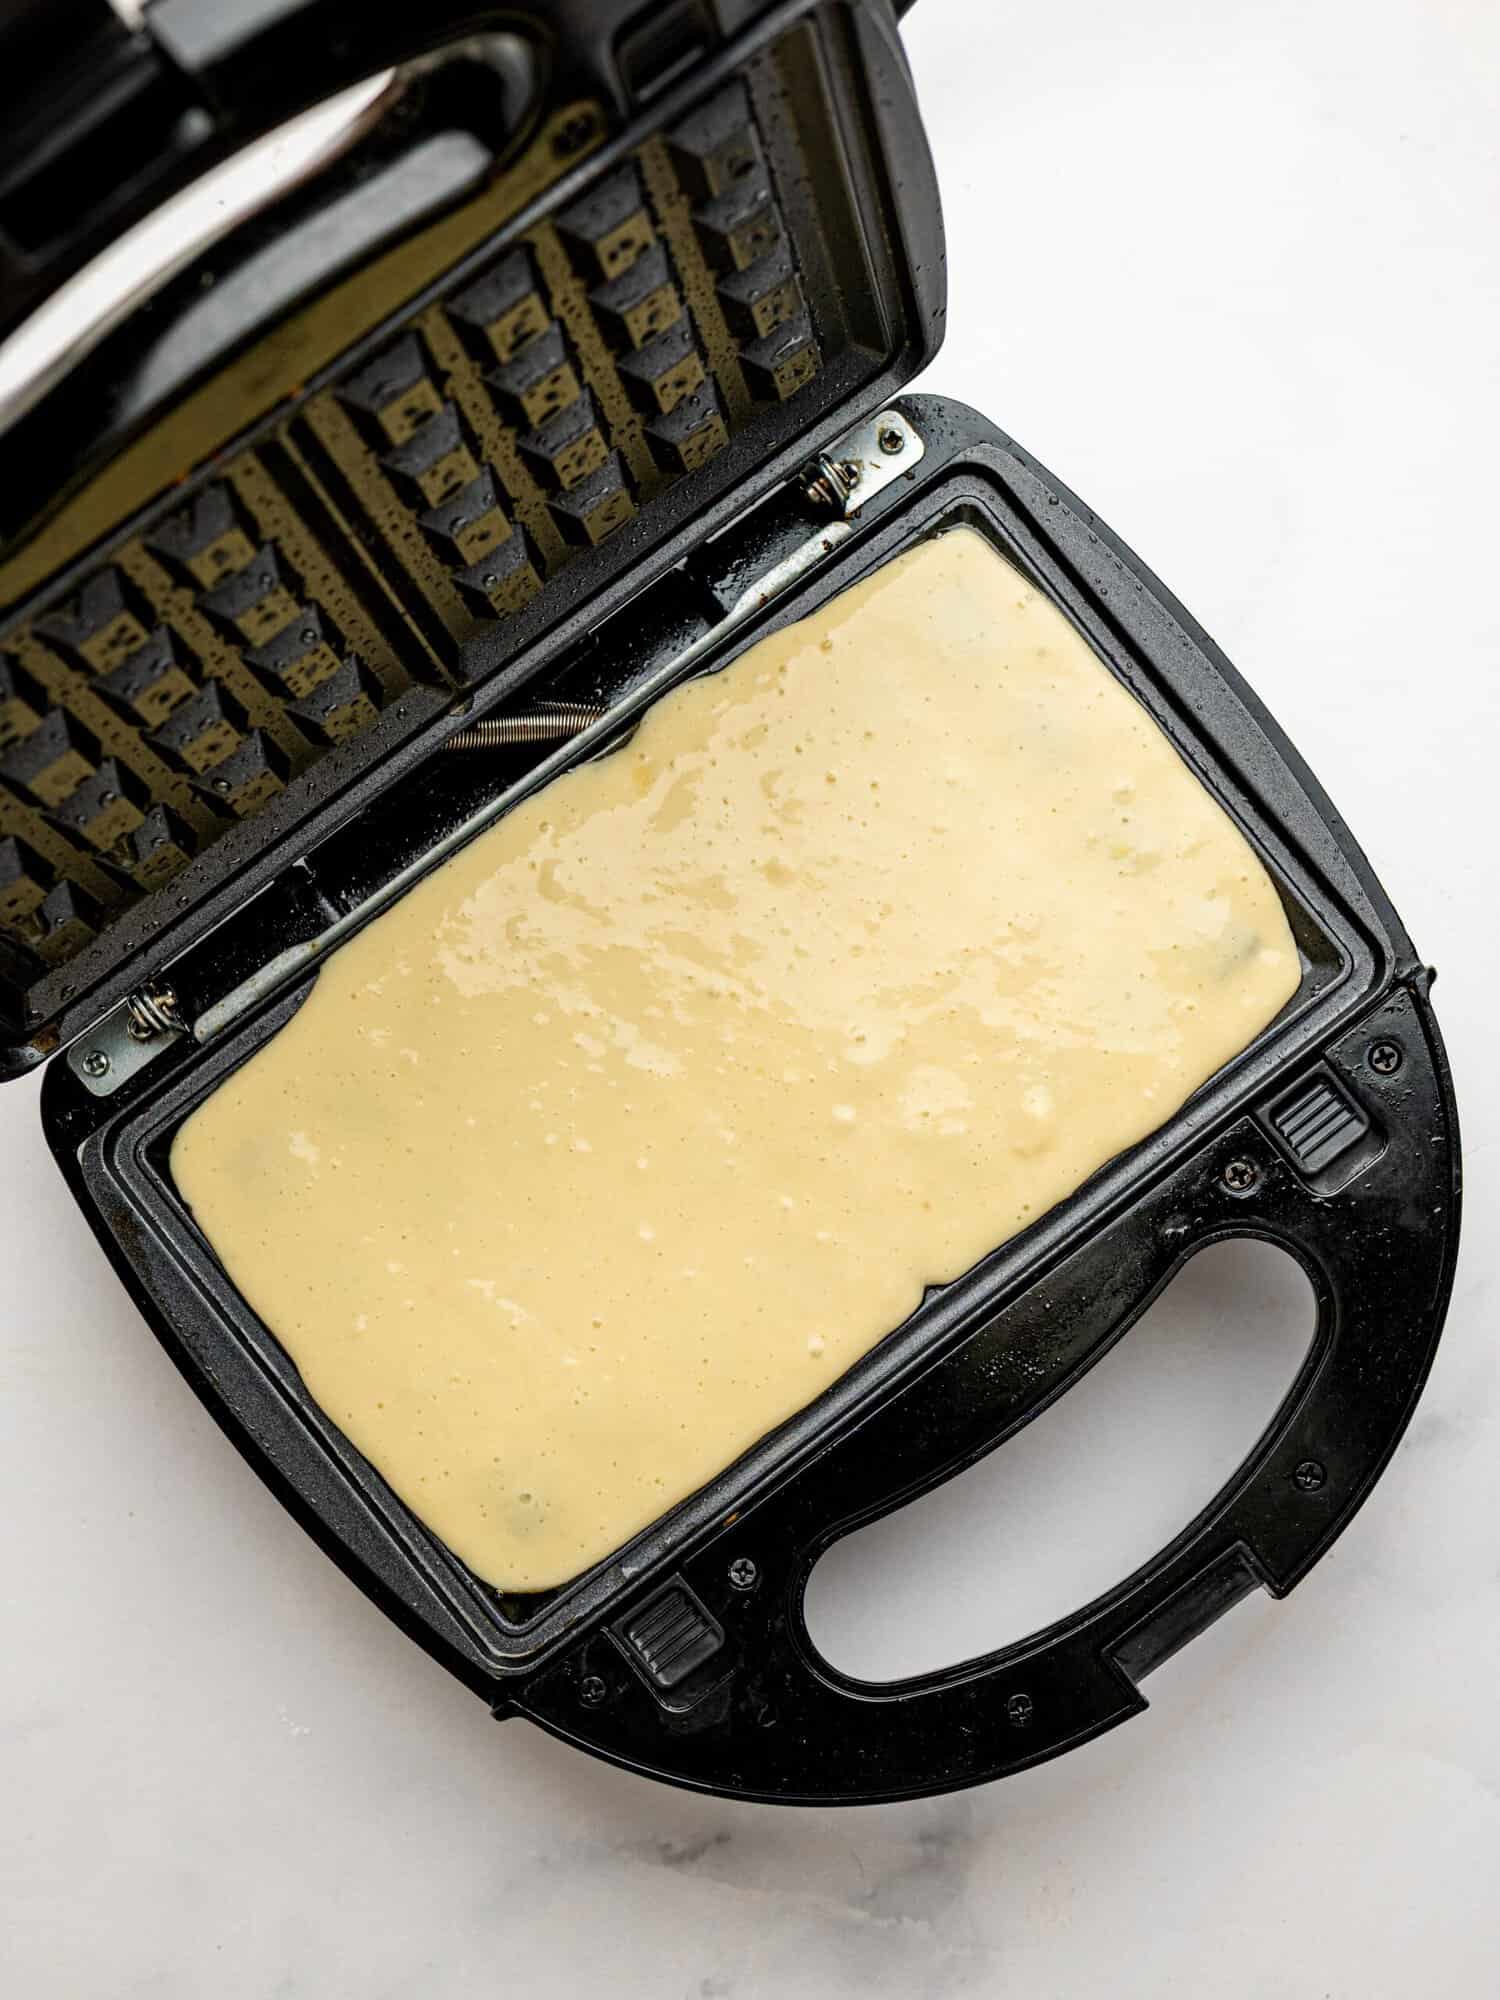
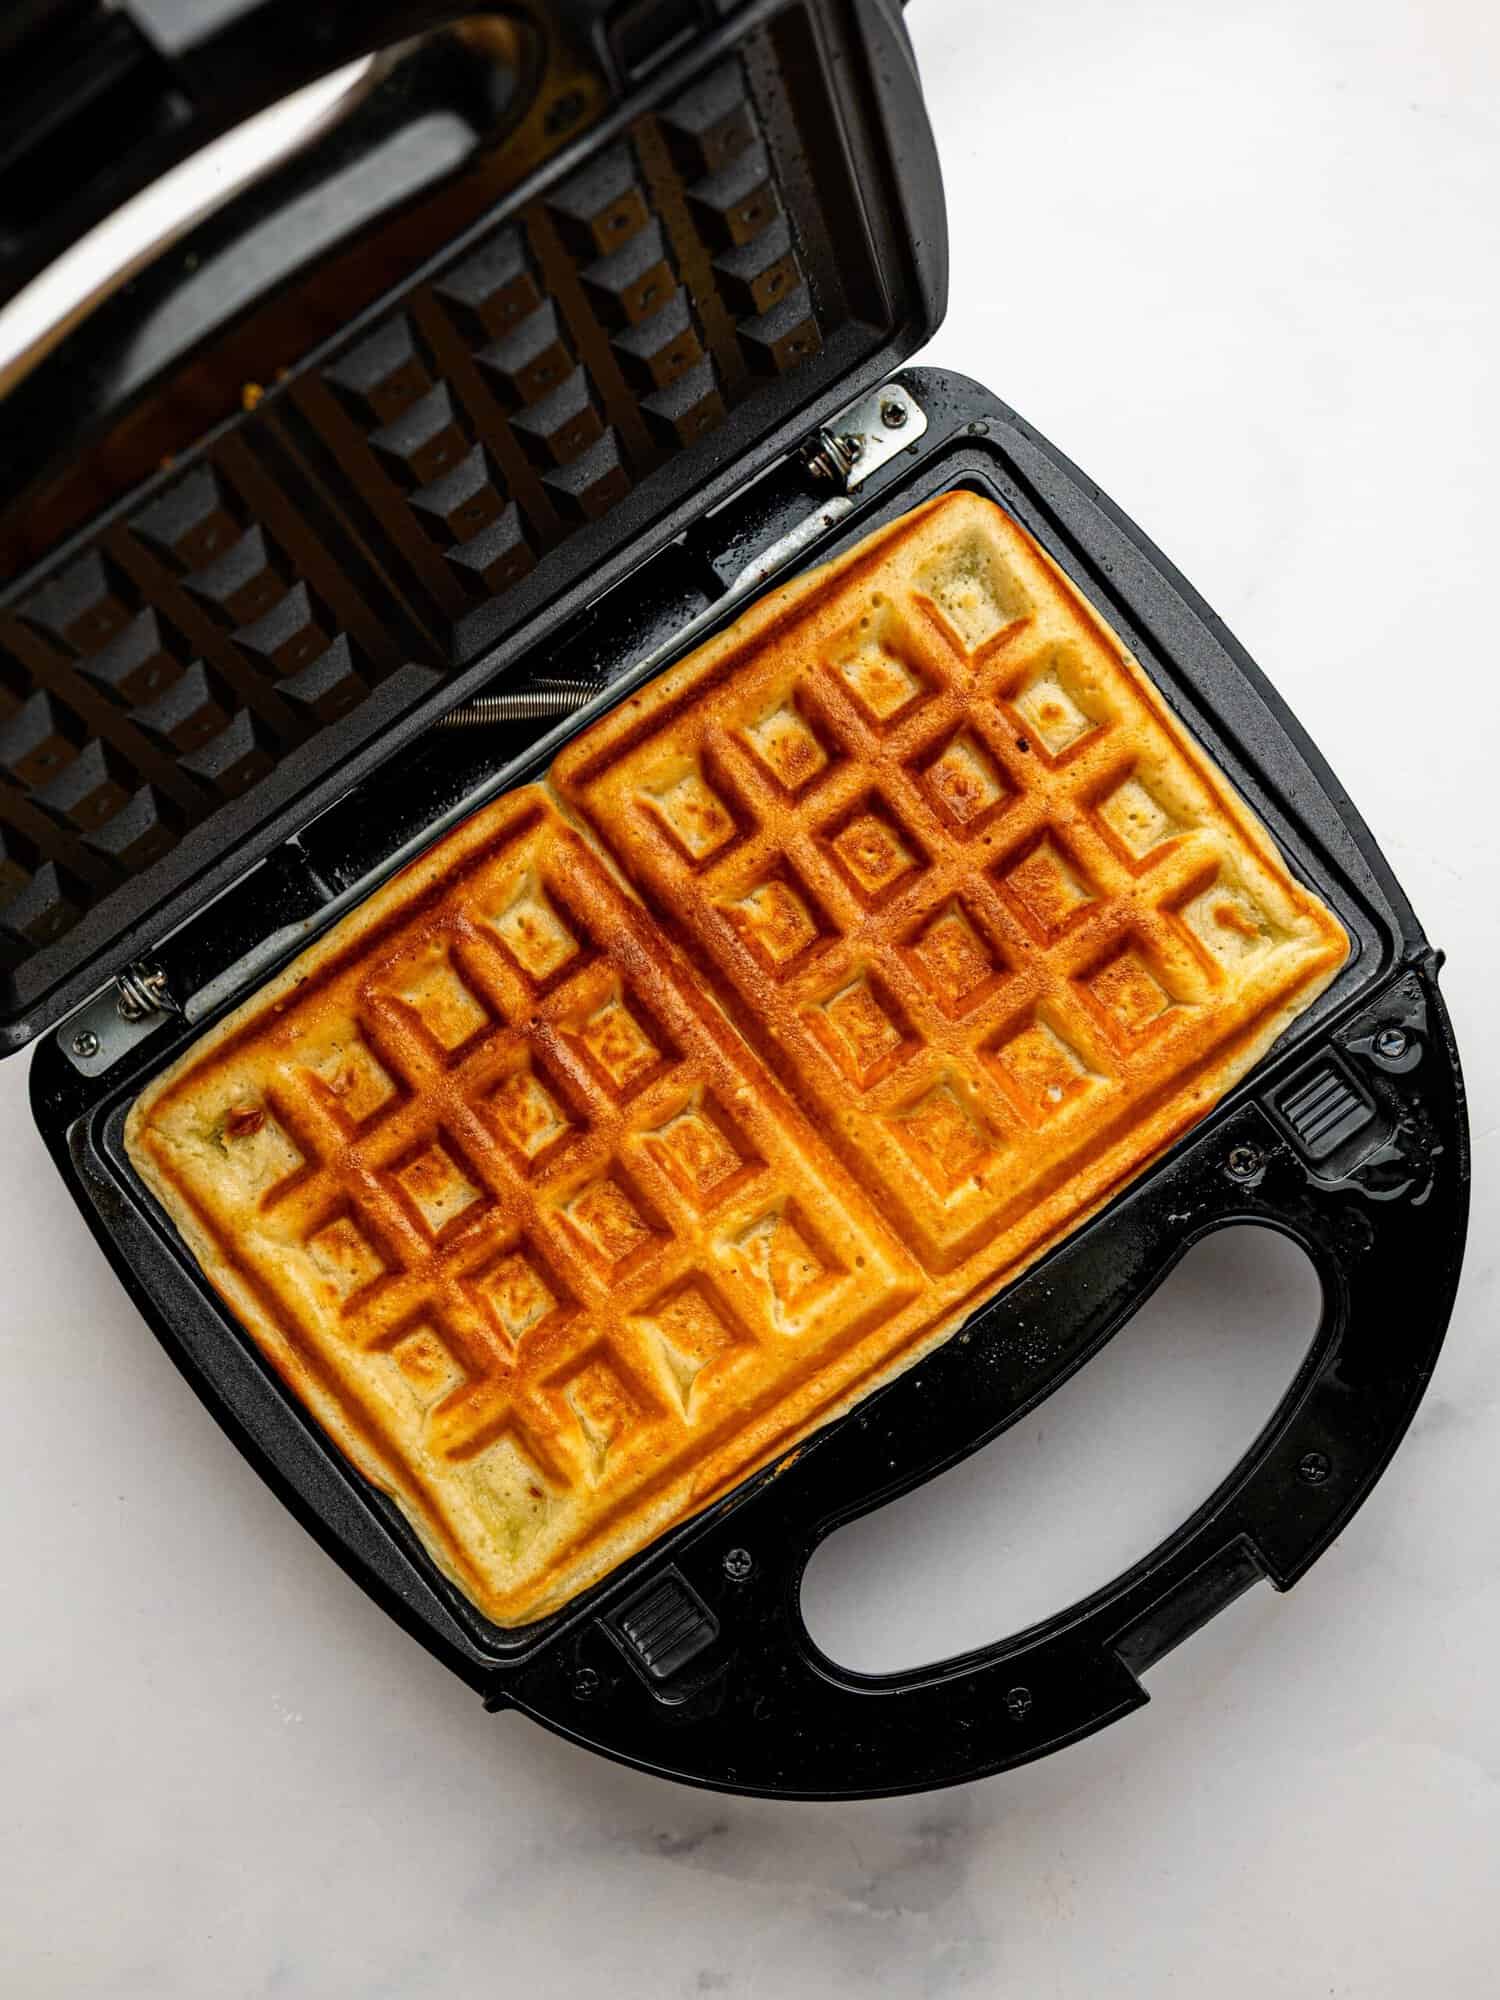
Preheat your waffle maker or waffle iron until it’s fully heated. Lightly grease it if needed, then pour in enough batter to fill the plates. Cook until the waffles are golden brown before carefully removing them and placing them on a wire rack.
Step Five: Serve and Enjoy
Serve warm with your favorite topping. I love Greek yogurt, fresh berries, and maple syrup for something sweet, or avocado, eggs, and hot honey when I’m craving something savory.
Tips for crispy gluten free waffles
A few simple tricks make all the difference when it comes to getting beautifully crisp waffles.
- Fully preheat your waffle maker. A hot waffle maker helps create crisp edges instead of steaming the batter.
- Don’t overmix. Stir the batter until just combined to keep the waffles light and fluffy.
- Rest the batter. Ten minutes gives the flour time to hydrate properly.
- Be patient. Resist opening the waffle maker too early. Wait until the steam has mostly stopped before checking.
- Use a wire rack. Cooling the waffles on a wire rack keeps them crisp while you cook the remaining batches.
- Reheat in the toaster or air fryer. Homemade waffles naturally soften as they cool, but a few minutes in the toaster or air fryer makes them wonderfully crispy again.
Toppings, Variations, and Substitutions
One of the best things about this recipe is how easy it is to customize.
Sweet Topping Ideas
For a sweeter breakfast, try one of these combinations:
- Greek yogurt, fresh berries, and honey.
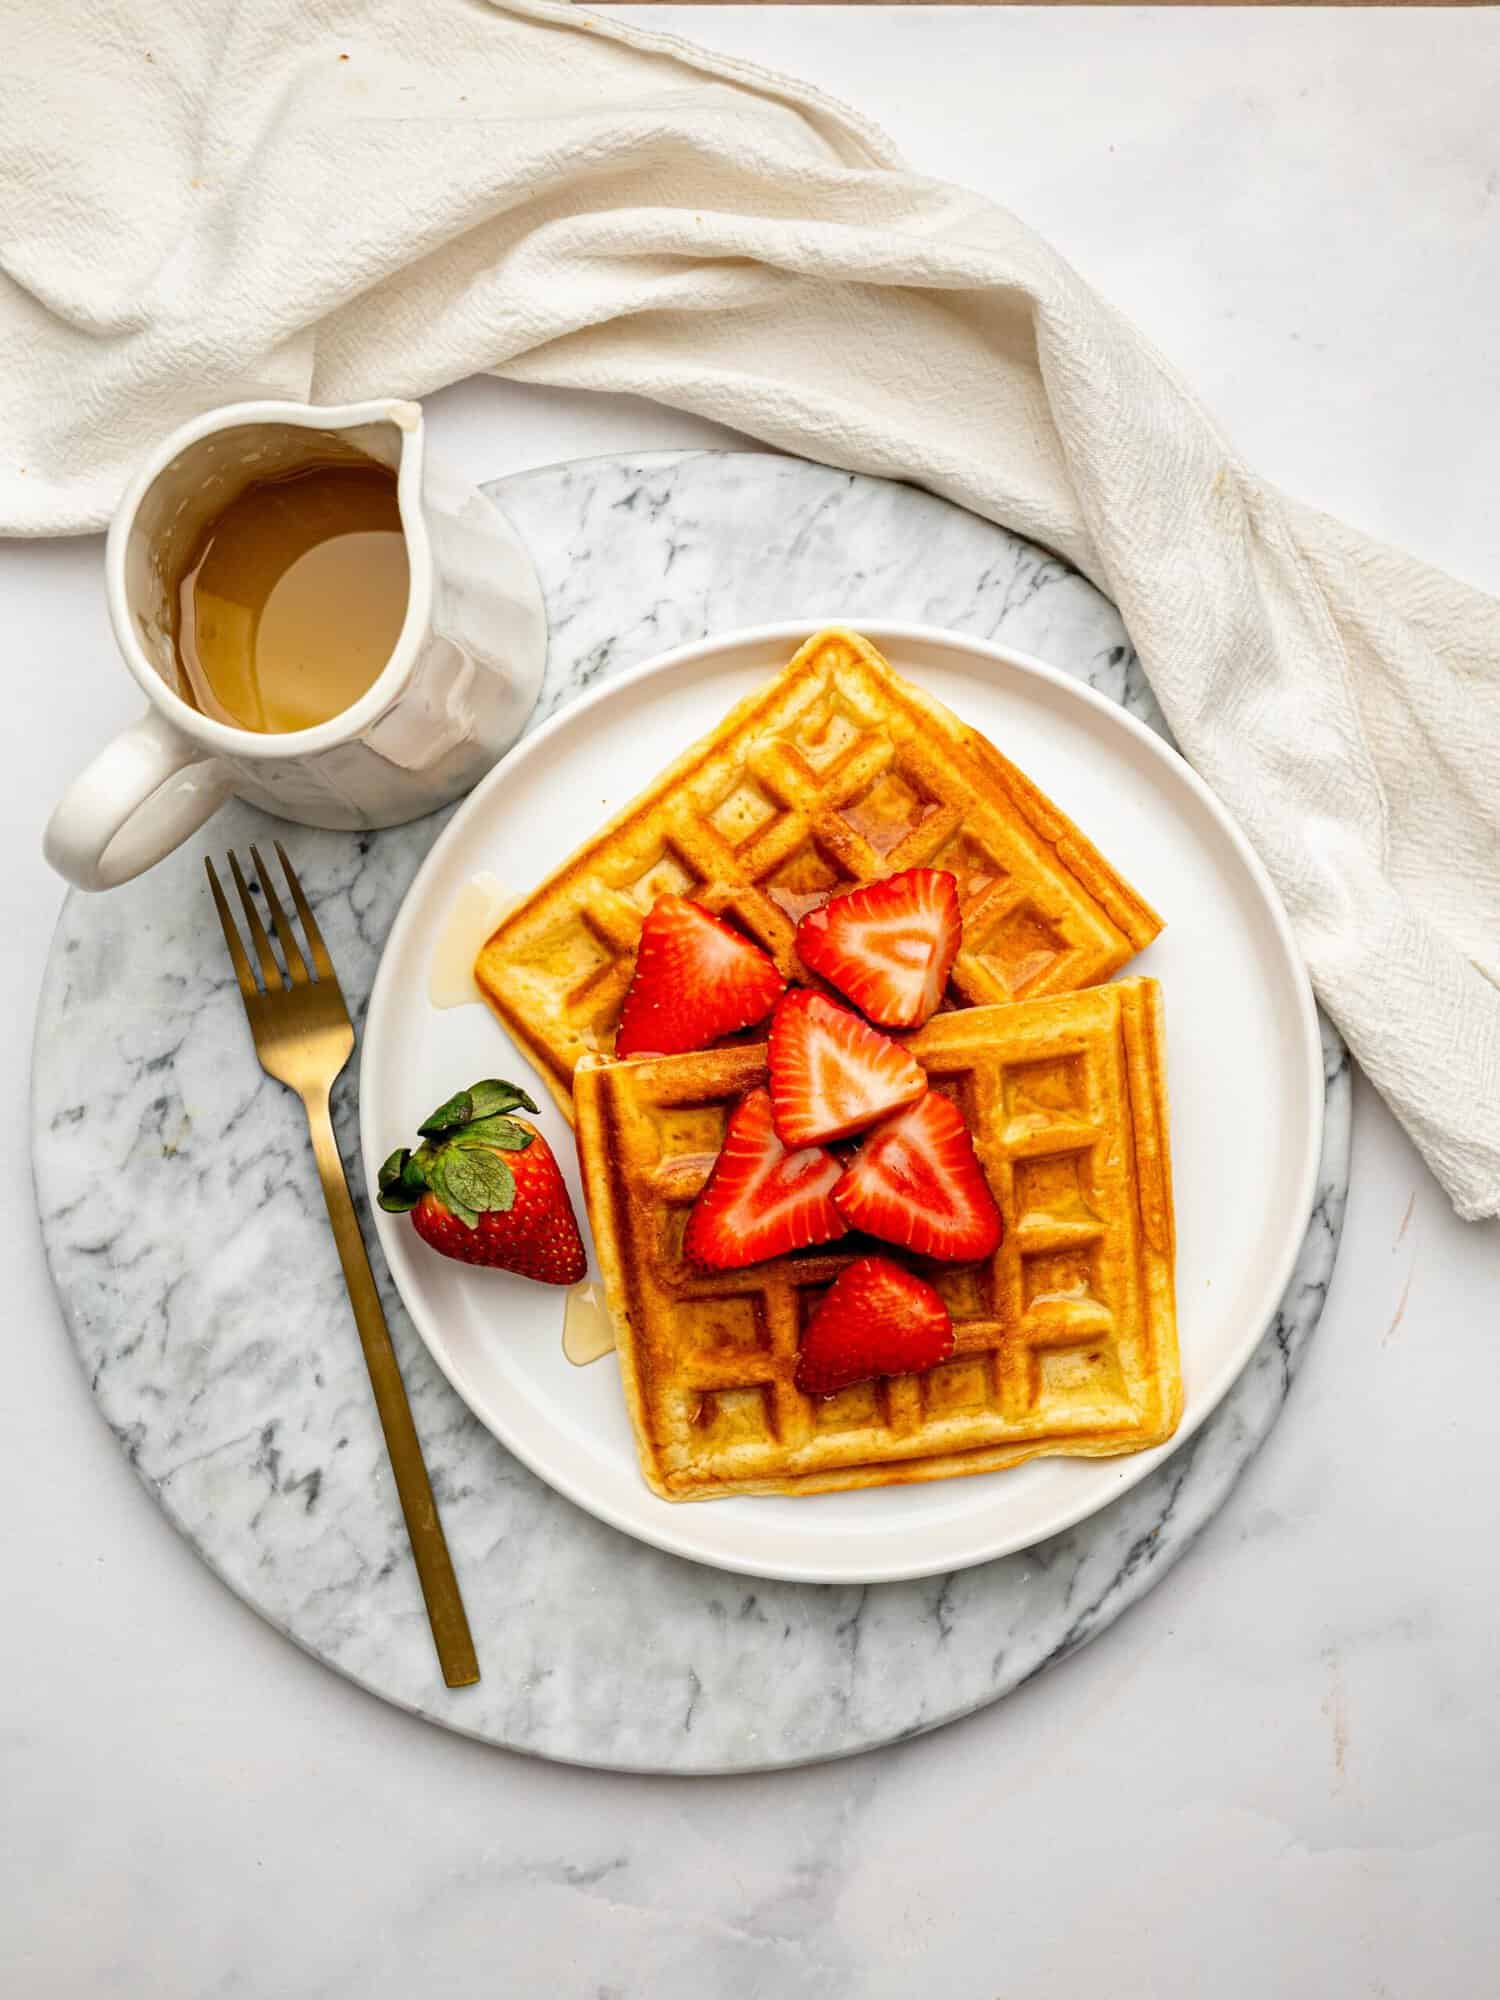
- Fresh fruit with maple syrup.
- Whipped cream and chocolate chips.
- Banana with peanut butter.
- Berry compote with vanilla yogurt.

Savory Topping Ideas
If you know me, you’ll know I’m definitely a savory breakfast person.
My favorite combination is avocado, eggs, and hot honey, but these toppings are just as delicious:
- Smoked salmon and cream cheese.
- Bacon and fried eggs.
- Cottage cheese and tomato.
- Scrambled eggs with spinach and feta.
Oat Flour Variation
I also tested this recipe with certified gluten-free oat flour, and while it doesn’t produce quite the same crispy texture, it creates delicious waffles with a slightly nutty flavor and a heartier bite. It’s my preferred version for weekday meal prep because it keeps me fuller for longer.
To make the oat flour version, replace the gluten-free flour blend with 240 g certified gluten-free oat flour, increase the milk to 360 ml, and let the batter rest for 10 minutes before cooking.
How to Store and Freeze
These waffles are perfect for meal prep and taste just as good reheated.
Refrigerating:
Store cooled waffles in an airtight container in the refrigerator for up to 3 days.
Freezing:
Freeze the waffles in a single layer before transferring them to a freezer-safe container or bag. They’ll keep well for up to 3 months.
Reheating:
For the best texture, reheat the waffles straight from the fridge or freezer in the toaster or air fryer until hot and crispy.
Frequently Asked Questions
Yes! Simply swap the milk for your favorite dairy-free milk, such as almond, oat, or soy milk.
Absolutely. The oat flour version is slightly denser and chewier but has a lovely nutty flavor that’s perfect for meal prep.
Make sure your waffle maker is fully preheated, don’t overmix the batter, and let it rest before cooking. Cooling the waffles on a wire rack and reheating them in the toaster or air fryer also helps restore crispiness.
Yes! They’re perfect for freezing and make an easy gluten free breakfast during the week.
For the best results, I recommend cooking the waffles after the batter has rested. If you’re planning ahead, it’s better to freeze the cooked waffles instead.
Any waffle maker or waffle iron will work. My Belgian-style machine makes 4 large rectangular waffles, which can be broken into 8 smaller waffle halves, but your yield may vary depending on the size of your machine.
More Gluten-Free Breakfast Recipes You’ll Love
If you loved this Gluten Free Waffle Recipe, here are two more breakfast favorites to try:
- Gluten Free Pancakes – These sheet pan gluten free pancakes are light, fluffy, and perfect for meal prep.
- Oat Flour Pancakes – If you enjoyed the oat flour variation in this recipe, you’ll love these wholesome oat flour pancakes.
Hey! If you make this recipe, I would love it if you could leave me some feedback and a rating ⭐⭐⭐⭐⭐ in the comment section at the bottom of the page! Also let me know on Facebook, Instagram or Pinterest! I can’t wait to hear your thoughts and see your photos!
Gluten Free Waffles
Equipment
Ingredients
- 240 g gluten-free all-purpose flour blend with xanthan gum (2 cups)
- 2 tsp baking powder
- Pinch of salt
- 2 large eggs
- 330 ml milk or your favorite dairy-free milk (1 + ⅓ cup)
- 2 tbsp olive oil
- 1 tsp vanilla extract
- 2 tbsp honey optional
Instructions
- Preheat your waffle maker or waffle iron.
- In a large bowl, whisk together the gluten-free flour blend, baking powder, and salt.
- Add the eggs, milk, olive oil, vanilla extract, and honey (if using). Whisk until just combined.
- Let the batter rest for 10 minutes.
- Lightly grease the waffle maker if needed, then cook the waffles until golden brown and crisp.
- Transfer the cooked waffles to a wire rack while you cook the remaining batter.
- Serve warm with your favorite sweet or savory toppings.
Video
Notes
Notes
- This recipe makes 4 large rectangular Belgian-style waffles using my waffle maker. Your yield may vary depending on the size and shape of your machine.
- For extra crispy waffles, replace 2 tablespoons of the gluten-free flour with 2 tablespoons of cornflour (cornstarch).
- To make the oat flour version, use 240 g certified gluten-free oat flour, increase the milk to 360 ml, and rest the batter for 10 minutes before cooking.
- If the waffles soften after cooling, simply reheat them in the toaster or air fryer until crispy again.
Storage
- Fridge: Store in an airtight container for up to 3 days.
- Freezer: Freeze for up to 3 months.
- Reheat: Toast or air fry until hot and crispy.
Measurements
I always recommend using a kitchen weighing scale and using weighted measurements. This will result in a more accurate process and your gluten-free waffles will come out perfectly.More info
Read the blog post for a more in-depth explanation of how to make these waffles and more tips and storage instructions.Nutritional info
These nutritional values are provided as a guide only and may be different depending on your ingredients and measurements.Nutrition
Let me know in the comments below if you make this Gluten Free Waffle Recipe!