This Apple and Blueberry crumble is a perfect, no-fuss, comforting dessert (or breakfast!?). It’s made using simple, healthy ingredients, and it’s good for your soul and your body. Go grab the custard!
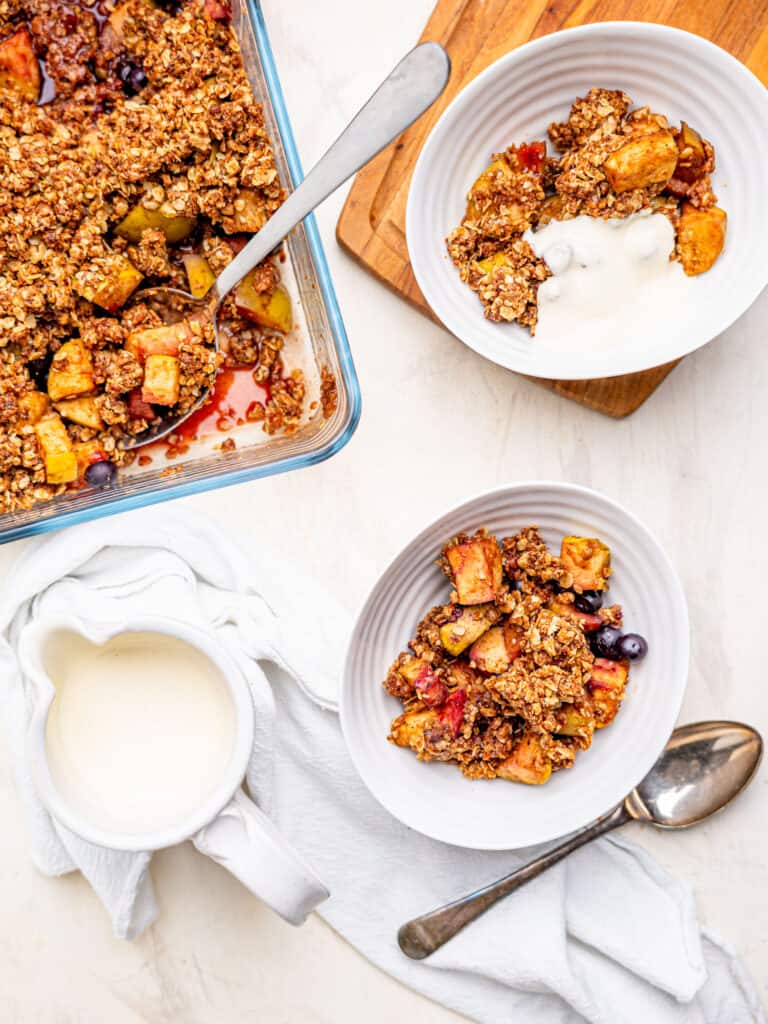
There’s no doubt about it; alongside Sticky Toffee Pudding, apple crumble is one of the most comforting desserts ever invented. There’s something special about the marriage of tangy, sweet apples and a crunchy topping that just wins anybody over. Add some custard or ice cream to the mix, and you’ve got yourself a real winner!
But, have you ever had blueberry apple crumble? NOW WE’RE TALKING. The blueberries add a juicy freshness to the apple crumble that really takes it to the next level. I really think you will adore this recipe.
Me being me, I had to add my “nourishing” twist to the classic apple crumble recipe, so this recipe is made using healthy ingredients because I love a dessert that tastes great but is also kind to your health and body. This apple and blueberry crumble is so healthy you can even have it for breakfast—and please tell me: who doesn’t want dessert for breakfast!?
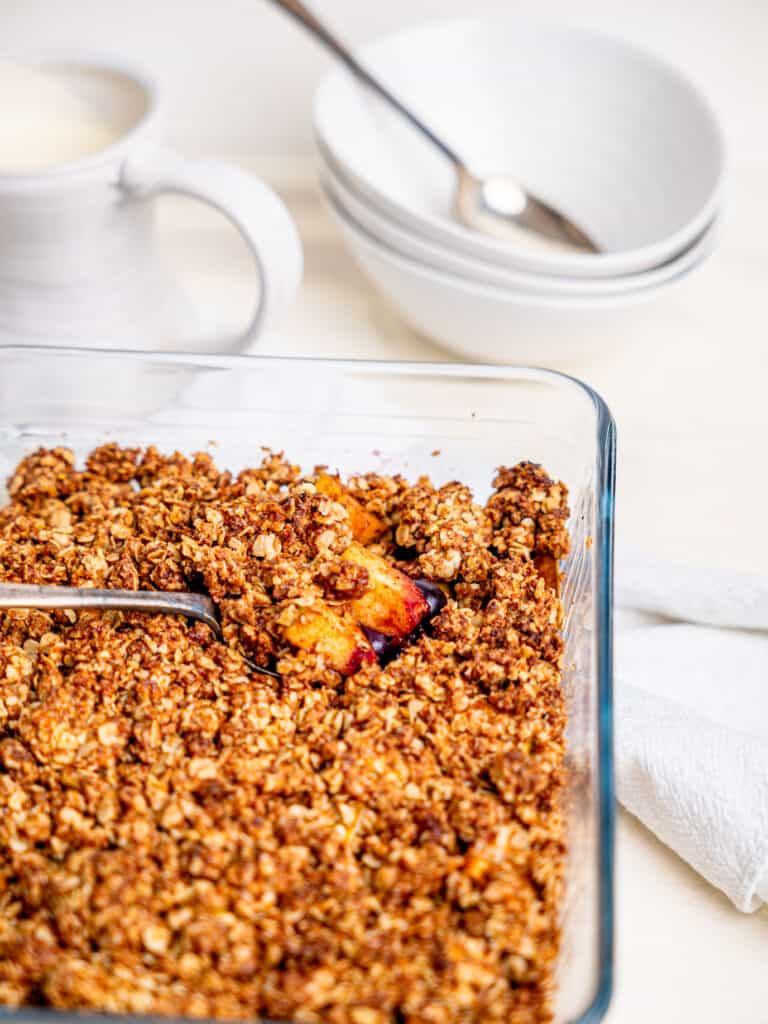
why you’ll love this apple and blueberry crumble:
- Minimal fuss: it’s really easy to make, so you can have your dessert in no time!
- Made with simple, healthy ingredients.
- It’s a great snack, dessert, or breakfast.
- It’s comforting, warming, and delicious.
- Allergen-friendly: it’s gluten-free, vegan-friendly, dairy-free, egg-free, and nut-free.
- It’s refined sugar-free.
grab your ingredients
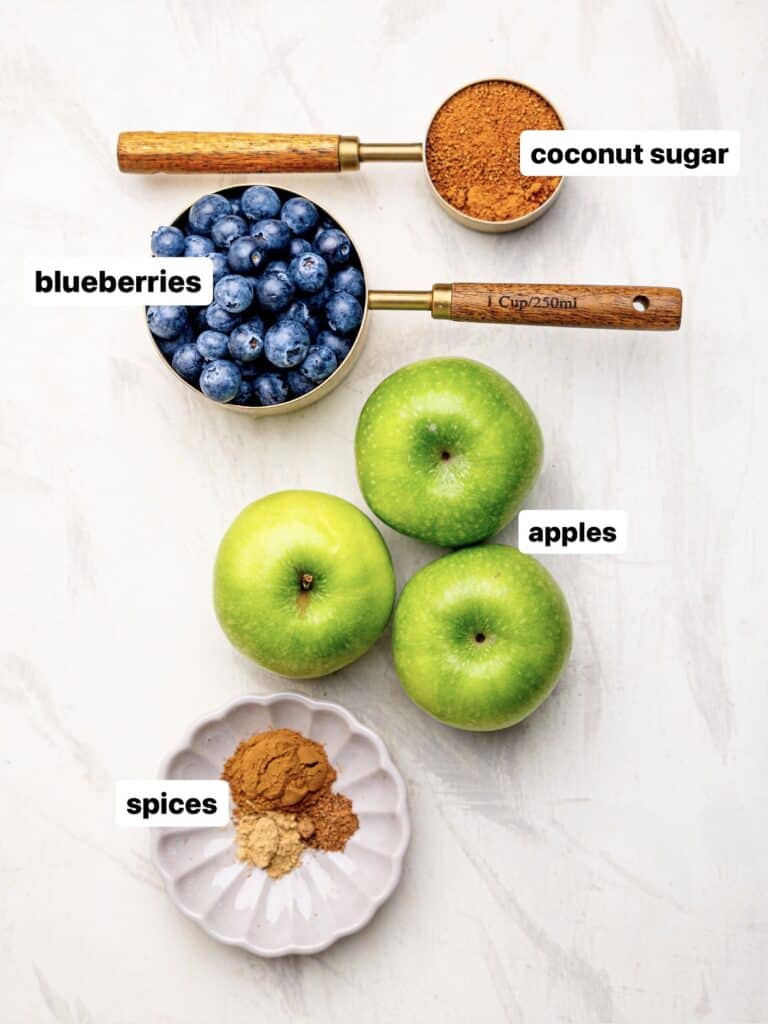
- Apples: you can use any apples you like; I really like Granny Smith because they’ve got just the right amount of tang. Pink Ladies are good if you prefer a sweeter apple.
- Blueberries: you can use fresh or frozen. If using frozen, there’s no need to defrost them.
- Coconut sugar: to add an extra touch of sweetness while keeping the recipe free of refined sugar, I like coconut sugar. It also adds a lovely caramel flavor!
- Salt: brings out the natural sweetness in the fruit.
- Spices: this is optional, but in my opinion, apple crumble always needs spices! I use ground cinnamon, ginger, and nutmeg.

- Wholemeal flour: my favorite flour for baking! It’s more nourishing than plain flour as it contains more fiber and protein.
- Oats: whole oats add to the texture of the crumble and add extra nutrients, fiber, and protein, keeping you fuller and satisfied for longer.
- Olive oil: to bind the crumble ingredients without the use of too much saturated fat, olive oil does a great job! It also adds a good dose of healthy fats to improve the macros of this apple and blueberry crumble.
need a substitute?
If for some reason you don’t like the suggested ingredients or you don’t have them on hand, here are some substitutions you could try:
- Coconut sugar: you can use any sugar of your choice, such as panela, white sugar, brown sugar, demerara sugar, etc.
- Whole wheat flour: you can substitute this with all-purpose flour or oat flour for gluten-free.
- Olive oil: melted butter, coconut oil, or any other oil of your choice will work.
grab your equipment:
- Mixing Bowl – you only really need one.
- Knife – to chop the apples.
- Peeler – if you want to peel the apples.
- Medium Baking Dish – the shape doesn’t really matter that much; the one I used was 20cm x 30cm.
let’s make apple and blueberry crumble:
I’m going to walk you through the process in detail below and show you some process photos. I have also made a video showing you how to make it!
Step 1: Prepare the apples
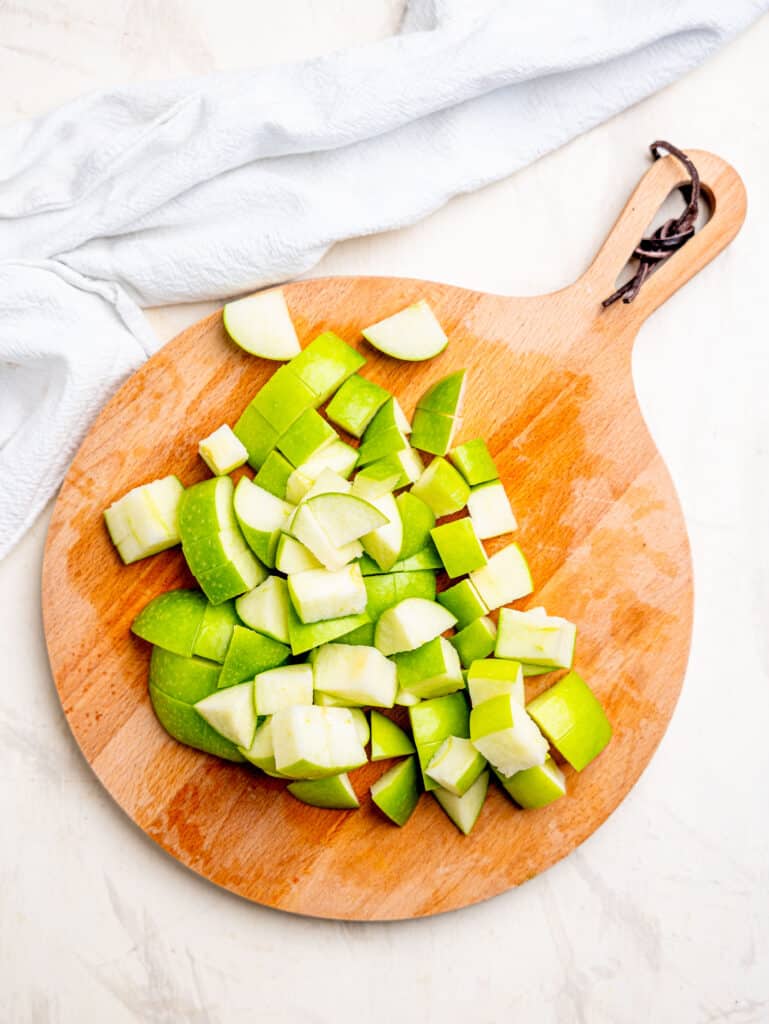
To peel or not to peel? I personally don’t peel. The decision to peel the apples is a personal one. Leaving the peels on can add texture and nutrition, but if you have a preference for a smoother texture, go ahead and peel them.
Once peeled (or not peeled), cut the apples into bite-sized pieces, around 2cm x 2cm.
Step 2: Make the apple blueberry crumble filling
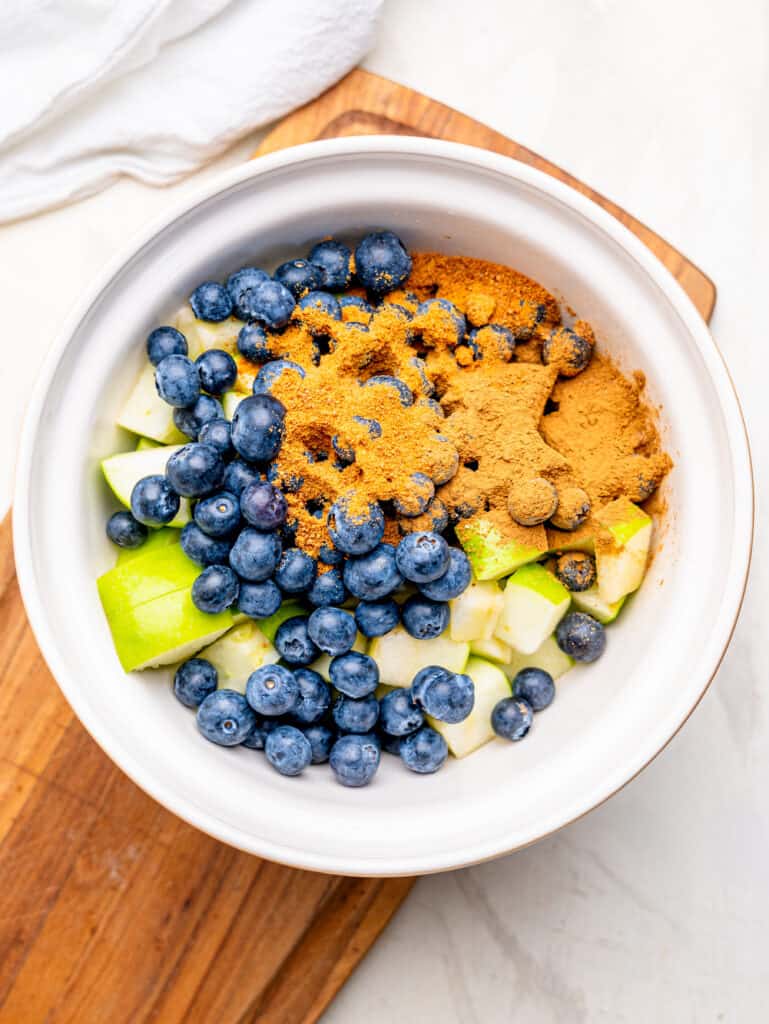
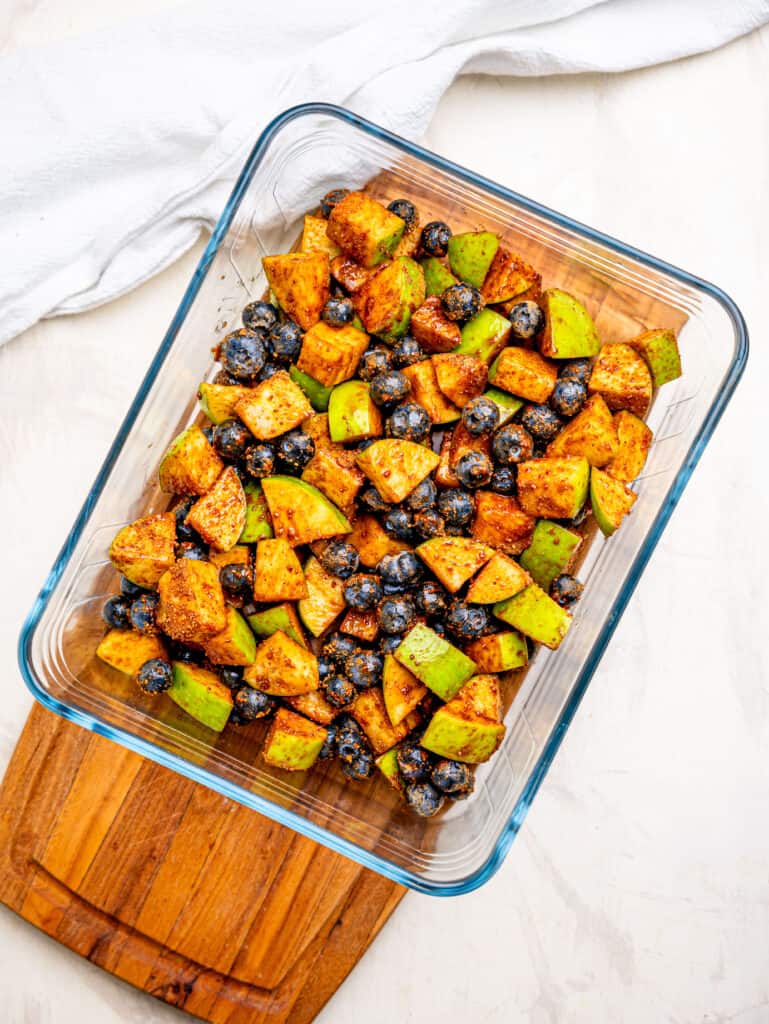
Add the chopped apples, blueberries, sugar, and spices to a mixing bowl and mix with a wooden spoon to coat all the apples and blueberries. You can also place a plate on top of the bowl and shake it; this makes it even easier! Transfer the apples and blueberries to your (greased) baking dish.
Step 3: Prepare the crumble topping
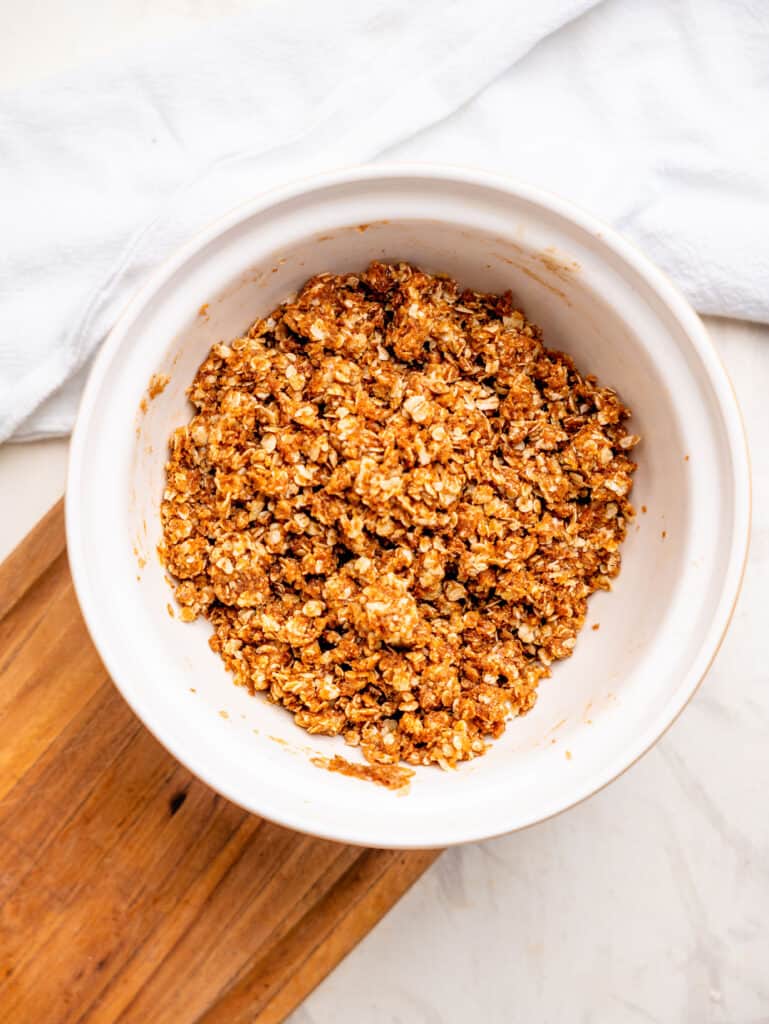
Add your flour, oats, sugar, spices, and olive oil to a mixing bowl. You can use the same bowl that your apples were in without washing it! Less washing up! Use your wooden spoon to mix the ingredients together. If it looks too dry, add a tablespoon of water until the mixture is all combined and sticky.
Step 4: Put it all together
Transfer the crumble mixture onto the apples and blueberries, covering the whole surface area. Lightly press it down, making an even layer of crumble.

Step 5: Bake!
Pop your baby (the dessert, not your real baby, please) into the oven for 30-35 minutes. The top should be golden, and the blueberries and apples oozing. If the crumble doesn’t feel crunchy yet, please note that as it cools a bit, it will get crunchier, so resist the urge to bake it for longer if it doesn’t really need to.
Step 6: DEMOLISH
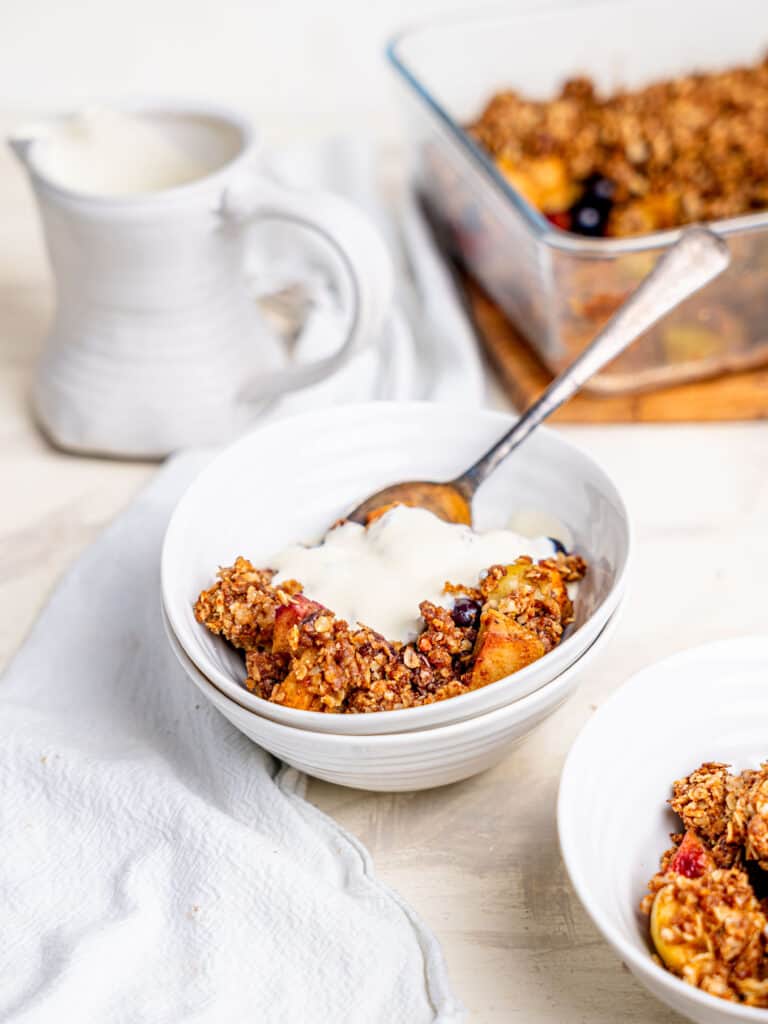
Maybe wait a couple of minutes to let it cool down, then serve along with your choice of custard, yogurt, ice cream, or cream (or all of the above, I really won’t judge you).

recipe tips & tricks
Choose the Right Apples: Feel free to experiment with other apple varieties based on your taste preferences.
Spices: Adjust the spice levels based on your taste preferences. You can also add a pinch of cloves or allspice for extra depth.
Baking Dish: The size and shape of the baking dish don’t matter significantly. Just ensure that it’s greased to prevent sticking.
Custard, Yogurt, or Ice Cream: Serve the crumble with your favorite accompaniment. Custard, yogurt, ice cream, or whipped cream all complement the flavors of the dish.
Cooling Time: Allow the crumble to cool for a few minutes before serving. This helps the flavors to settle, and the texture of the crumble will continue to crisp up as it cools
Customize: Feel free to customize the recipe by adding chopped nuts, such as almonds or walnuts, to the crumble topping for an extra crunch.

got leftovers?
Storing apple crumble properly is essential to maintain its freshness and texture. Here’s how you can store it:
Room Temperature: If you plan to consume the apple crumble within the next day or two, you can store it at room temperature, covered with foil or plastic wrap. Be aware that the topping may lose some of its crispiness over time.
Refrigeration: For longer storage, it’s recommended to store apple crumble in the refrigerator. Allow it to cool completely before covering it with plastic wrap or transferring it to an airtight container.
- Reheat in the oven for 15-20 minutes, removing the foil during the last few minutes for a crisp topping.
- Reheat in the air-fryer for 10 minutes for a more energy efficient method.
- Alternatively, microwave in 20-30 second intervals, stirring or breaking apart the topping between intervals.
Freezing: If you want to store the apple crumble for an extended period, freezing is a good option. Ensure the crumble has cooled completely before wrapping it tightly in plastic wrap or aluminum foil. You can also use a freezer-safe container.
- To reheat a frozen apple crumble, allow it to thaw in the refrigerator overnight.
- Reheat in the oven at a low temperature (around 300°F or 150°C) until warmed through. This will help maintain the crispiness of the topping.

faq
The decision to peel the apples is a personal one. Leaving the peels on can add texture and nutrition, but if you have a preference for a smoother texture, go ahead and peel them.
Yes! For a gluten-free version, substitute whole wheat flour with a gluten-free flour blend or oat flour.
This recipe contains no animal products and is naturally vegan-friendly!
Look for a golden brown topping, bubbling fruit filling around the edges, and a crisp texture when gently pressed. Remember that the crumble will get crispier as it cools down.
Yes of course! You can do this by using small oven-safe ramekins or baking dishes. Divide the prepared fruit filling and crumble topping among the individual containers and adjust the baking time as needed for smaller portions. Keep a close eye on the golden brown topping and bubbling fruit filling.
Hey! If you make this recipe, I would love it if you could leave me some feedback and a rating ⭐⭐⭐⭐⭐ in the comment section at the bottom of the page! Also let me know on Facebook, Instagram or Pinterest! I can’t wait to hear your thoughts and see your photos!
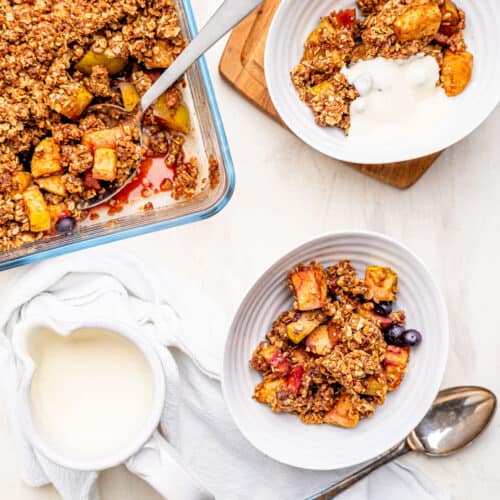
Easy and Healthy Apple and Blueberry Crumble
Equipment
- Peeler optional
- Medium Baking Dish size doesn't matter too much, see notes
Ingredients
Apple & Blueberry Filling
- 4 Apples*
- 200 g Blueberries
- 30 g Coconut Sugar** 2 heaped tbsp
- pinch of salt
- 1 tsp Ground Cinnamon optional
- 1/4 tsp Ground Ginger optional
- 1/8 tsp Ground Nutmeg optional
Crumble Topping
- 120 g Plain Whole Wheat Flour 1 cup
- 120 g Whole Oats 1 + 1/3 cup
- 1 tsp Ground Cinnamon optional
- 60 g Coconut Sugar heaped 1/4 cup
- 60 g Olive Oil 1/4 cup
Instructions
- Preheat oven to 180℃/160℃ fan/350℉ and lightly grease your baking dish with butter or cooking spray.
- Optional: peel apples.
- Cut apples into bite-sized pieces, roughly 2cm x 2cm. Add to a mixing bowl along with the rest of the filling ingredients.
- Mix well with a wooden spoon to coat all the apples with sugar and spices. Transfer into your baking dish.
- Add all the crumble ingredients to a mixing bowl (the same one as before is fine) and mix till combined. If the mixture is too dry, add a tbsp of water till it comes together.
- Spread the crumble mixture over the filling, lightly pressing it down into an even layer.
- Bake for 30 minutes till crisp and golden. Serve with custard, greek yoghurt, cream or ice cream (or all of the above!).
Video
Notes
- Choose the Right Apples: Feel free to experiment with other apple varieties based on your taste preferences.
- Spices: Adjust the spice levels based on your taste preferences. You can also add a pinch of cloves or allspice for extra depth.
- Baking Dish: The size and shape of the baking dish don’t matter significantly. Just ensure that it’s greased to prevent sticking.
- Custard, Yogurt, or Ice Cream: Serve the crumble with your favorite accompaniment. Custard, yogurt, ice cream, or whipped cream all complement the flavors of the dish.
- Cooling Time: Allow the crumble to cool for a few minutes before serving. This helps the flavors to settle, and the texture of the crumble will continue to crisp up as it cools
- Customize: Feel free to customize the recipe by adding chopped nuts, such as almonds or walnuts, to the crumble topping for an extra crunch.

