


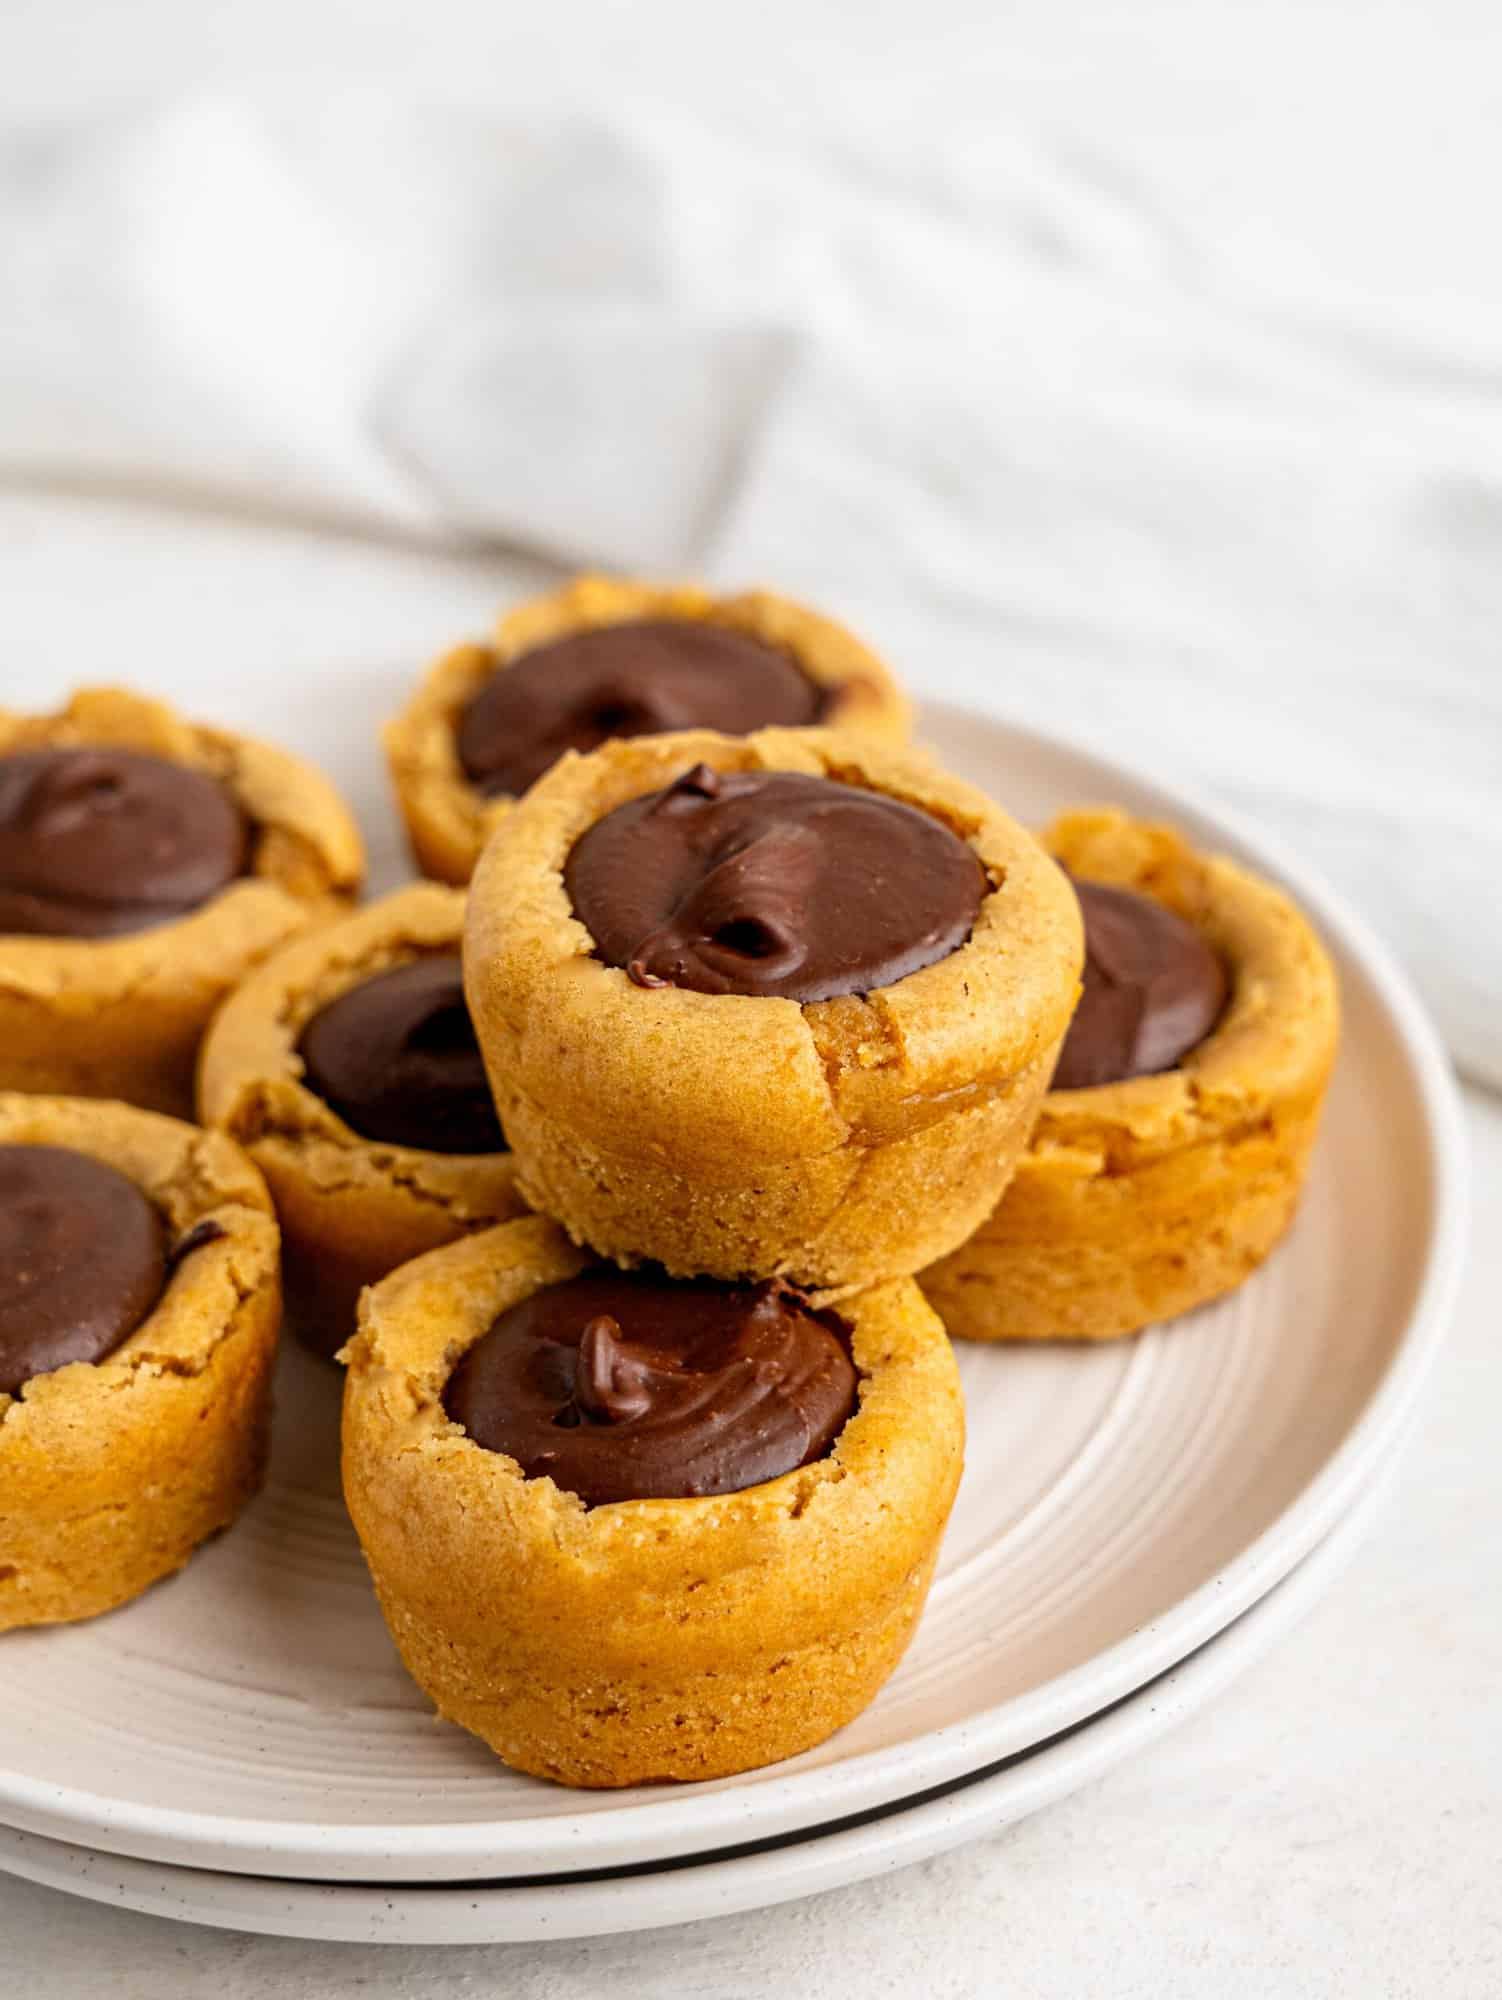
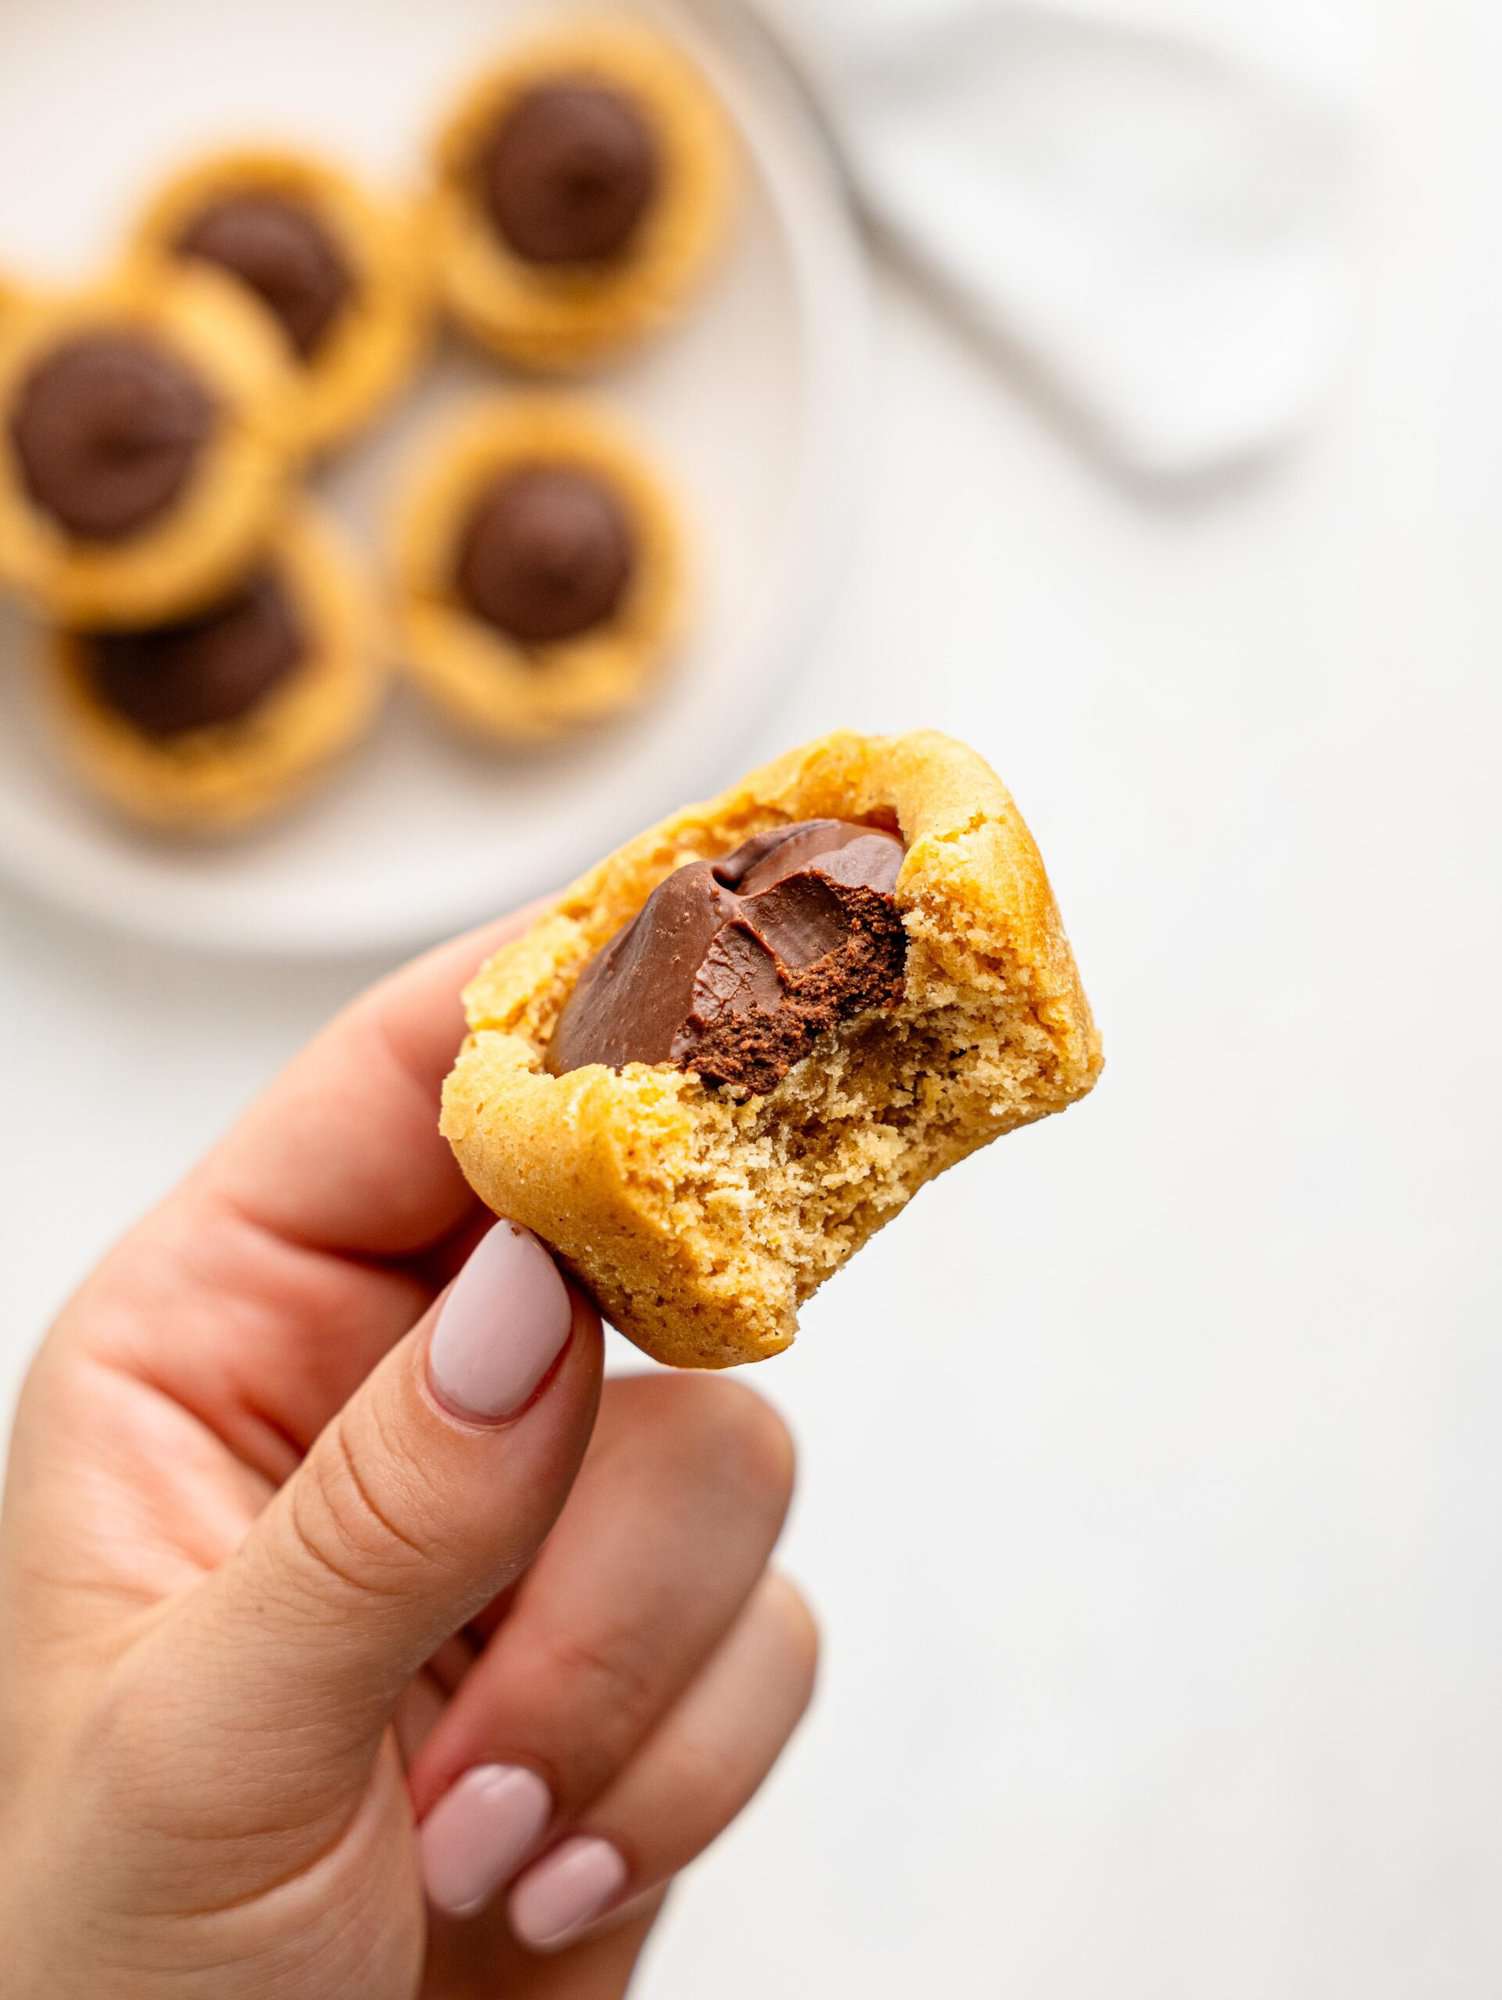
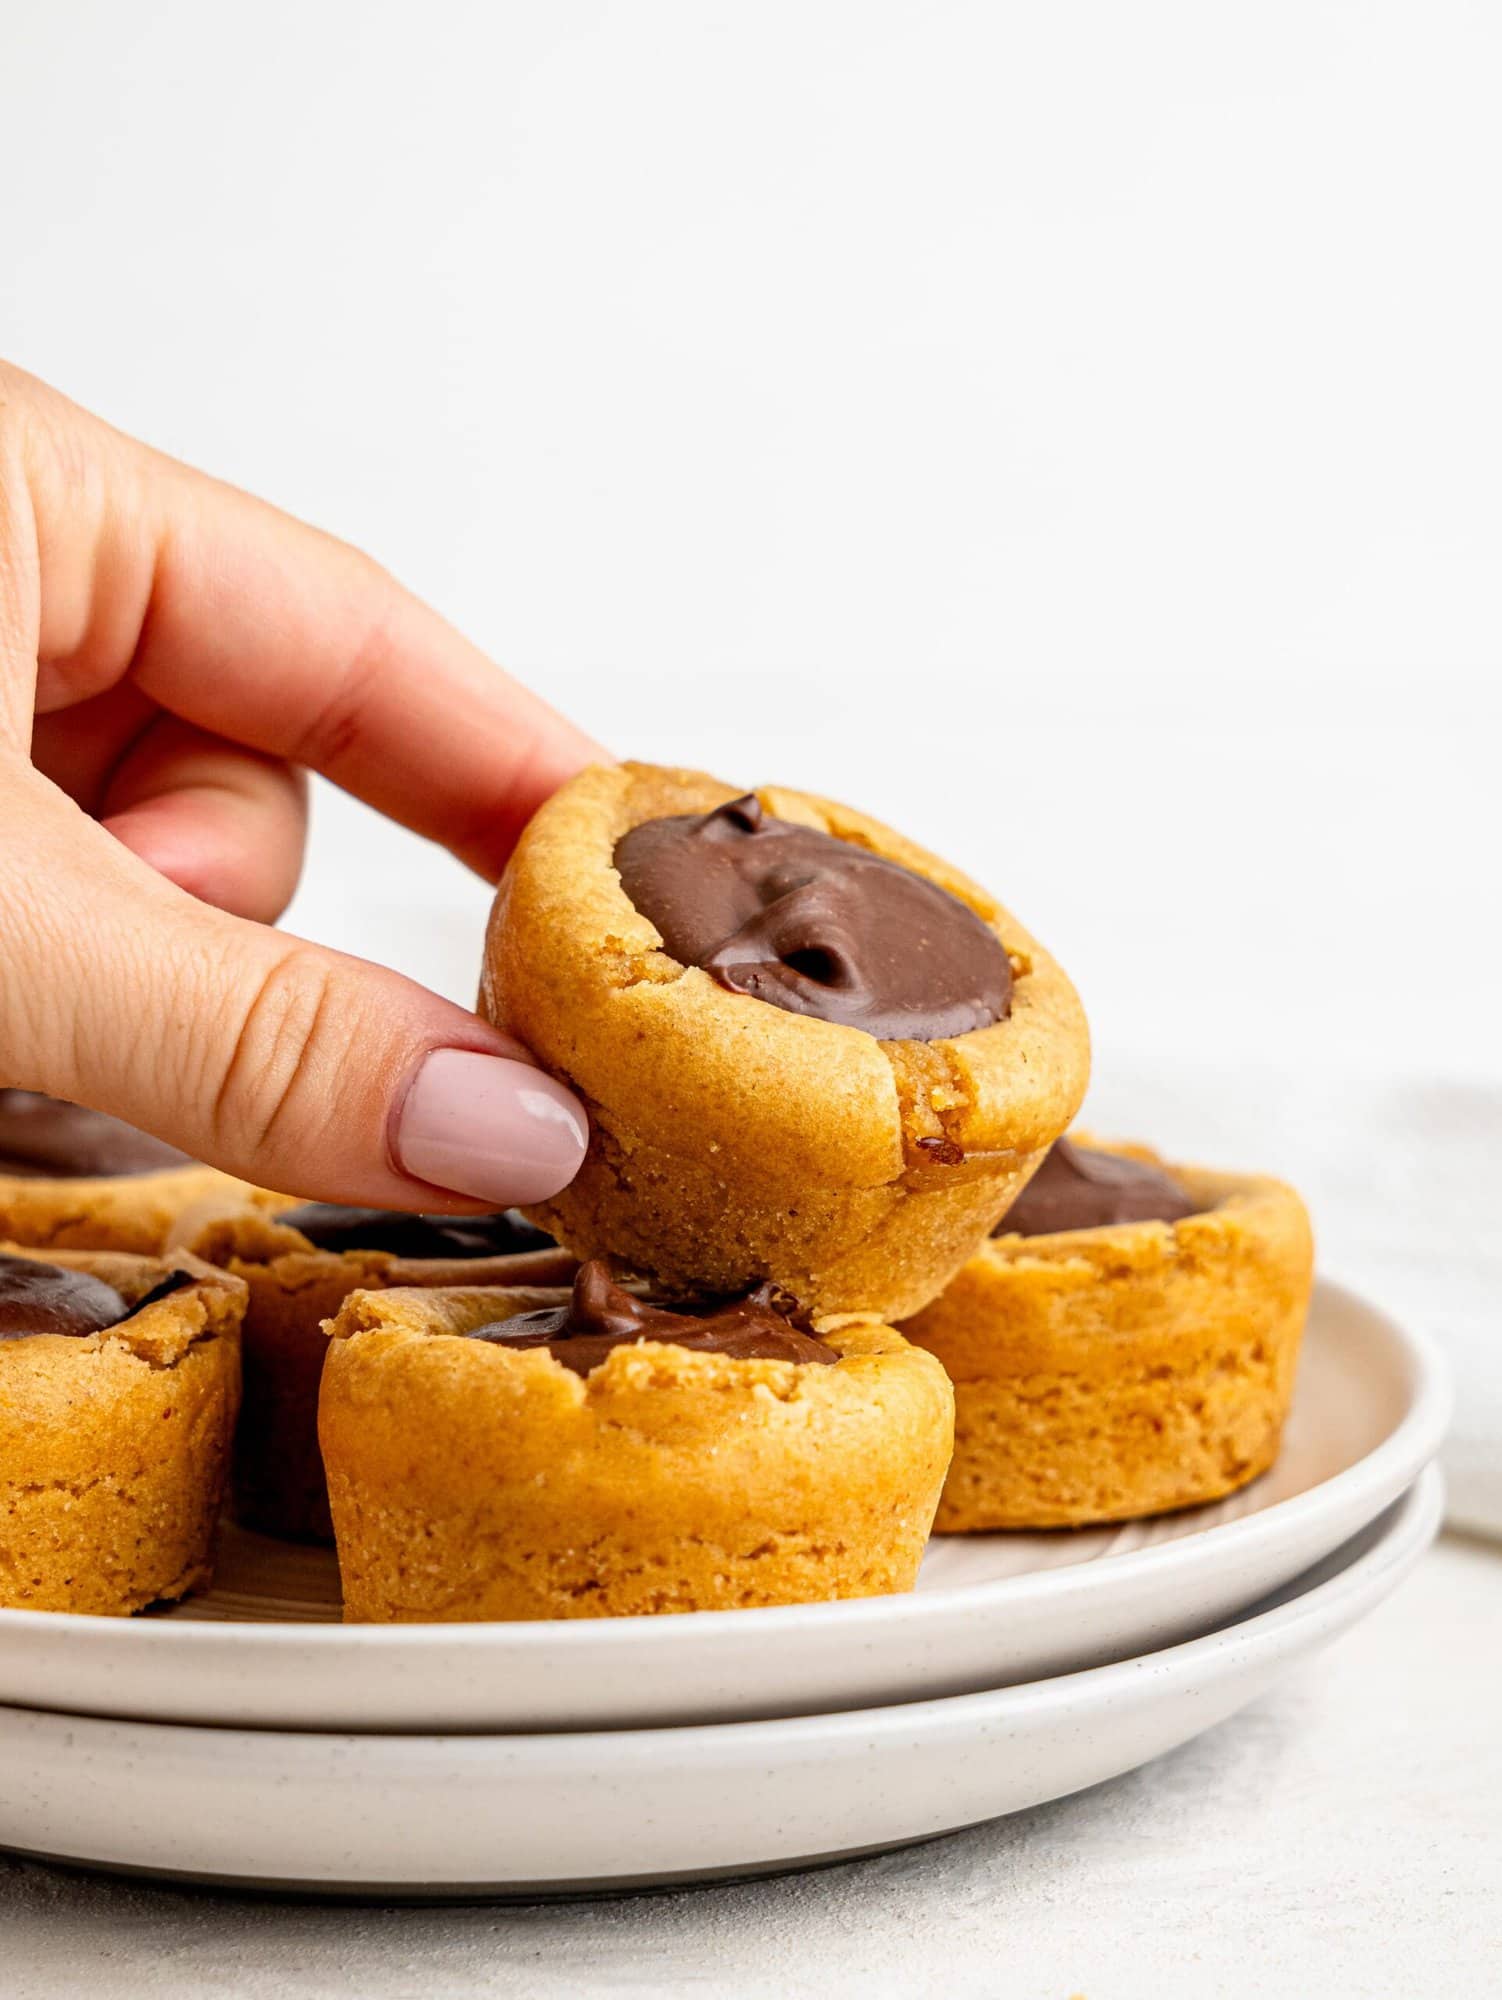
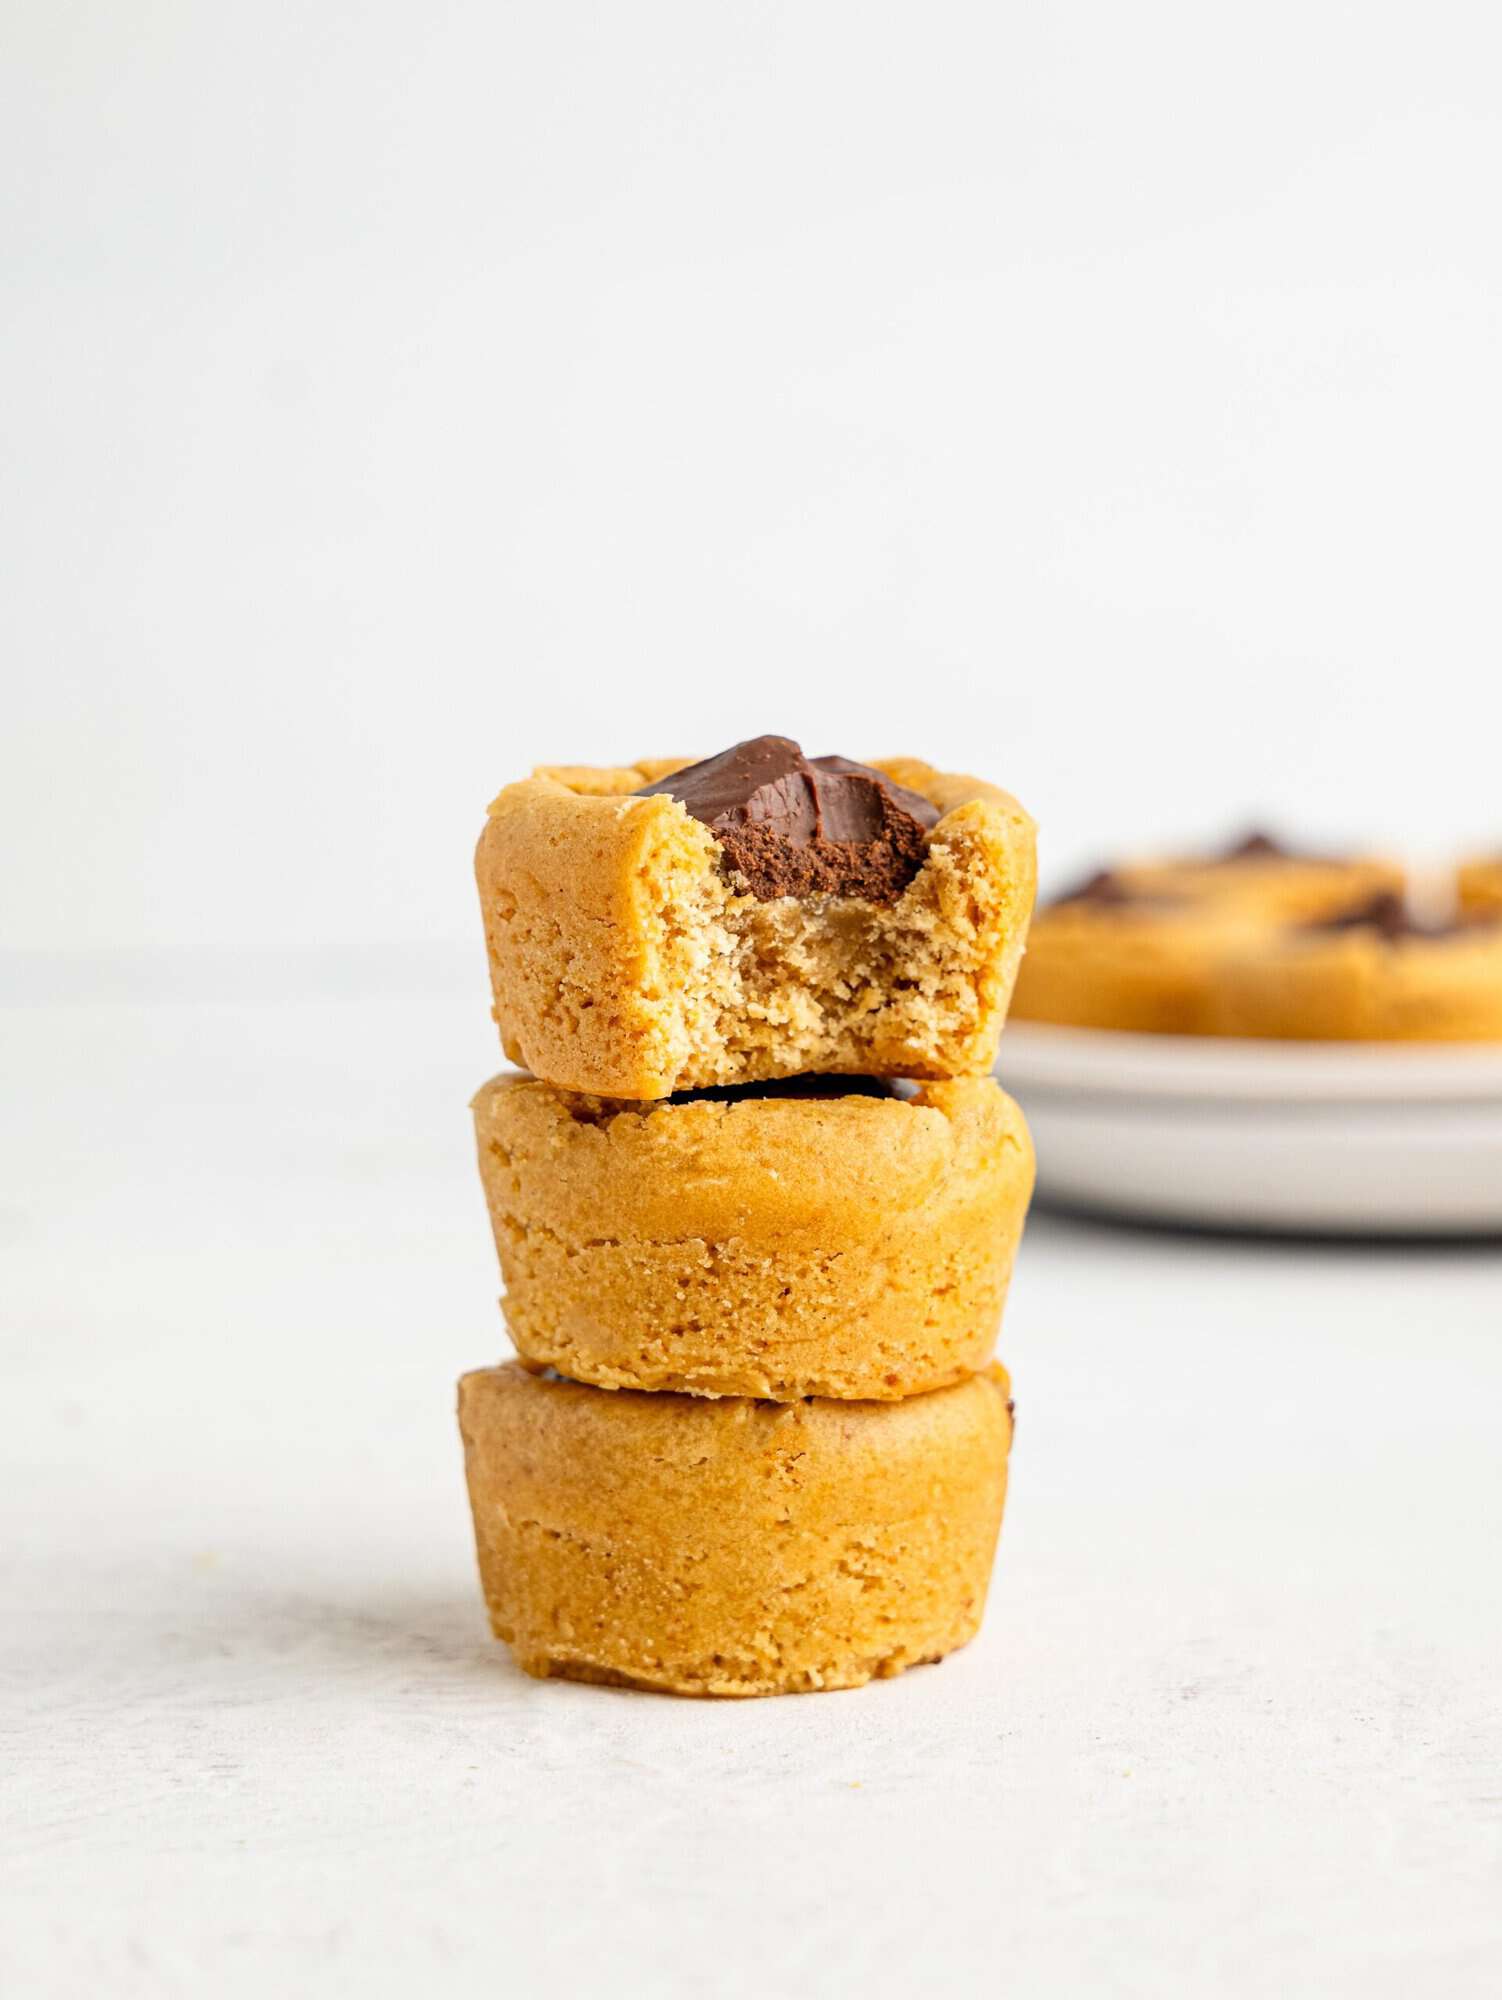
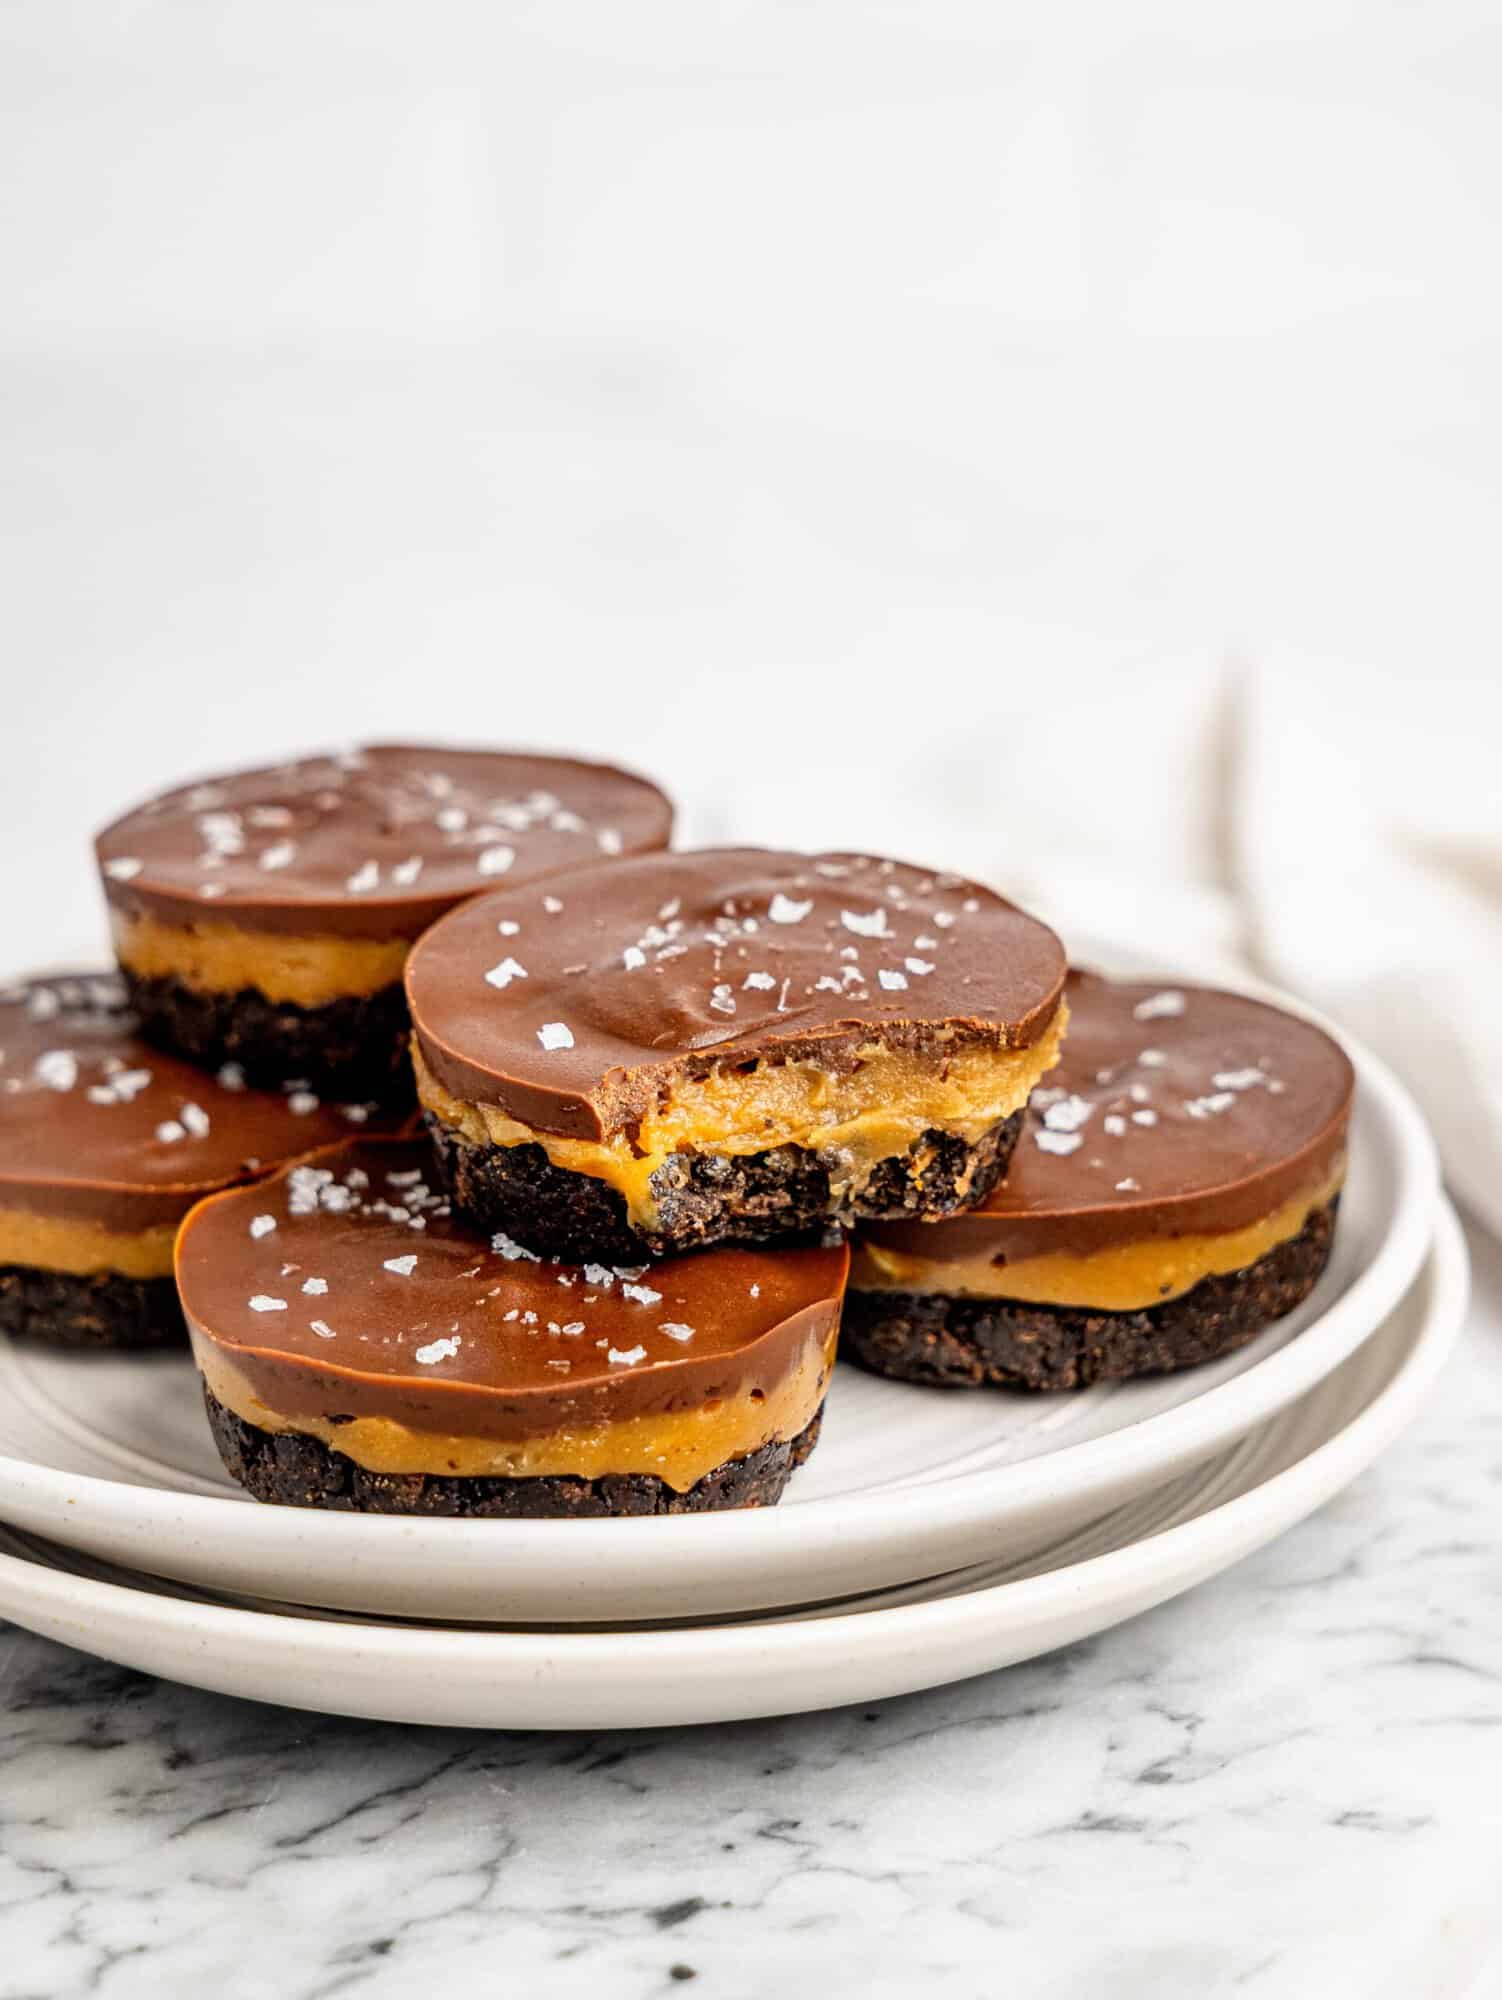
If you’re a peanut butter and chocolate lover, these cookie cups are for you! A soft, gooey peanut butter cookie cup filled with a rich chocolate fudge filling—oh my goodness, be prepared to fall in love. They’re incredibly easy to make, require only 6 ingredients, and they’re healthy too!
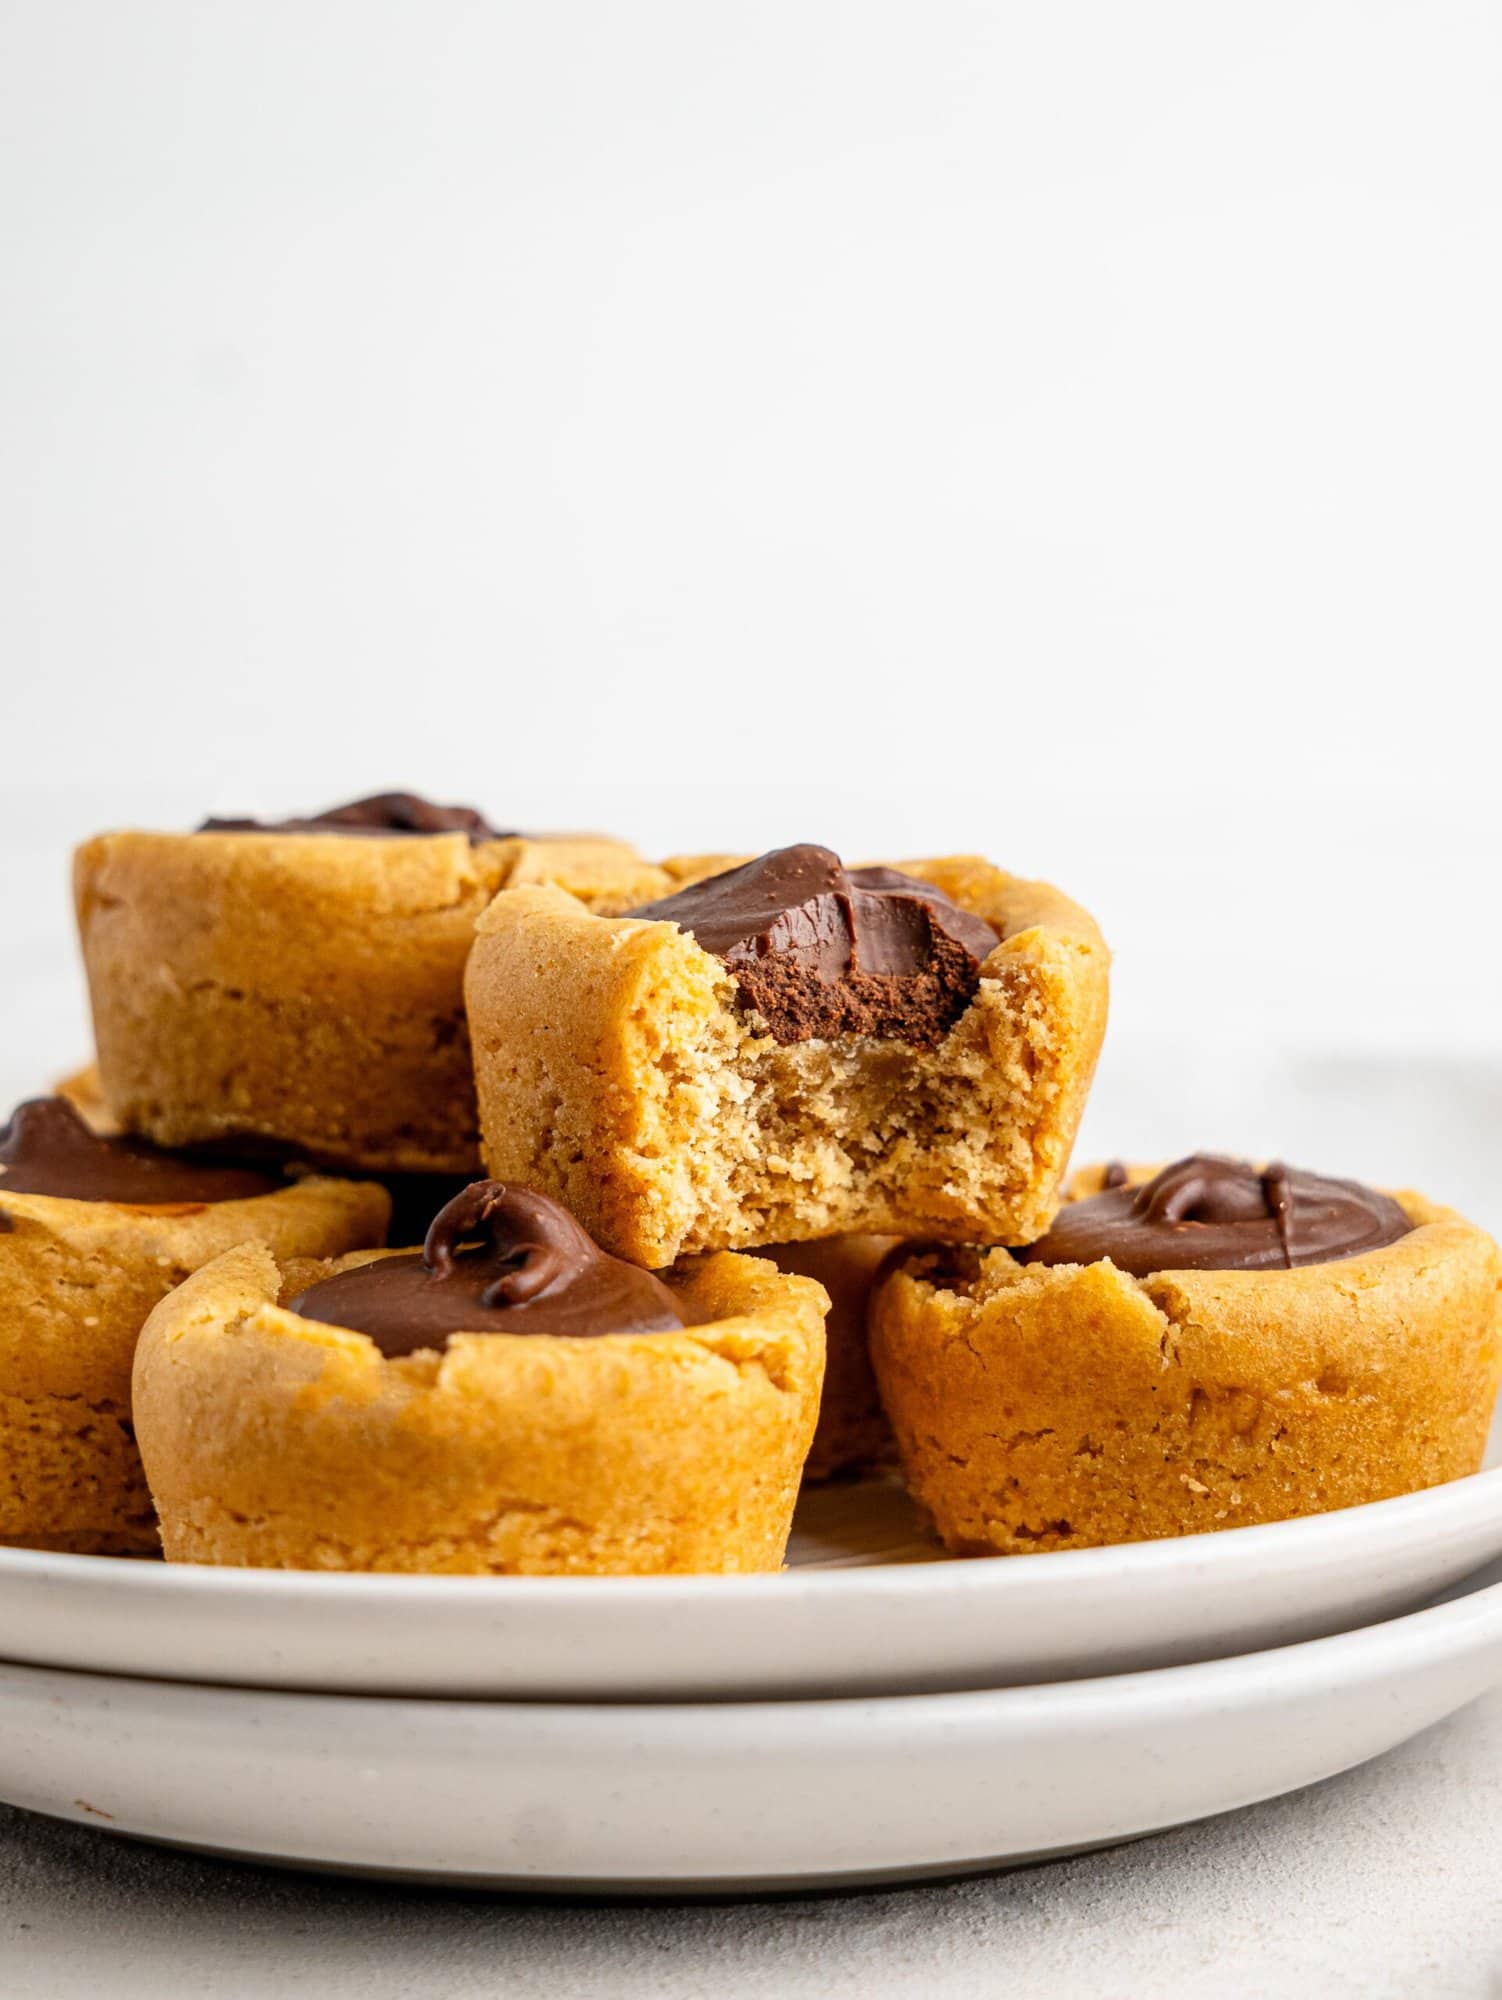
“What are cookie cups?” you may ask. Cookie cups are essentially cookies baked in a muffin tray to form cups, which you can then fill with even more deliciousness. These might be one of my favorite recipes I’ve ever created.
Ingredients Needed:
These are the ingredients you’ll need to make these Peanut Butter Cookie Cups. You can find the exact measurements in the recipe card at the bottom of this page.

- Peanut Butter: Adds a delicious, rich peanut butter flavor to the cookie cups. You can use any nut or seed butter if you don’t have peanut butter. This is also used in the chocolate fudge filling.
- Liquid Sweetener: Adds sweetness to the cookie cups while keeping them refined sugar-free. I use honey, but you can also use maple syrup, agave, date syrup, or anything along those lines.
- Egg: Adds structure and moisture and helps the cookie cup stick together.
- Vanilla Extract: This is optional but recommended as it enhances the flavors.
- Flour: I like to use wholemeal plain flour, but regular all-purpose flour will also work. You can also use a gluten-free all-purpose flour.
- Baking Powder: Helps the cookie cup rise to create the perfect texture.
- Dark Chocolate: Used to make the chocolate fudge filling. Try to use a refined sugar-free dark chocolate to keep these cookie cups healthier.
Dietary Adjustments:
Gluten-Free: To make these cookie cups gluten-free, simply substitute the wholemeal plain flour with a 1:1 gluten-free all-purpose flour blend. Be sure to check that the blend includes xanthan gum or another binder to help hold the dough together.
Vegan: To make these cookie cups vegan, use a flax egg or chia egg in place of the regular egg. To make a flax or chia egg, mix 1 tablespoon of ground flaxseed or chia seeds with 2.5 tablespoons of water, then let it sit for a few minutes until it thickens. For the fudge filling, use dairy-free chocolate and substitute the honey with maple syrup or agave.
Nut-Free: If you’re avoiding nuts, you can swap the peanut butter with sunflower seed butter or soy nut butter. Be sure to check that the chocolate used is nut-free if you have allergies.
Refined Sugar-Free: The recipe is already refined sugar-free, but if you’re looking to reduce sugar even more, opt for a lower-sugar dark chocolate (85% cocoa or higher) and choose a liquid sweetener like stevia or monk fruit sweetener instead of honey, maple syrup, or agave.
Dairy-Free: To make this recipe dairy-free, choose a dairy-free chocolate (such as one made with coconut milk or almond milk) for the fudge filling. Ensure that the peanut butter and any other ingredients used (like the sweetener) are free from dairy traces.
Equipment Needed:
- Digital Food Scale: For accurate measurements and perfect results.
- Mixing Bowl: To make the crust and filling in.
- Whisk or Fork
- Spatula
- Muffin Tray: I recommend a silicone tray, as it makes removing the cookie dough cups easier. You can, however, use a metal tray, but they might be harder to remove—consider using paper liners.
How to Make Peanut Butter Cookie Cups
Here is a detailed summary of how to make this recipe. I’ve also included some photos, and you can find the recipe video in the recipe card. At the bottom of this page is a summarized version that can be printed.
Step One:
Preheat your oven to 350°F (180°C) or 160°C fan.
Step Two:
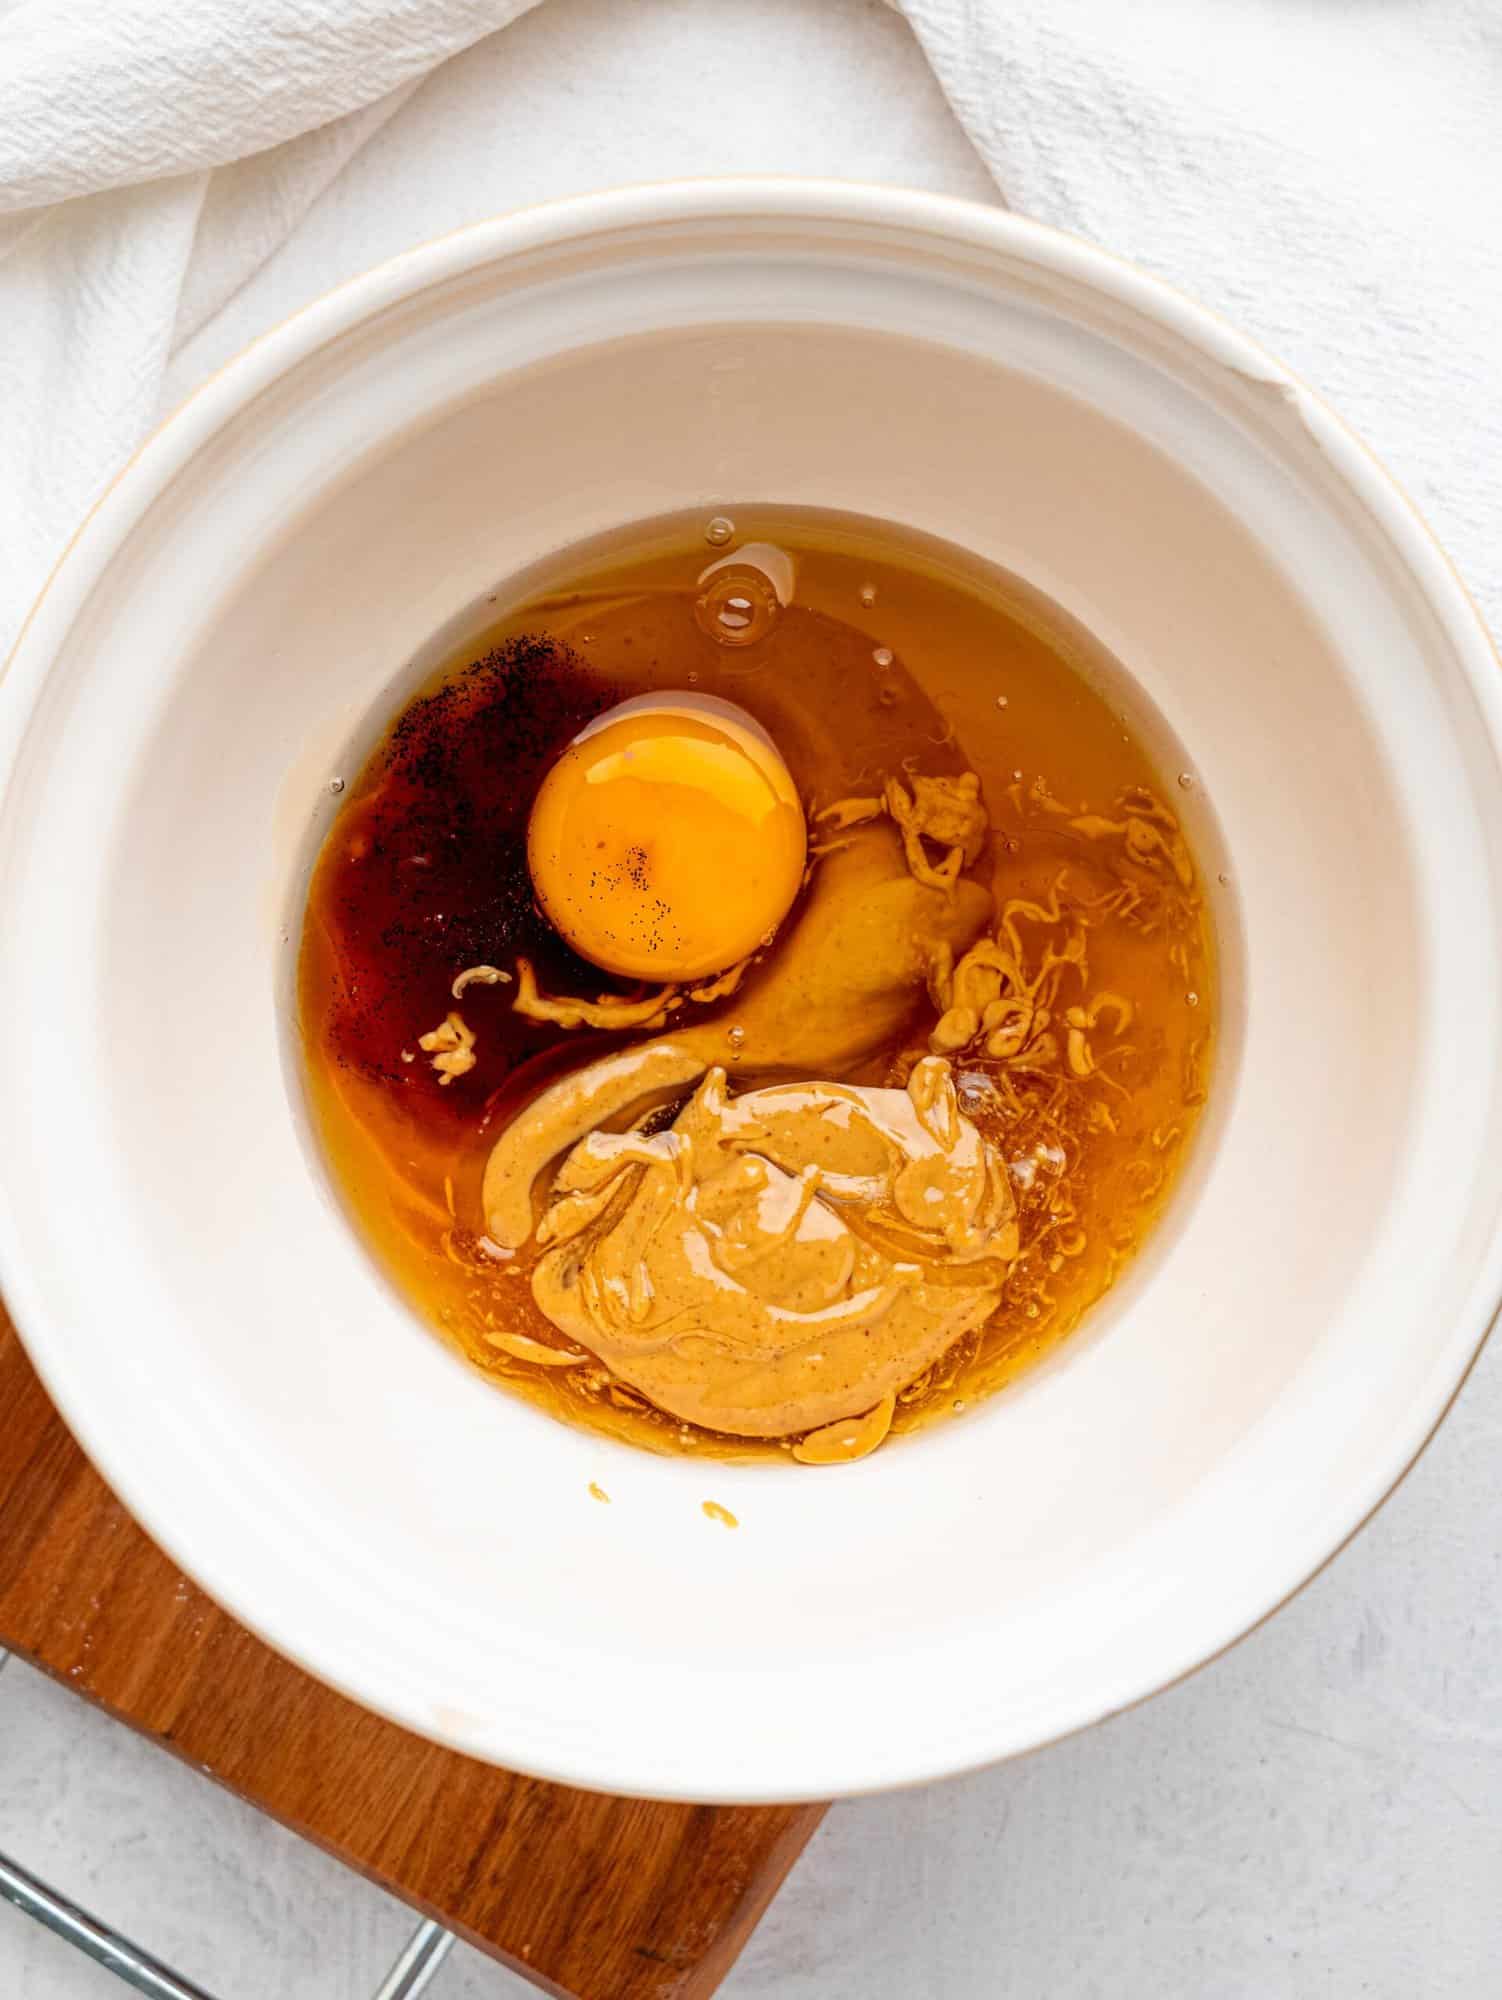
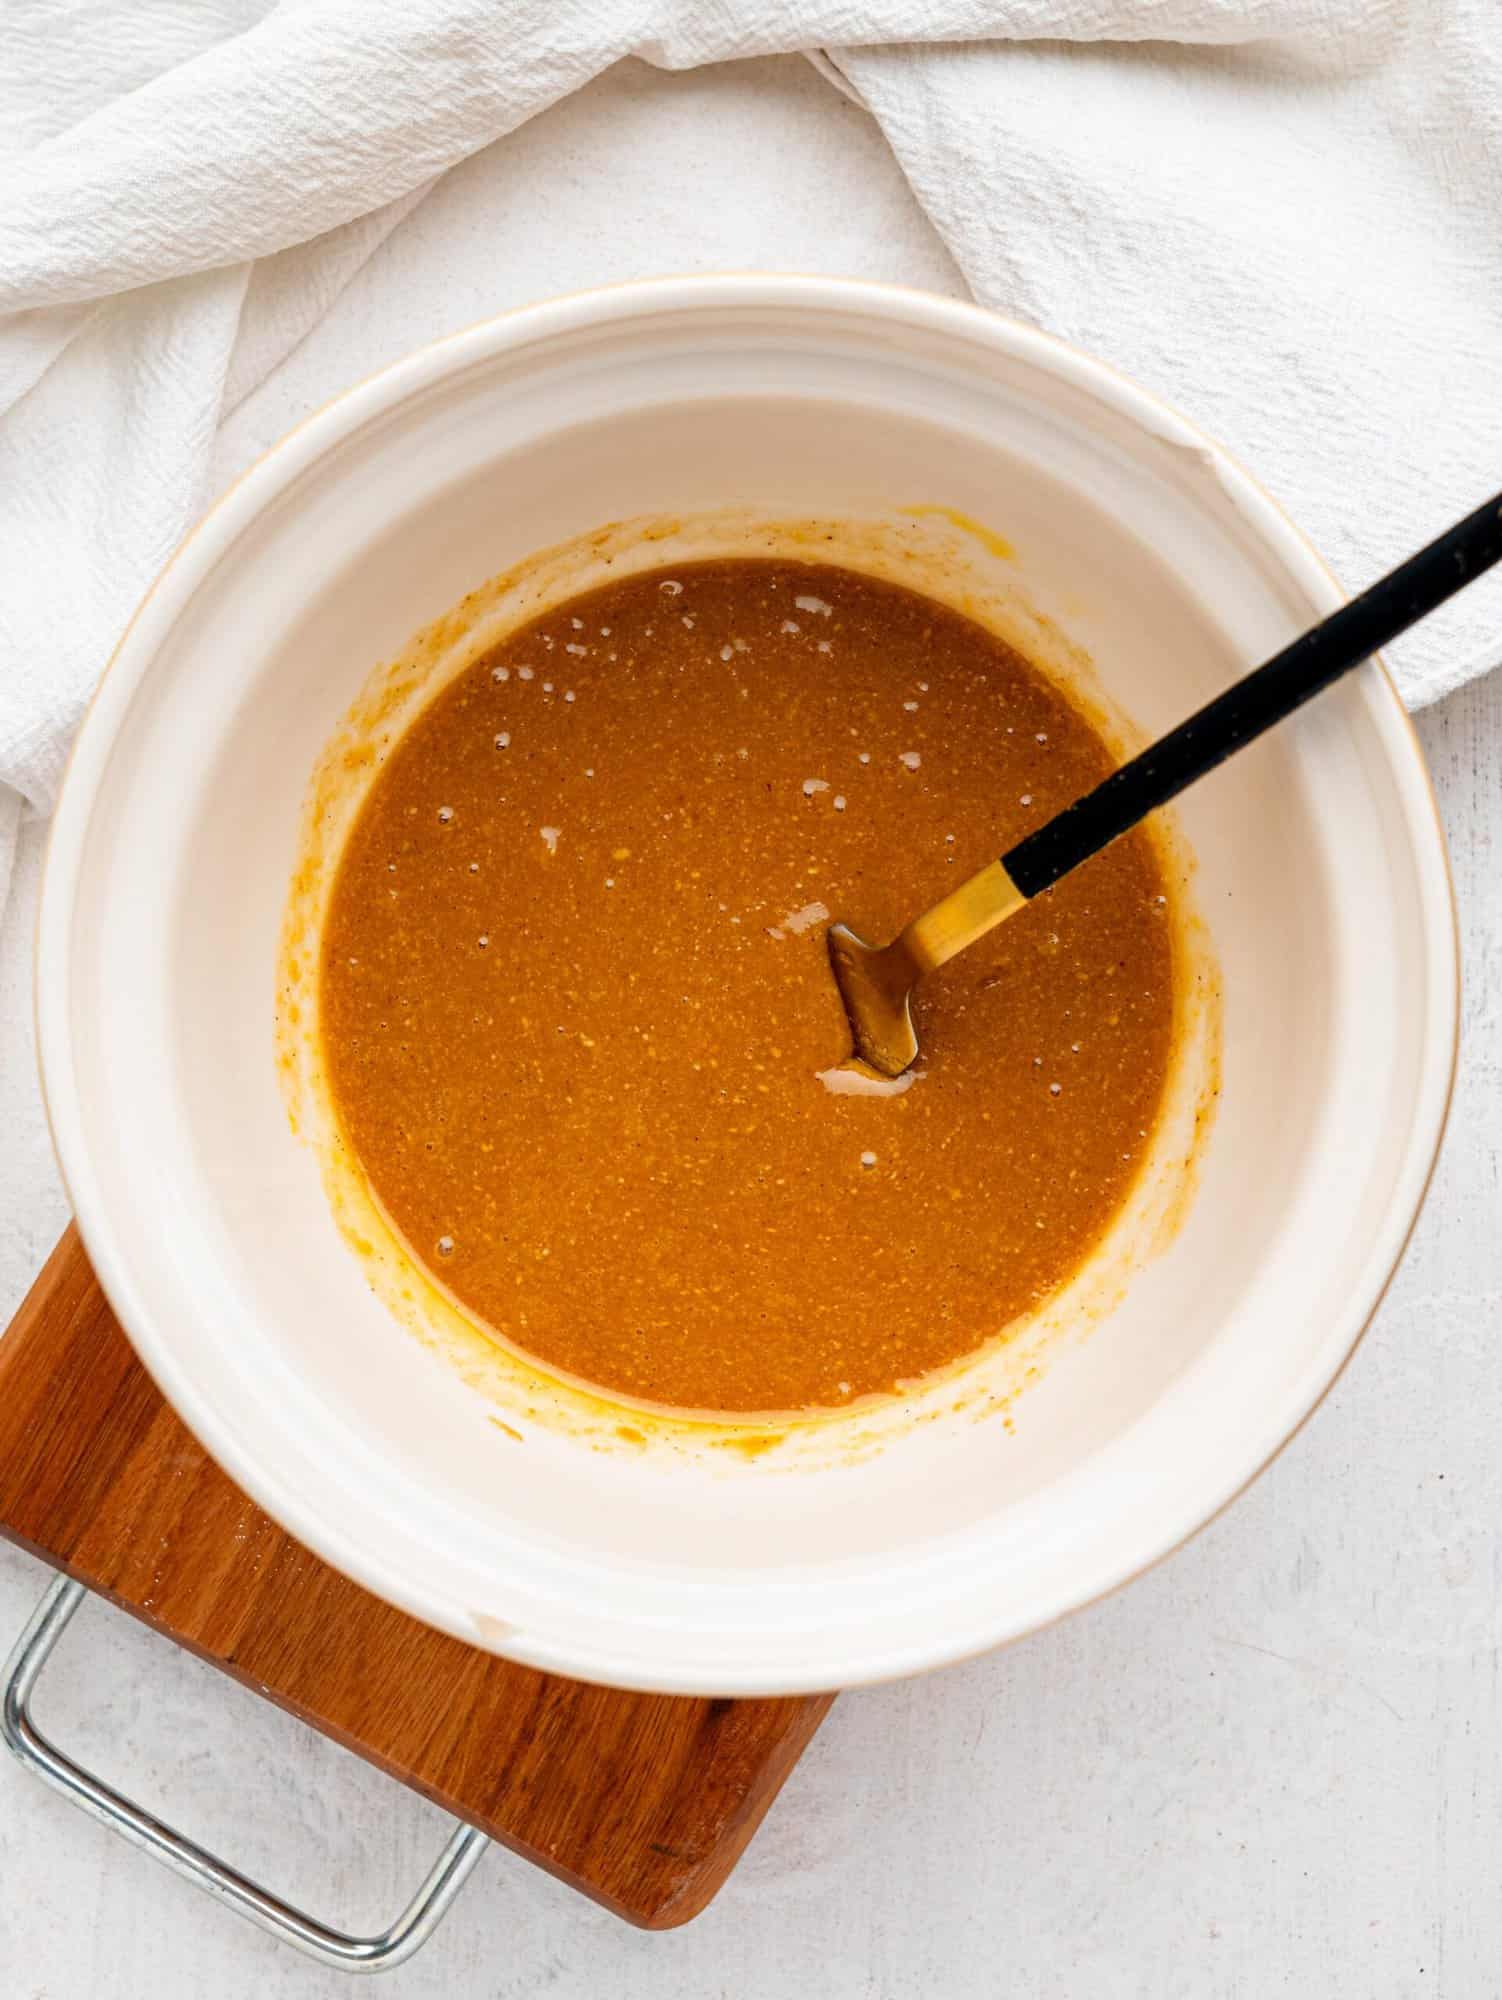
Add your peanut butter, liquid sweetener, egg, and vanilla to a mixing bowl. Use a fork to whisk until smooth.
Step Three:
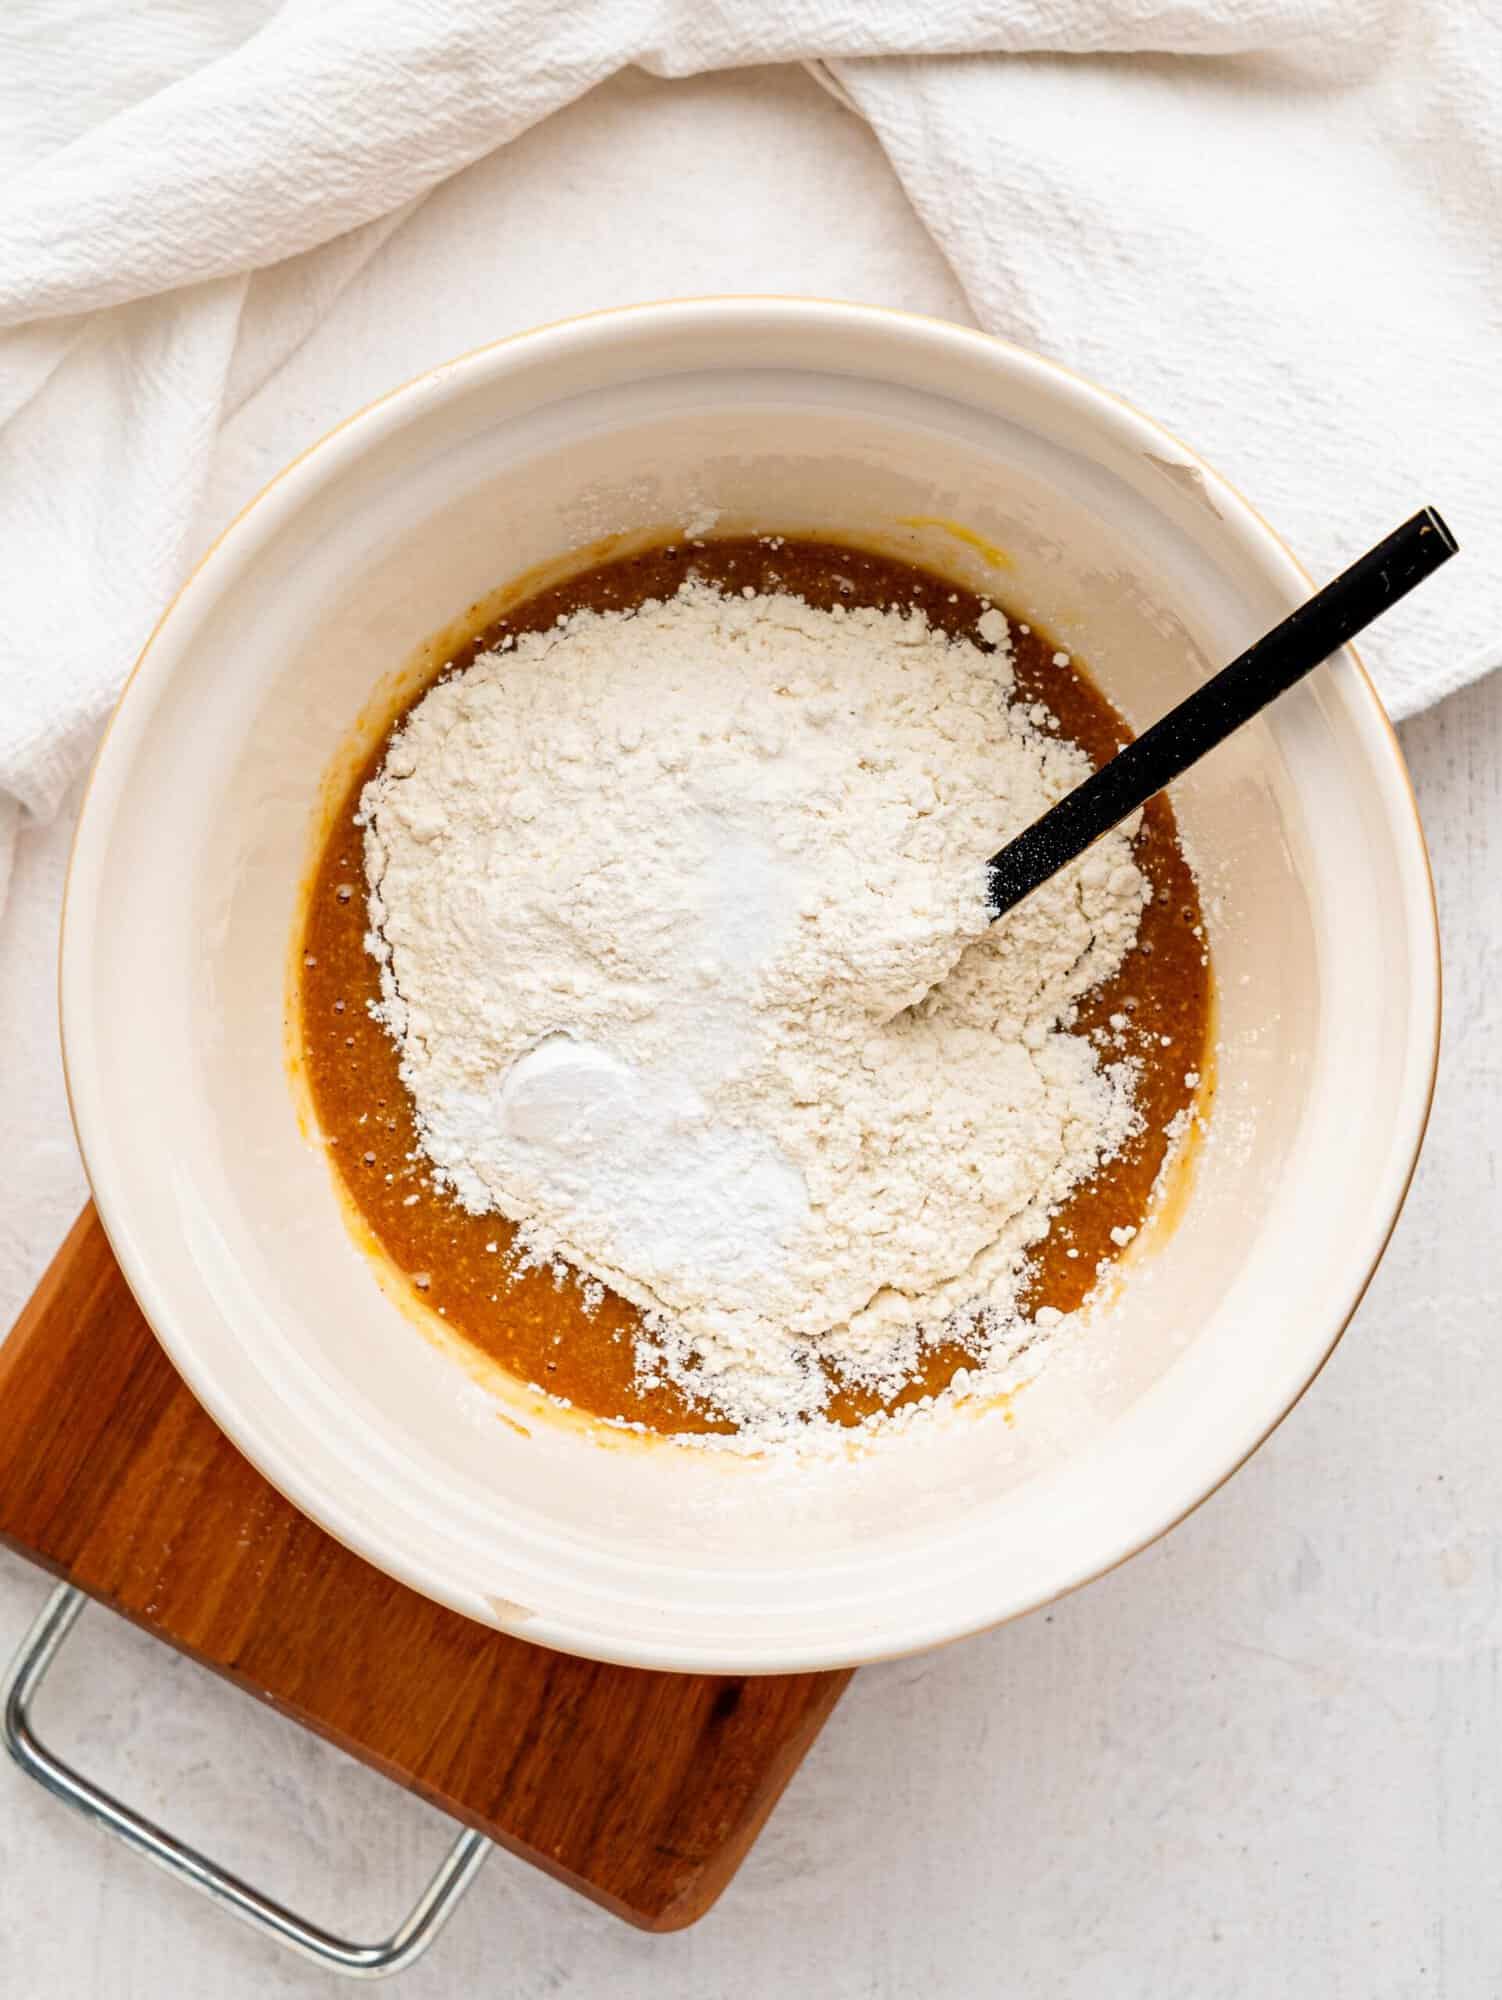
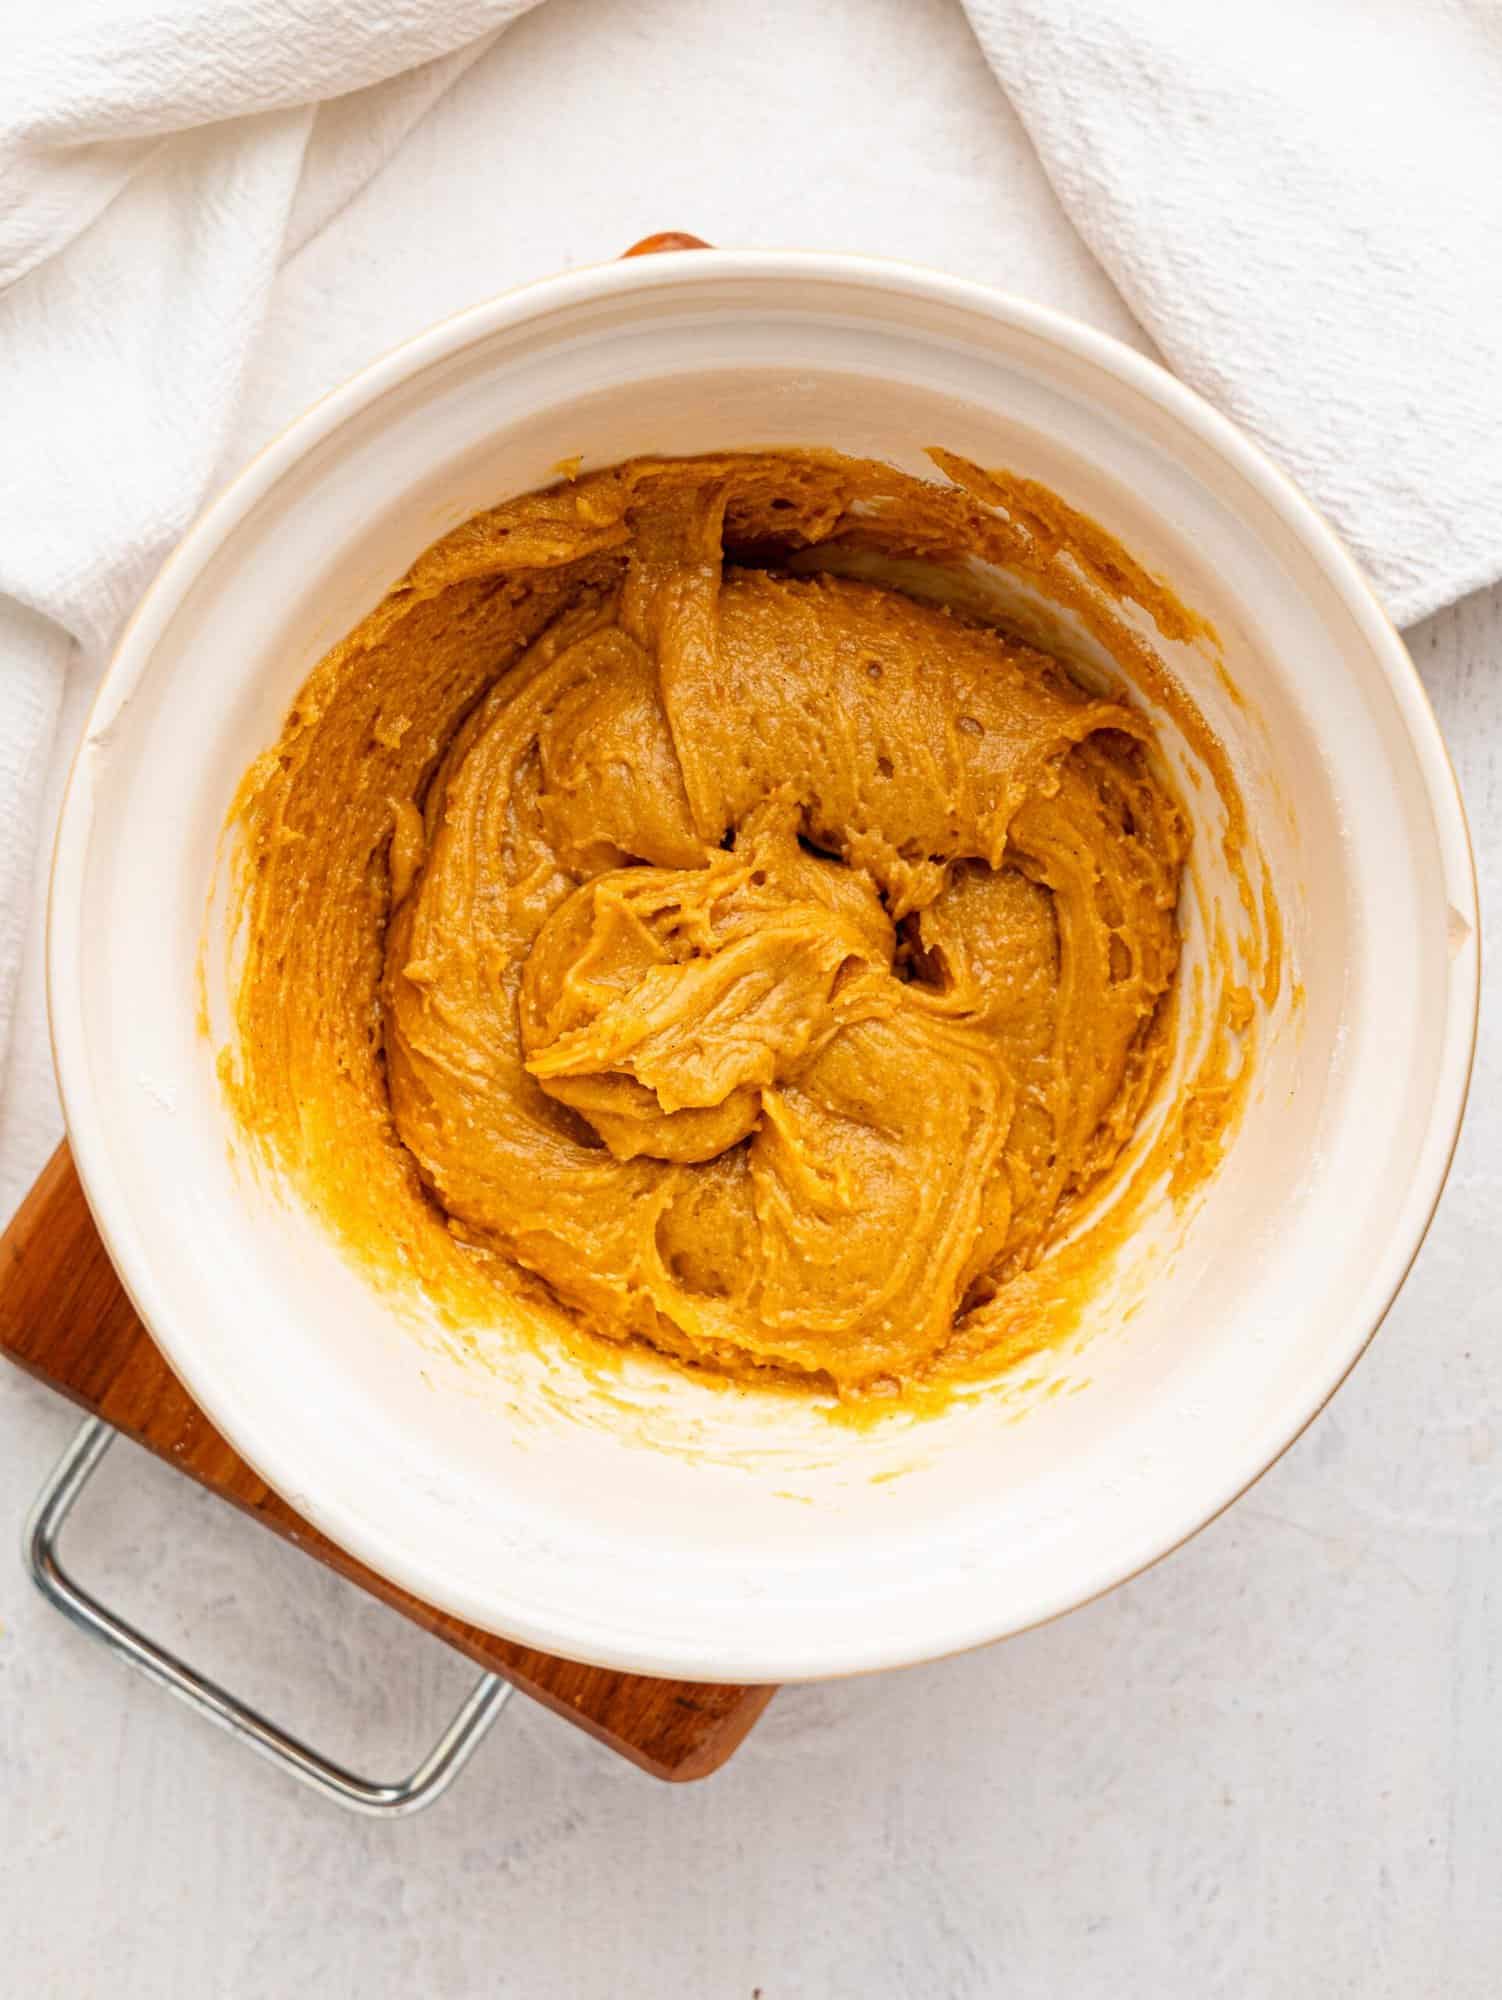
Add your flour and baking powder, then fold until combined.
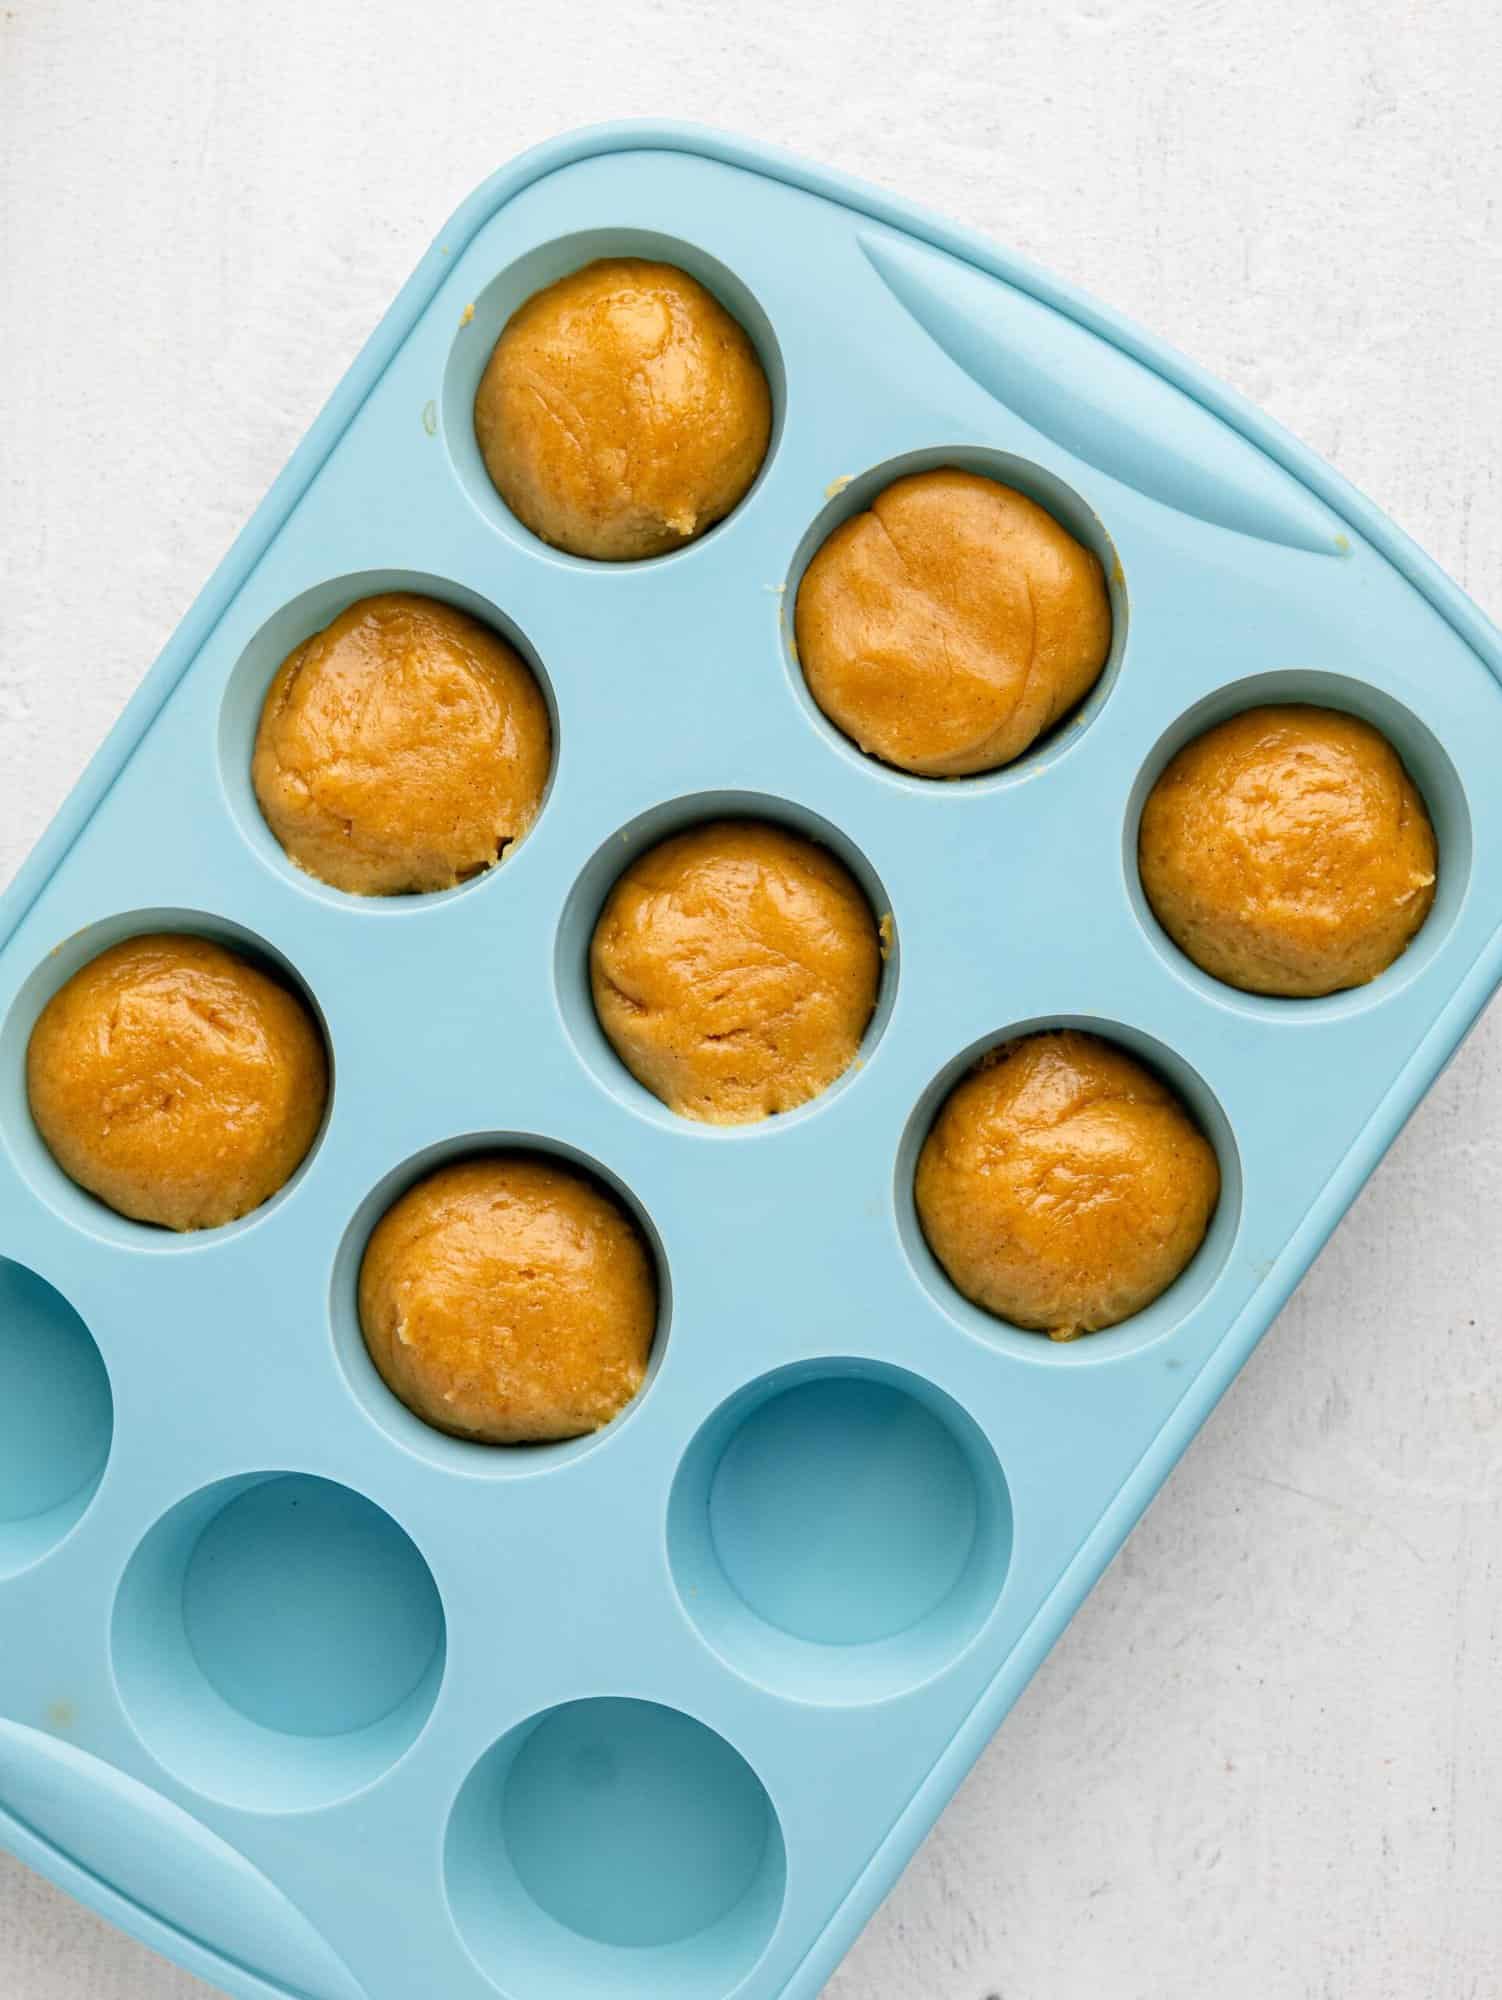
Step Four:
Divide the cookie dough into eight equal pieces and place them in your muffin tray. If the dough is too sticky, refrigerate the bowl for 10-15 minutes or until it becomes less sticky.
Step Five:
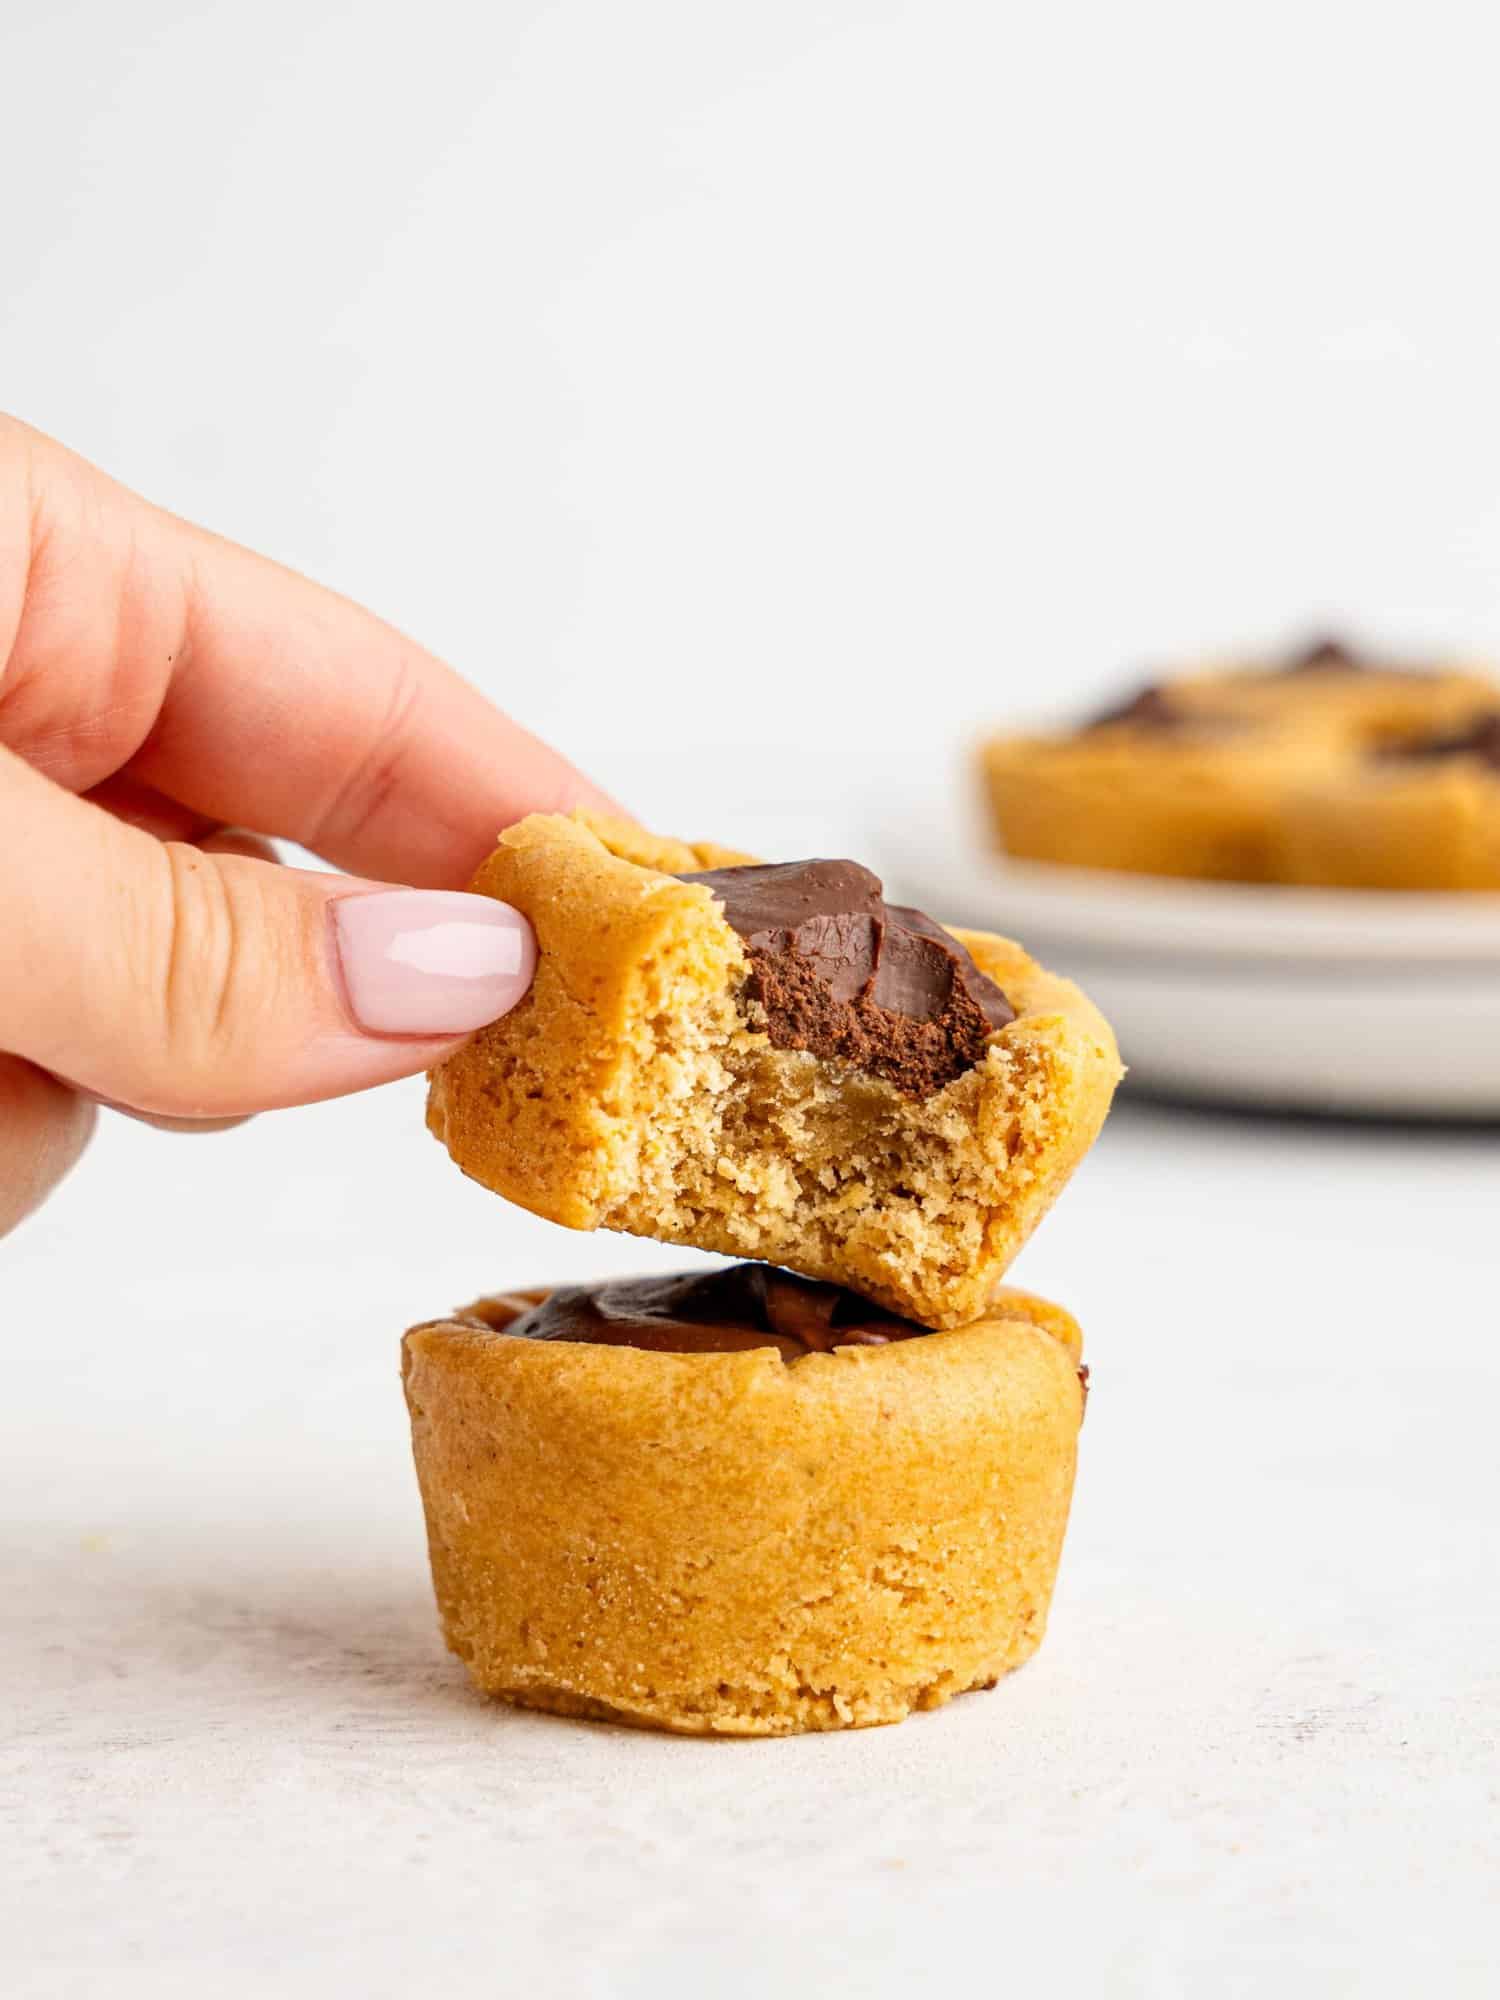
Bake for 13 minutes. The cookie cups will still be gooey, but that’s what we want.

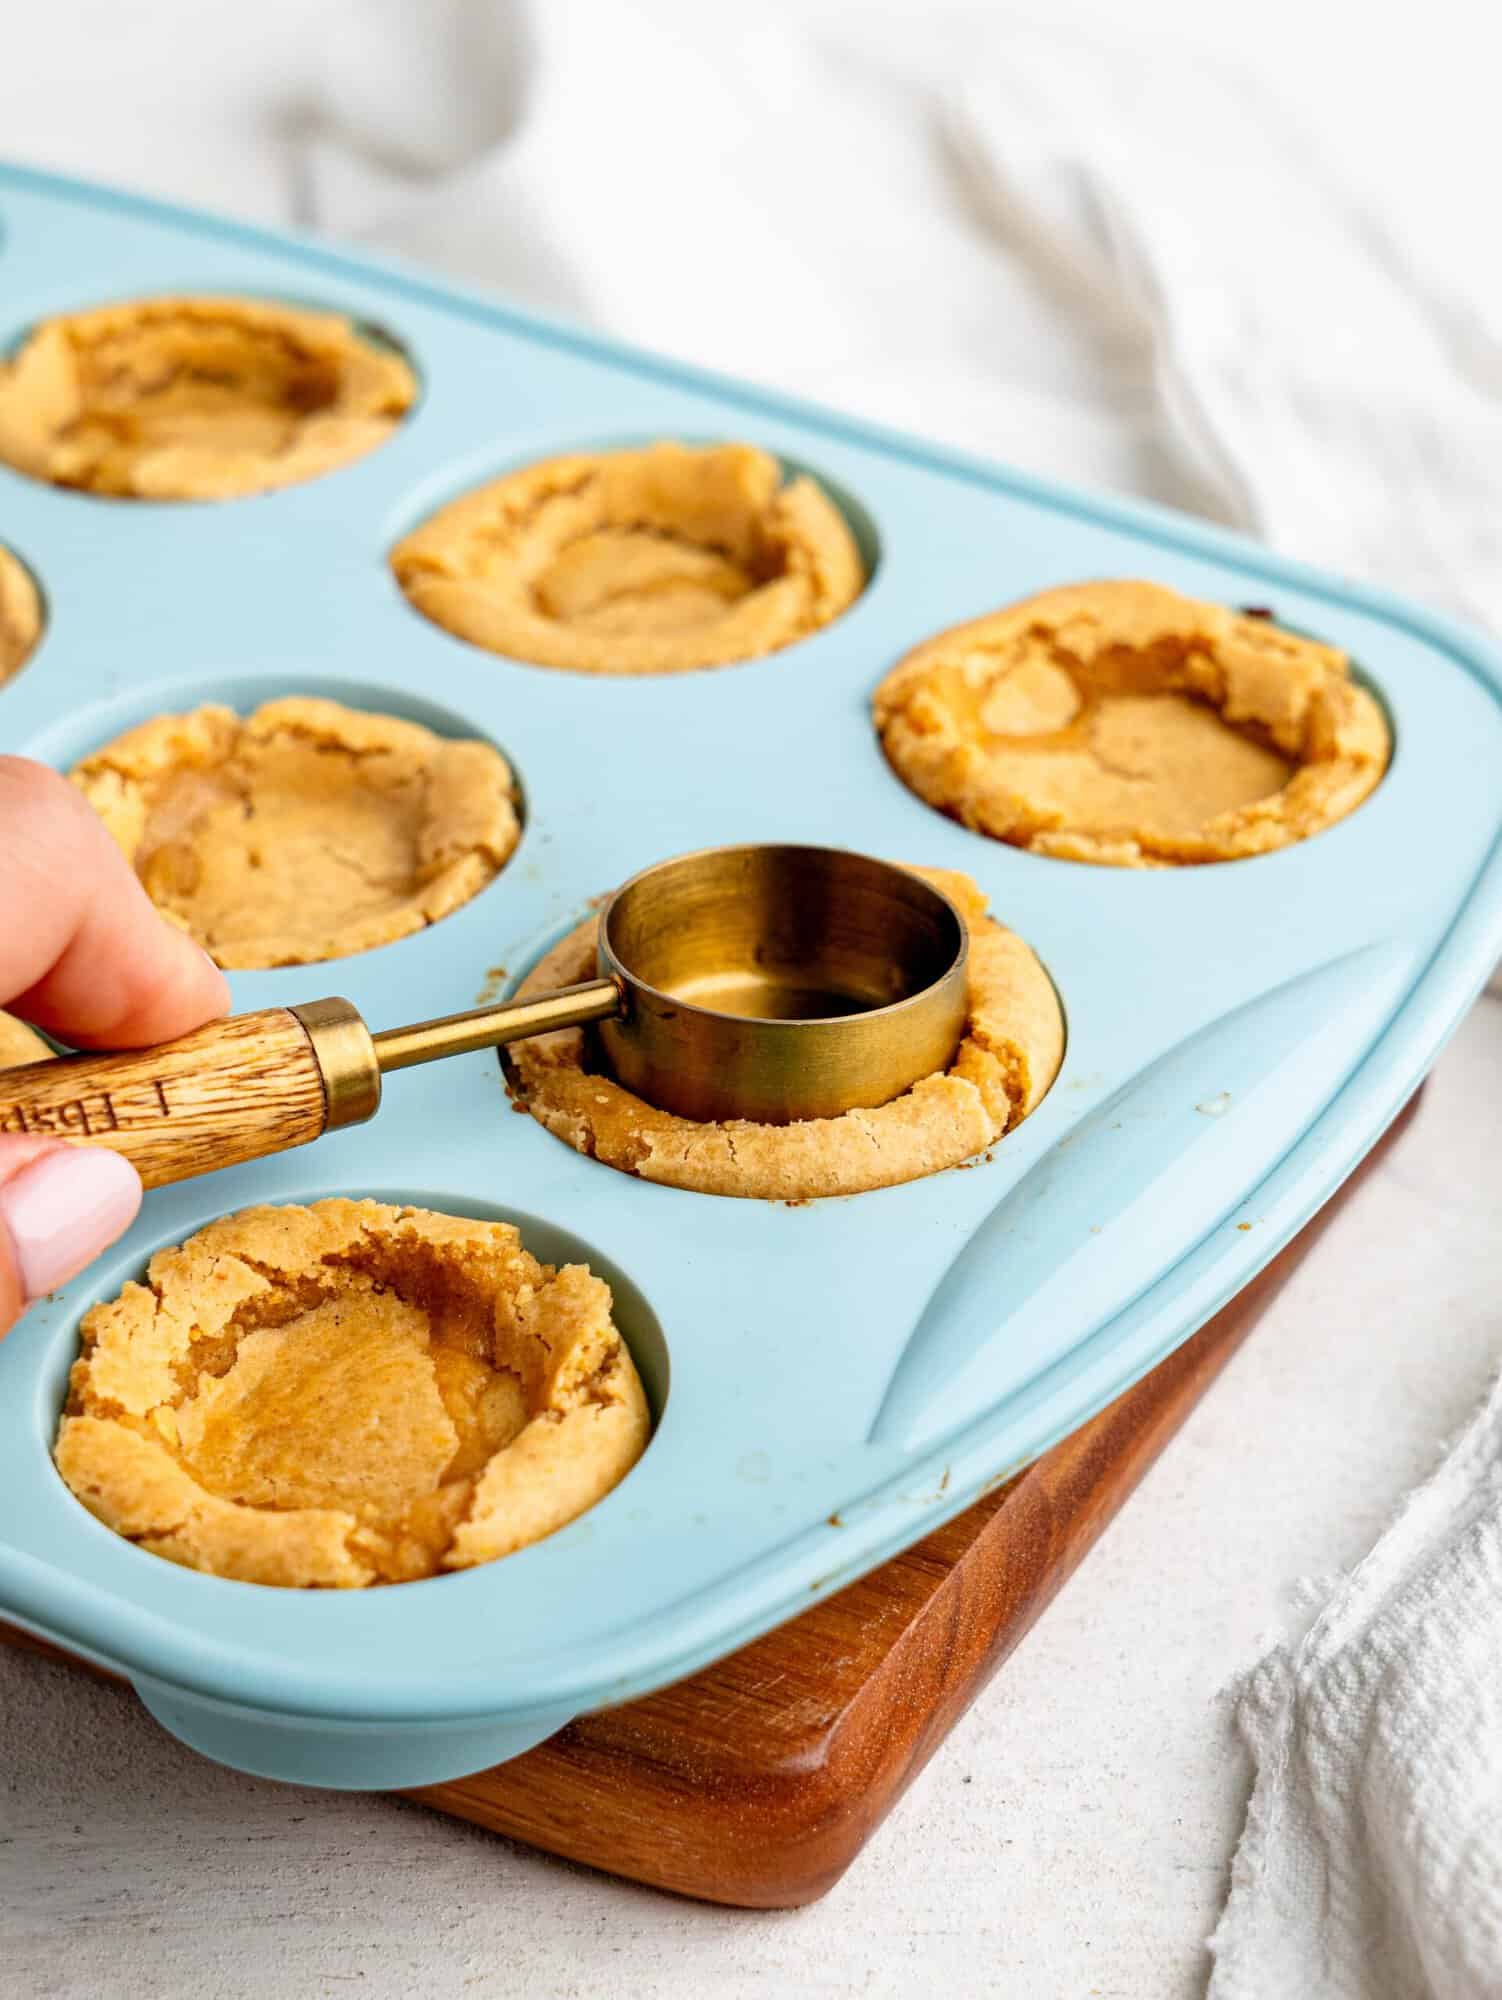
Step Six:
Flatten each cookie cup with a spoon or spatula, then use a teaspoon or a measuring spoon to press into the center and create a “well.”
Step Seven:
For the filling, melt your dark chocolate. You can do this in the microwave by heating it in 30-second intervals, stirring each time to ensure even melting without burning. Alternatively, you can use a double boiler on the stove for more control over the temperature. Just be sure not to overheat the chocolate.
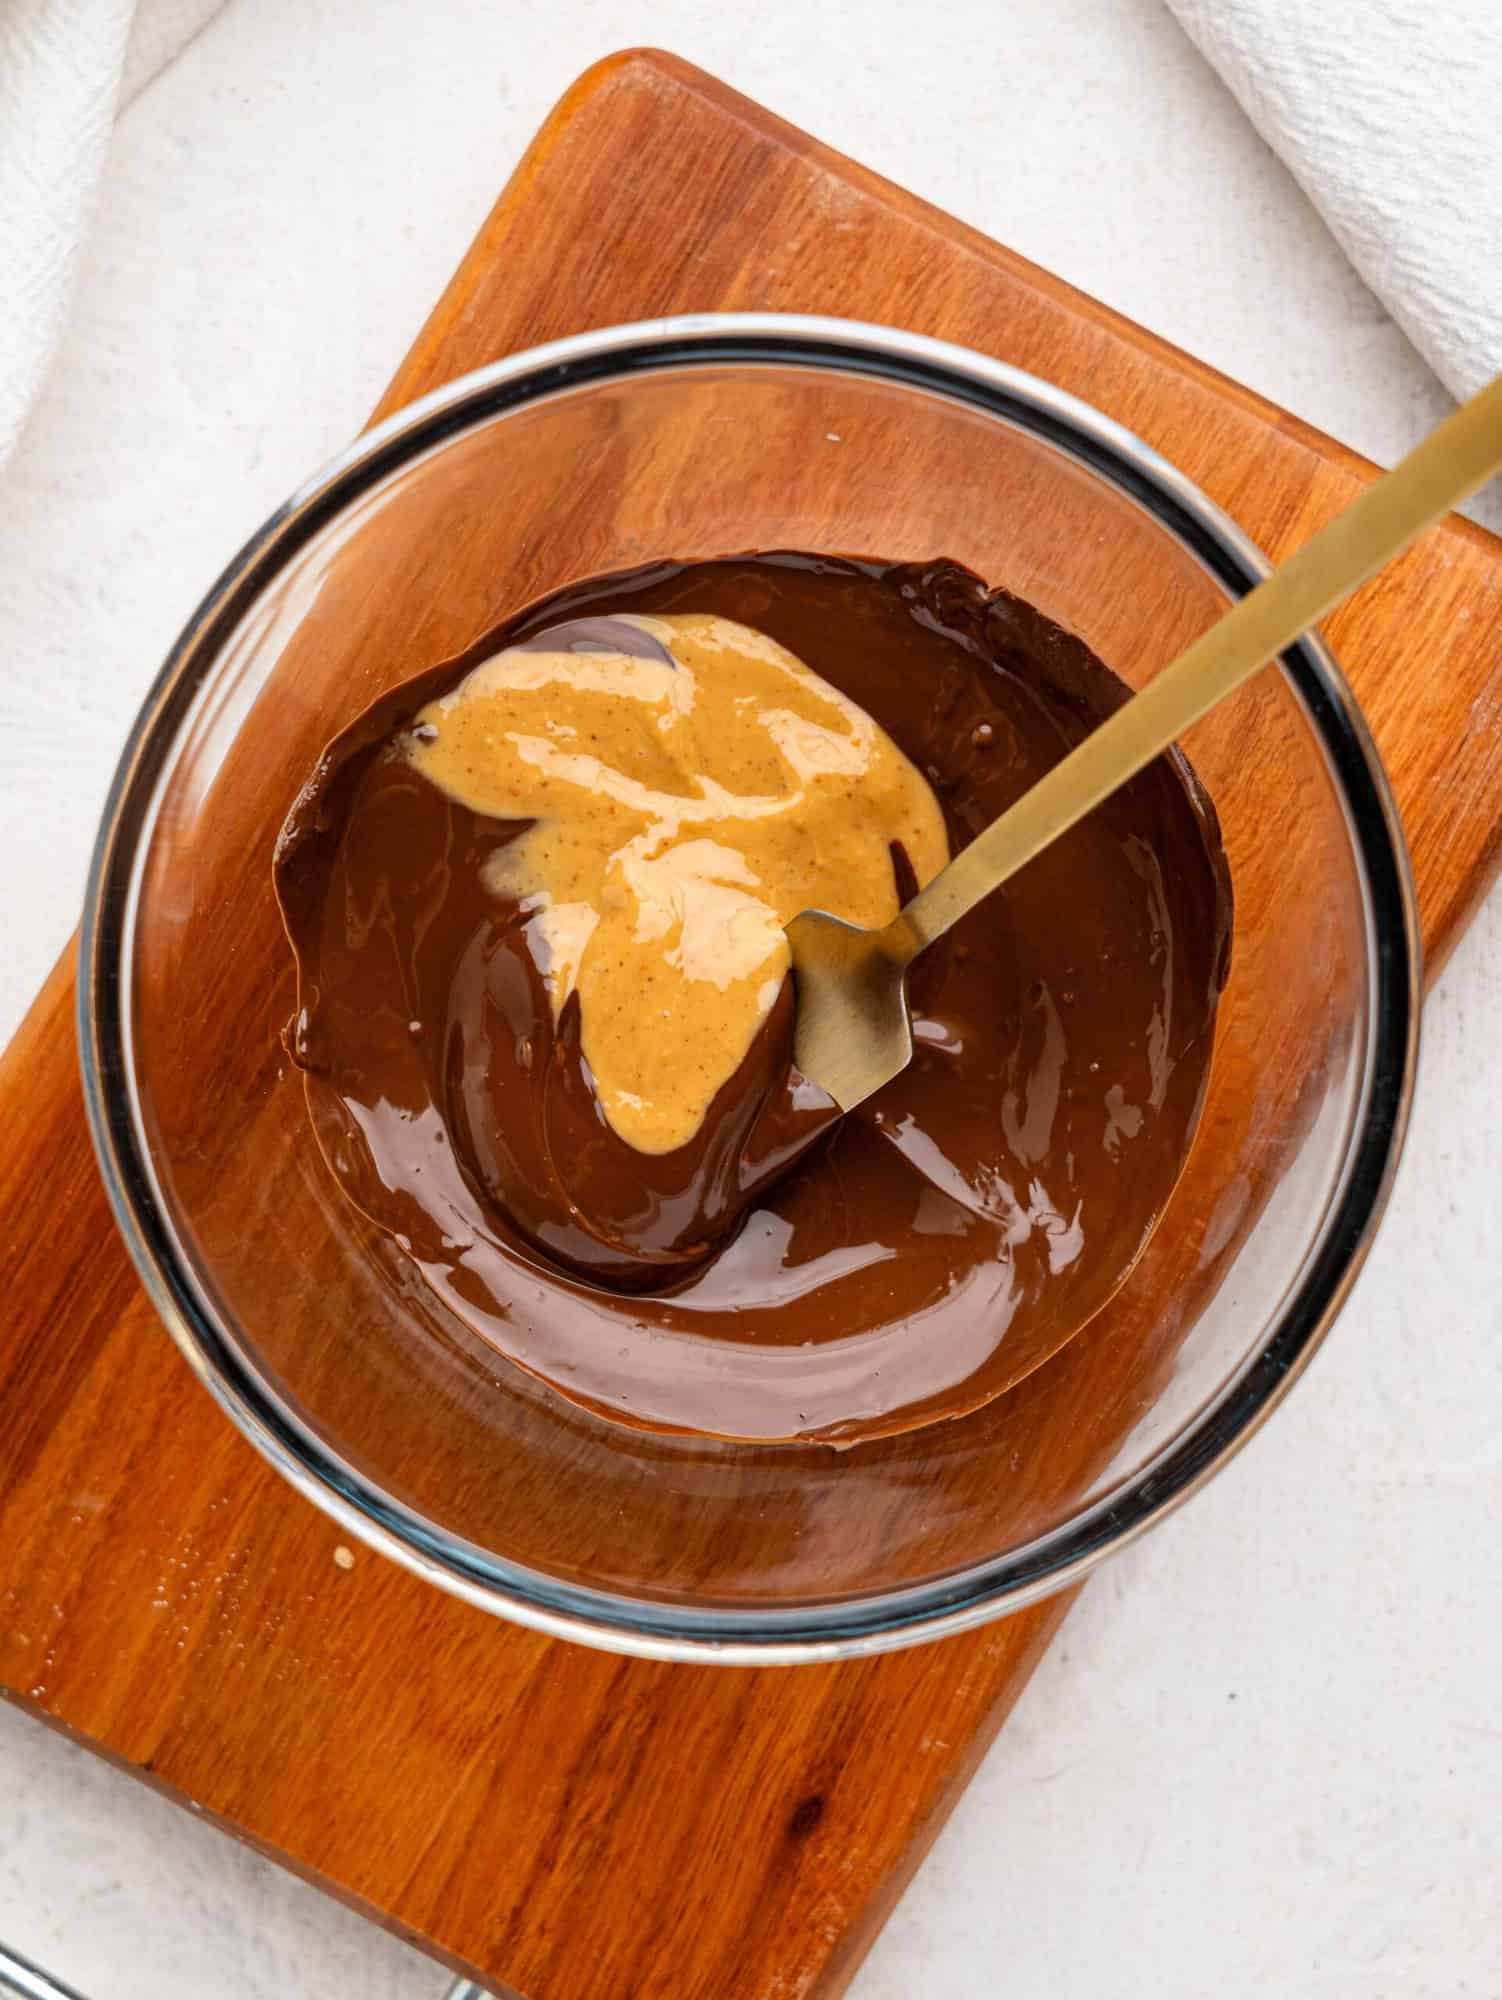
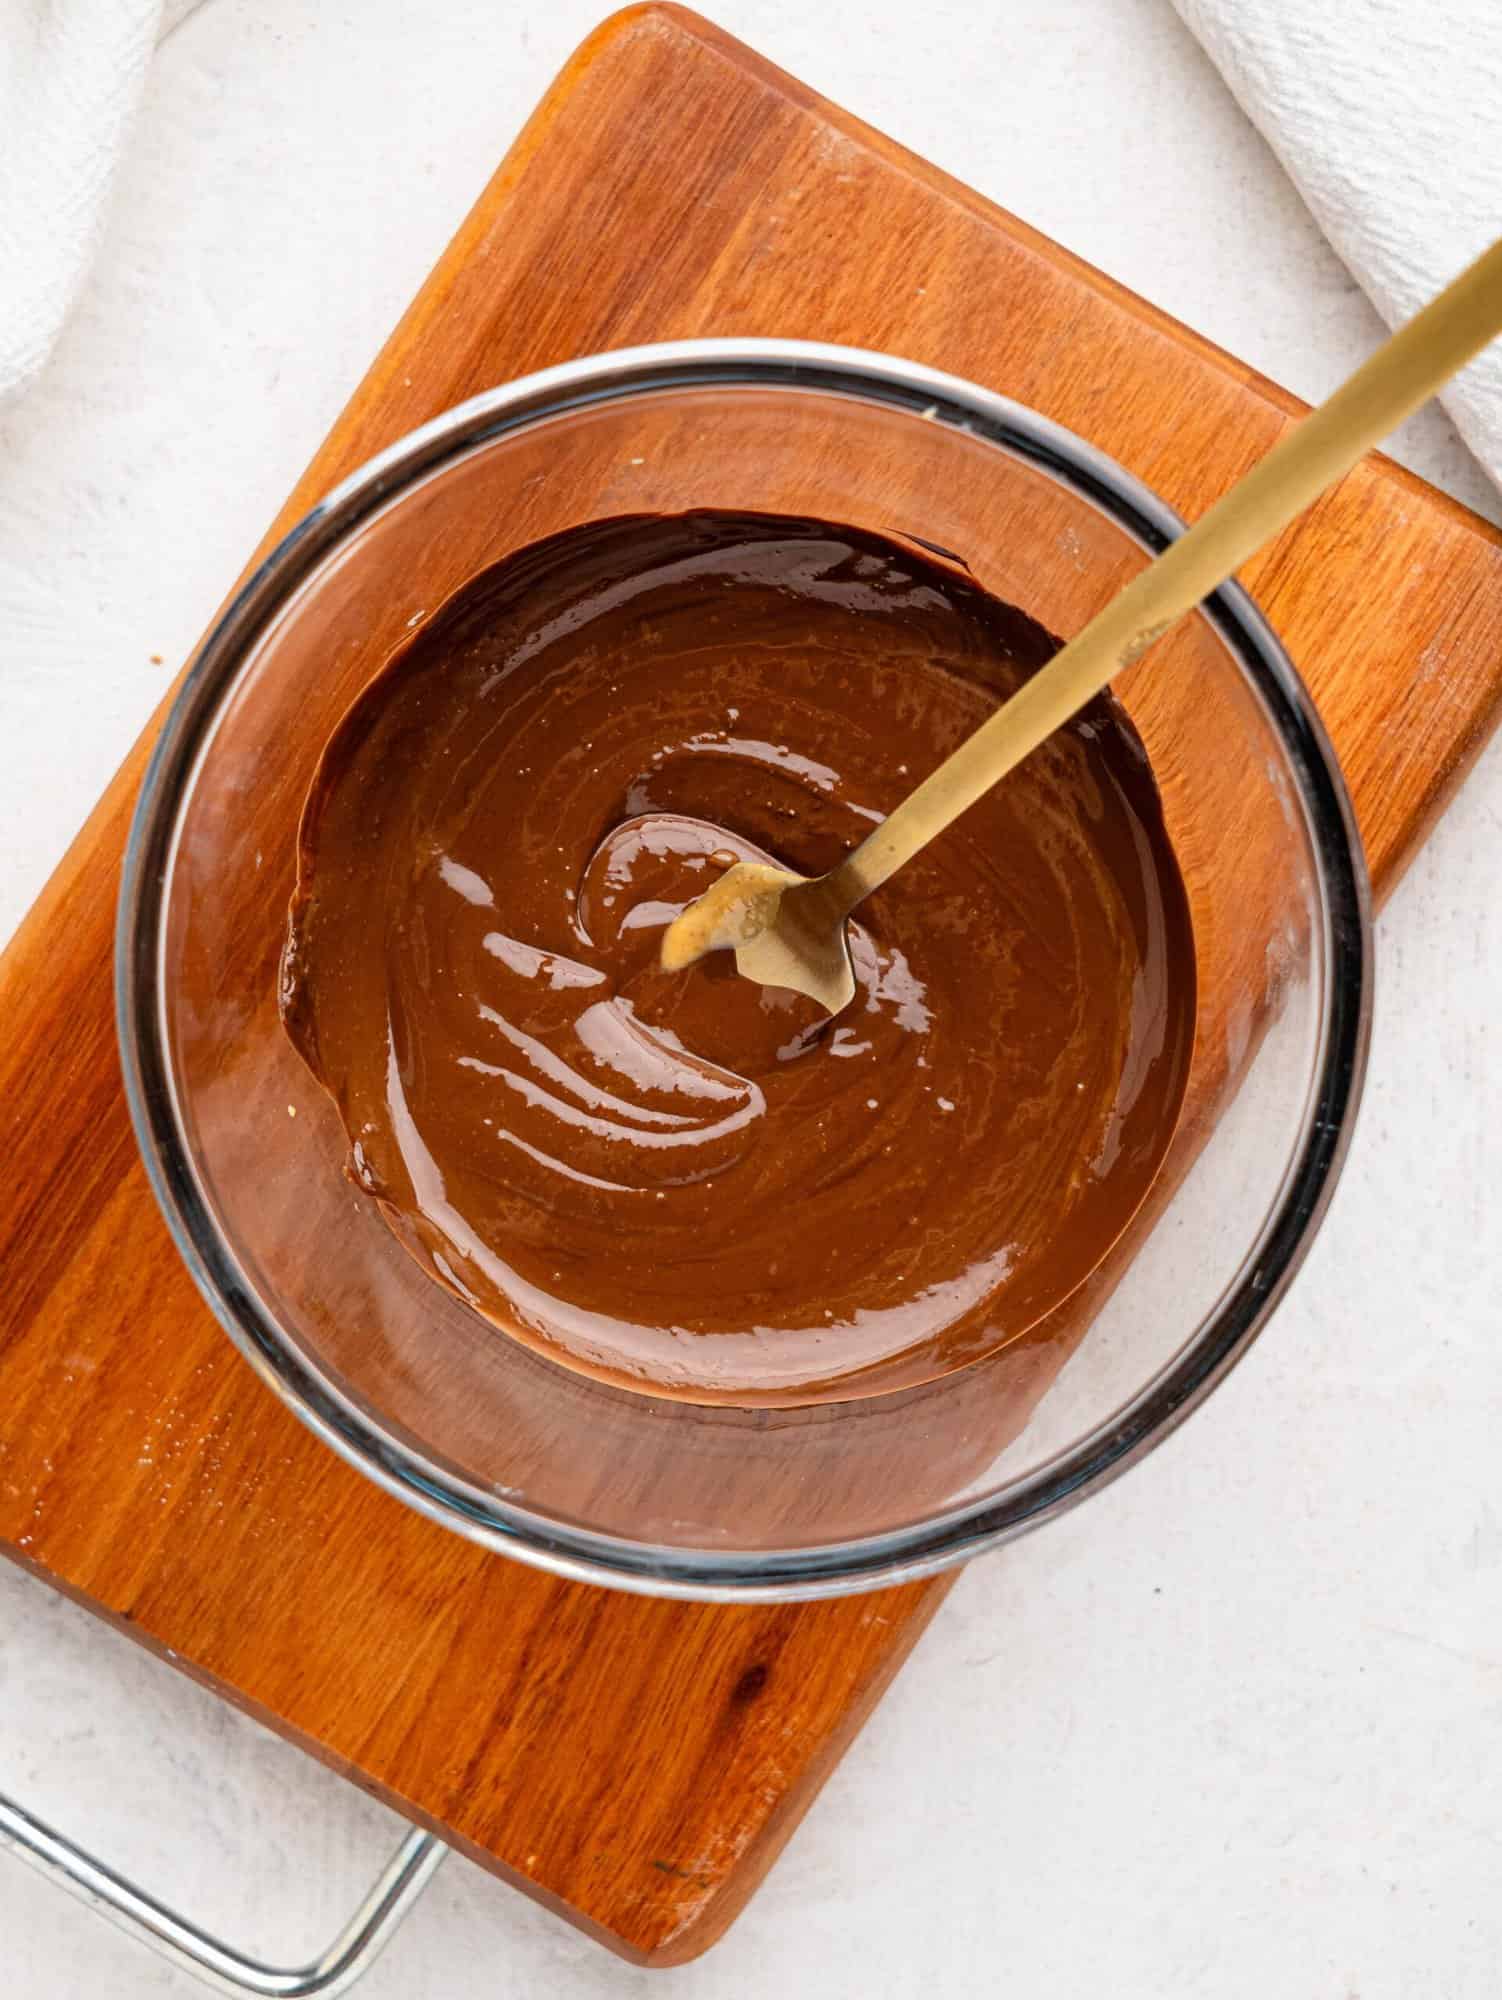
Step Eight:
Once the chocolate is melted, add in your peanut butter and mix until smooth.
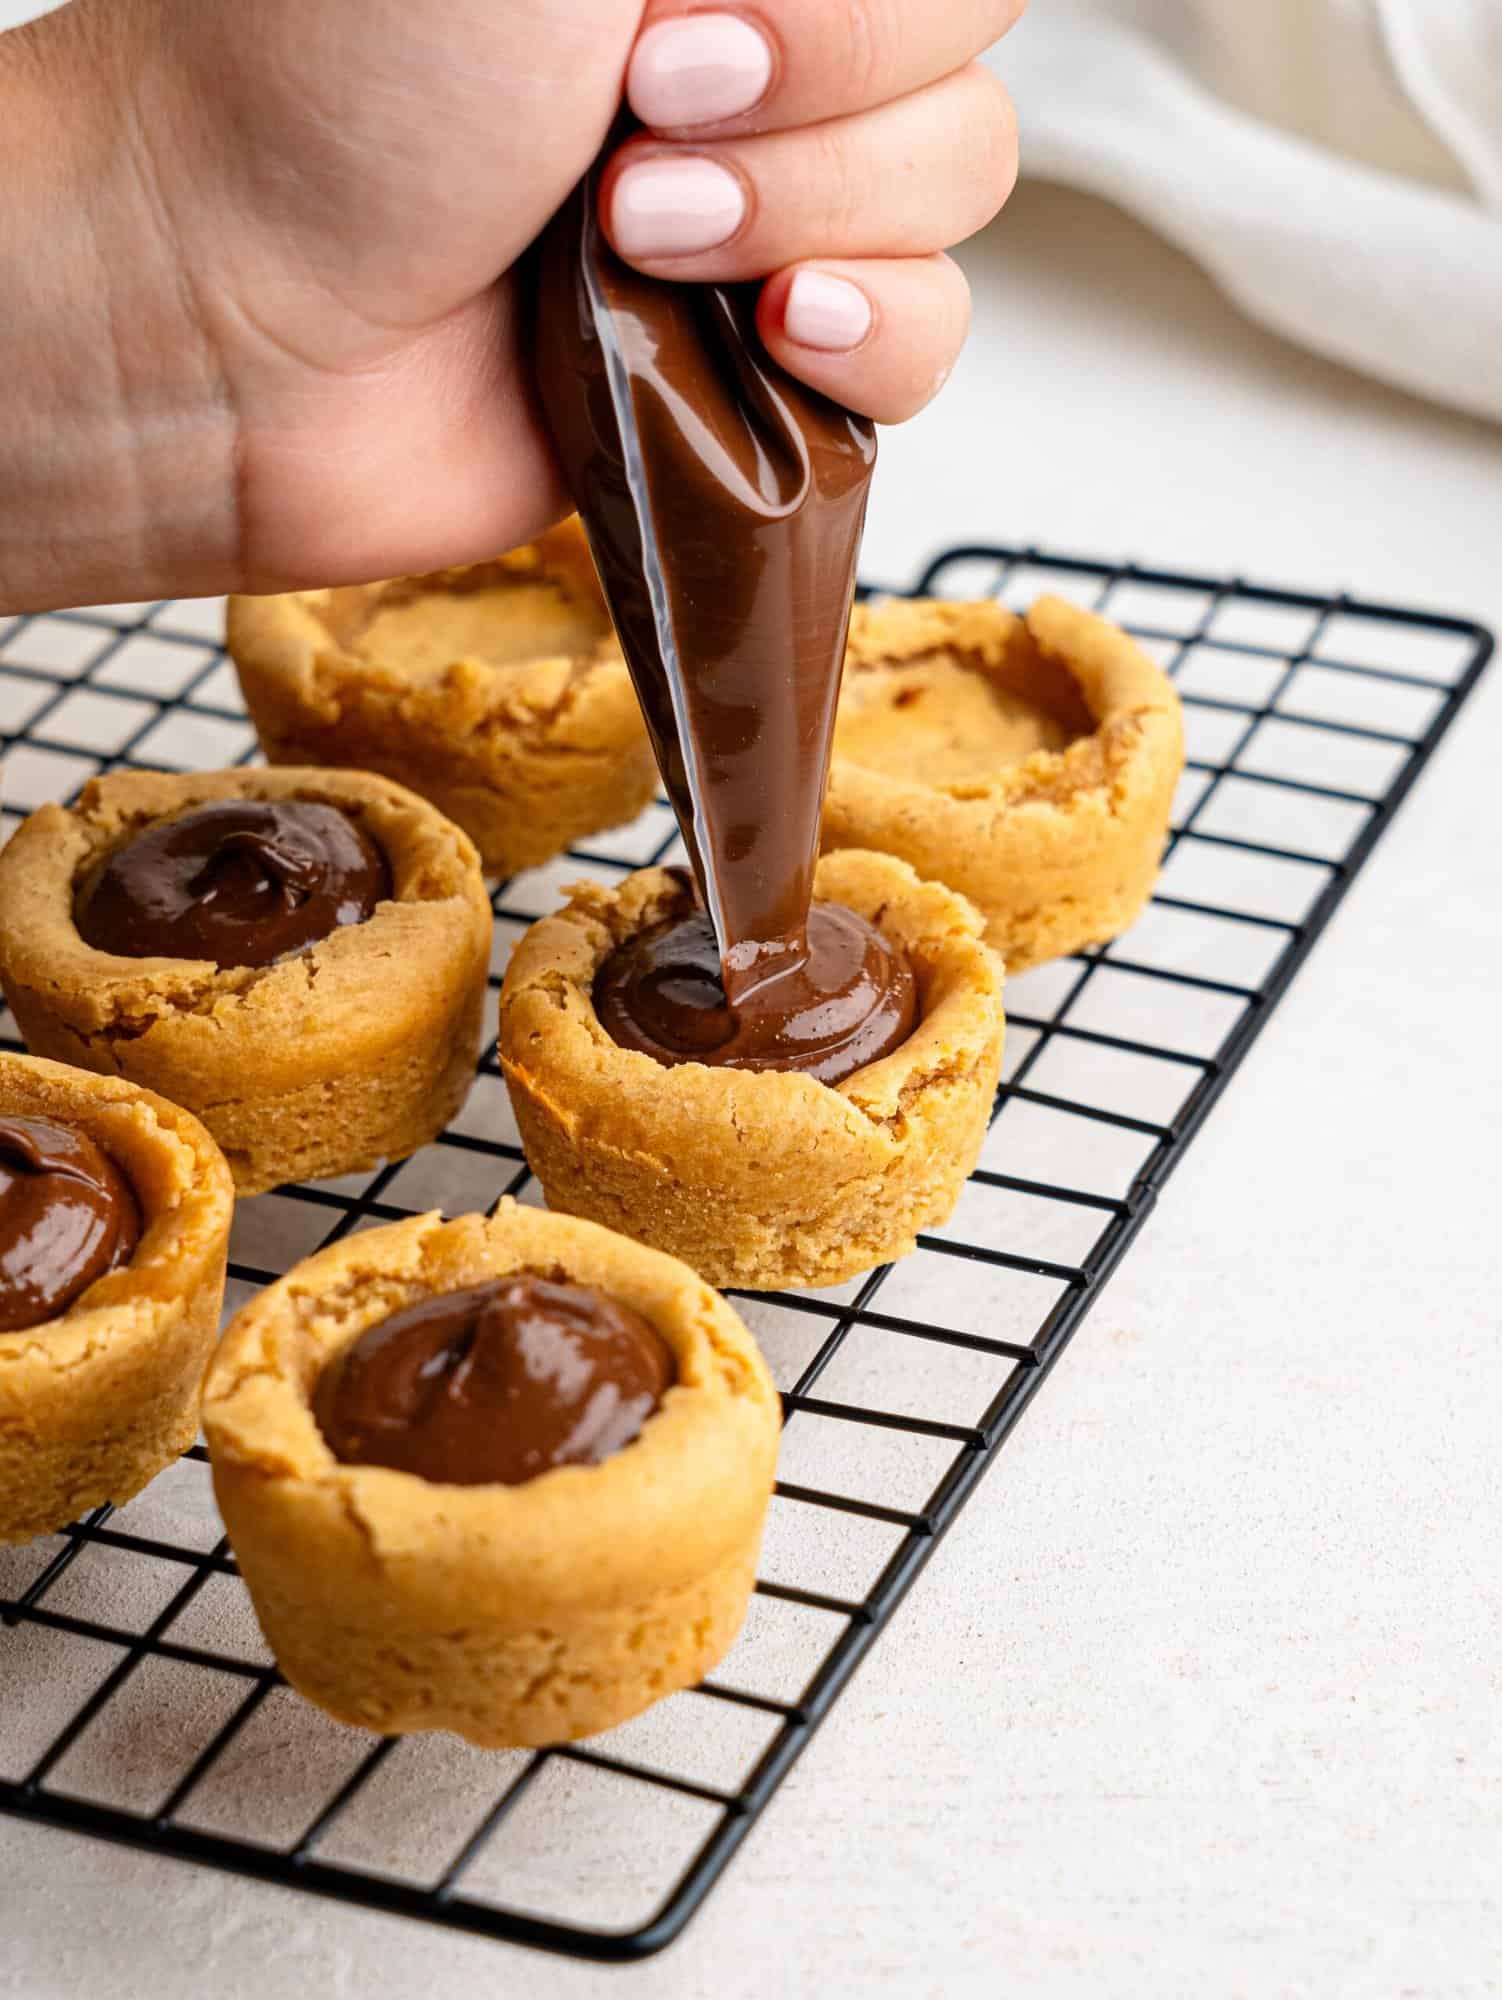
Step Nine:
Fill your cookie cups by spooning the mixture into the wells, or transfer the chocolate mixture to a piping bag and pipe it into the cookie cups.
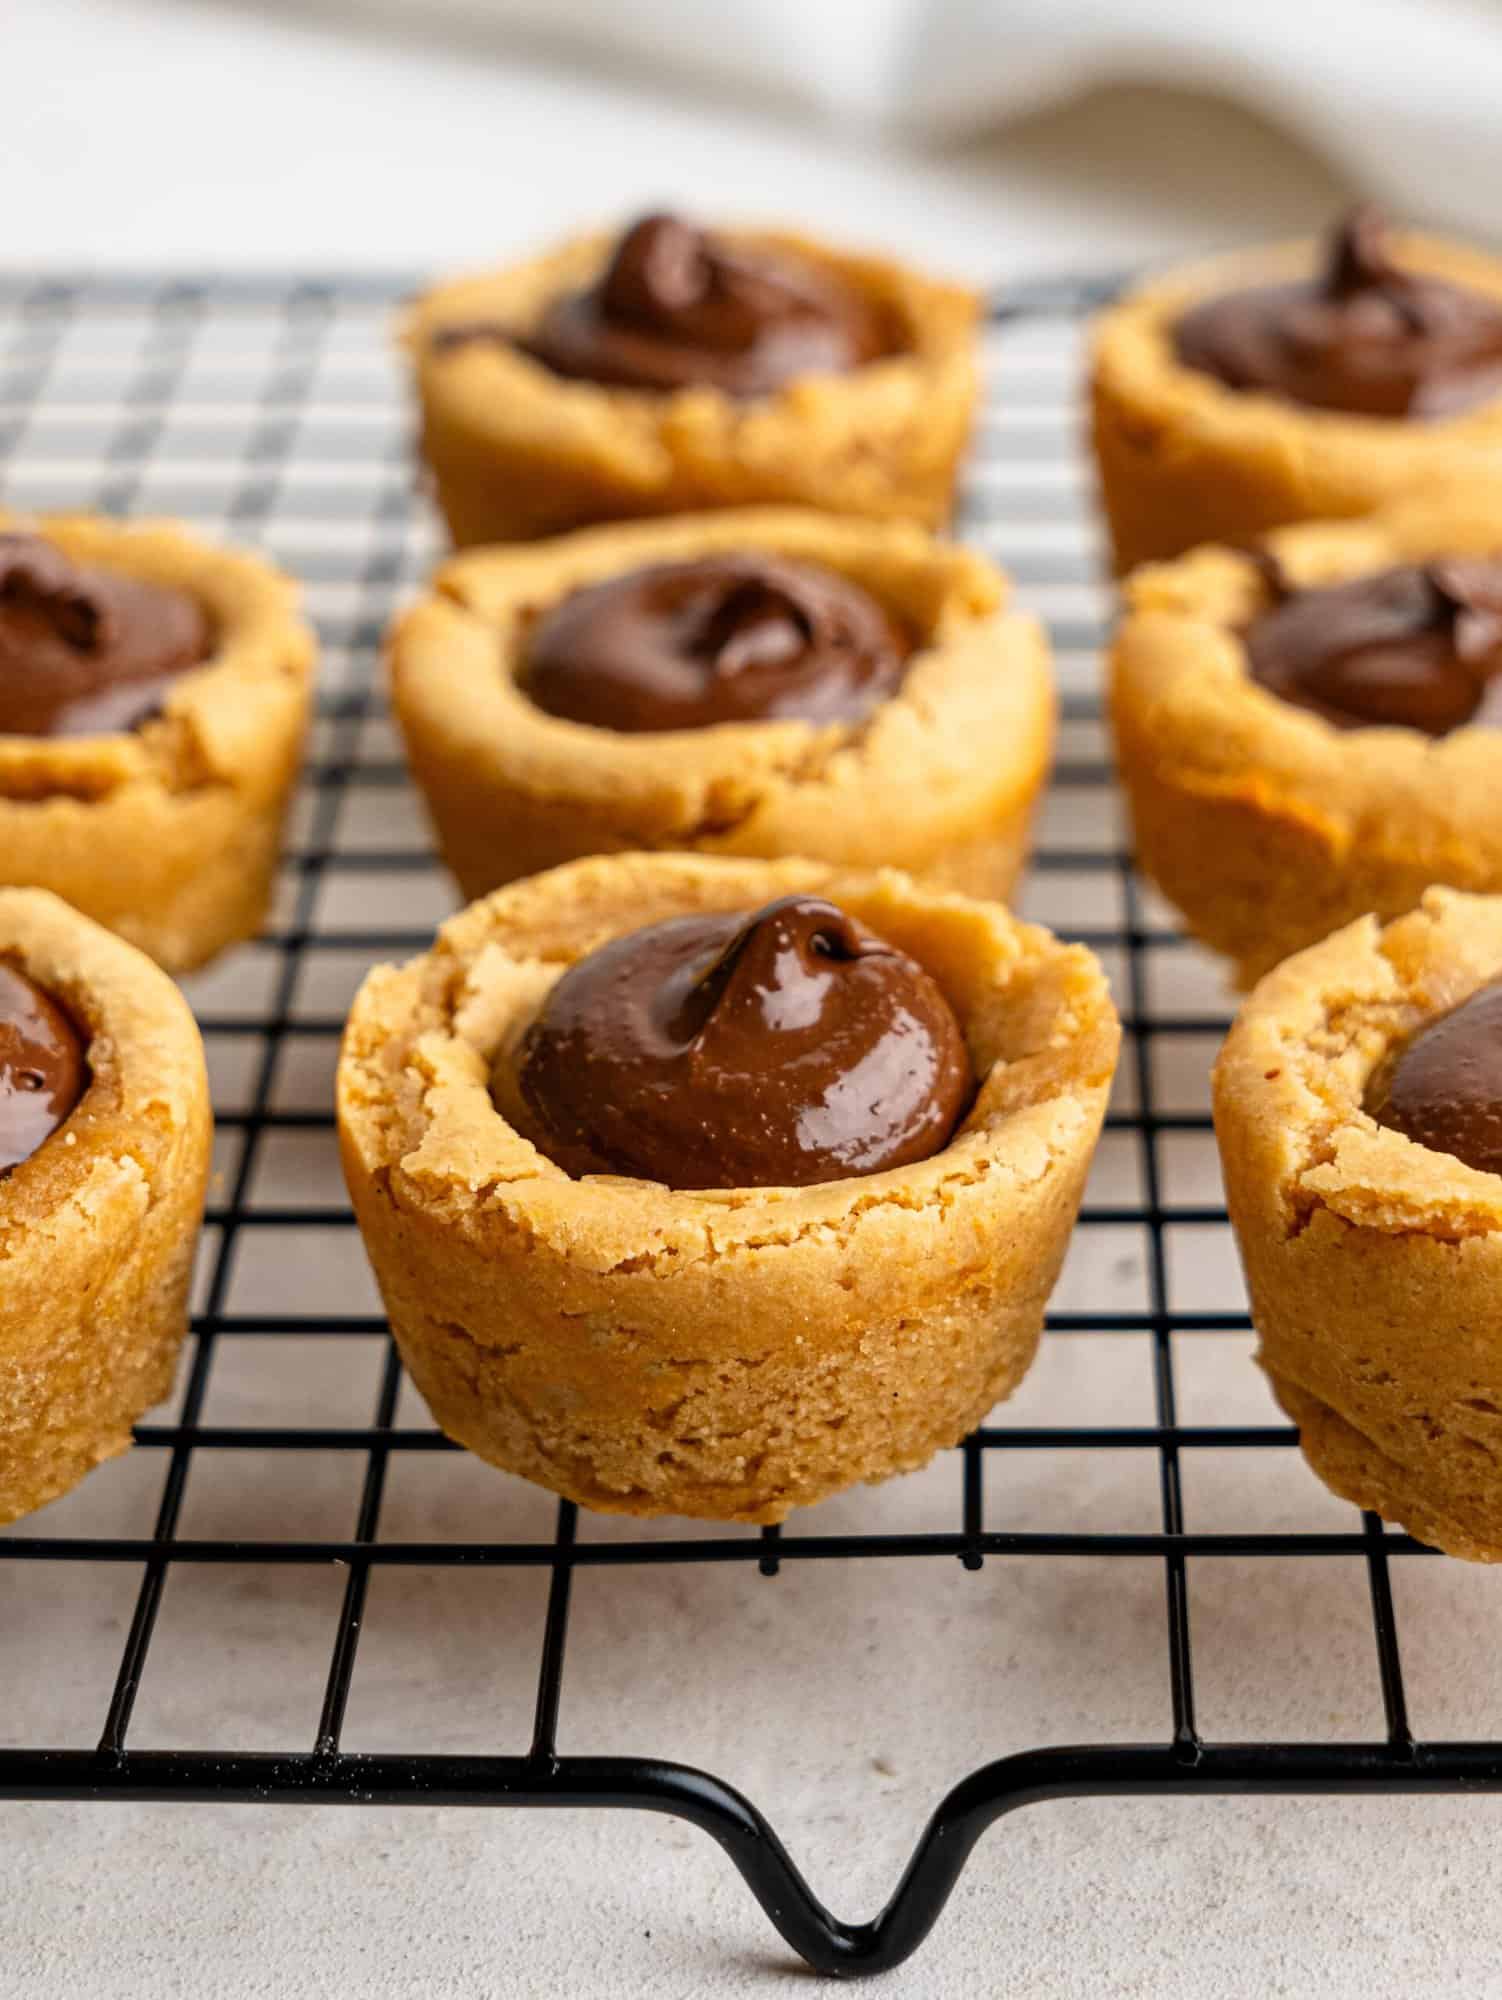
Step Ten:
Place the cookie cups in the fridge for 5 to 10 minutes so the filling can set.
Tips and Notes
- Making the Cookie Cups Less Sticky: If your dough is too sticky to handle, refrigerating it for 10-15 minutes will make it easier to divide and shape. A silicone spatula is also helpful for scraping the dough out of the bowl.
- Baking Time Variations: Oven temperatures can vary, so keep an eye on your cookie cups while baking. They should still be soft and gooey when you remove them, but check with a toothpick if you’re unsure—the edges should set while the center remains slightly underbaked.
- Customizing the Filling: Get creative with your fillings! You can mix in chopped nuts, dried fruit, or even a swirl of caramel to make them your own.
- Perfecting the “Well”: Press the center of each cookie cup down gently but firmly with the back of a spoon or measuring spoon. If you want to make a deeper well, let the cups cool slightly before pressing them down again.
Storage Instructions:
Room Temperature: Once the cookie cups have set and cooled, store them in an airtight container at room temperature for up to 3 days. Make sure they are completely cooled before sealing them in the container to prevent condensation.
Refrigeration: If you’d like to keep them for a longer period, store the cookie cups in the fridge in an airtight container. They will stay fresh for up to 1 week. The fudge filling will firm up slightly in the fridge, but they will still be delicious!
Freezing: These cookie cups freeze well for longer storage. Place the cookie cups in a single layer on a baking sheet and freeze until firm (about 1-2 hours). Once frozen, transfer them to a freezer-safe container or zip-top bag, making sure to layer parchment paper between the cups to prevent sticking. They can be stored in the freezer for up to 2-3 months. To thaw, let them sit at room temperature for about 15-20 minutes or microwave for a few seconds to soften the fudge filling.
more easy and healthy sweet treats for you:
- Healthy Ferrero Rocher Fudge Cups
- No-Bake Peanut Butter Fudge (made with just 4 ingredients!)
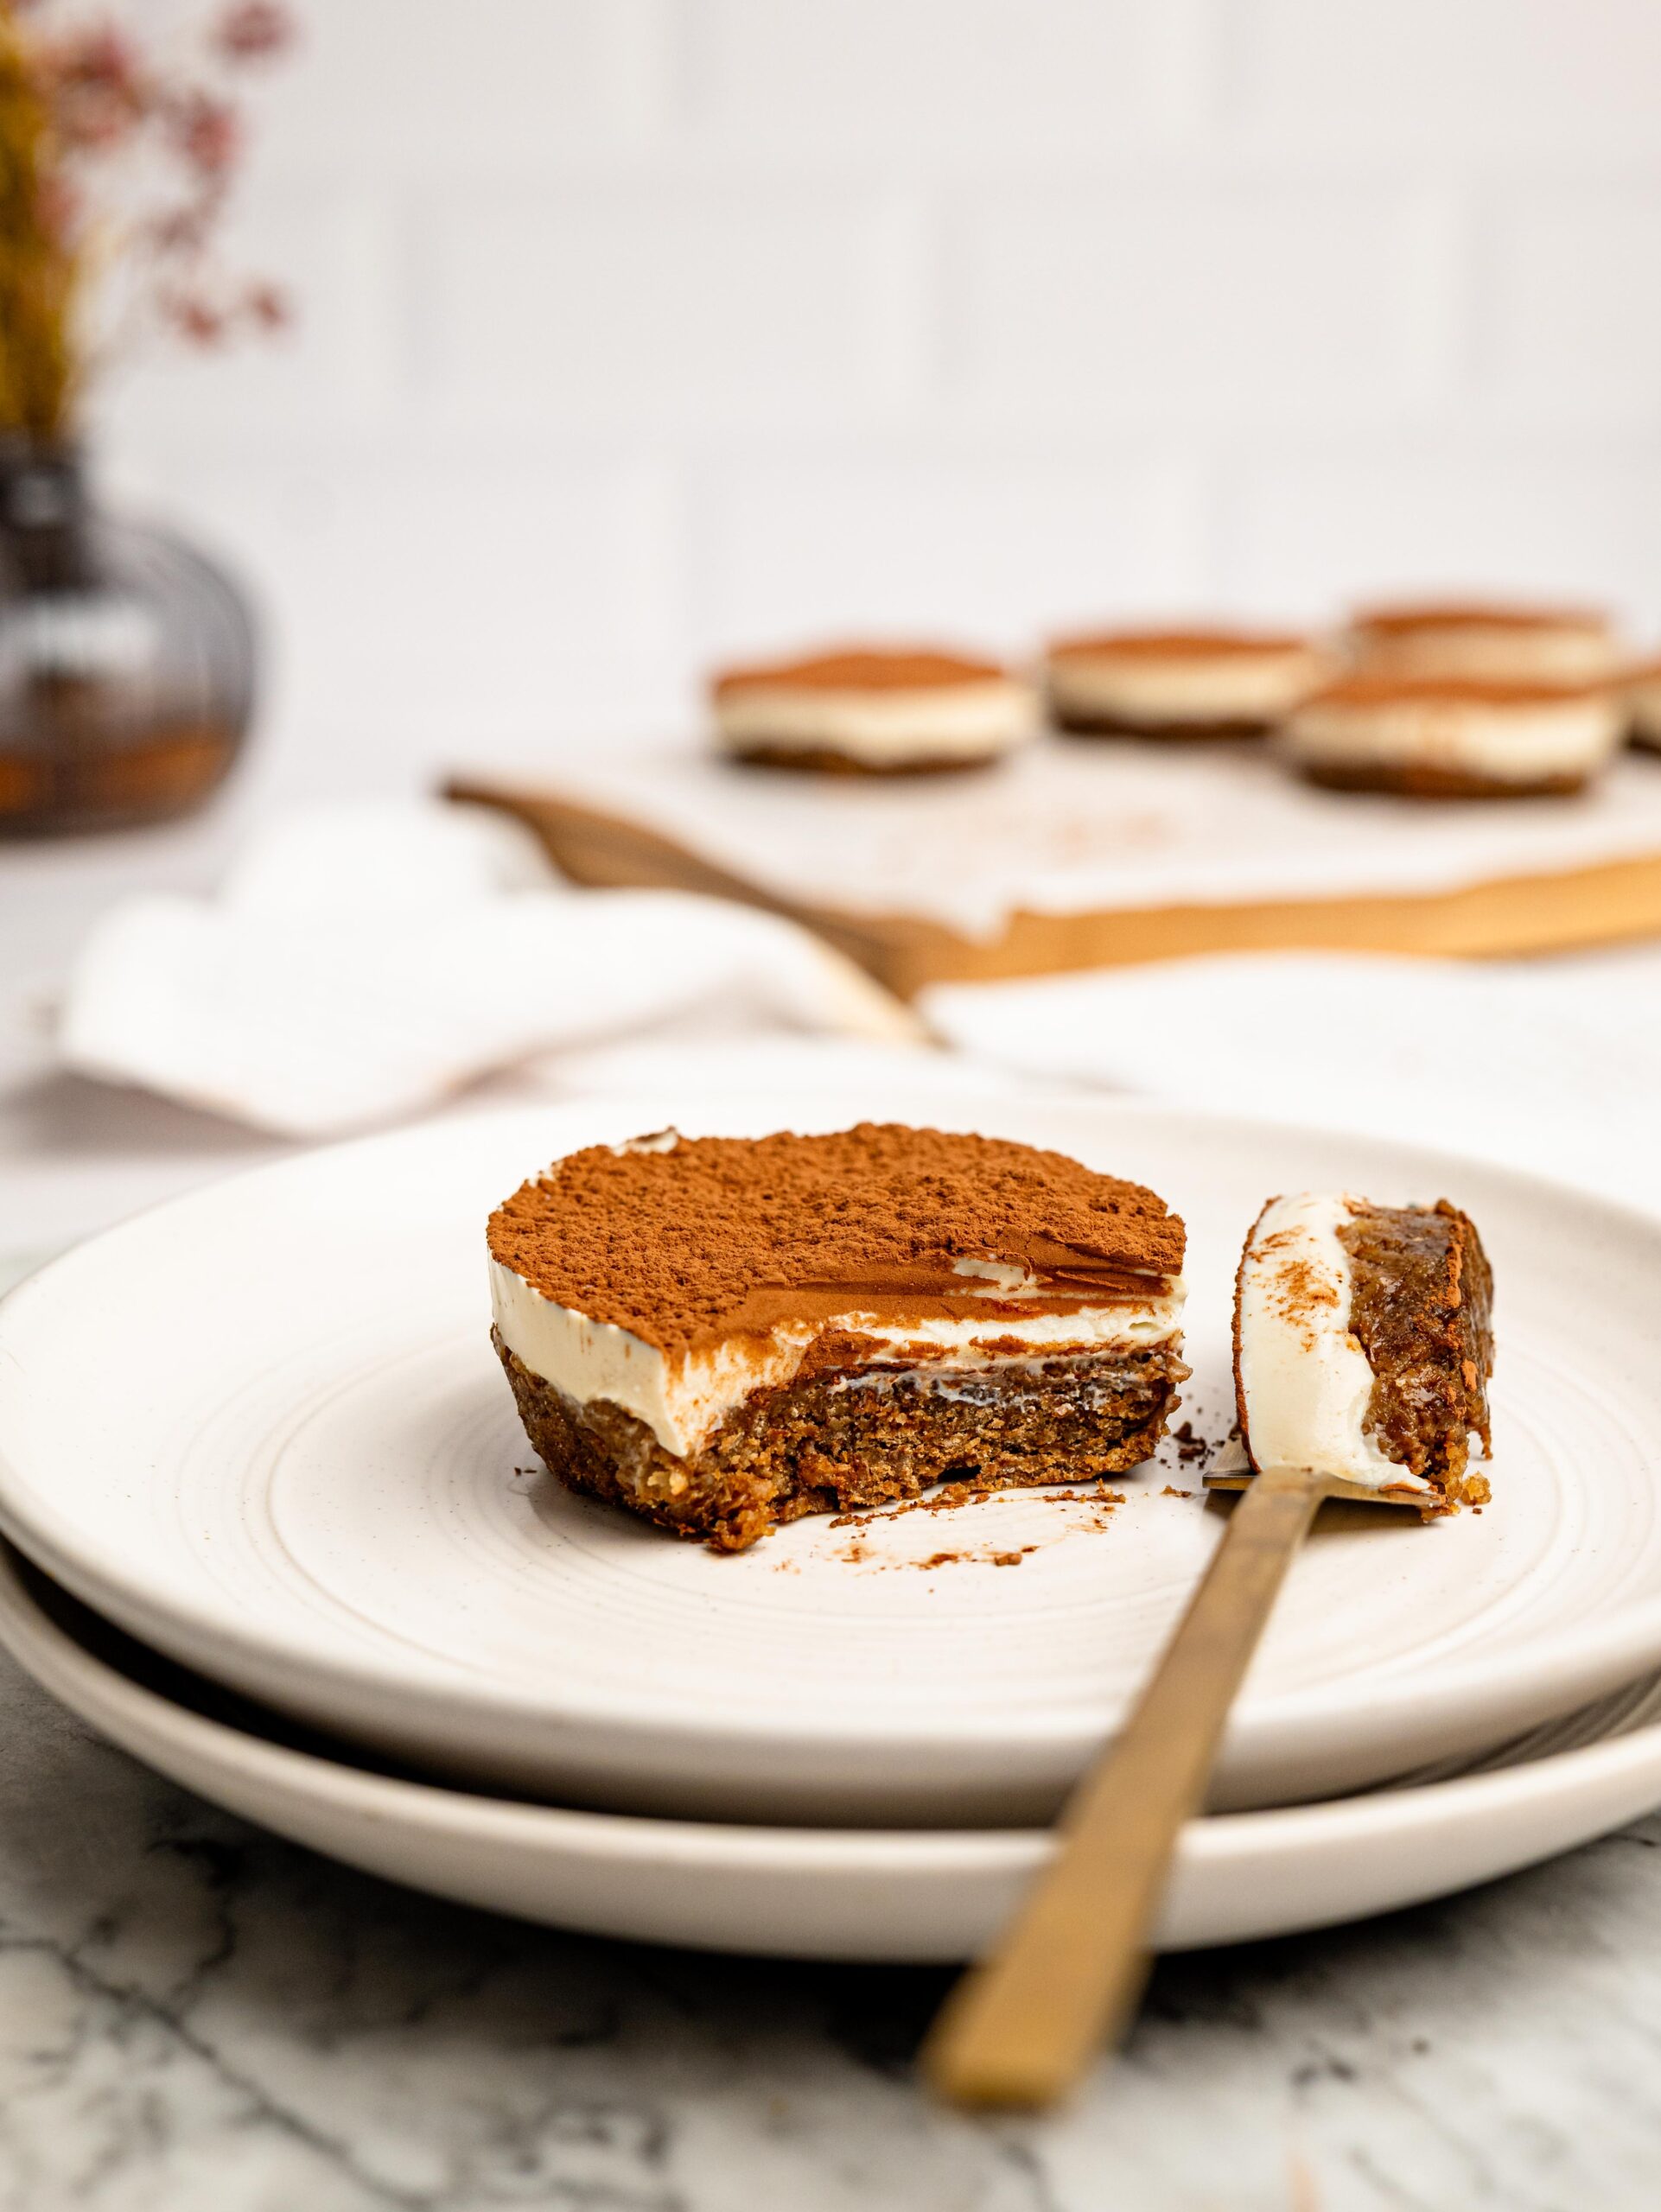
- Tiramisu Cookie Dough Cups
Hey! If you make this recipe, I would love it if you could leave me some feedback and a rating ⭐⭐⭐⭐⭐ in the comment section at the bottom of the page! Also let me know on Facebook, Instagram or Pinterest! I can’t wait to hear your thoughts and see your photos!

Peanut Butter Cookie Cups
Equipment
- Fork
Ingredients
- 80 g Peanut Butter (⅓ cup)
- 100 g Liquid Sweetener (¼ cup + 1 tbsp)
- 1 Egg
- 1 tbsp Vanilla Extract – optional
- 120 g Flour (1 cup)
- 1 tsp Baking Powder
For the Fudge Filling
- 70 g Dark Chocolate (½ cup roughly chopped)
- 40 g Peanut Butter (3 tbsp)
Instructions
- Preheat your oven to 350°F (180°C) or 160°C for fan ovens.
- In a mixing bowl, combine peanut butter, liquid sweetener, egg, and vanilla extract. Whisk until smooth. Add the flour and baking powder, then fold until just combined.
- Divide the dough into eight equal portions and place them in a muffin tray. If the dough is sticky, refrigerate it for 10–15 minutes before handling.
- Bake for 13 minutes. The cookie cups will still be soft and gooey but will set as they cool.
- While still warm, press the center of each cookie with a spoon or teaspoon to create a well for the filling.
- Melt the dark chocolate in the microwave in 30-second intervals, stirring after each, or over a double boiler. Stir in the peanut butter until smooth.
- Spoon or pipe the chocolate mixture into the wells of the cookie cups.
- Chill the cookie cups in the refrigerator for 5–10 minutes to allow the filling to set.
Video
Notes
- Chill Sticky Dough: If the cookie dough is too sticky to handle, refrigerate it for 10–15 minutes before shaping.
- Use Silicone Trays: Silicone muffin trays make it easier to remove the cookie cups without sticking. If using a metal tray, grease it well or use paper liners.
- Don’t Overbake: The cookie cups will be soft and gooey when removed from the oven. This is ideal as they will firm up as they cool.
- Smooth Chocolate Filling: Stir melted chocolate and peanut butter thoroughly to achieve a silky, fudge-like consistency.
- Get Creative: Customize your cookie cups with add-ins like crushed nuts, a sprinkle of sea salt, or a drizzle of extra chocolate on top.
What can you use in replace of liquid sweetener? Would regular sugar work with the same amount?