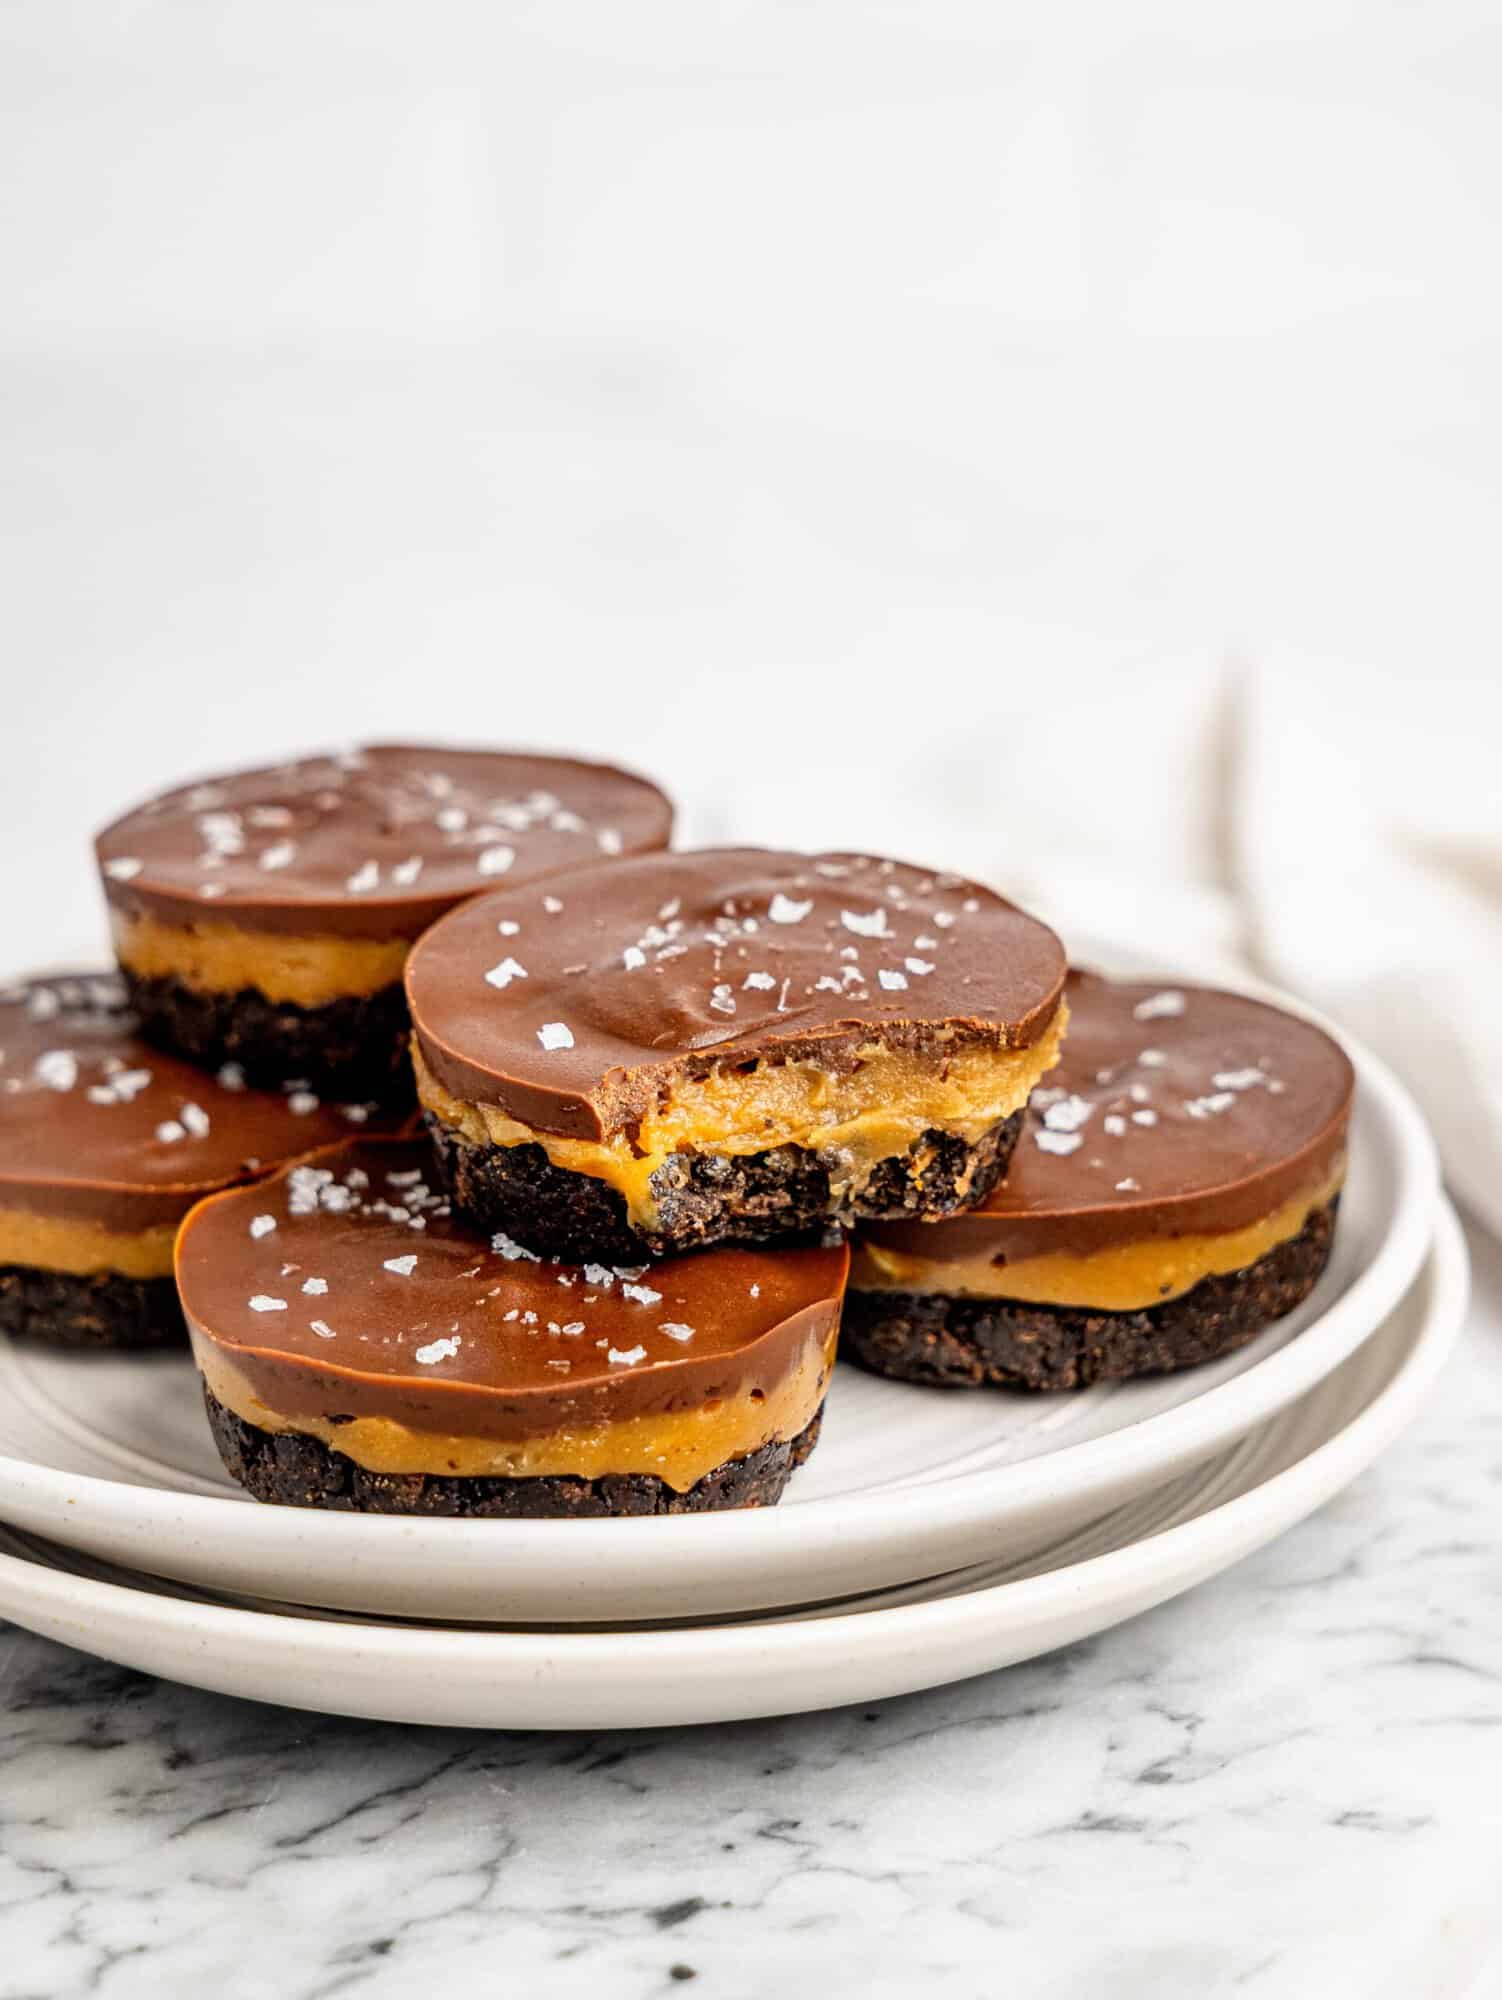
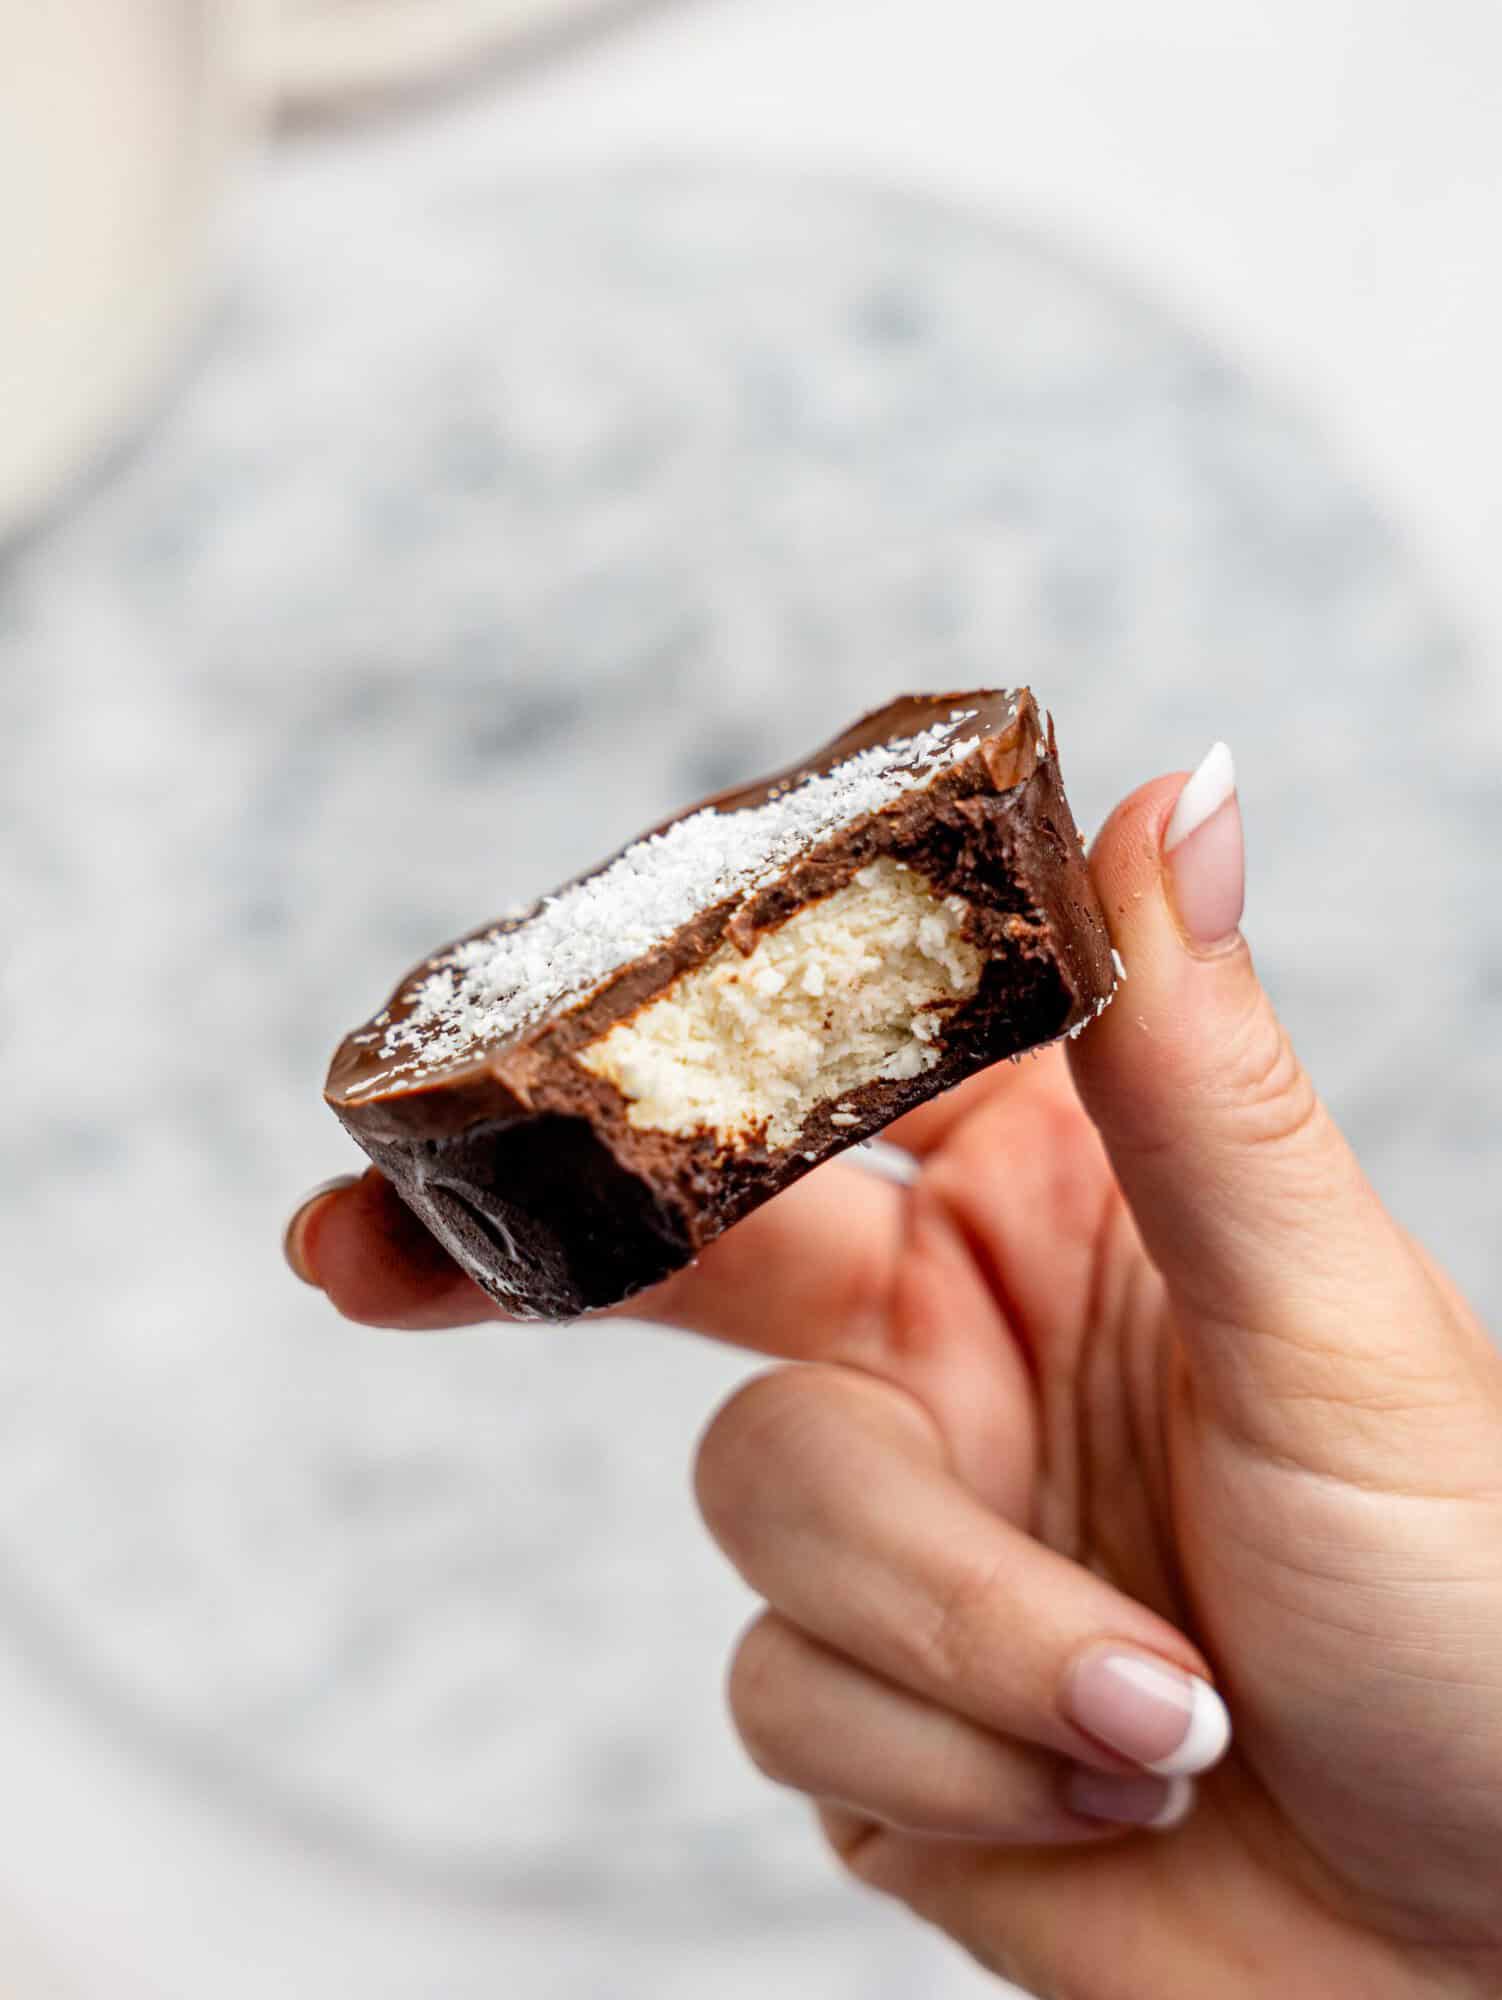
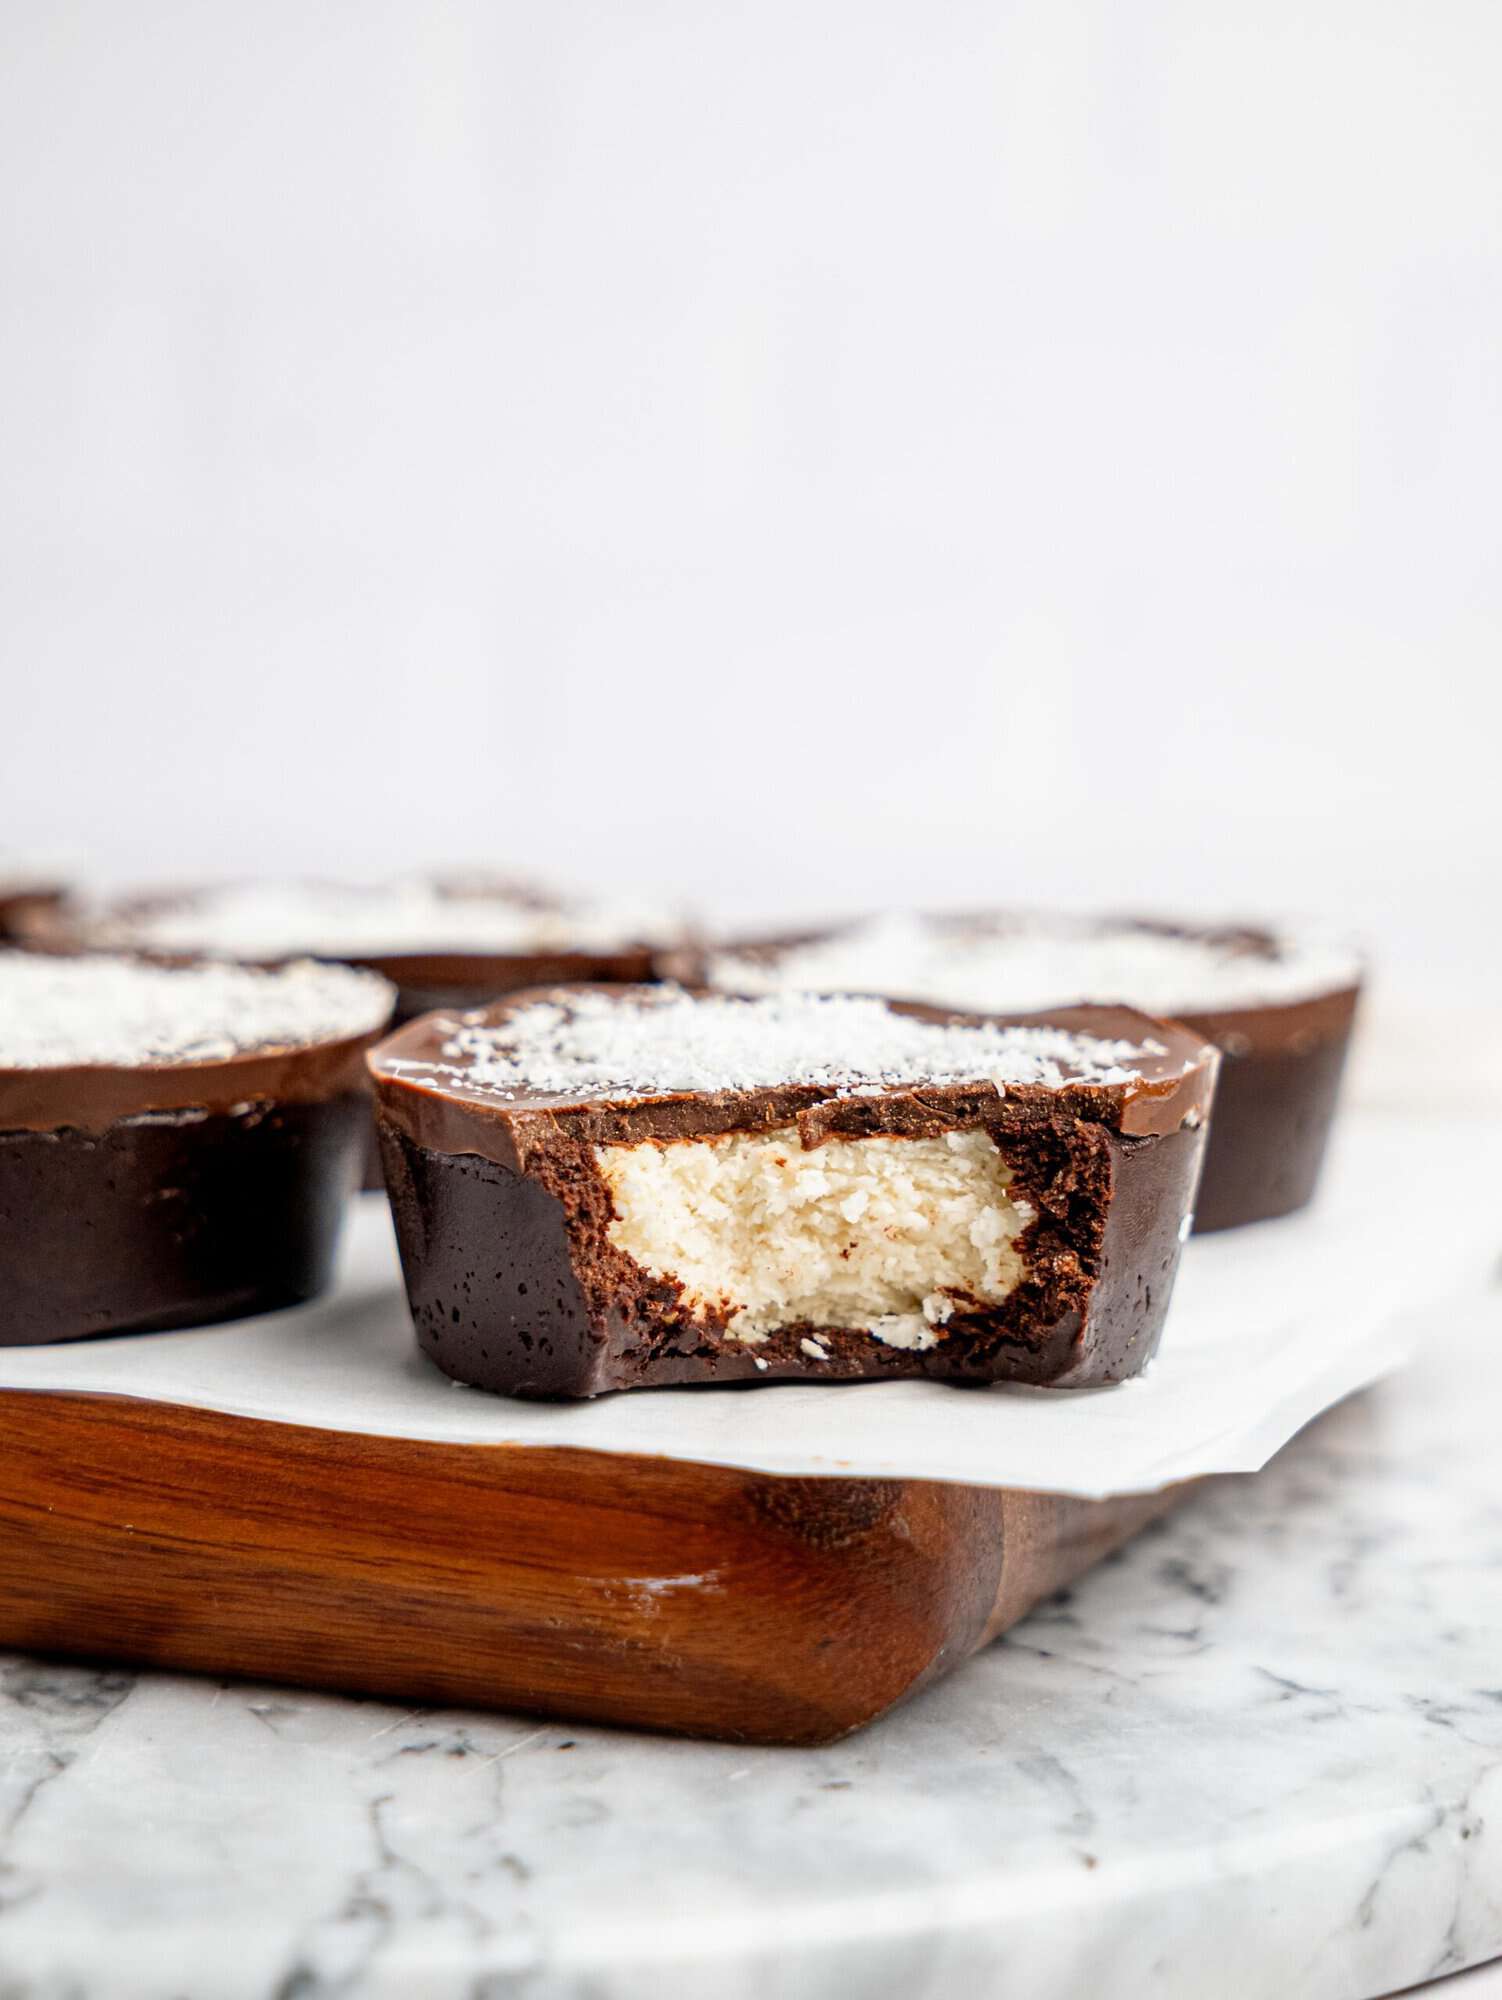
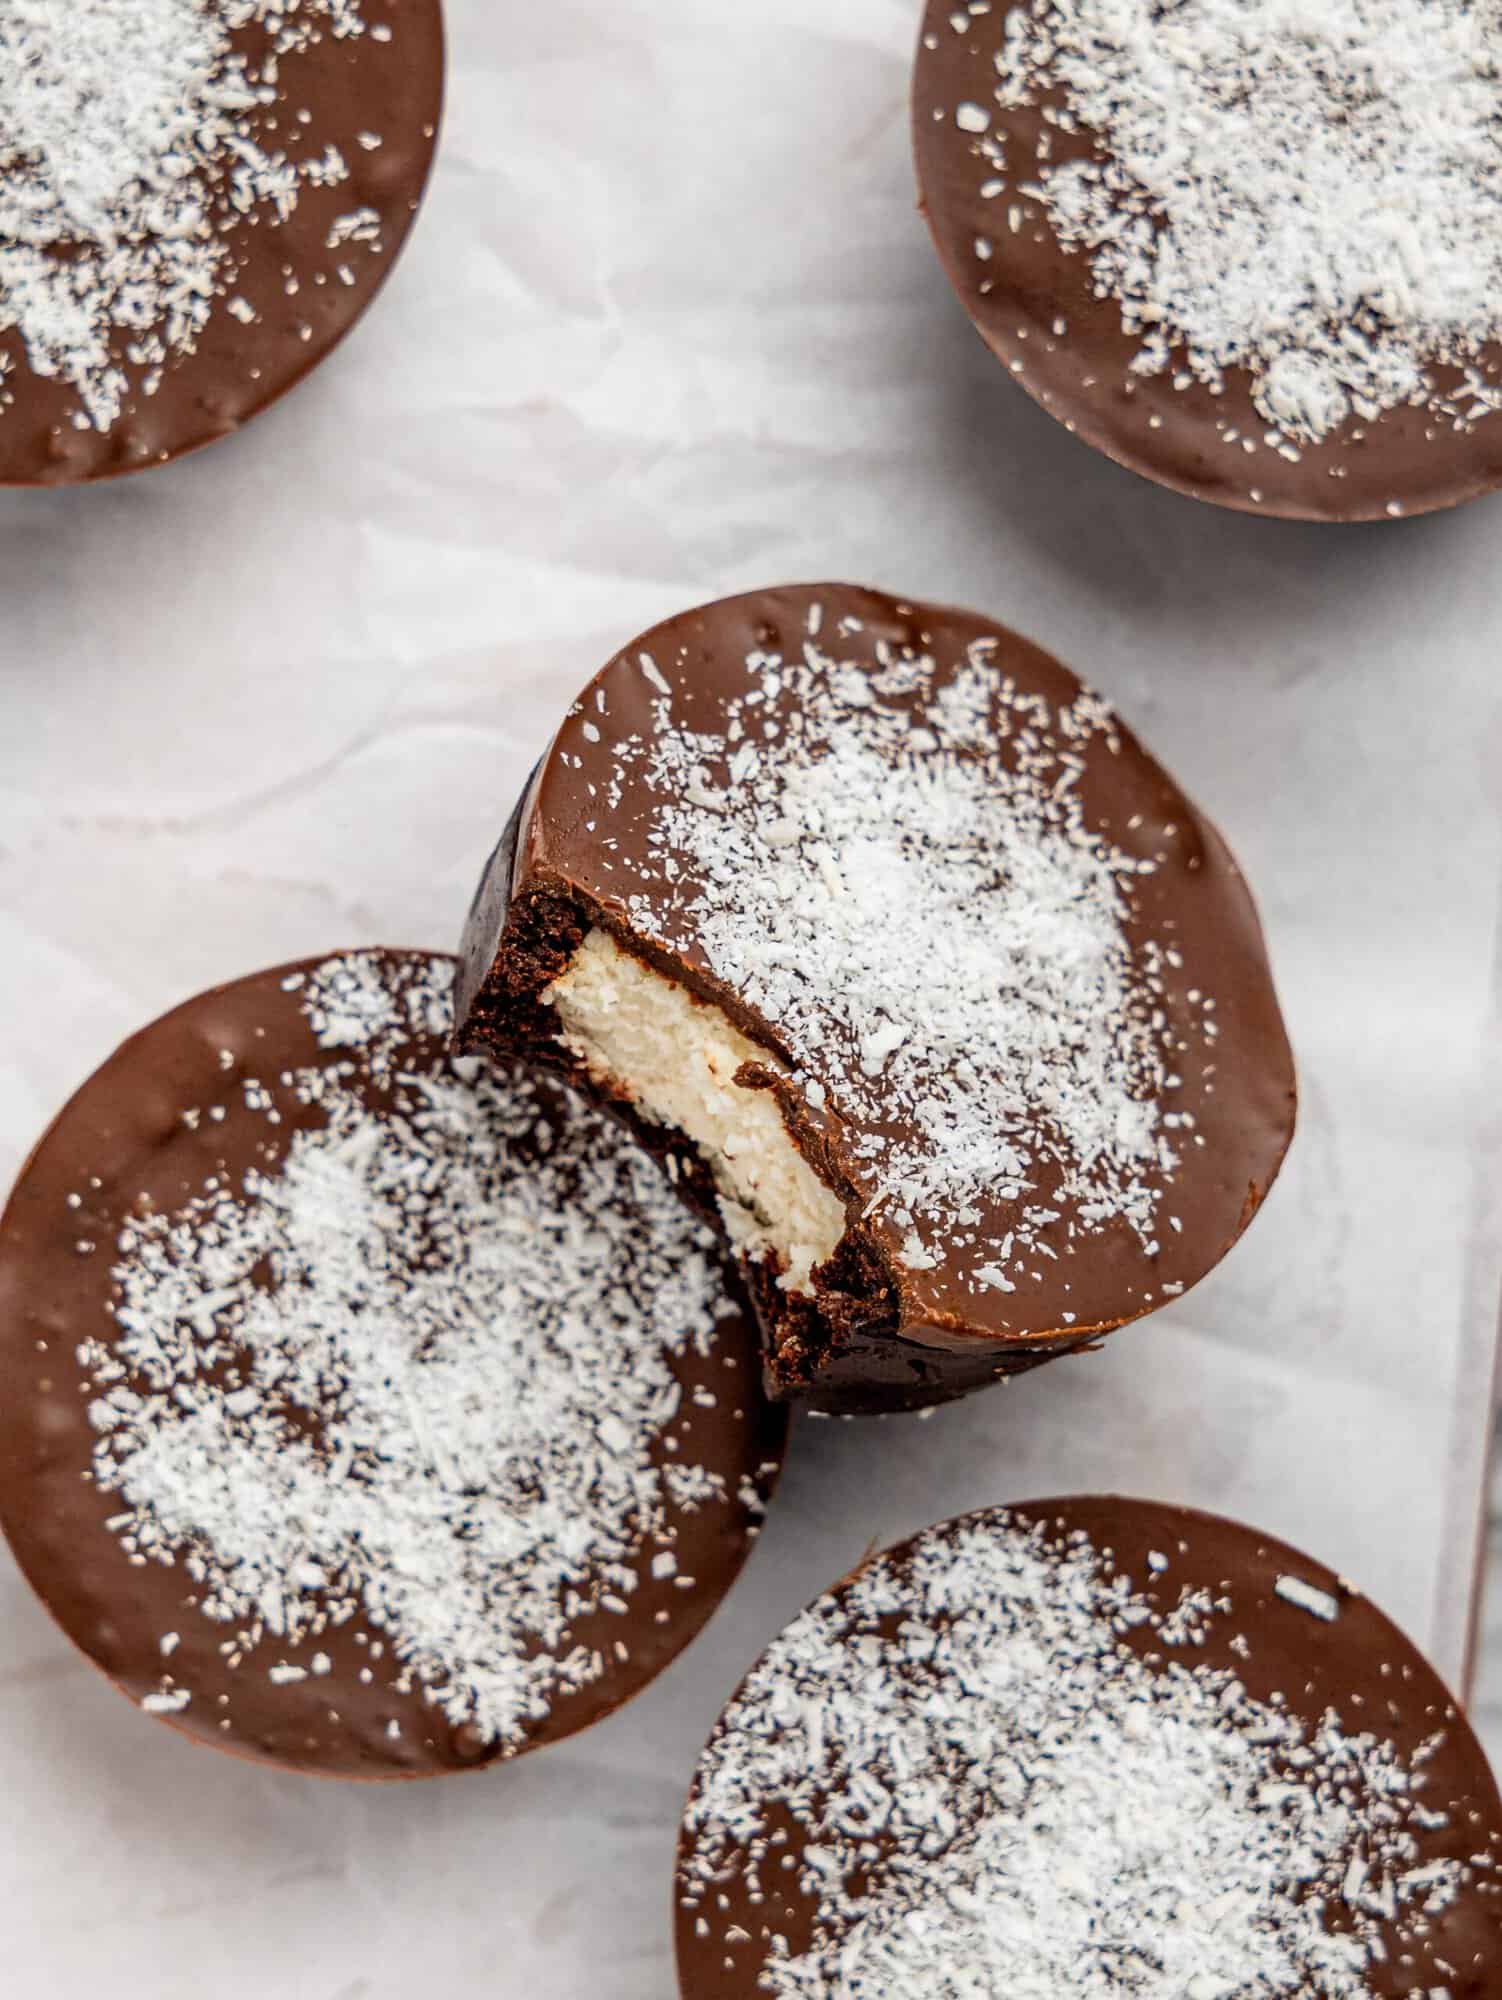
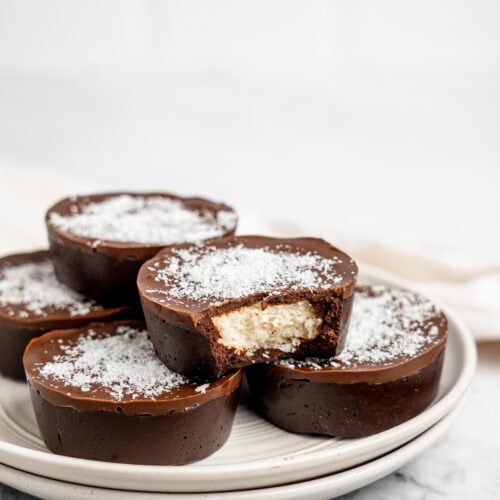
These Bounty Brownie Cups are rich, fudgy, and packed with that classic chocolate and coconut combo, with a creamy coconut centre and a crisp dark chocolate topping that gives the perfect snap. If a Bounty bar and a fudgy brownie had a baby, this would be it.
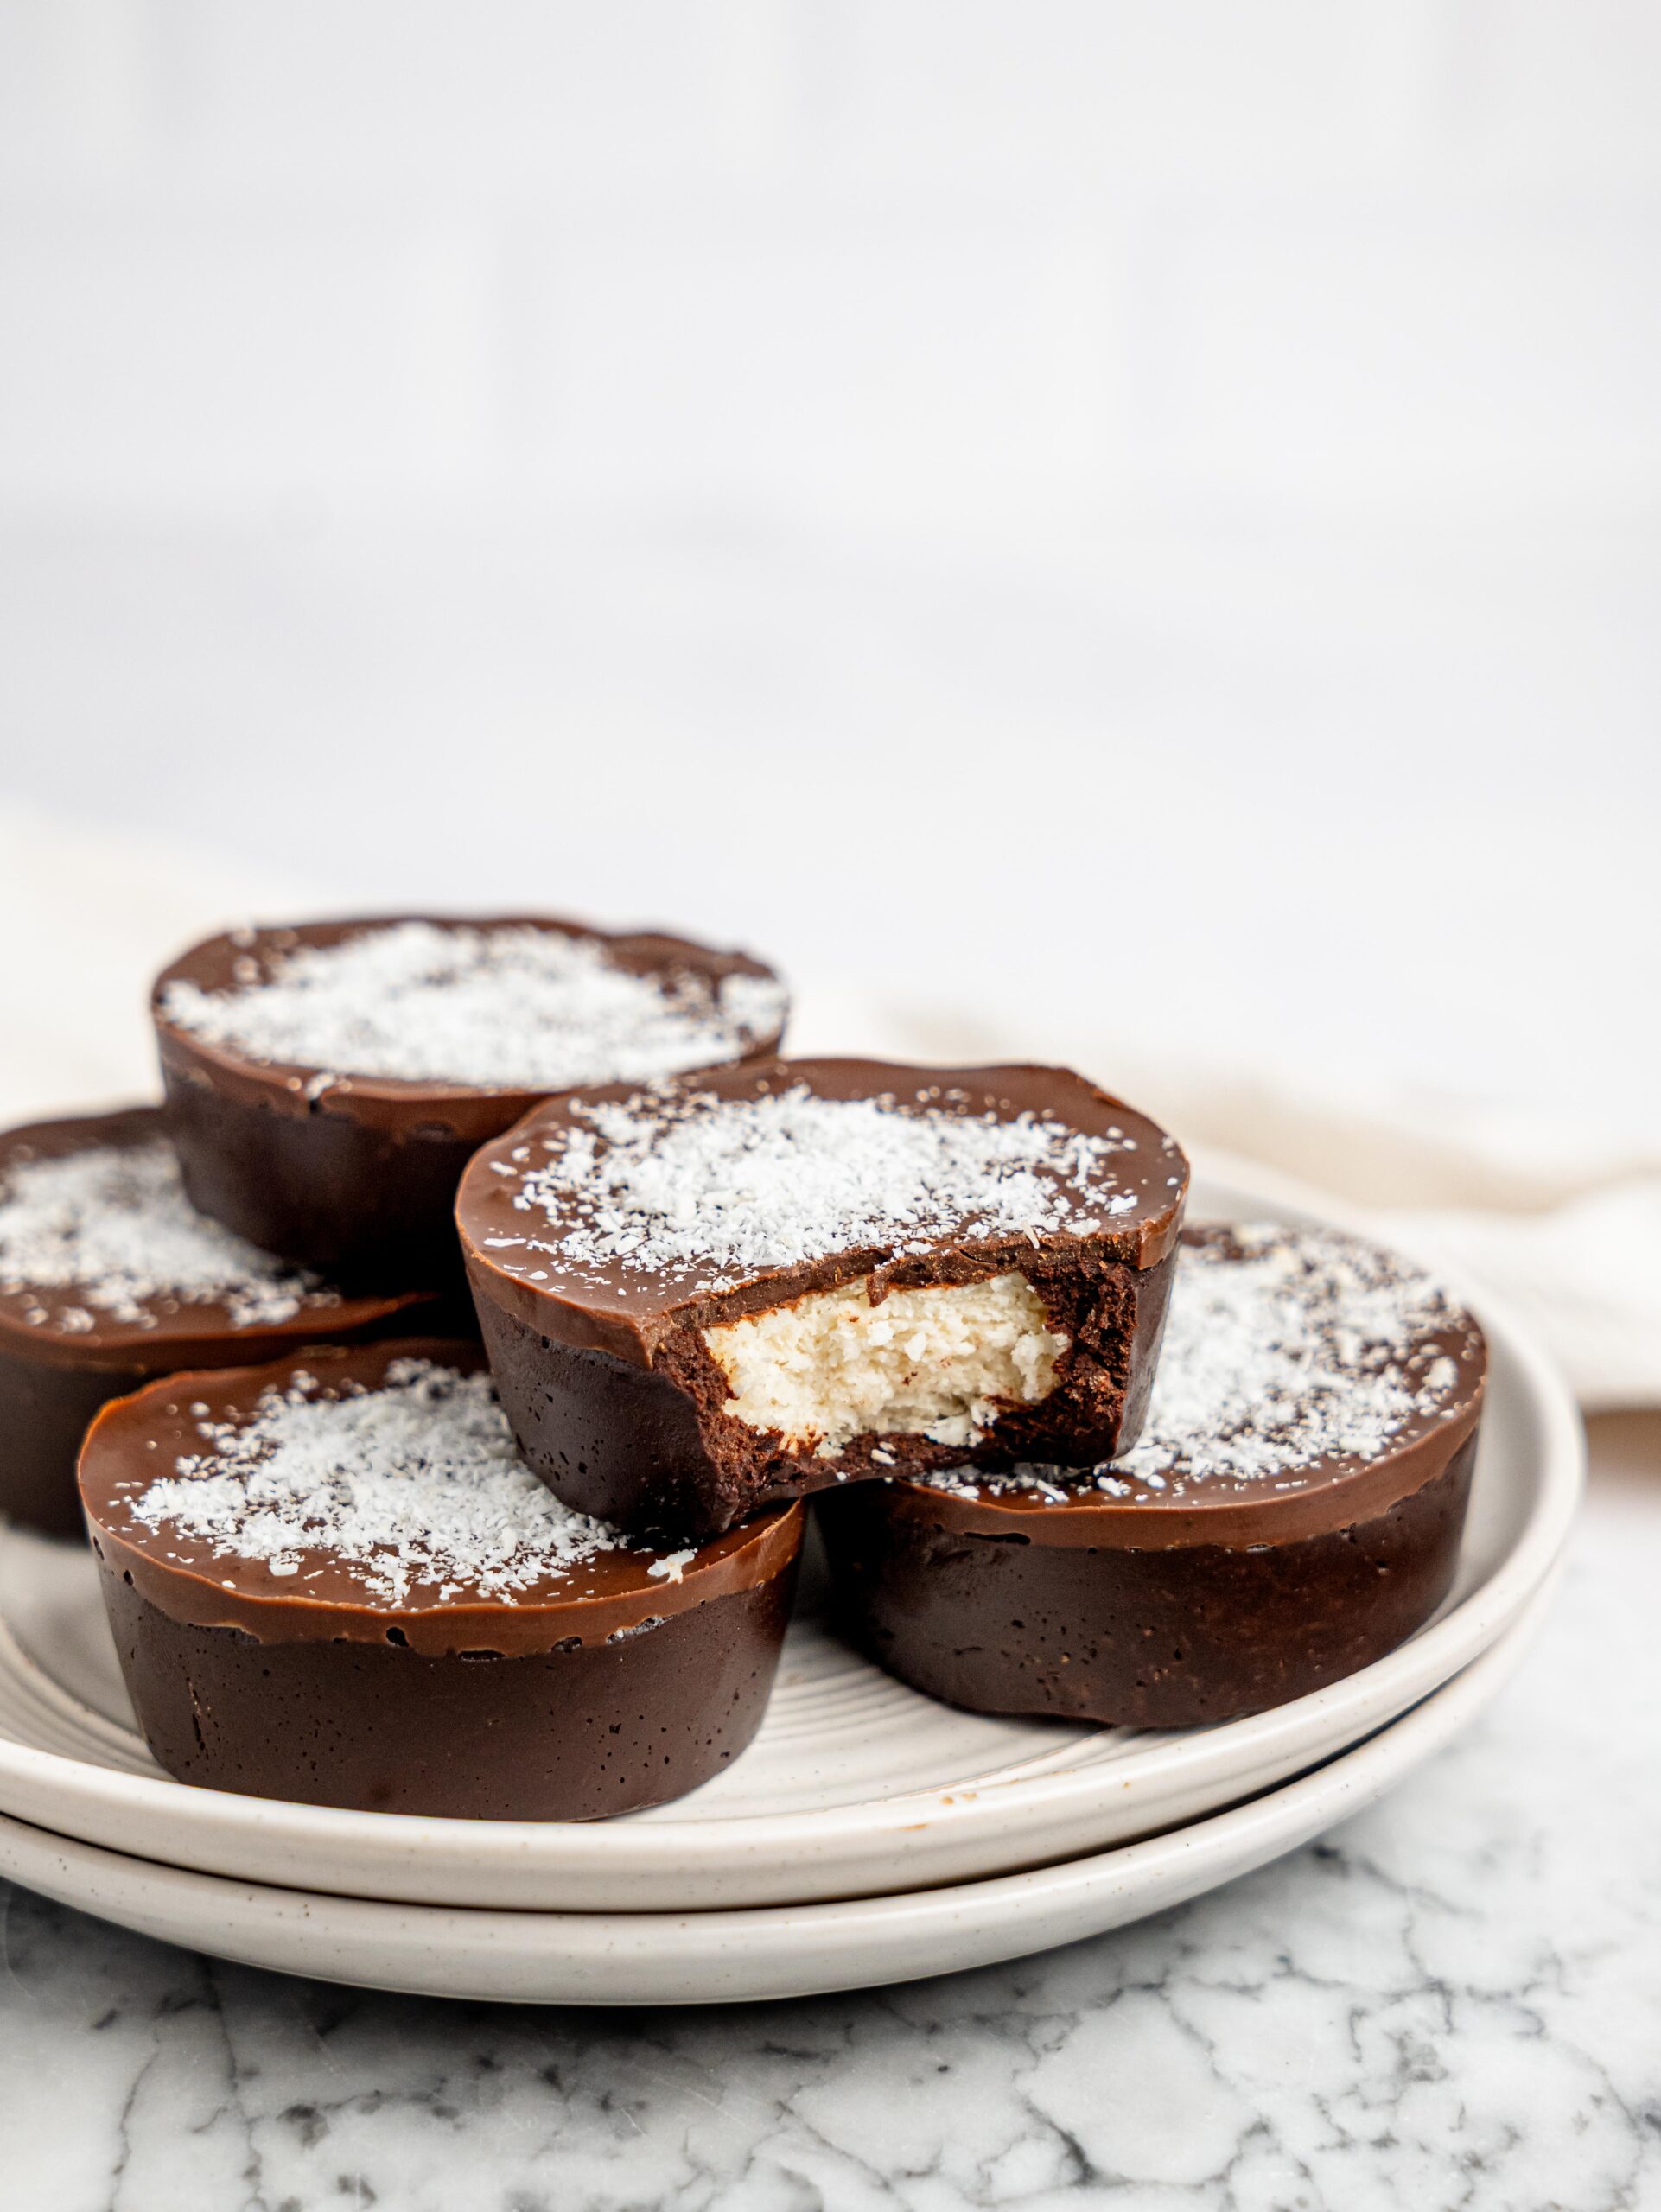
These no-bake brownie cups come together in just 15 minutes using simple, everyday ingredients, making them perfect for when you want something sweet without the effort. The base is soft and chocolatey, the filling is creamy and coconut-packed, and the chocolate topping sets into a thin layer that ties everything together, giving you that indulgent, dessert-like bite every time.
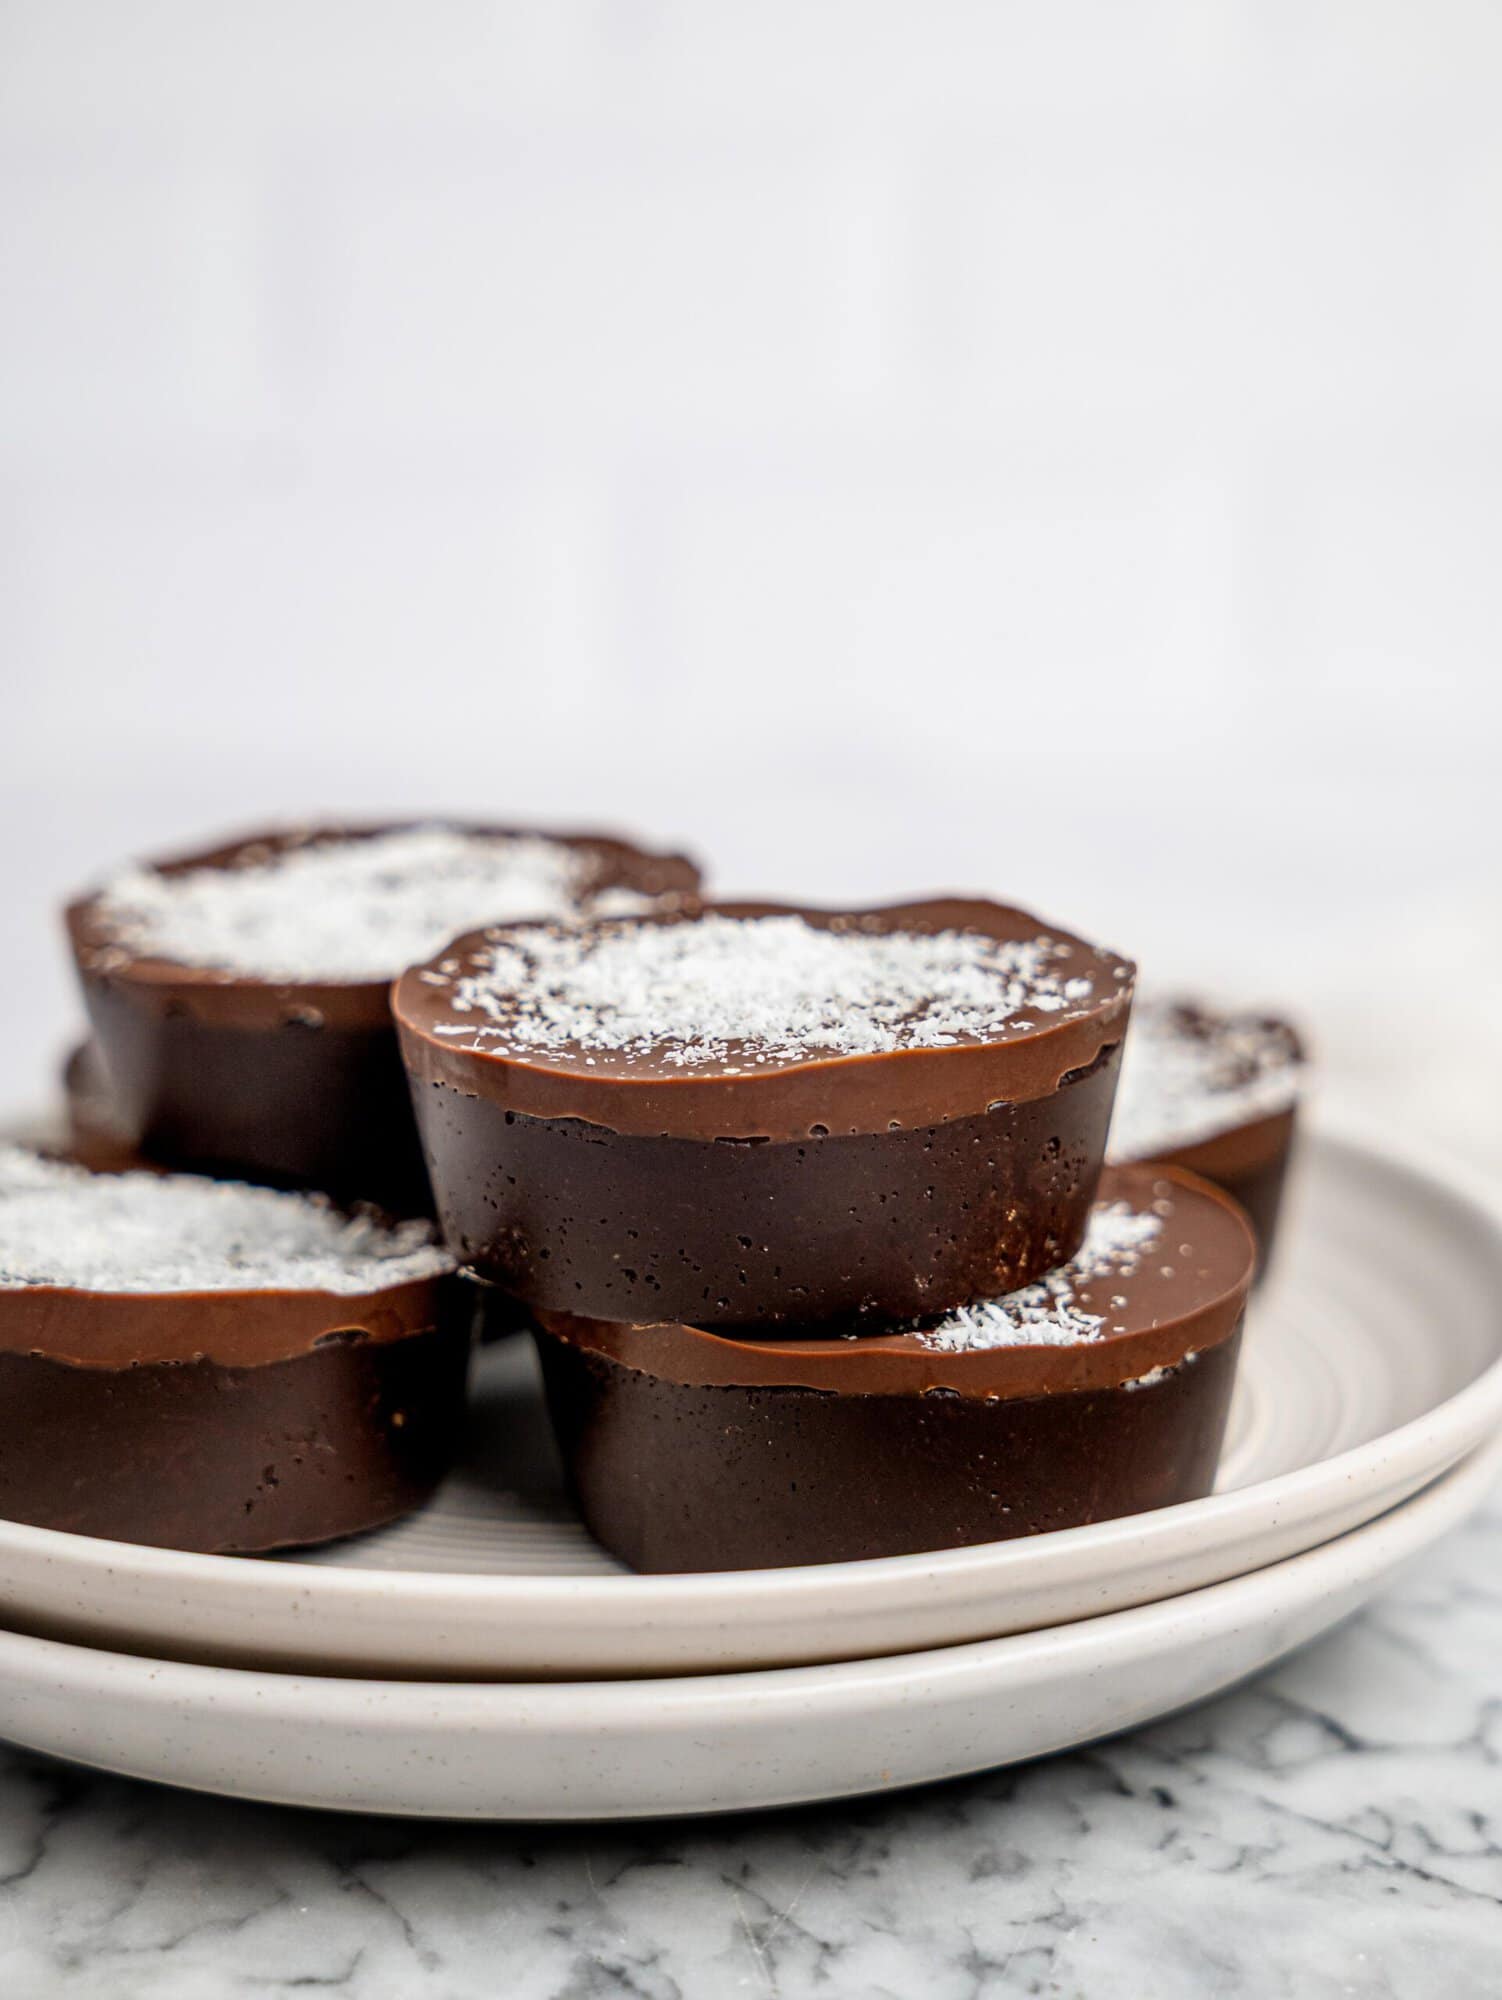
Whether you keep them in the fridge for a softer texture or the freezer for a firmer bite, these are the kind of treats you’ll keep coming back to. They’re easy, satisfying, and full of flavour, the perfect little sweet treat when those chocolate cravings hit.
Why You’ll Love This Recipe
- Quick and easy: These Bounty Brownie Cups come together in just 15 minutes with no baking required, perfect for when you want something sweet without the wait.
- Rich and indulgent: With a fudgy chocolate base, creamy coconut centre, and a crisp chocolate topping, every bite feels like a proper treat.
- No-bake simplicity: No oven, no fuss, just mix, layer, and chill.
- Simple ingredients: Made with everyday ingredients you likely already have at home.
- Perfect texture combo: Soft and fudgy, creamy and coconutty, with that satisfying chocolate snap on top.
- Naturally satisfying: Sweet, chocolatey, and balanced in a way that actually hits the craving.
- Meal prep friendly: Keep them in the fridge or freezer for an easy grab-and-go sweet treat during the week.
- Easy to customise: Swap the nut butter, adjust the sweetness, or add extras like nuts or a drizzle of nut butter on top.
Ingredients Needed
These are the ingredients you’ll need to make these Bounty Brownie Cups. You can find the exact measurements in the recipe card at the bottom of this page.

Peanut butter: The base of the brownie layer, adding richness, structure, and that slightly nutty flavour that pairs perfectly with chocolate.
Honey or maple syrup: Naturally sweetens the base while helping bind everything together.
Cocoa powder: Gives the brownie layer its deep chocolate flavour and fudgy texture.
Pinch of salt: Enhances the chocolate and balances the sweetness.
Greek yoghurt: Creates a creamy, slightly tangy coconut filling while adding a boost of protein.
Desiccated coconut: The key to that classic Bounty-style centre, adding texture and coconut flavour.
Honey: Adds a touch of sweetness to the filling and brings everything together.
Dark chocolate: Melted and poured on top, it sets into a smooth layer with that perfect snap.
Extra desiccated coconut: Sprinkled on top for a little texture and a hint of coconut in every bite.
Ingredient Substitutions
Peanut butter: You can swap this for almond butter or cashew butter for a slightly different flavour. For a nut-free option, sunflower seed butter works well, just keep in mind it may slightly change the taste.
Honey or maple syrup: Either works interchangeably depending on your preference. You can also adjust the amount to suit your desired sweetness.
Cocoa powder: If you prefer a richer chocolate flavour, you can use cacao powder instead.
Greek yoghurt: Swap for a dairy-free yoghurt like coconut yoghurt if needed. This will keep the filling creamy while making the recipe fully dairy-free.
Desiccated coconut: If you prefer a finer texture, you can use finely shredded coconut instead.
Dark chocolate: You can use milk chocolate if you prefer a sweeter finish, or a sugar-free chocolate if you want to reduce the sugar content.
Extra toppings: Add crushed nuts, a drizzle of nut butter, or even a sprinkle of sea salt for a different twist.
Equipment Needed
- Mixing bowl: For combining the brownie base ingredients until smooth and thick.
- Spoon or spatula: To mix everything together and help press the mixture into the moulds.
- Silicone muffin tray: Ideal for shaping the brownie cups and making them easy to remove once set.
- Small bowl or microwave-safe dish: For melting the dark chocolate until smooth.
- Spoon: To layer the coconut filling and spread the chocolate topping evenly.
- Fridge or freezer: To chill the cups until firm and ready to enjoy.
How to make Bounty Brownie Cups
Here is a detailed summary of how to make this recipe. I’ve also included some photos, and you can find the recipe video in the recipe card. At the bottom of this page is a summarized version that can be printed.
Step One:
Use a silicone muffin tray or line a regular muffin tin with paper liners to prevent sticking.
Step Two:
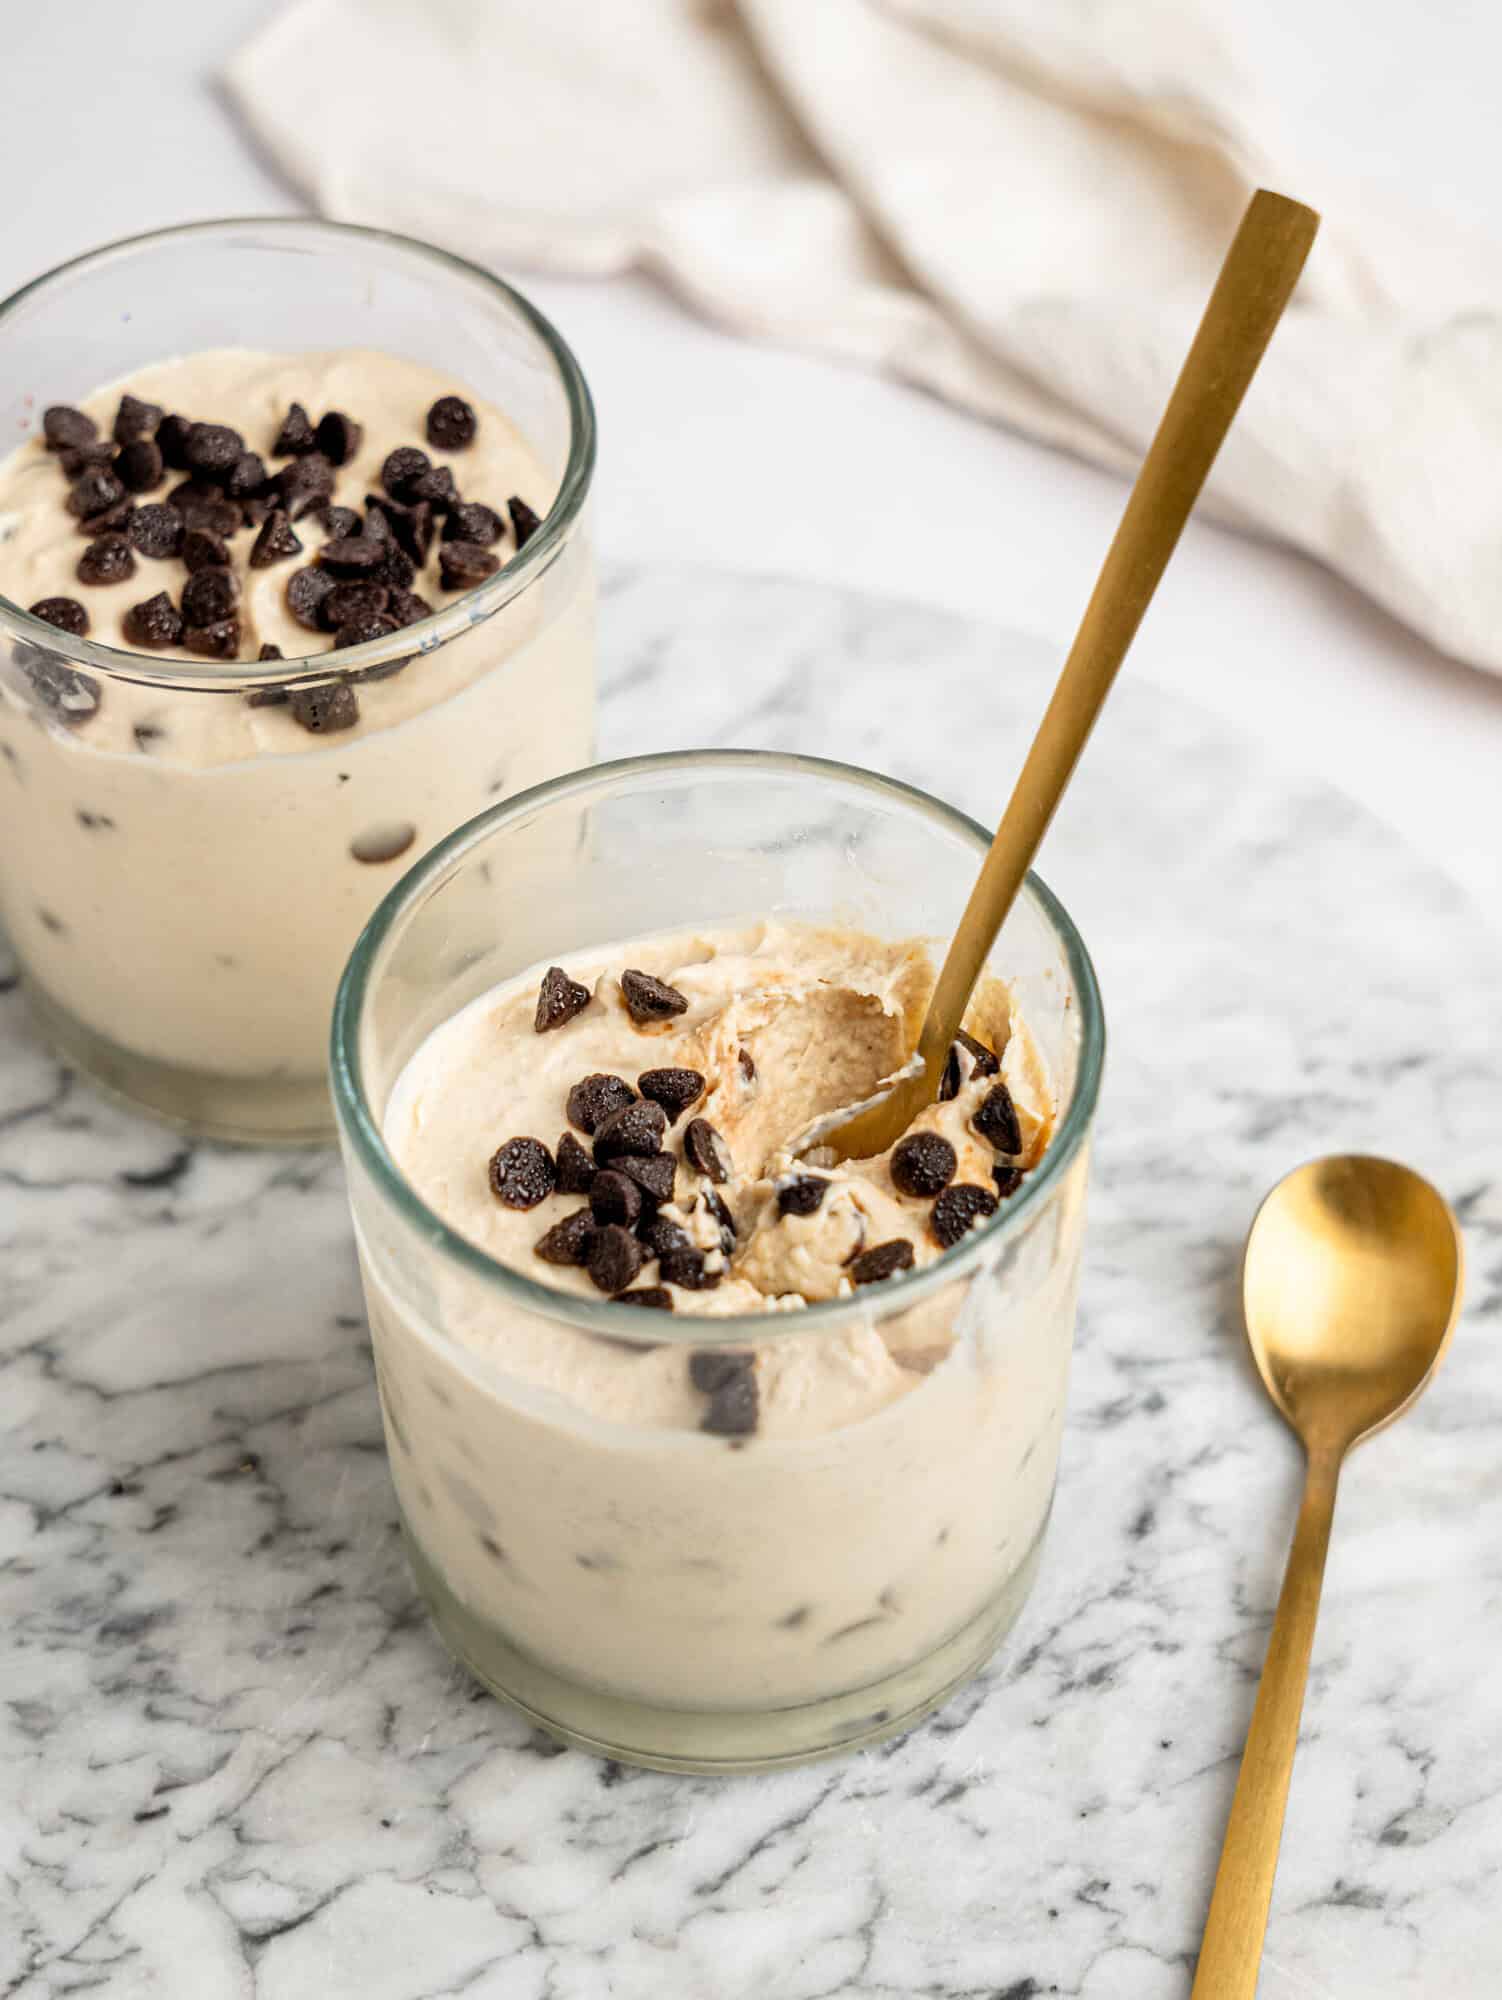
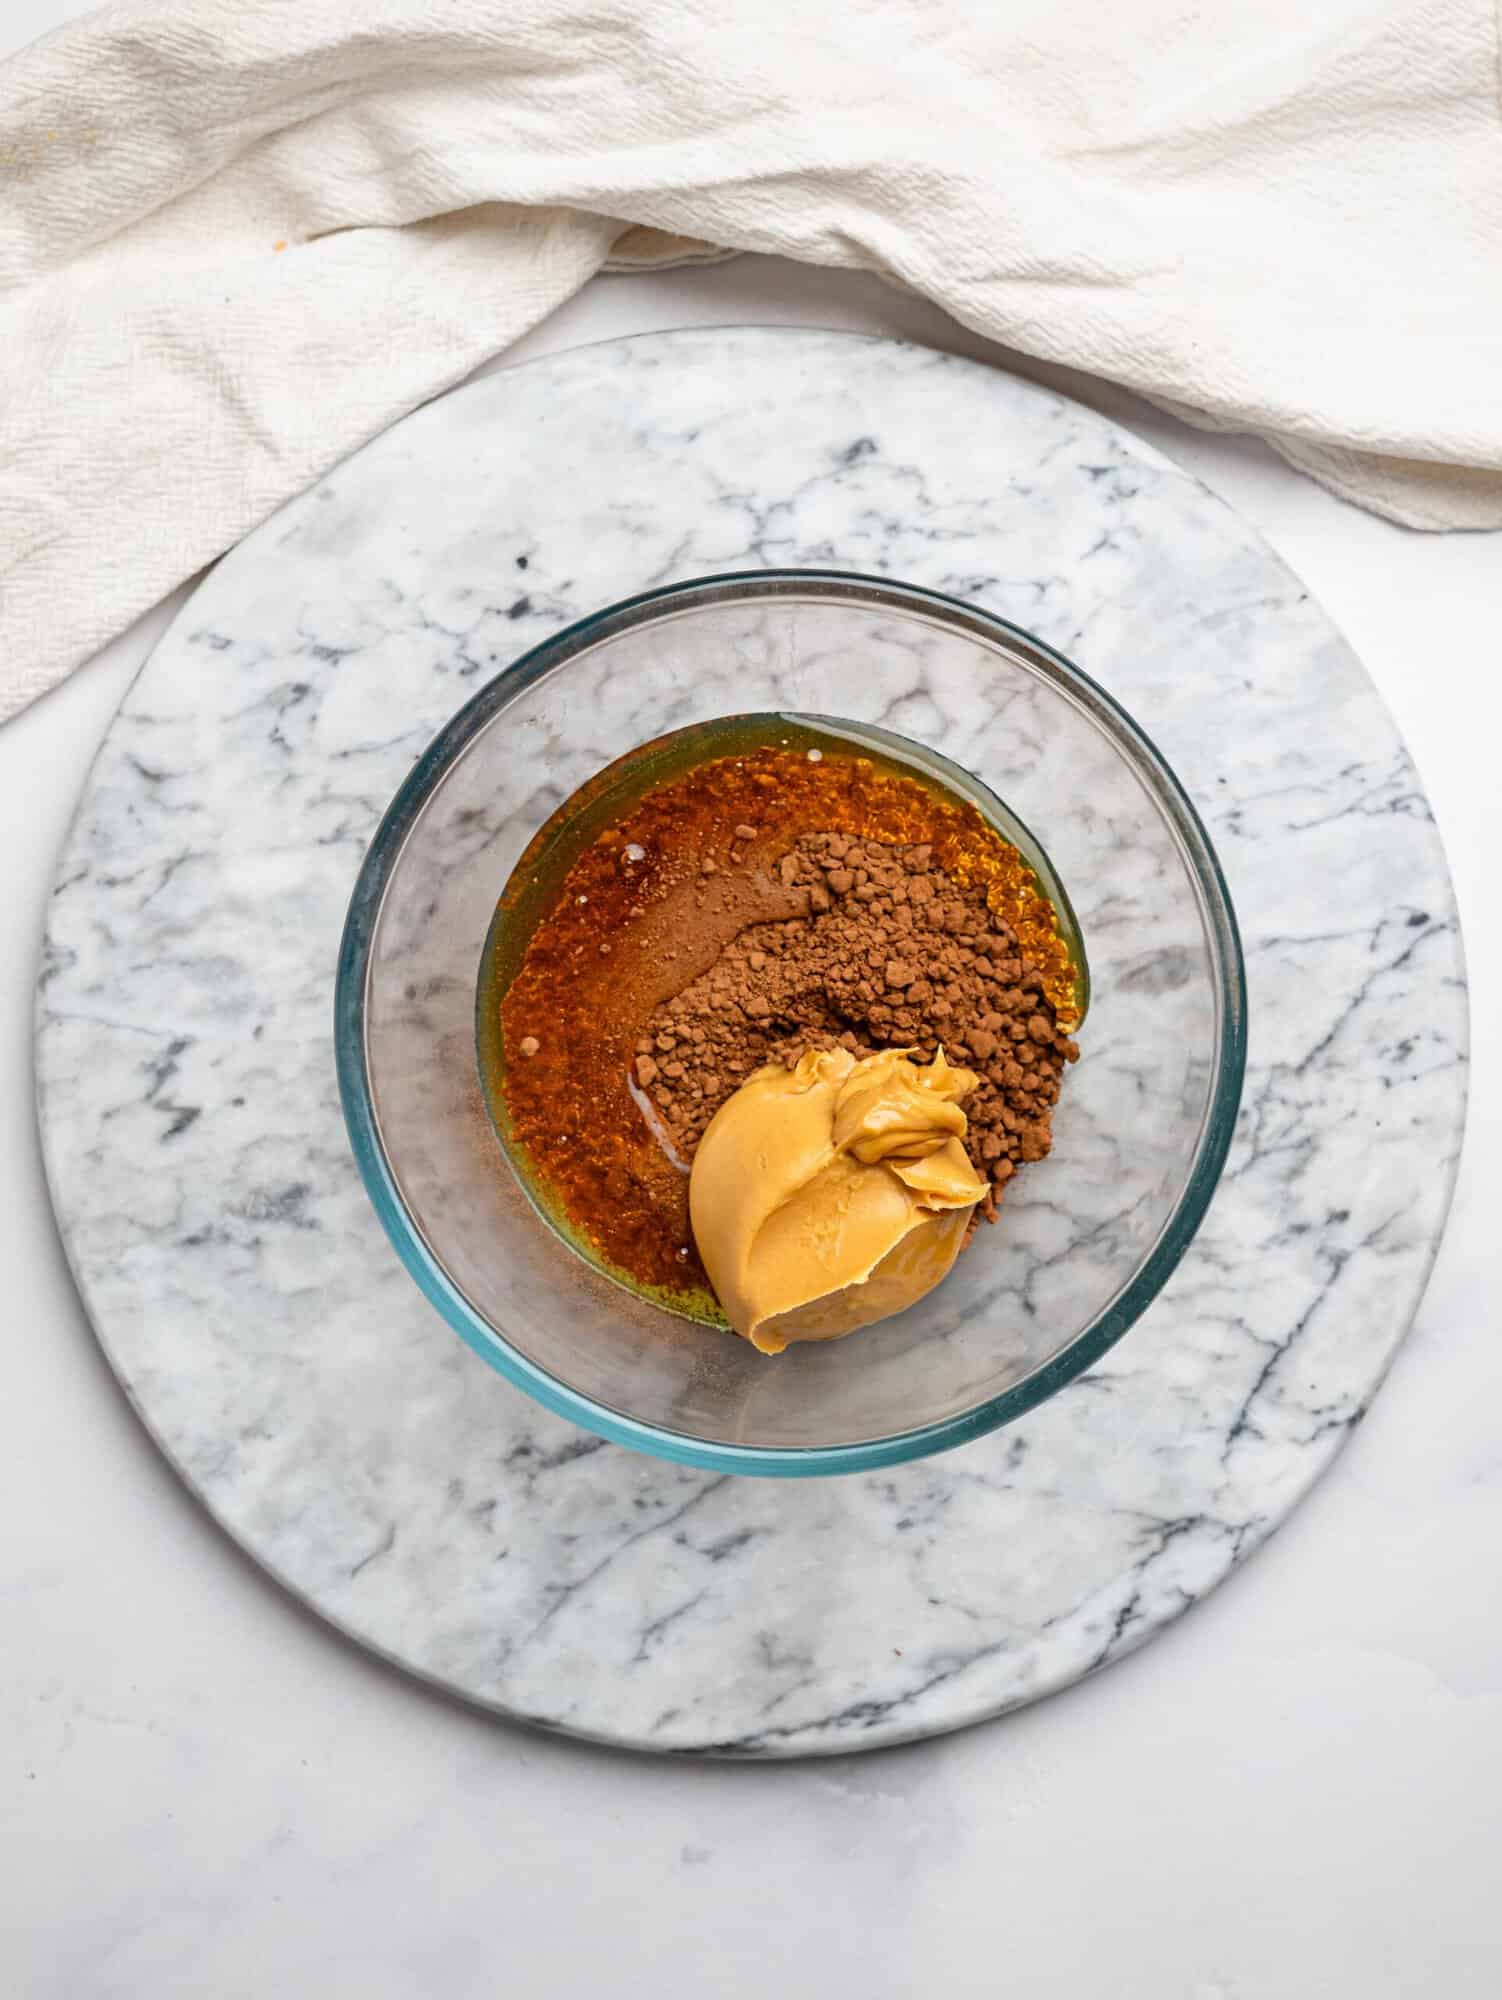
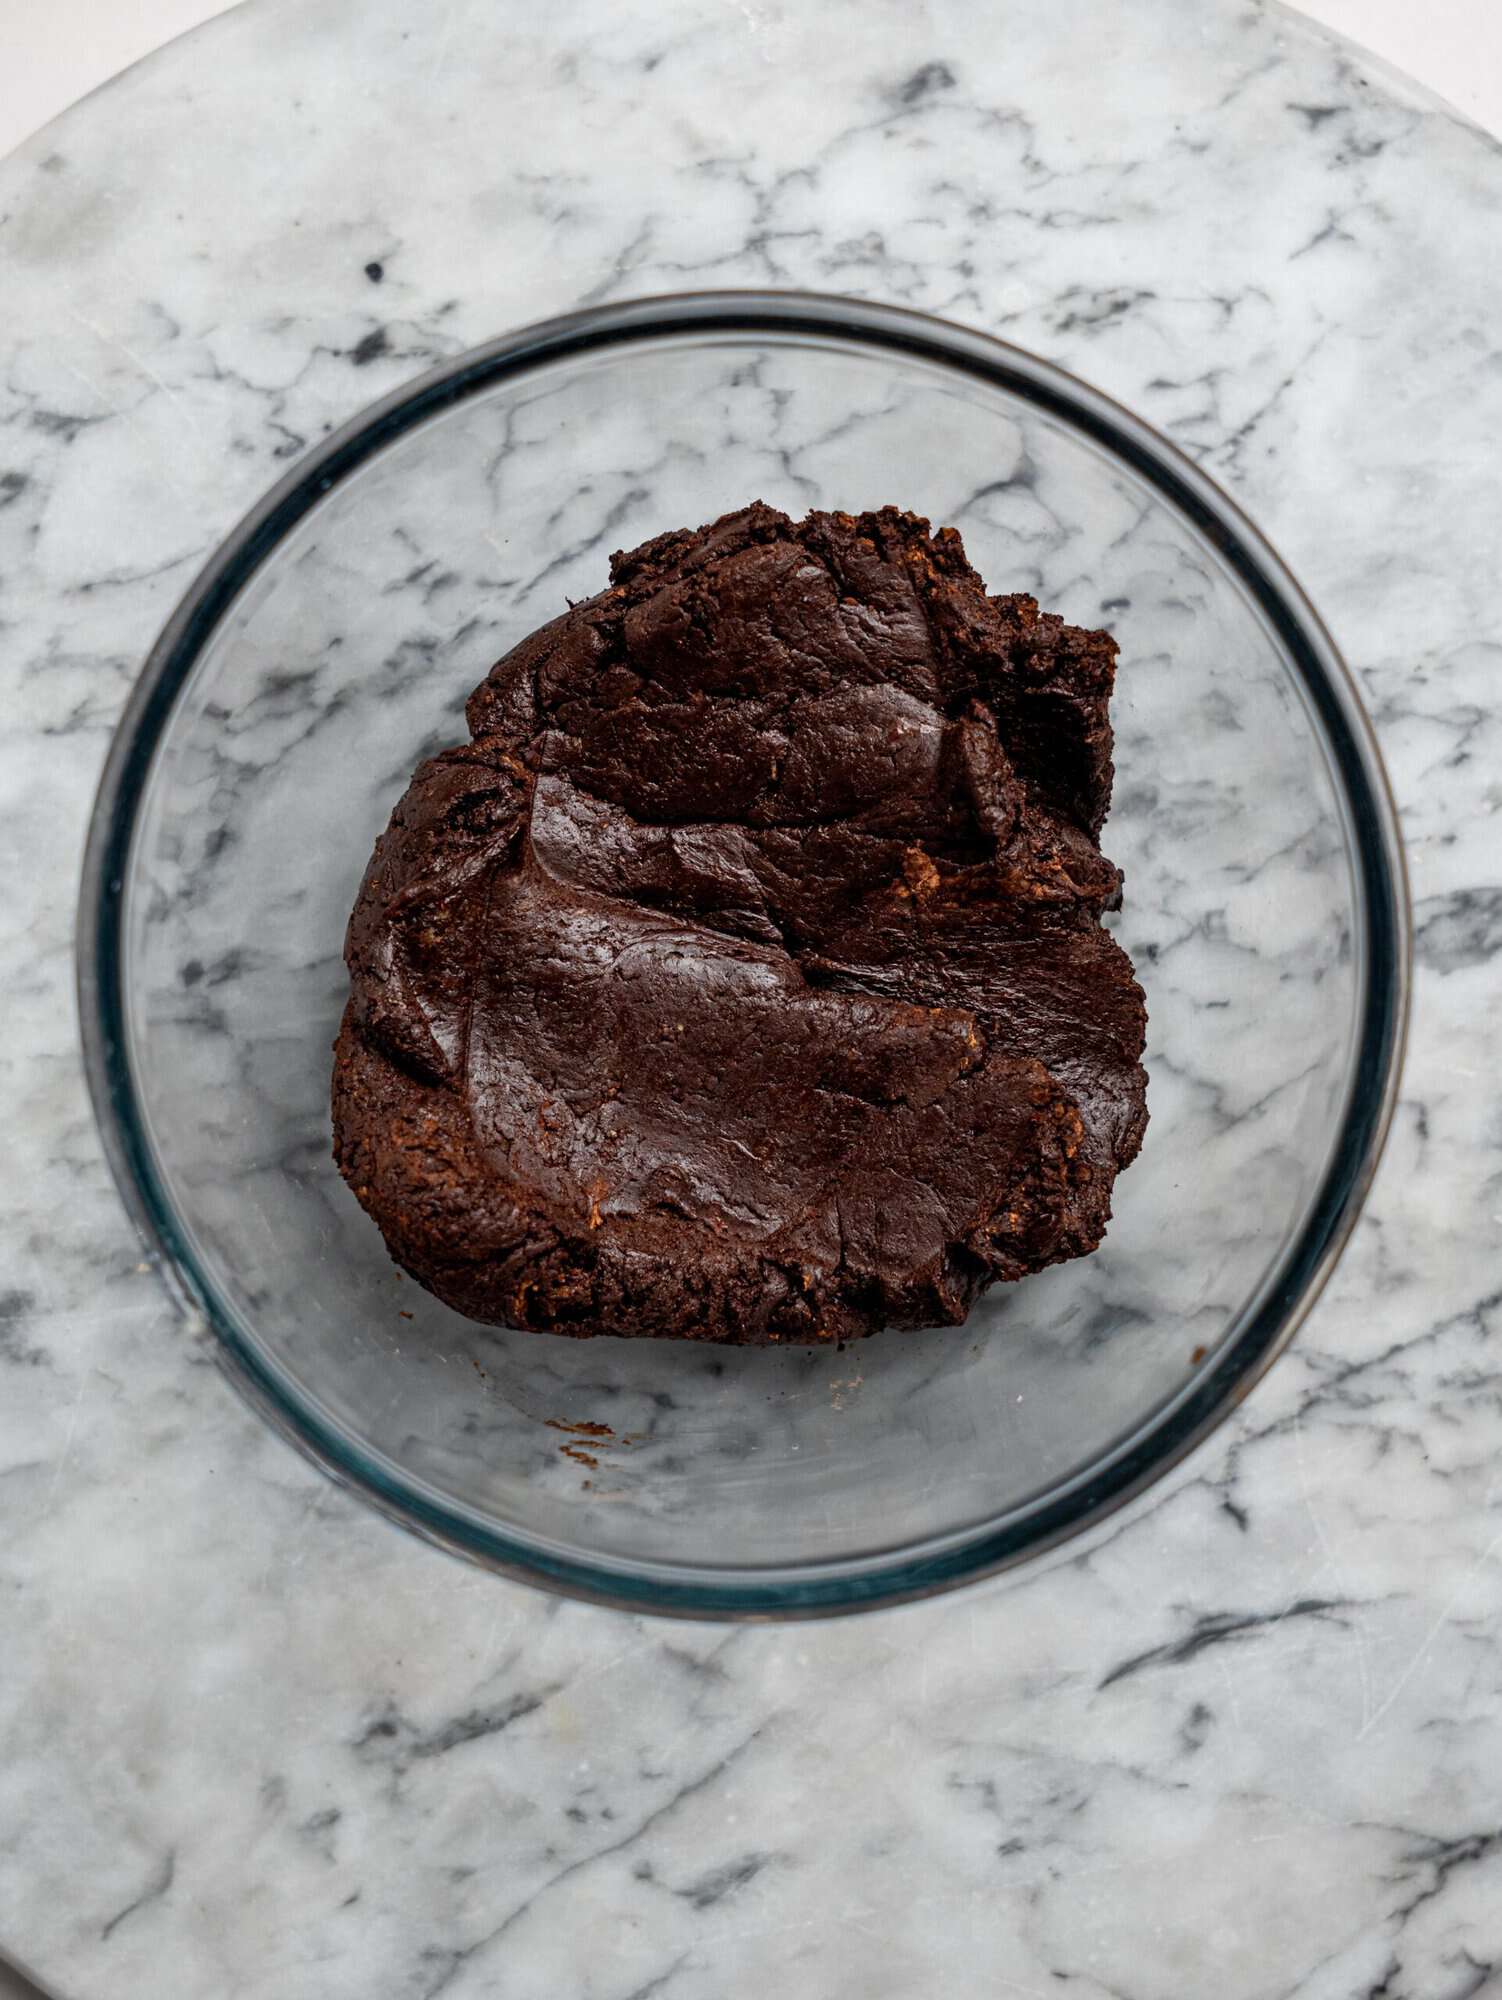
In a mixing bowl, add the peanut butter, honey (or maple syrup), cocoa powder, and a pinch of salt.
Stir until fully combined and smooth. The mixture should be thick, sticky, and easy to press. If it feels too dry, add a little more peanut butter or honey.
Step Three:
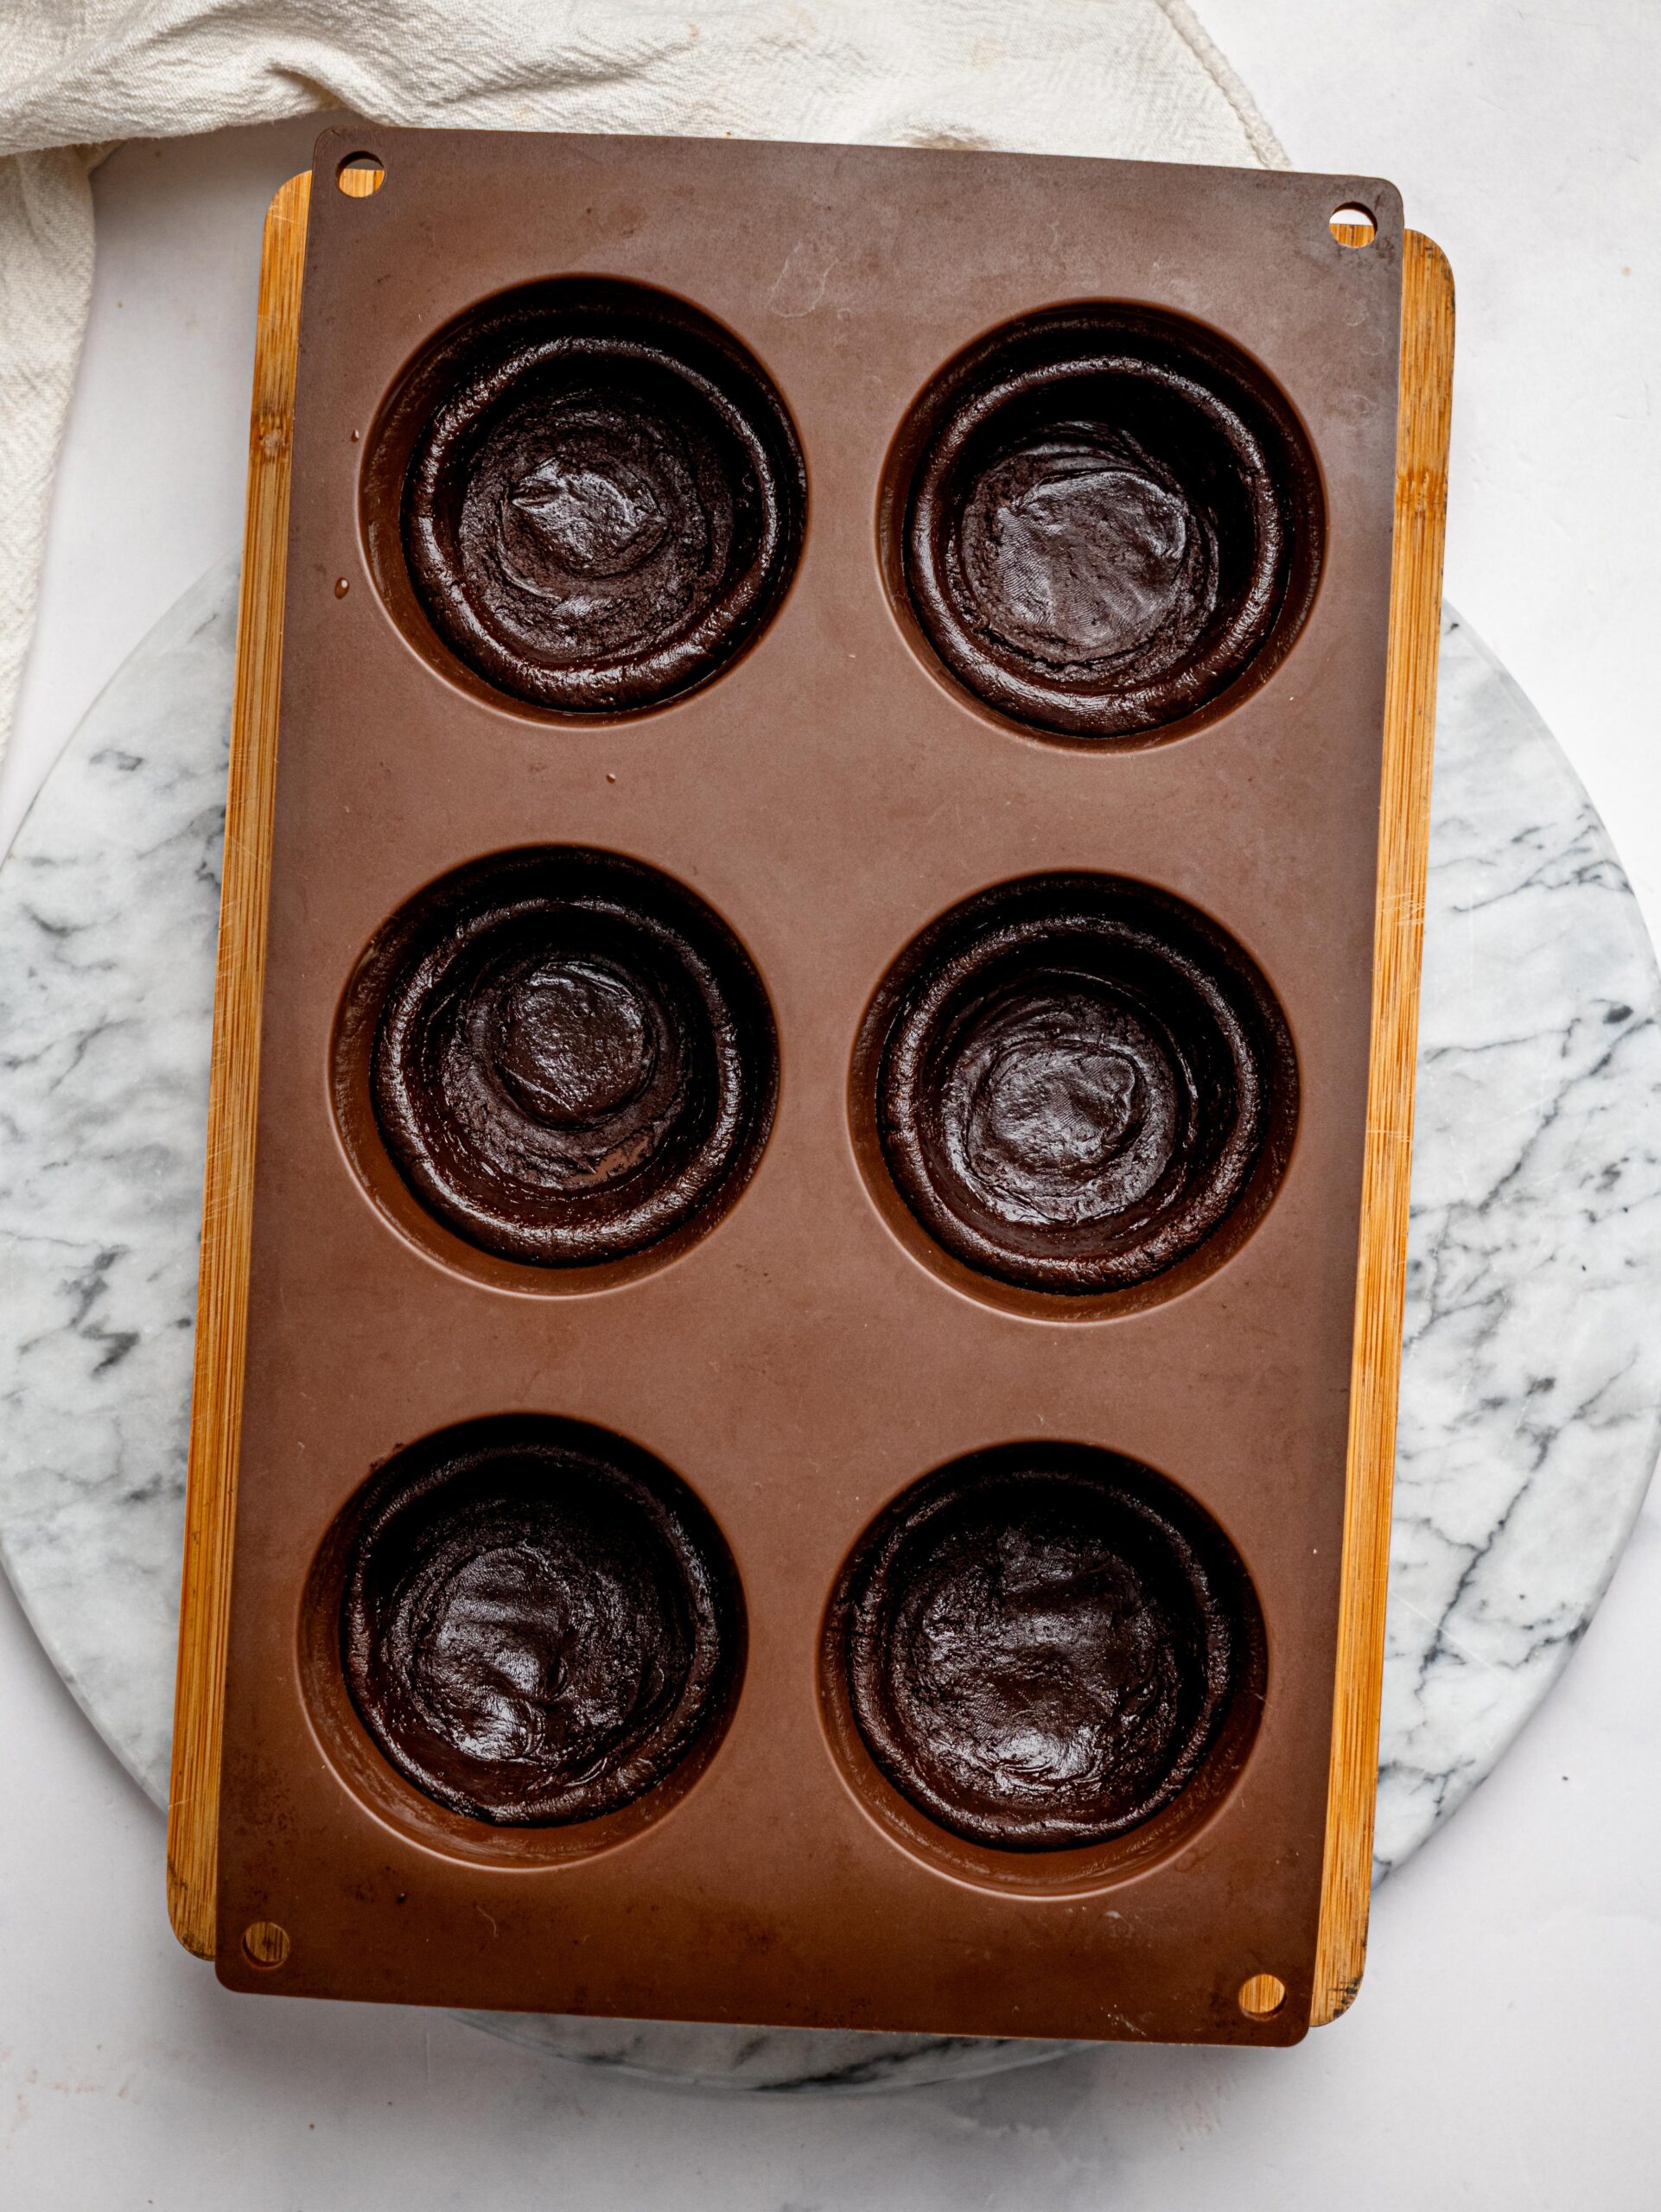
Divide the mixture evenly into 6 portions.
Place each portion into the muffin tray and press it down firmly using your fingers or the back of a spoon.
Push the mixture up the sides to create a cup shape with a small hollow in the centre for the filling.
Step Four:
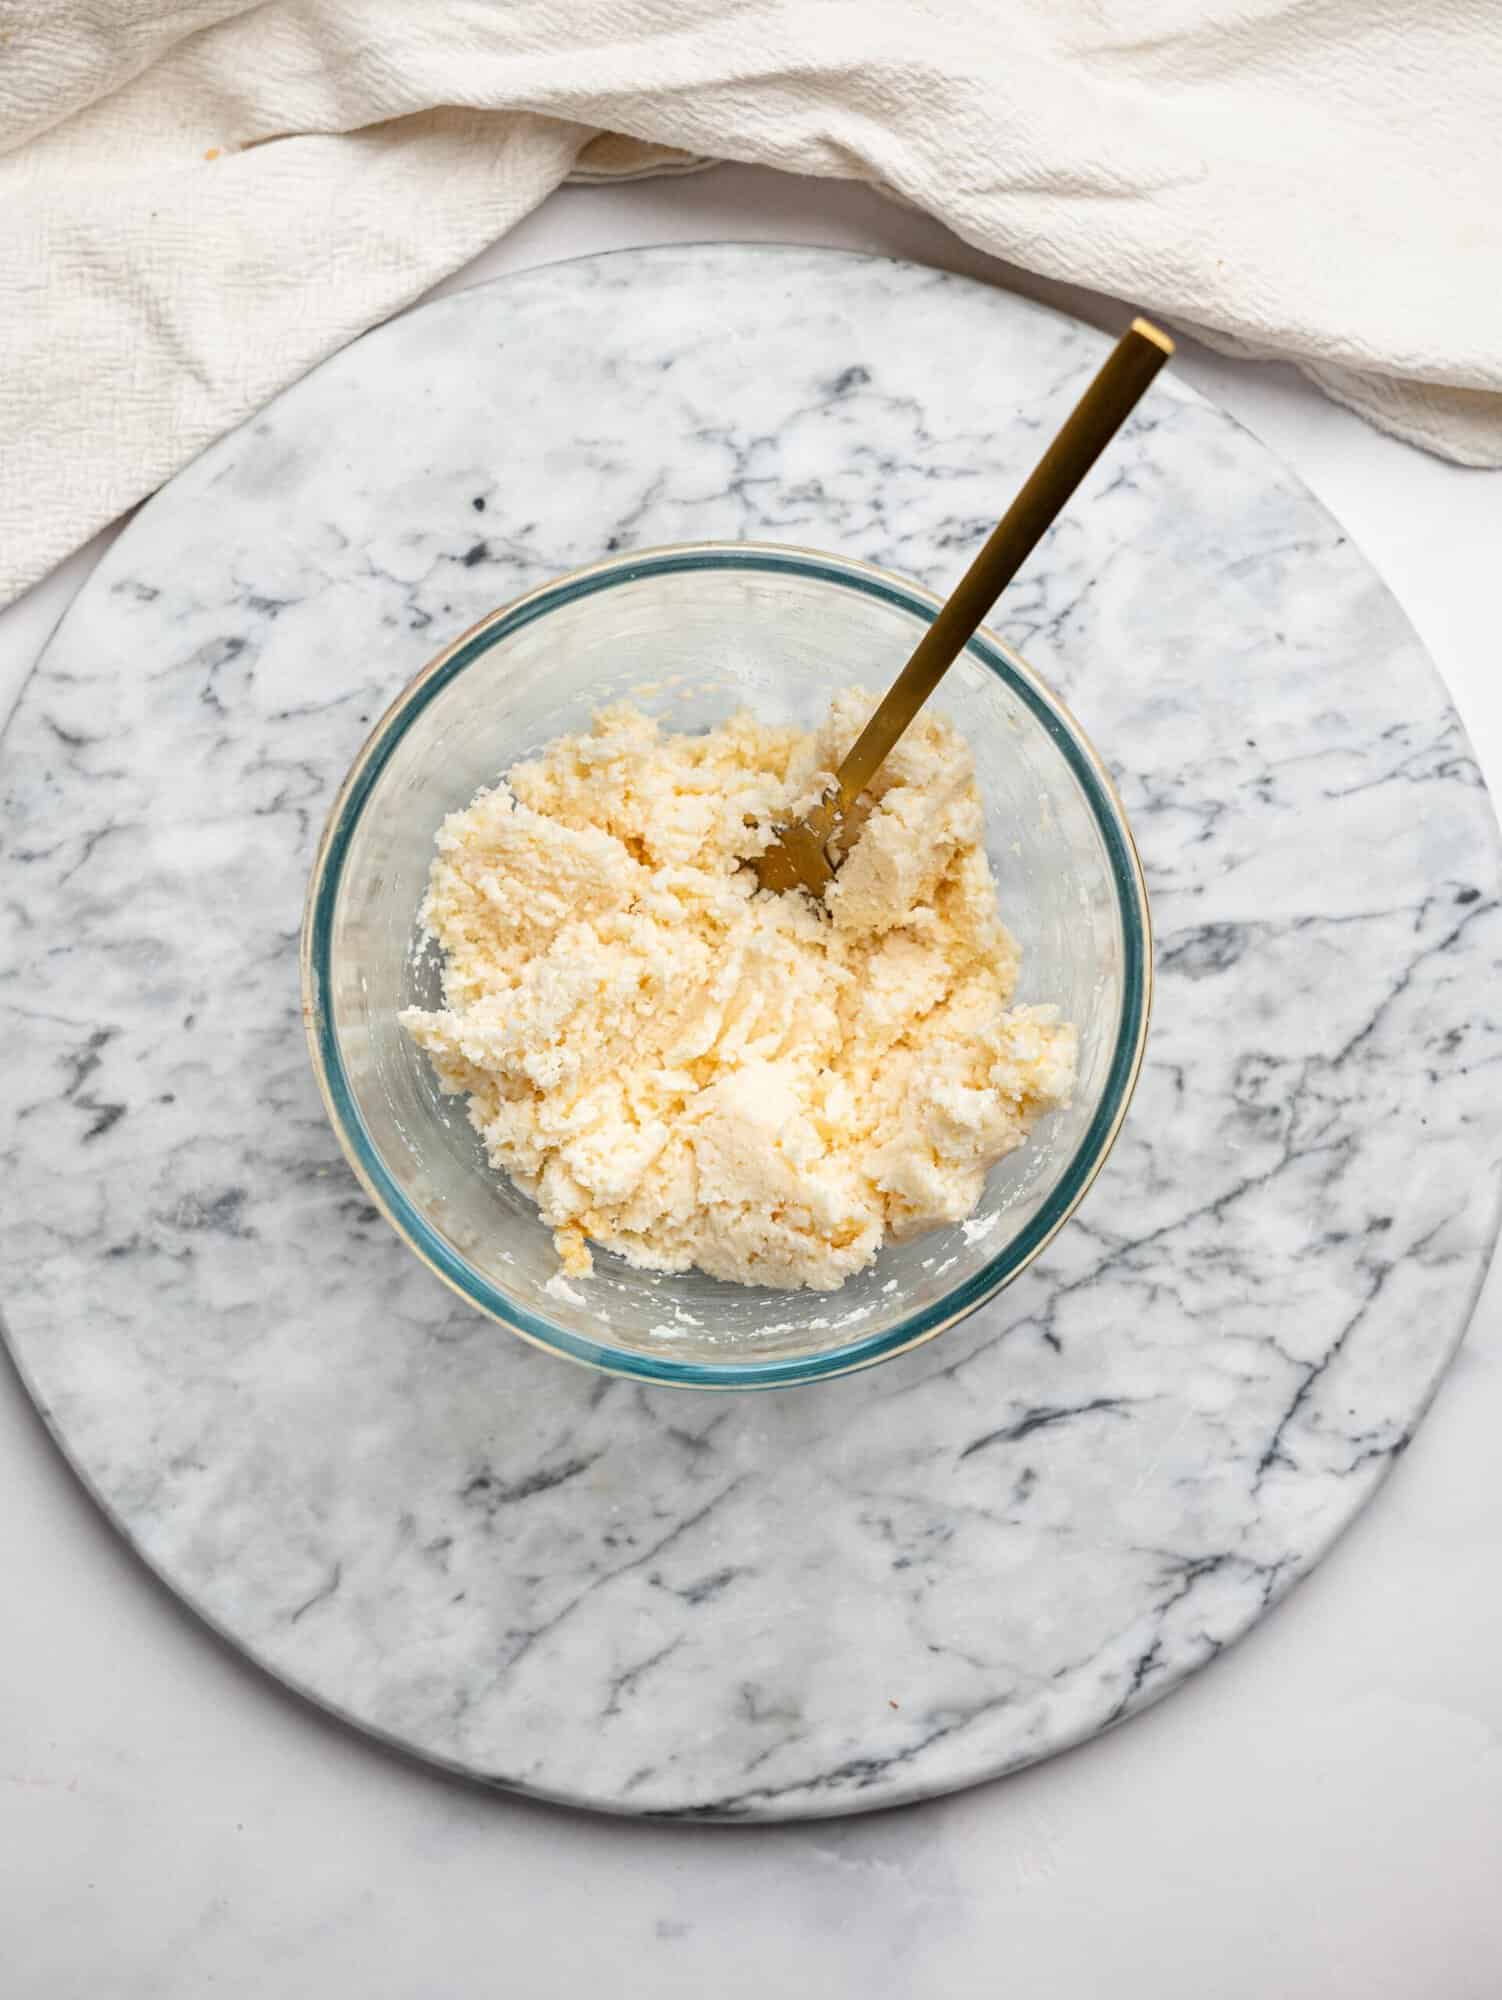
In a separate bowl, combine the Greek yoghurt, desiccated coconut, and honey.
Mix until well combined. The filling should be thick and creamy. If it’s too runny, add a bit more coconut to thicken.
Step Five:
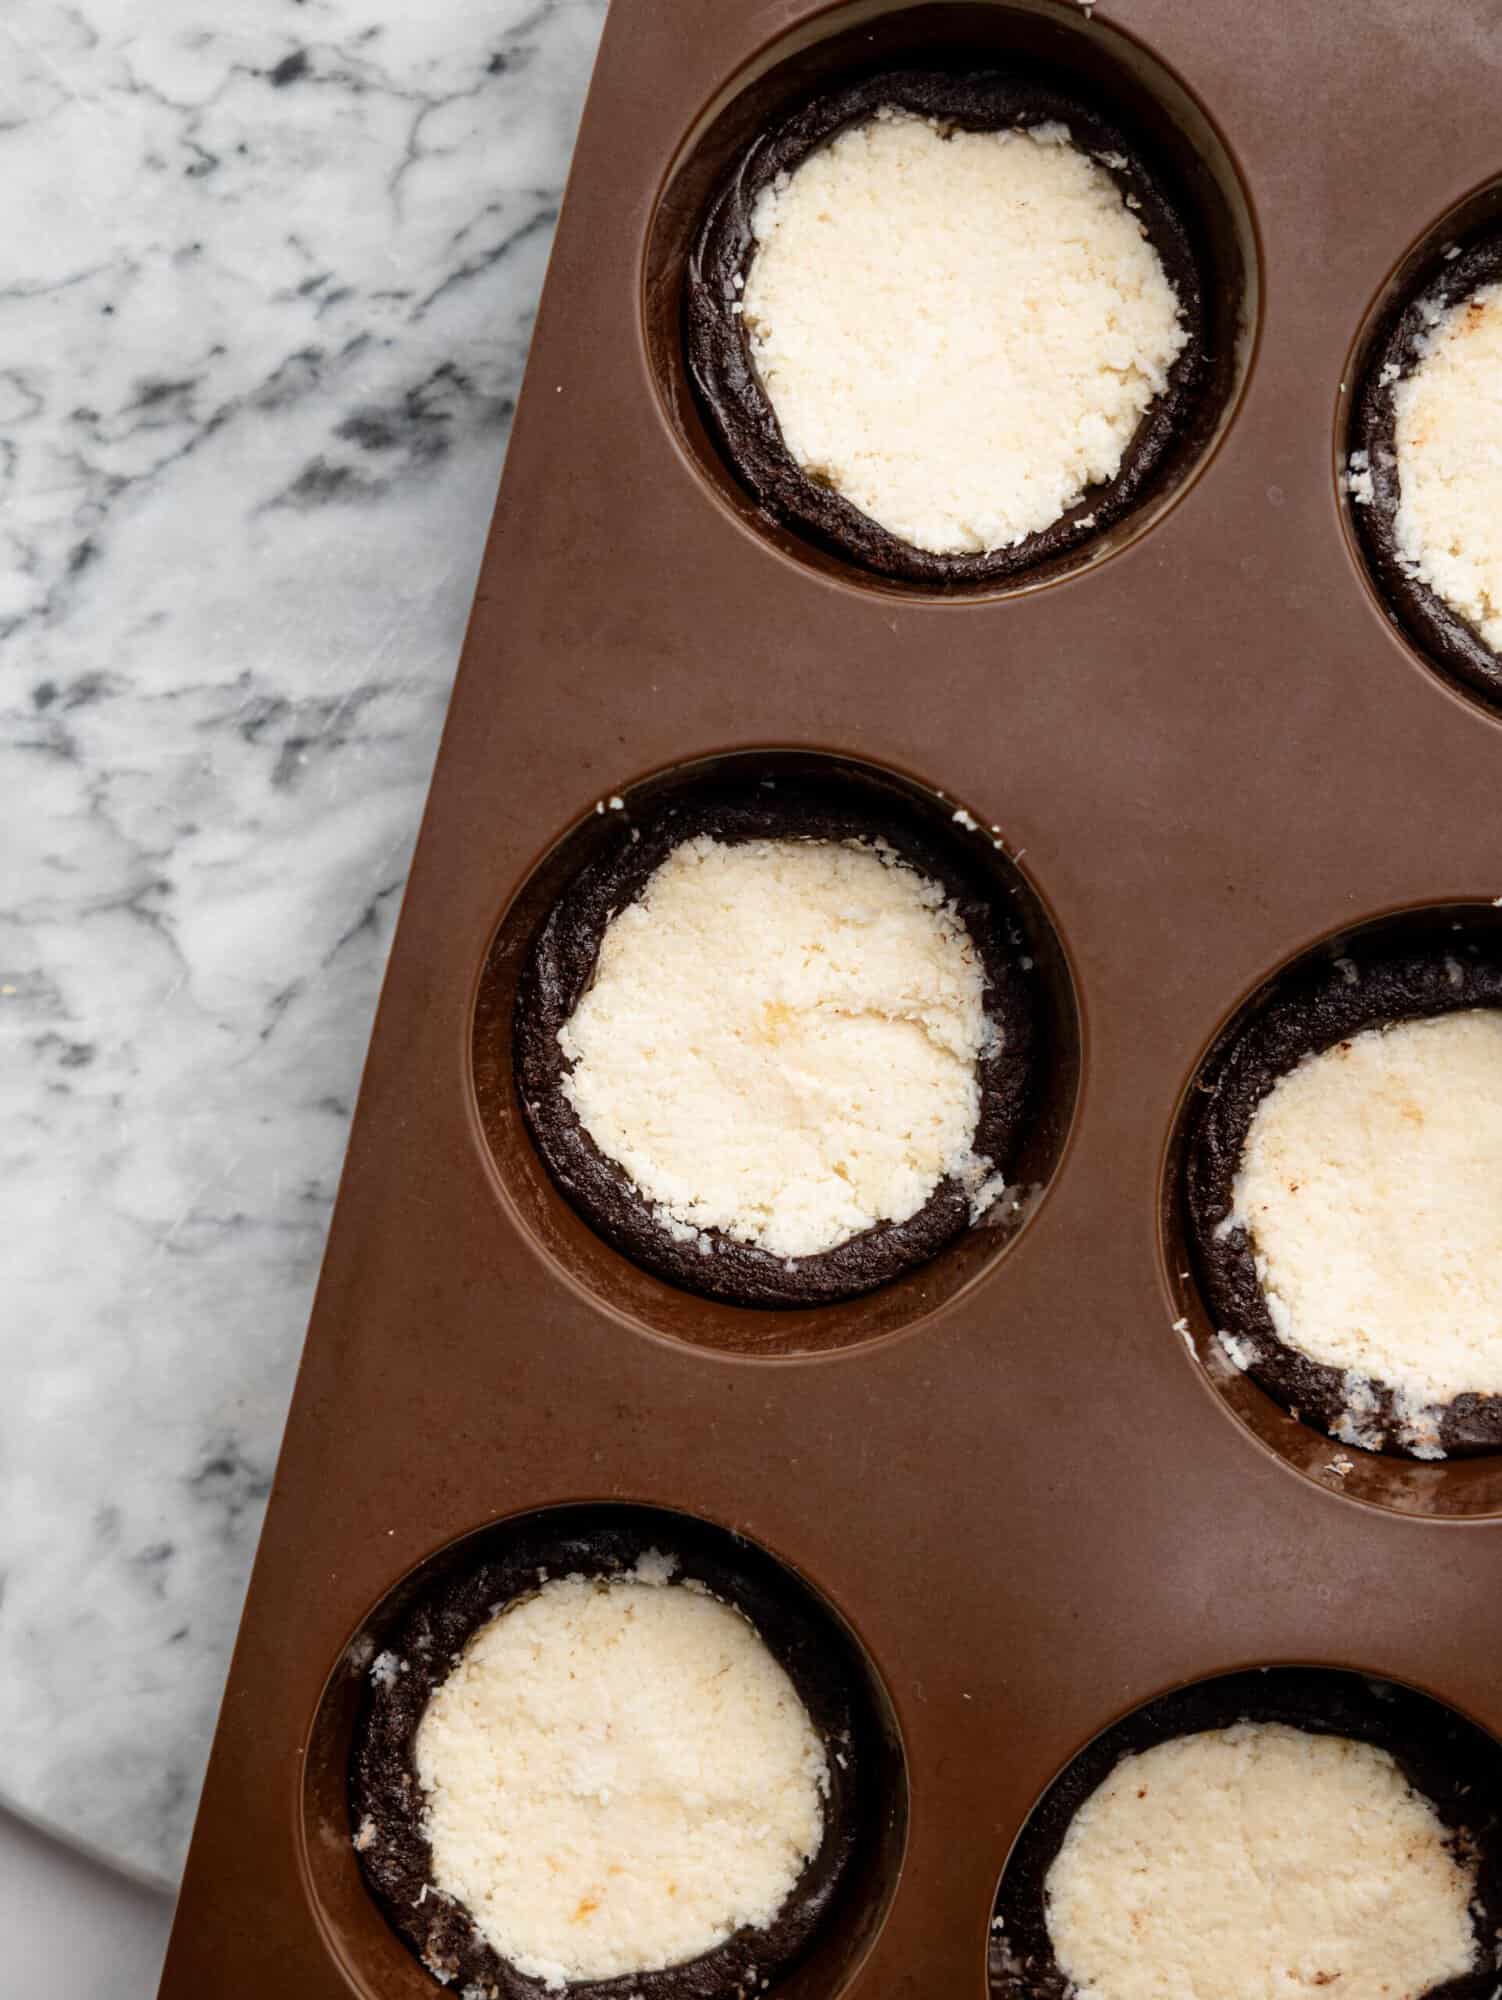
Spoon the coconut mixture evenly into each brownie cup, smoothing the tops gently.
Step Six:
Melt the dark chocolate in the microwave in 20–30 second intervals, stirring in between, until smooth and glossy. Alternatively, melt it over a double boiler.
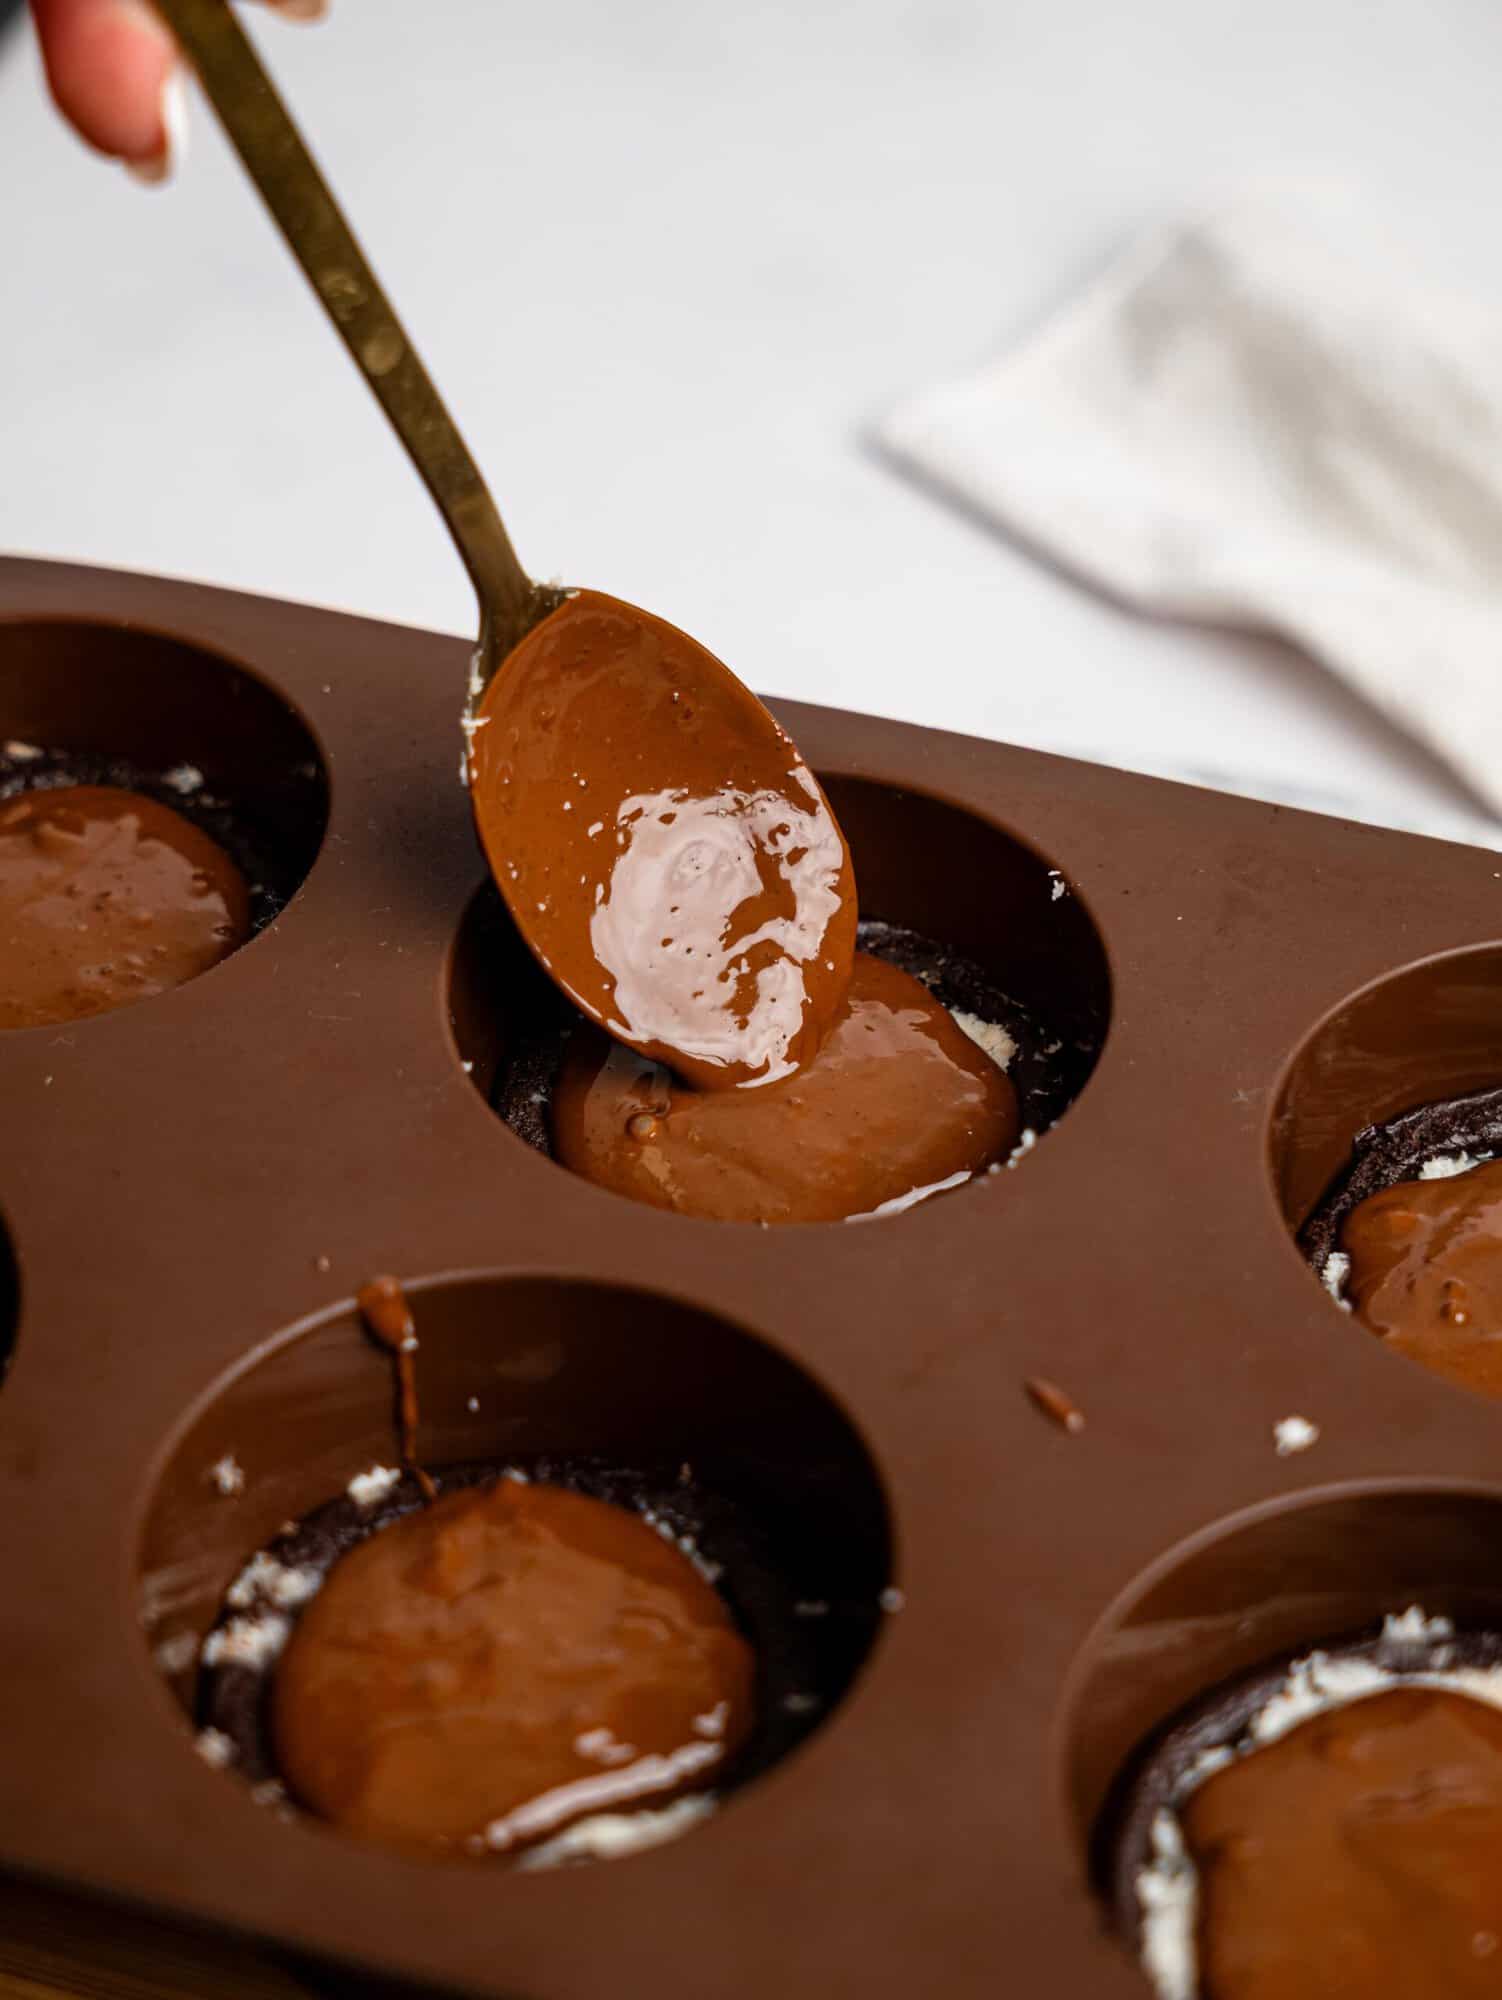
Step Seven:
Spoon the melted chocolate over each cup, spreading it out to fully cover the coconut filling.
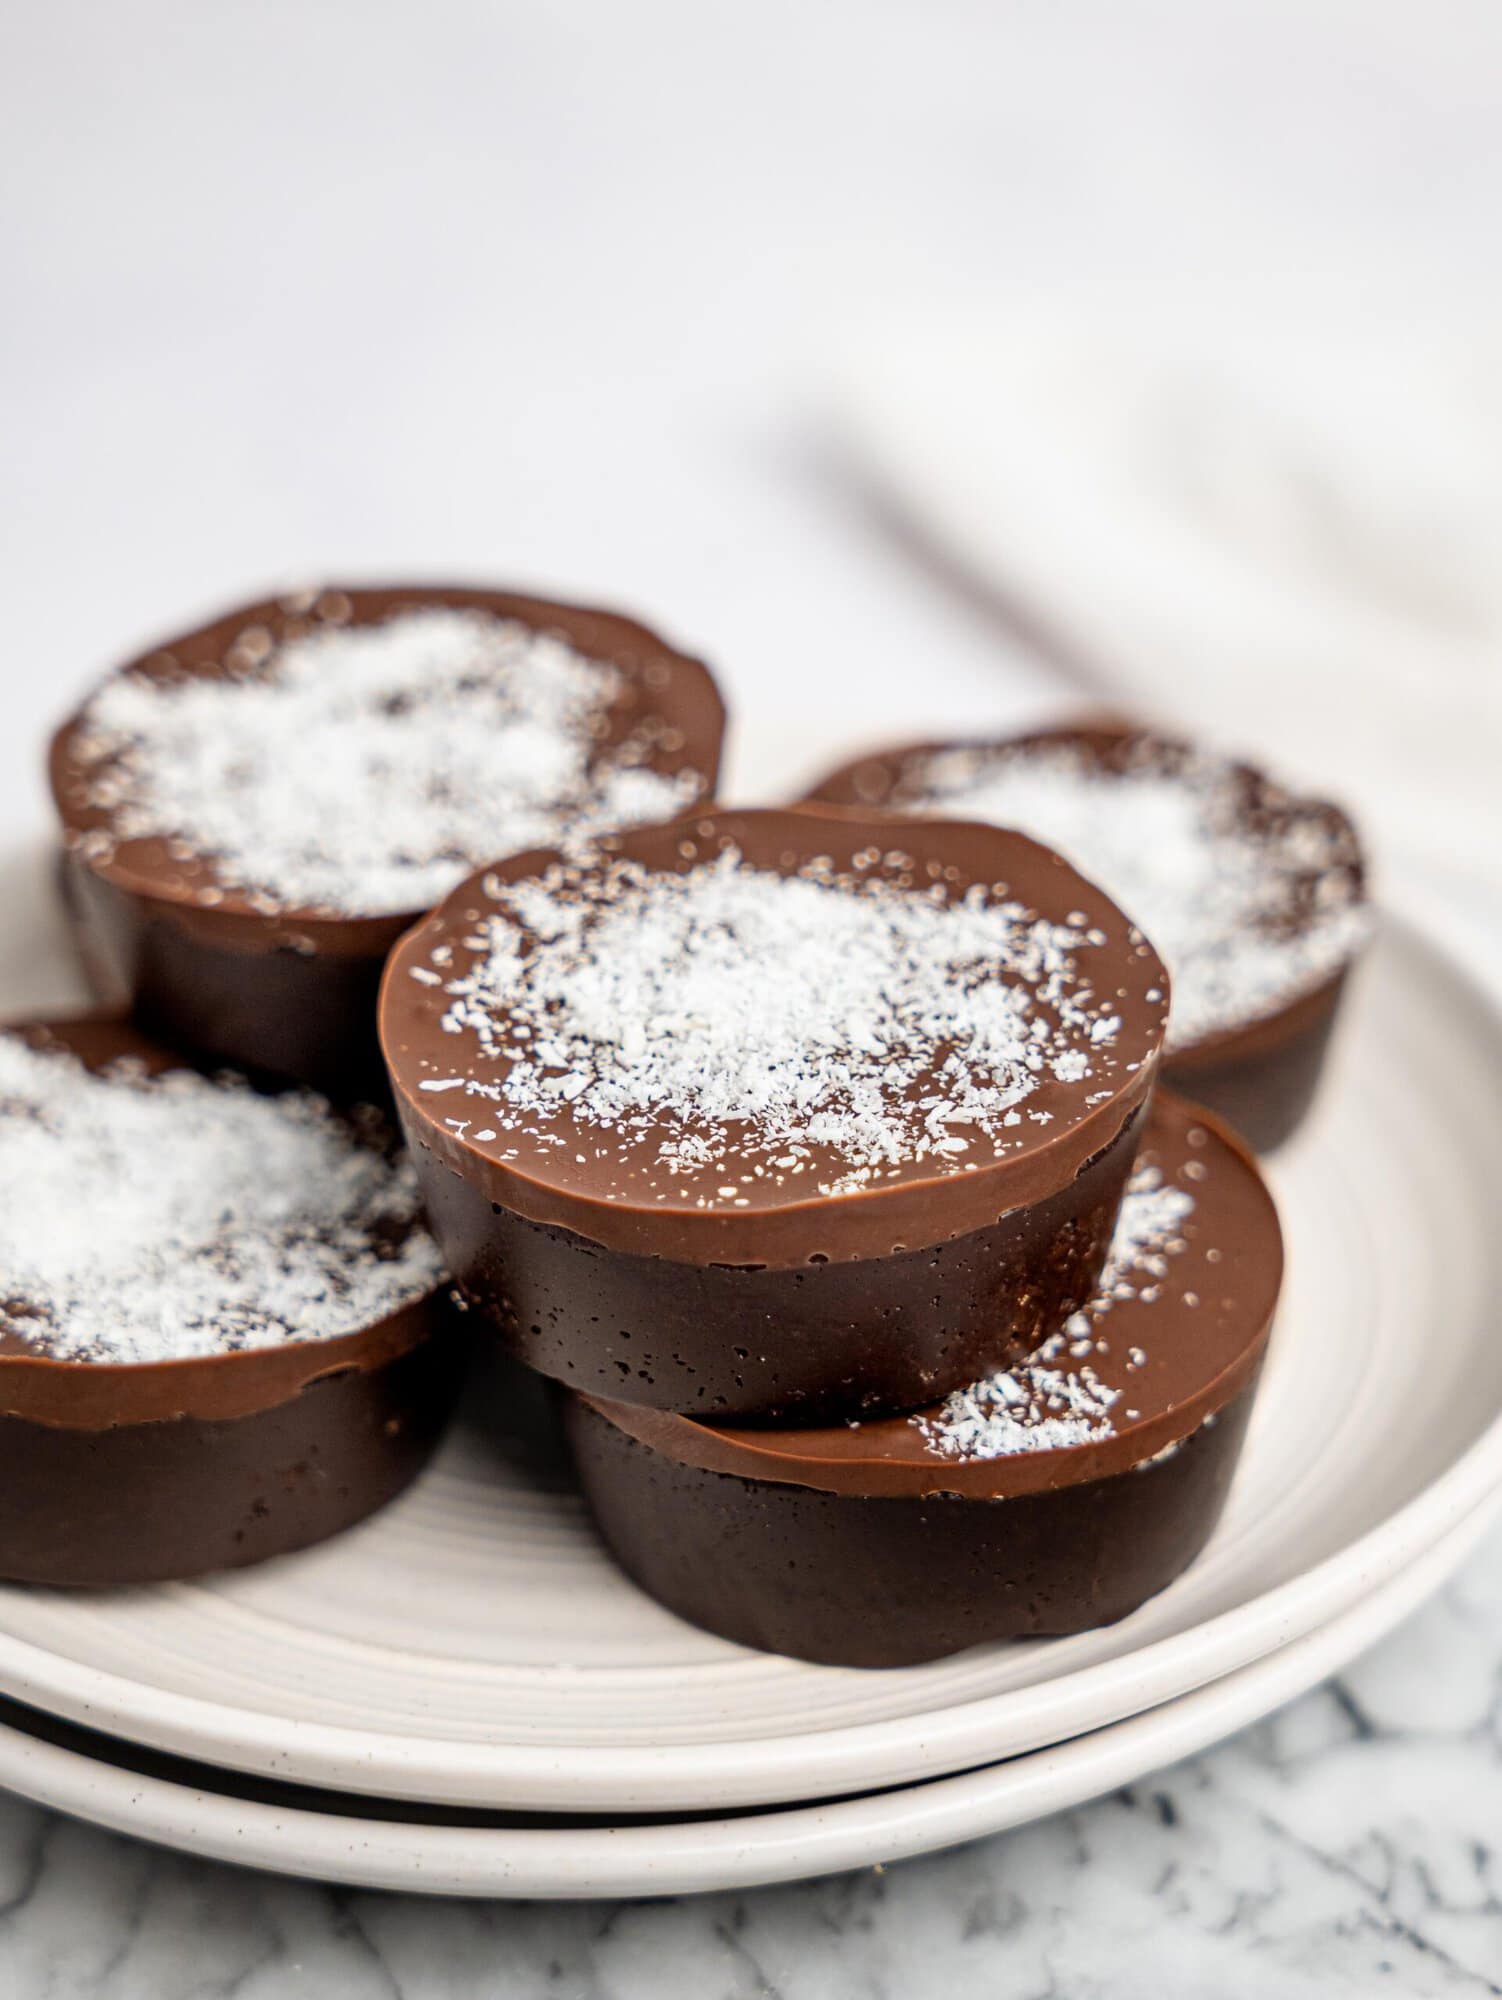
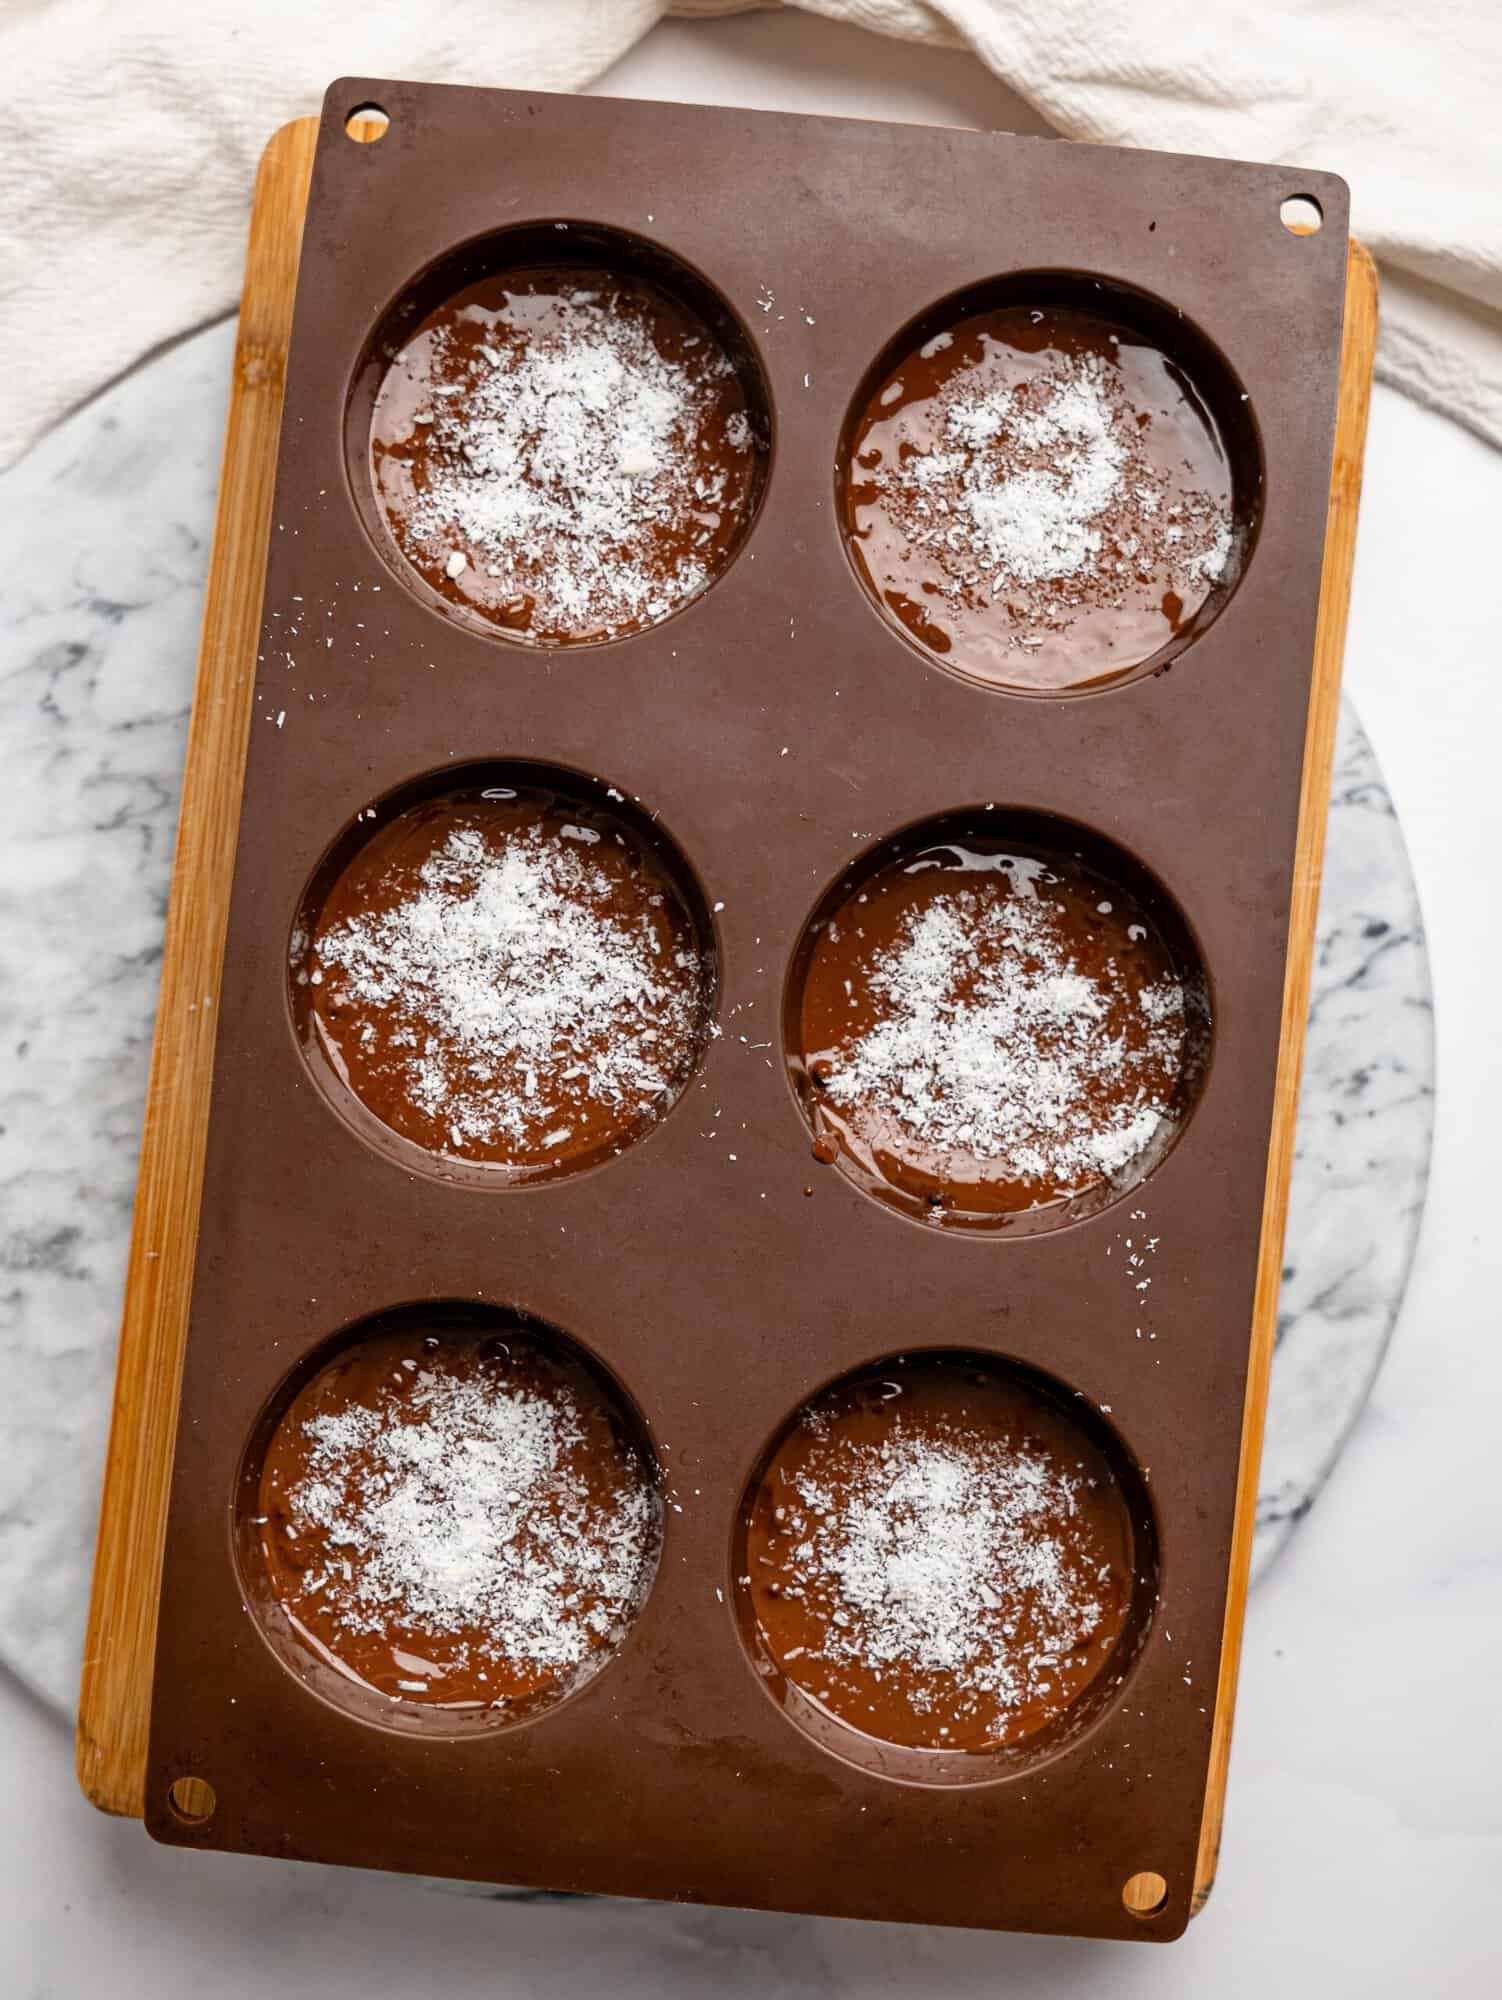
Step Eight:
Sprinkle extra desiccated coconut over the top while the chocolate is still melted so it sticks.
Step Nine:
Place the tray in the fridge for at least 1–2 hours, or in the freezer for 30–45 minutes, until the cups are firm and set.
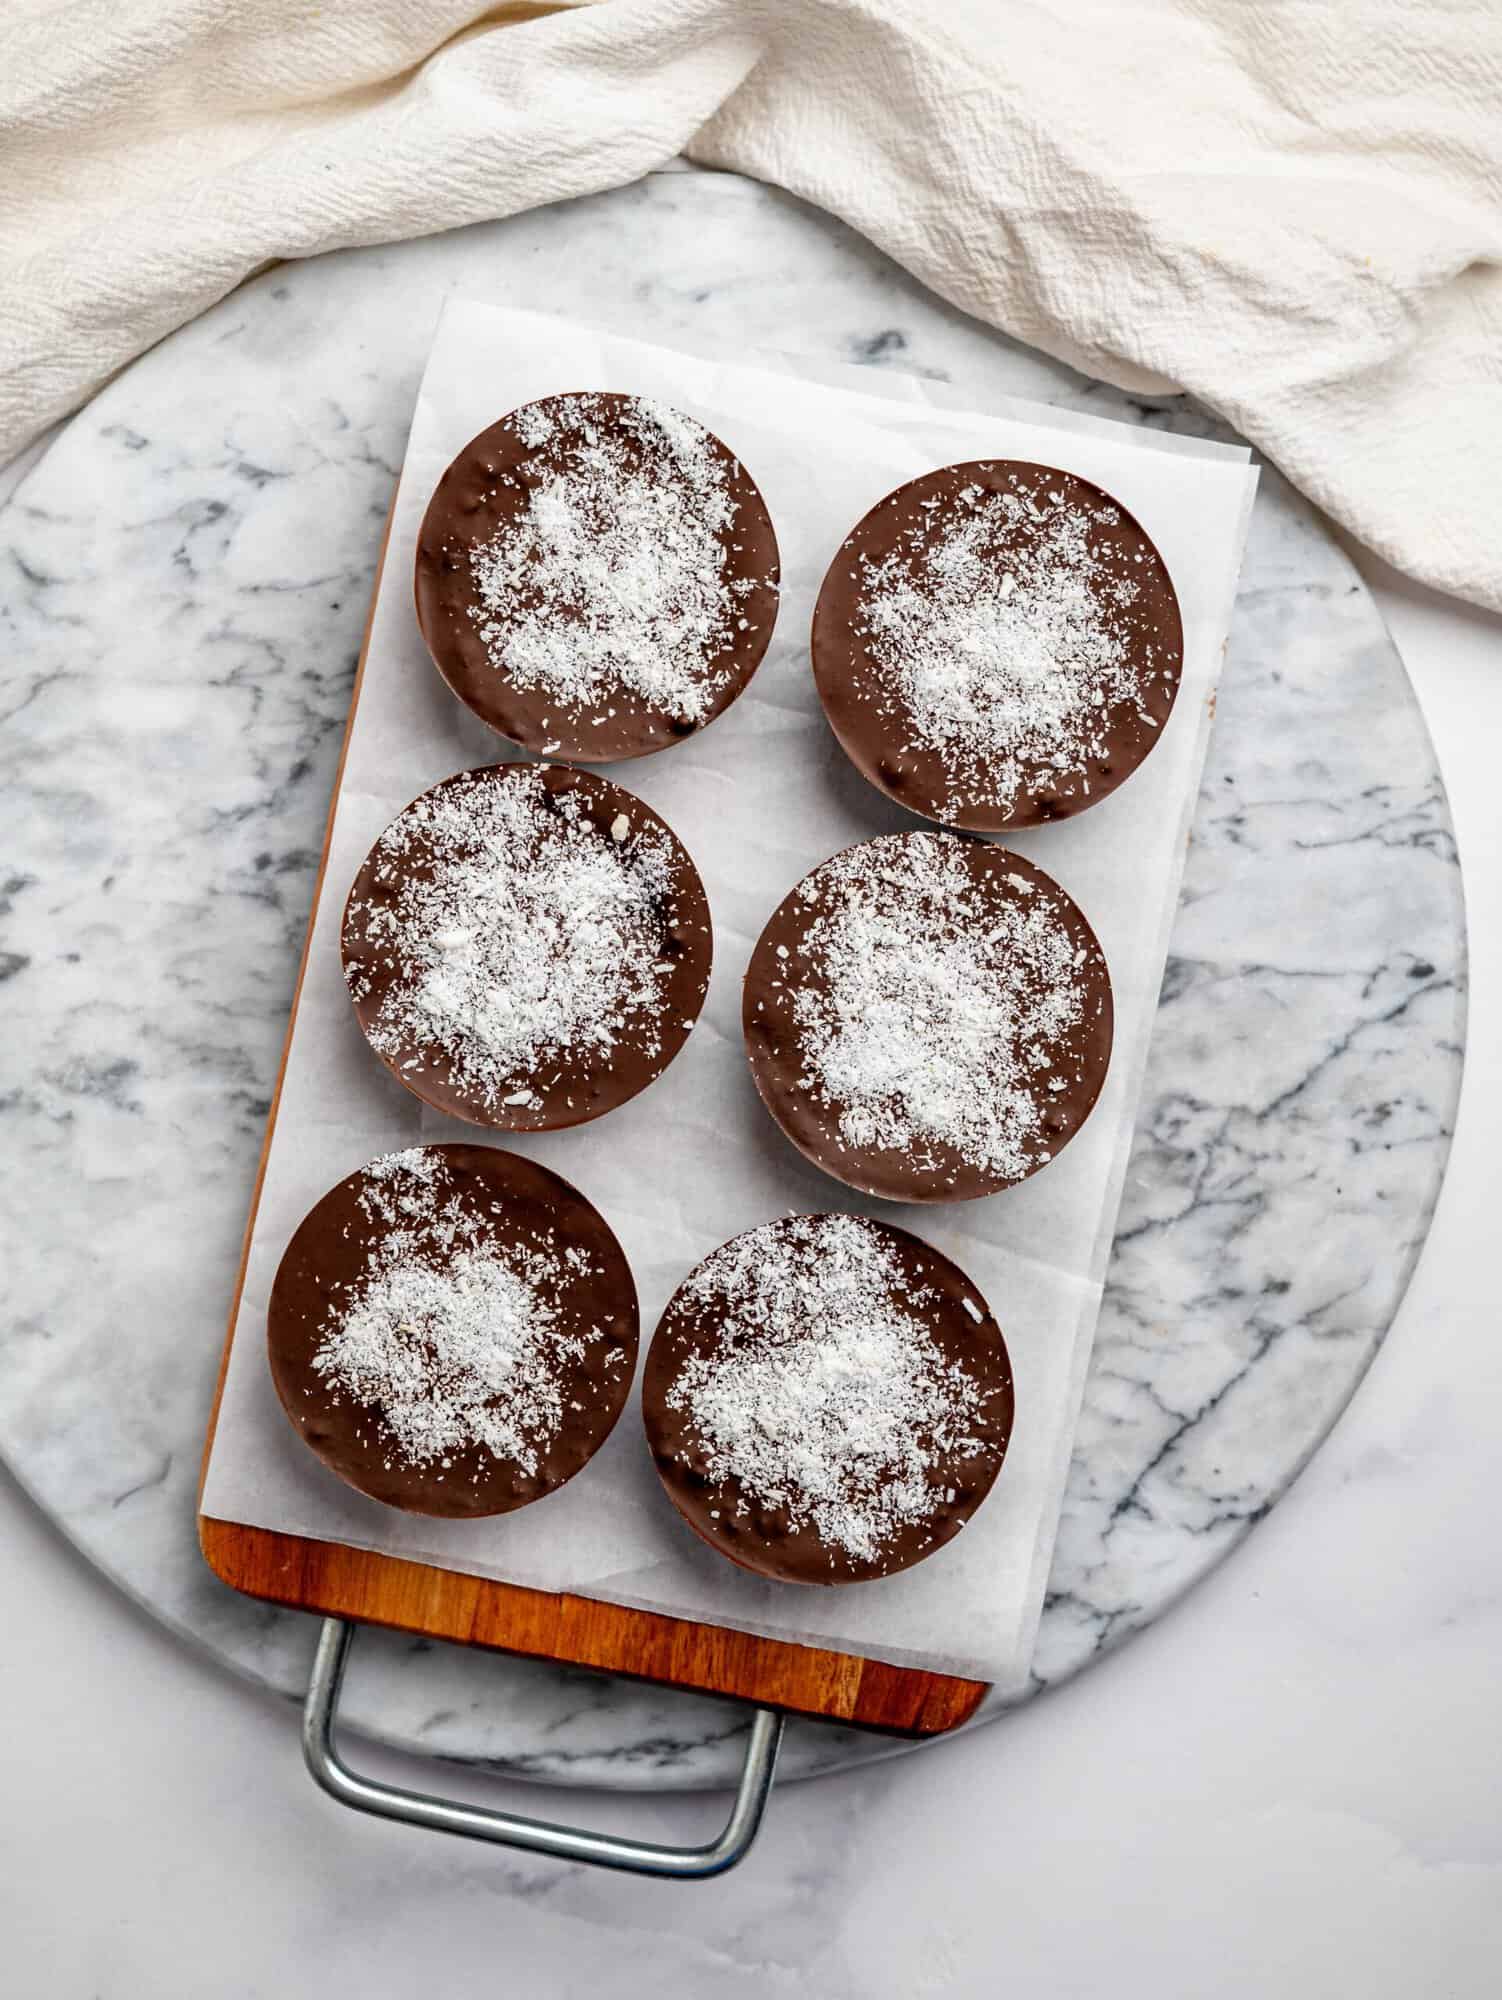
Step Ten:
Carefully remove from the tray and enjoy. If frozen, allow them to sit at room temperature for a few minutes before eating for the best texture.
Tips & Notes
- Base consistency: If your base feels too soft or sticky, add a little more cocoa powder or place it in the fridge for a few minutes to firm up before shaping.
- Shape properly: Press the base firmly into the moulds so the cups hold their shape and don’t crumble when removed.
- Filling texture: If your coconut filling feels too runny, mix in a bit more desiccated coconut to thicken it.
- Smooth topping: Spread the chocolate gently over the top to create an even layer that sets nicely.
- Let it set: Allow the chocolate to fully set before serving or storing for the best texture.
- Storage texture: Store in the fridge for a softer, creamier bite, or in the freezer for a firmer texture.
- Serving tip: If frozen, let them sit at room temperature for a few minutes before eating for the best consistency.
- Extra flavour: Add a sprinkle of sea salt on top for a sweet and salty twist.
- Meal prep: Store in an airtight container and enjoy throughout the week.
Frequently Asked Questions
Can I make these dairy-free?
Yes, simply swap the Greek yoghurt for a dairy-free alternative like coconut yoghurt to keep the filling creamy.
Are these healthy?
They’re made with simple, wholesome ingredients like peanut butter, yoghurt, and cocoa powder, making them a more balanced sweet treat compared to traditional desserts.
Are they high in protein?
Yes, thanks to the peanut butter and Greek yoghurt, these brownie cups have a good amount of protein, helping keep you satisfied.
Can I use a different nut butter?
Absolutely, almond butter or cashew butter work well, or use sunflower seed butter for a nut-free option.
How should I store them?
Store them in an airtight container in the fridge for a softer texture or in the freezer for a firmer bite.
How long do they last?
They’ll keep well for up to 4 to 5 days in the fridge, or longer if stored in the freezer.
more healthy no-bake treats:
- Healthy Rice Krispie Treats
- 3-Ingredient Chocolate Fudge
- Mini Chocolate Salted Caramel Cheesecakes
- No-Bake Chocolate Peanut Butter Cookies
Hey! If you make this recipe, I would love it if you could leave me some feedback and a rating ⭐⭐⭐⭐⭐ in the comment section at the bottom of the page! Also let me know on Facebook, Instagram or Pinterest! I can’t wait to hear your thoughts and see your photos!
Bounty Brownie Cups
Equipment
- Spoon or spatula
- Small bowl or microwave-safe dish
- Spoon
- Fridge or freezer
Ingredients
Brownie Base
- 80 g peanut butter (¼ cup)
- 80 g honey or maple syrup (¼ cup)
- 60 g cocoa powder (½ cup)
- Pinch of salt
Coconut Filling
- 120 g Greek yoghurt or coconut yoghurt for dairy-free (½ cup)
- 60 g desiccated coconut (¾ cup)
- 1 tbsp honey
Topping
- 80 g dark chocolate melted (½ cup)
- Extra desiccated coconut for sprinkling
Instructions
- In a bowl, combine the peanut butter, honey, cocoa powder, and a pinch of salt. Mix until smooth and thick.
- Divide the mixture into 6 portions. Press each portion into a silicone muffin tray, pressing down and up the sides to form small cups.
- In a separate bowl, mix together the yoghurt, desiccated coconut, and honey until well combined.
- Spoon the coconut filling evenly into each brownie cup.
- Melt the dark chocolate and spoon it over each cup, spreading it gently to cover the filling.
- Sprinkle with extra desiccated coconut.
- Place in the fridge or freezer until firm.
Video
Notes
- If your base feels too dry, add a little extra honey or peanut butter.
- For a thicker, creamier filling, use full-fat Greek yoghurt.
- Chill or freeze before serving for the best texture and clean layers.
- Let them sit at room temp for a few minutes before eating if frozen.
- Swap peanut butter for almond or cashew butter if preferred.
- Add a pinch of vanilla to the filling for extra flavour.
- Store in the fridge for softer cups or freezer for a firmer bite.