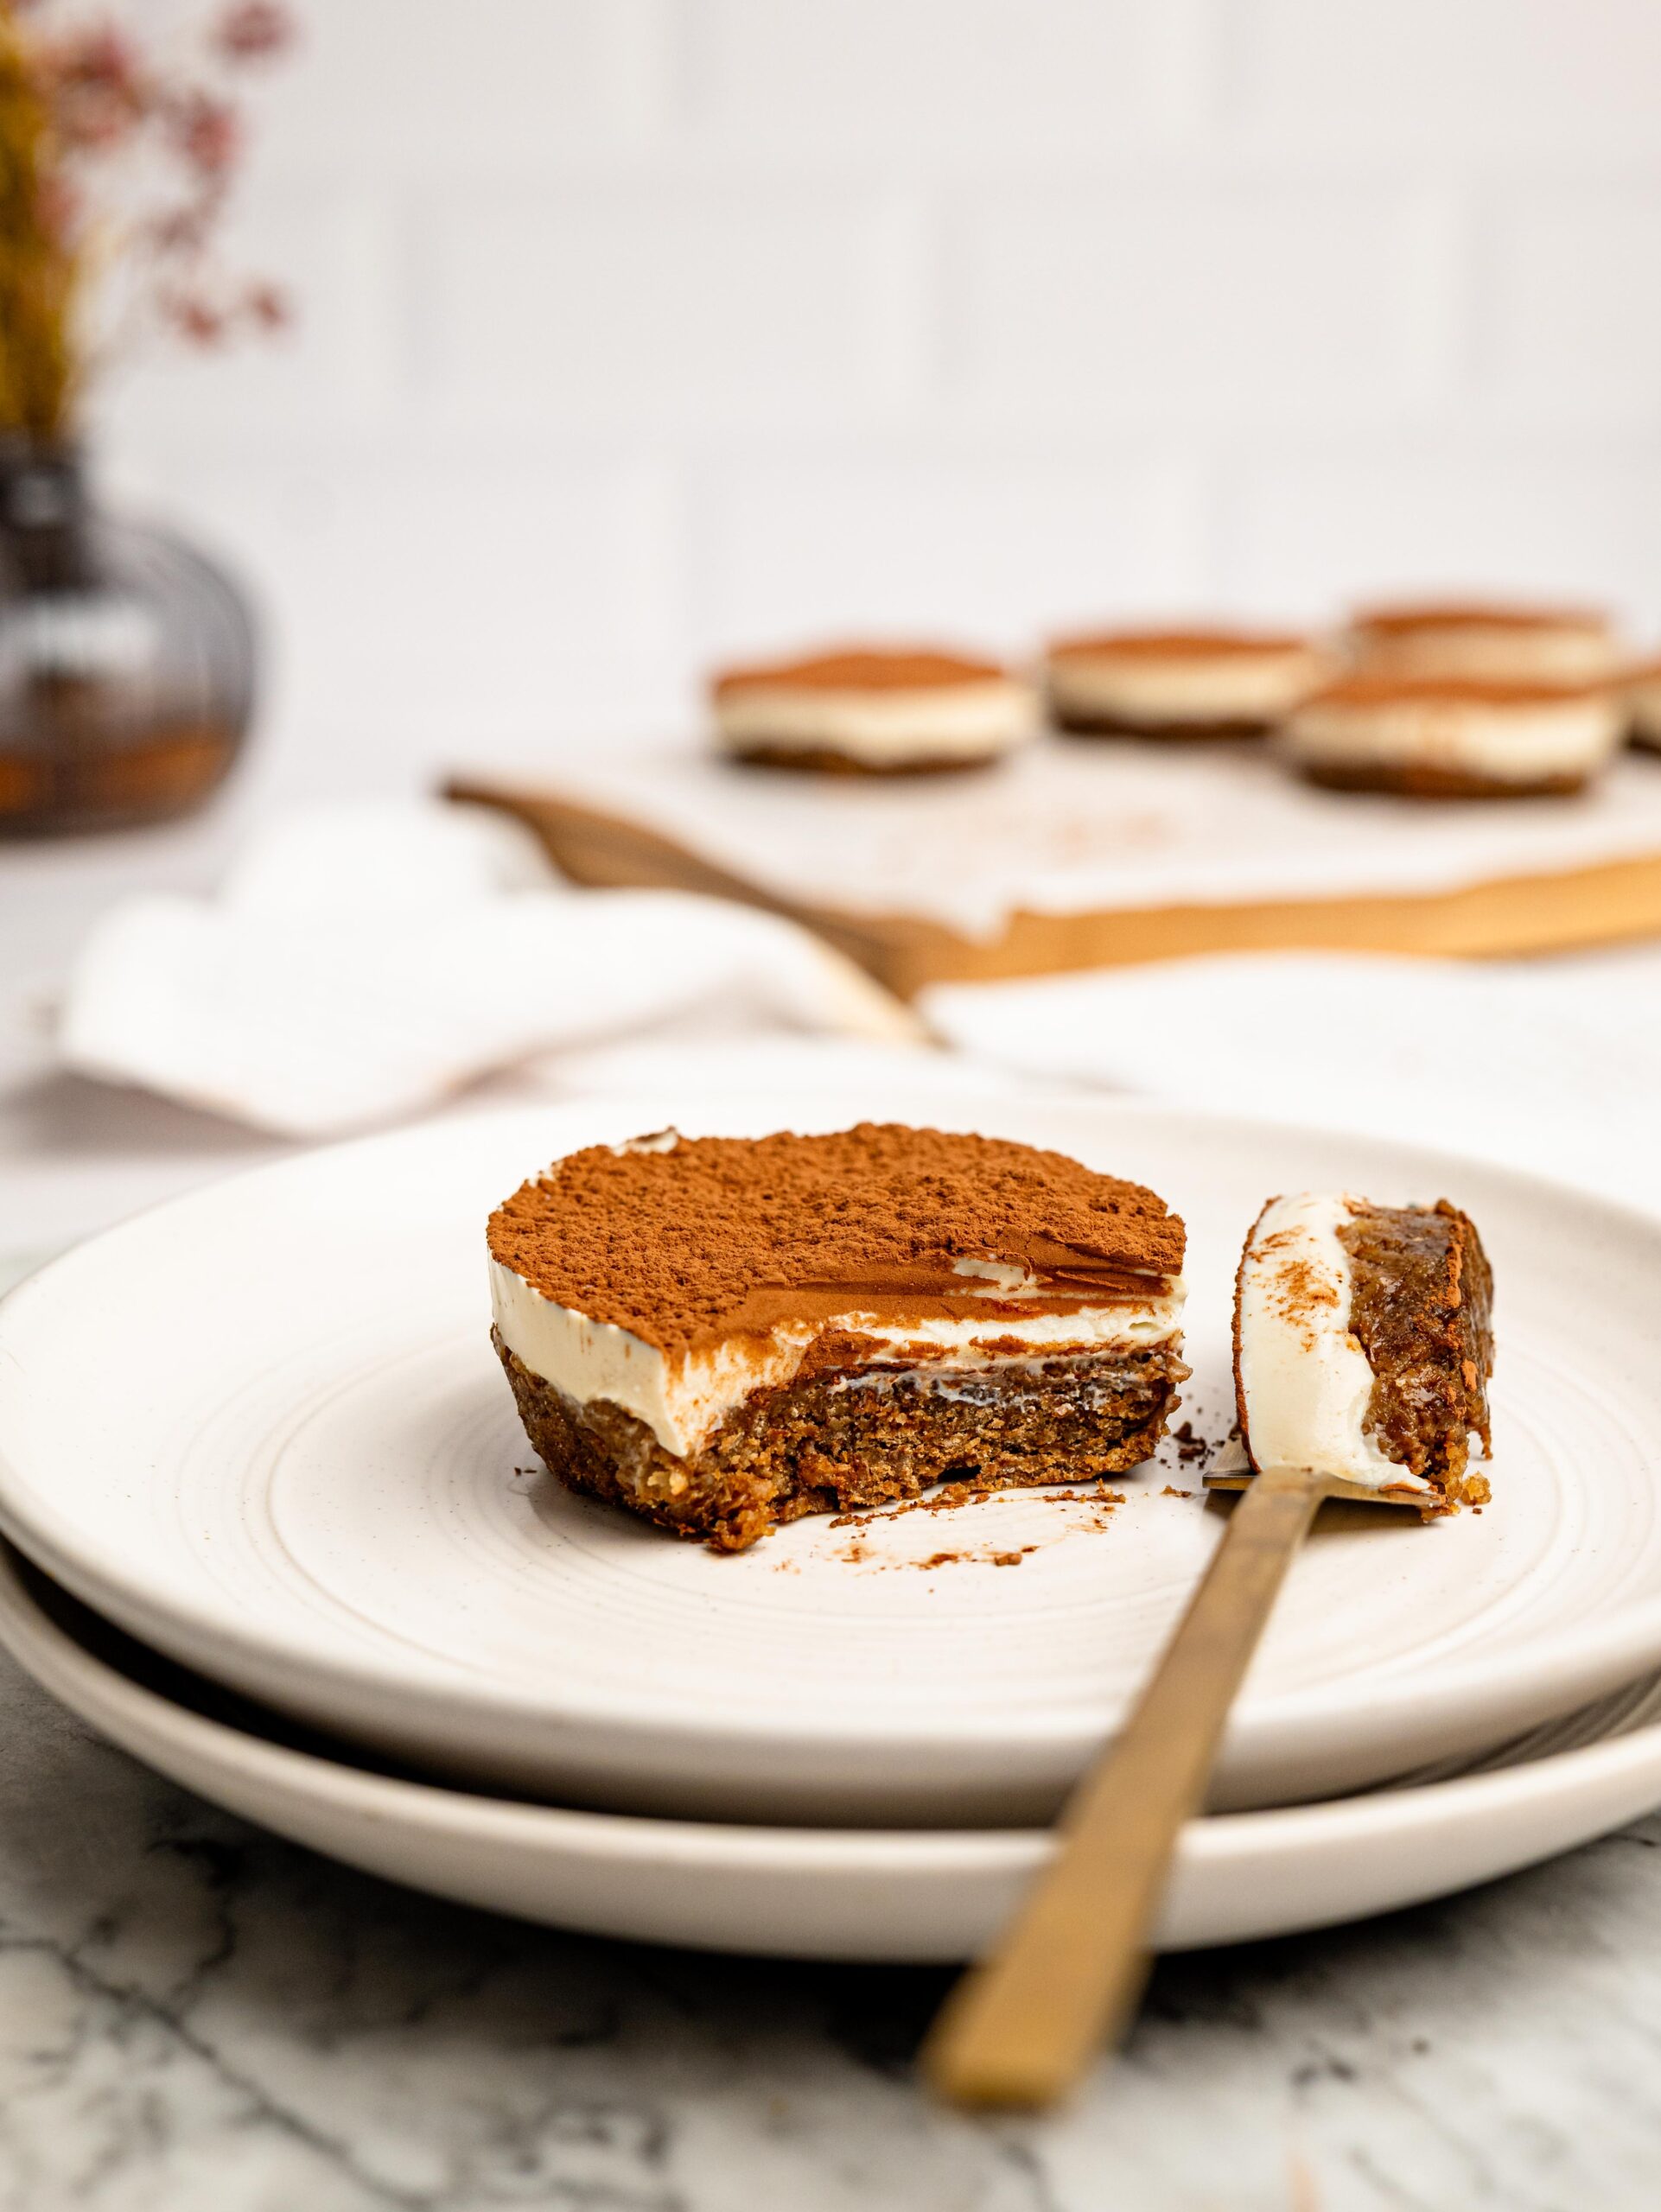
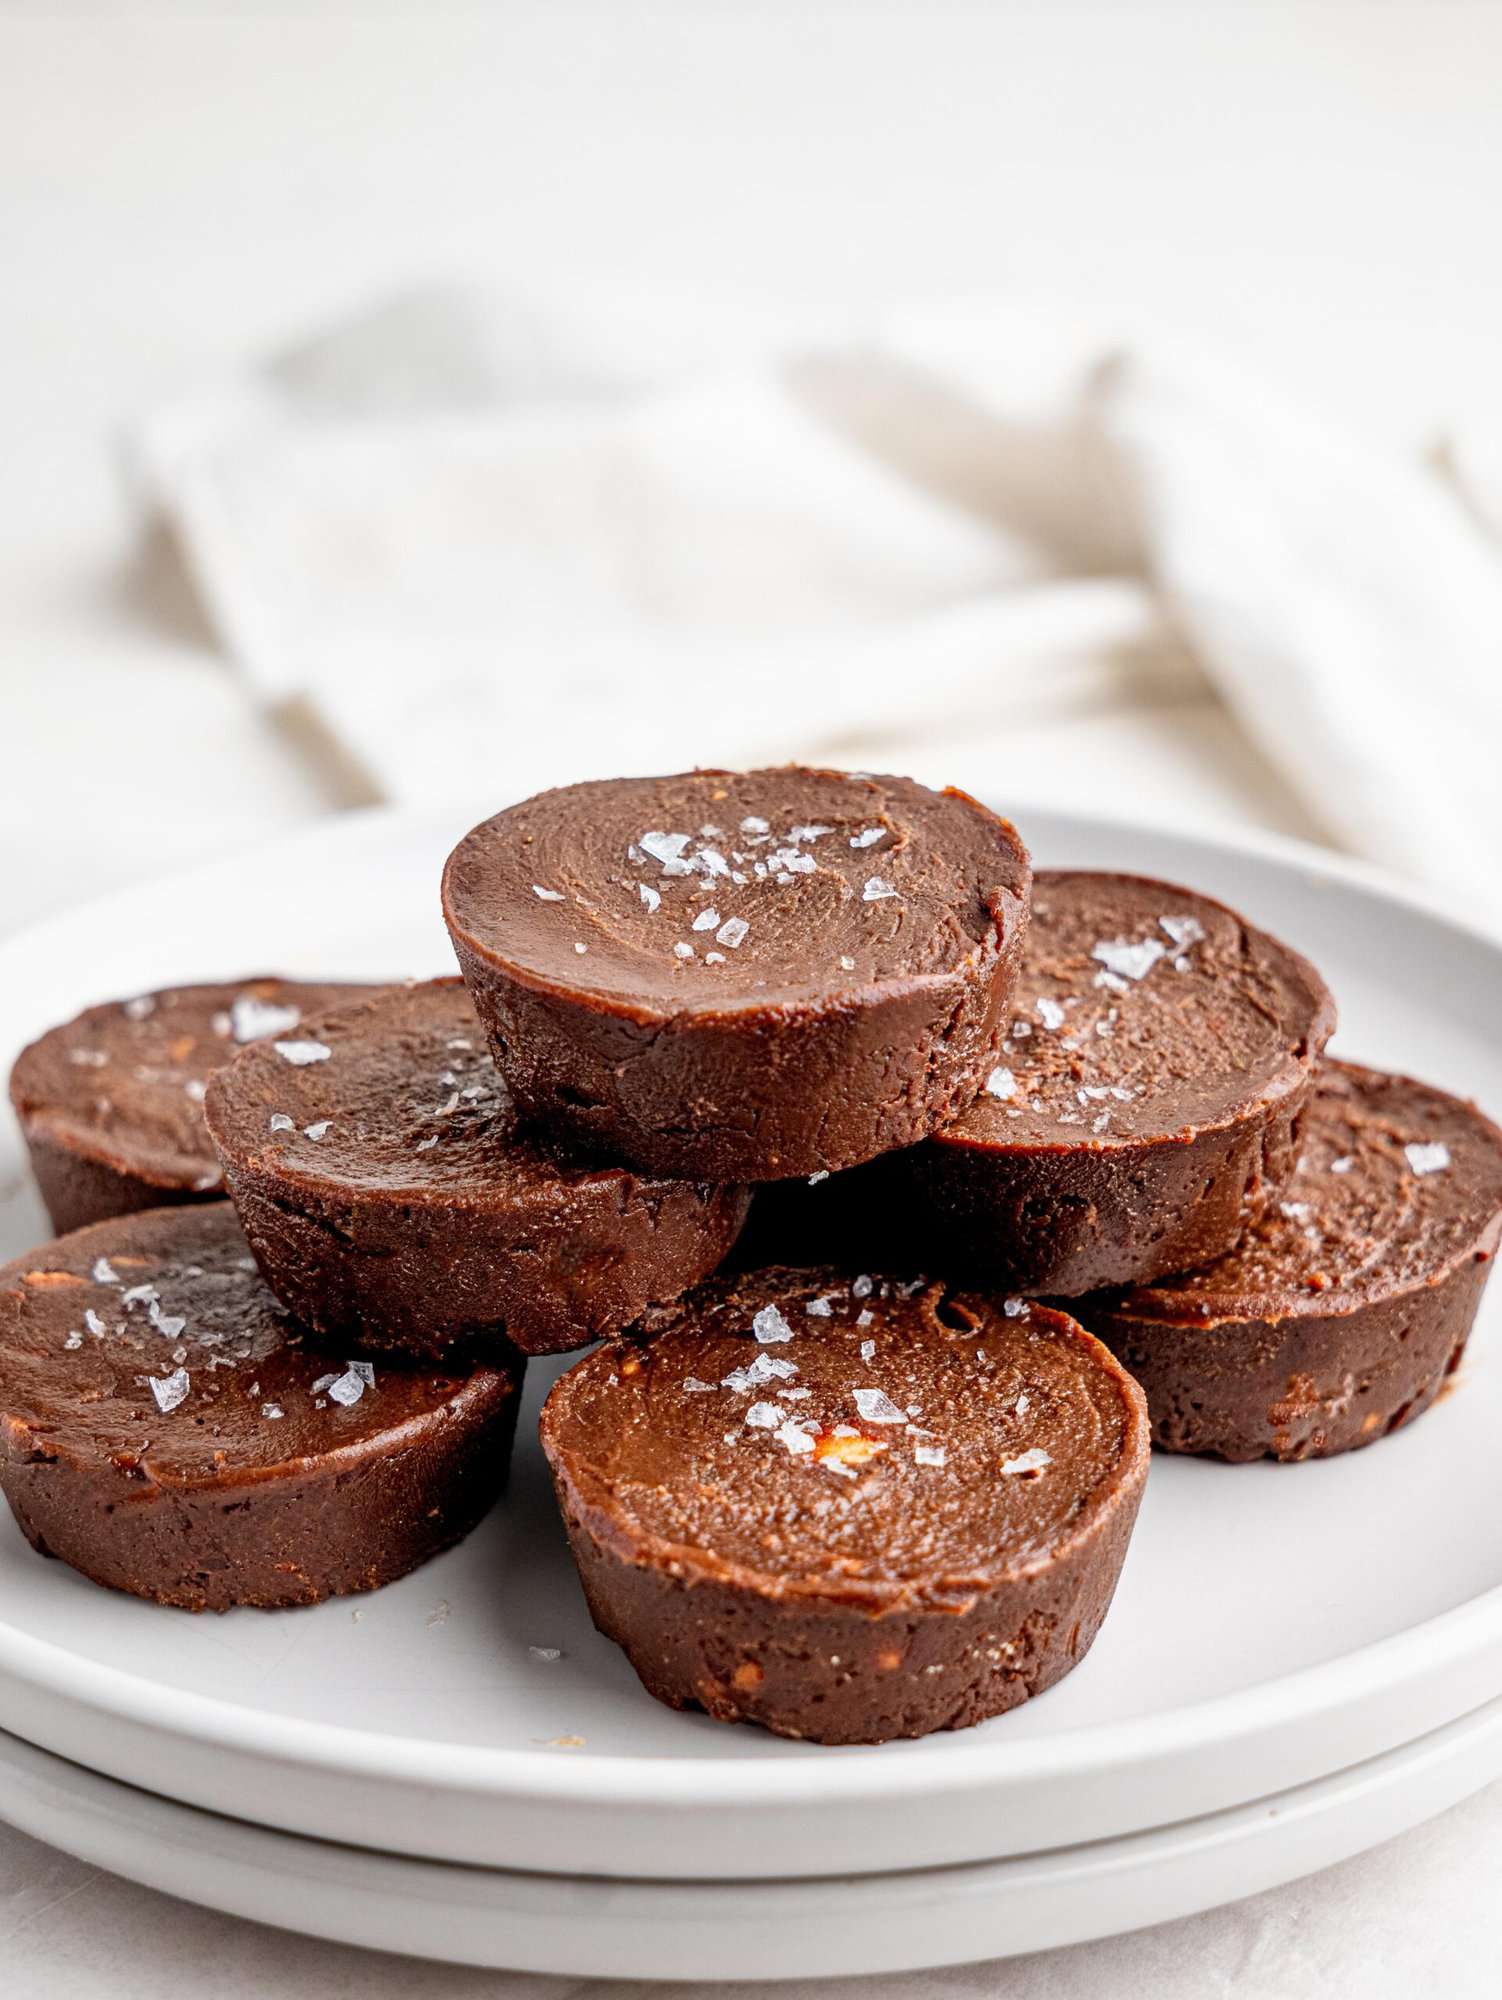
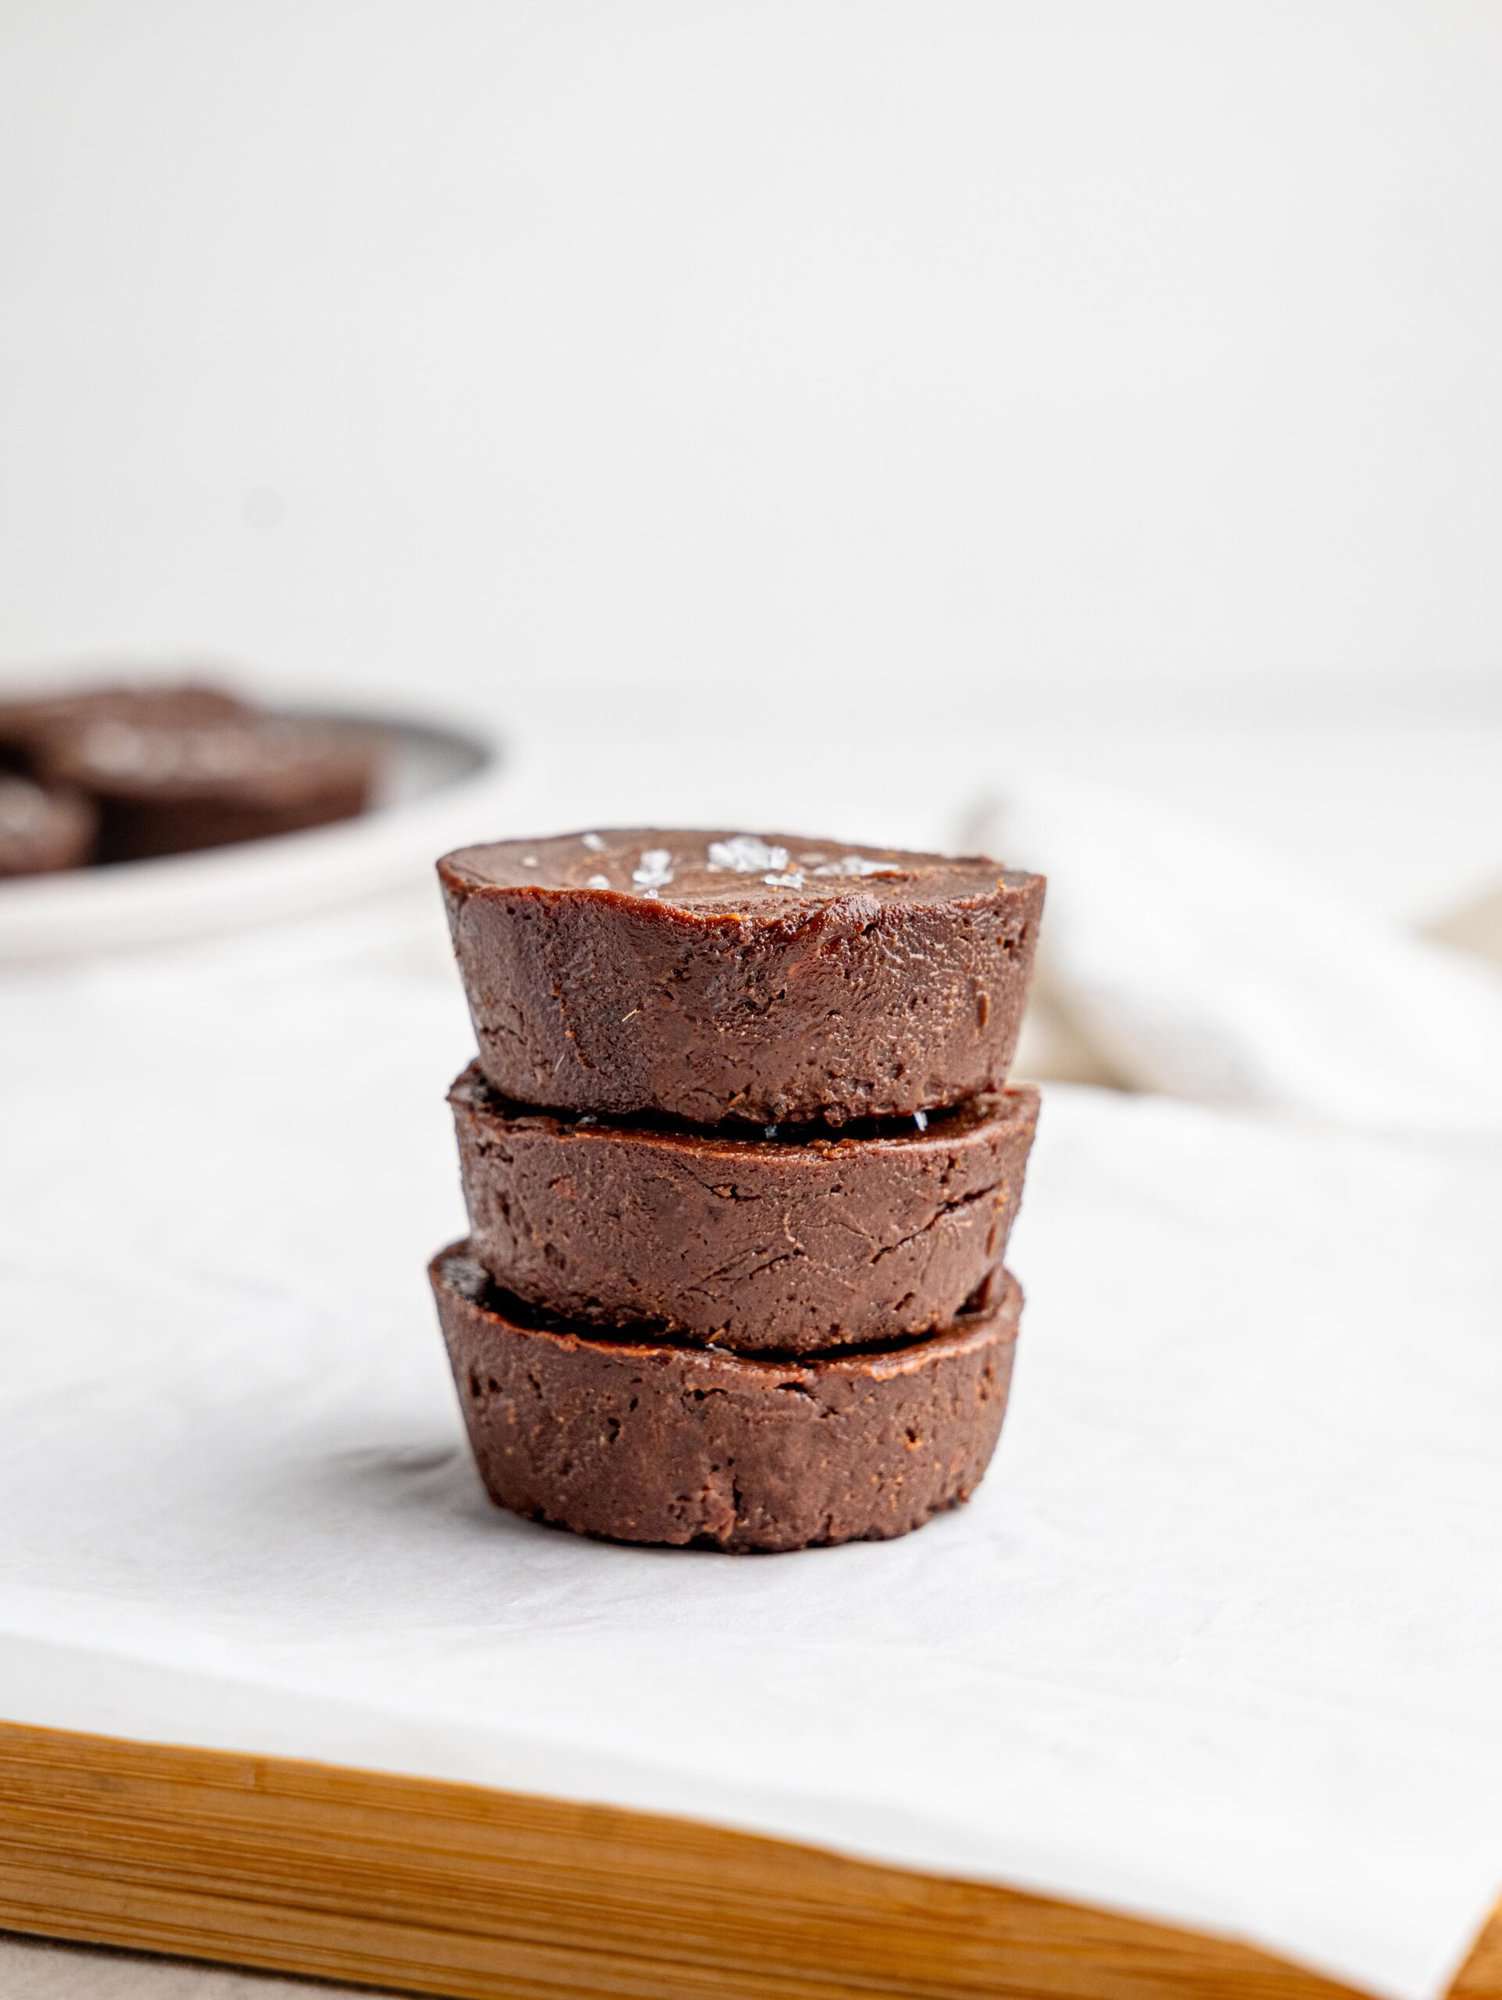
This Chocolate Freezer Fudge is made with just three ingredients, it’s incredibly easy to make, it’s healthy and it’s extremely delicious! It’s chewy, fudgy, and decadent, yet still nourishing. “Good for your soul and your body” – I like to say.
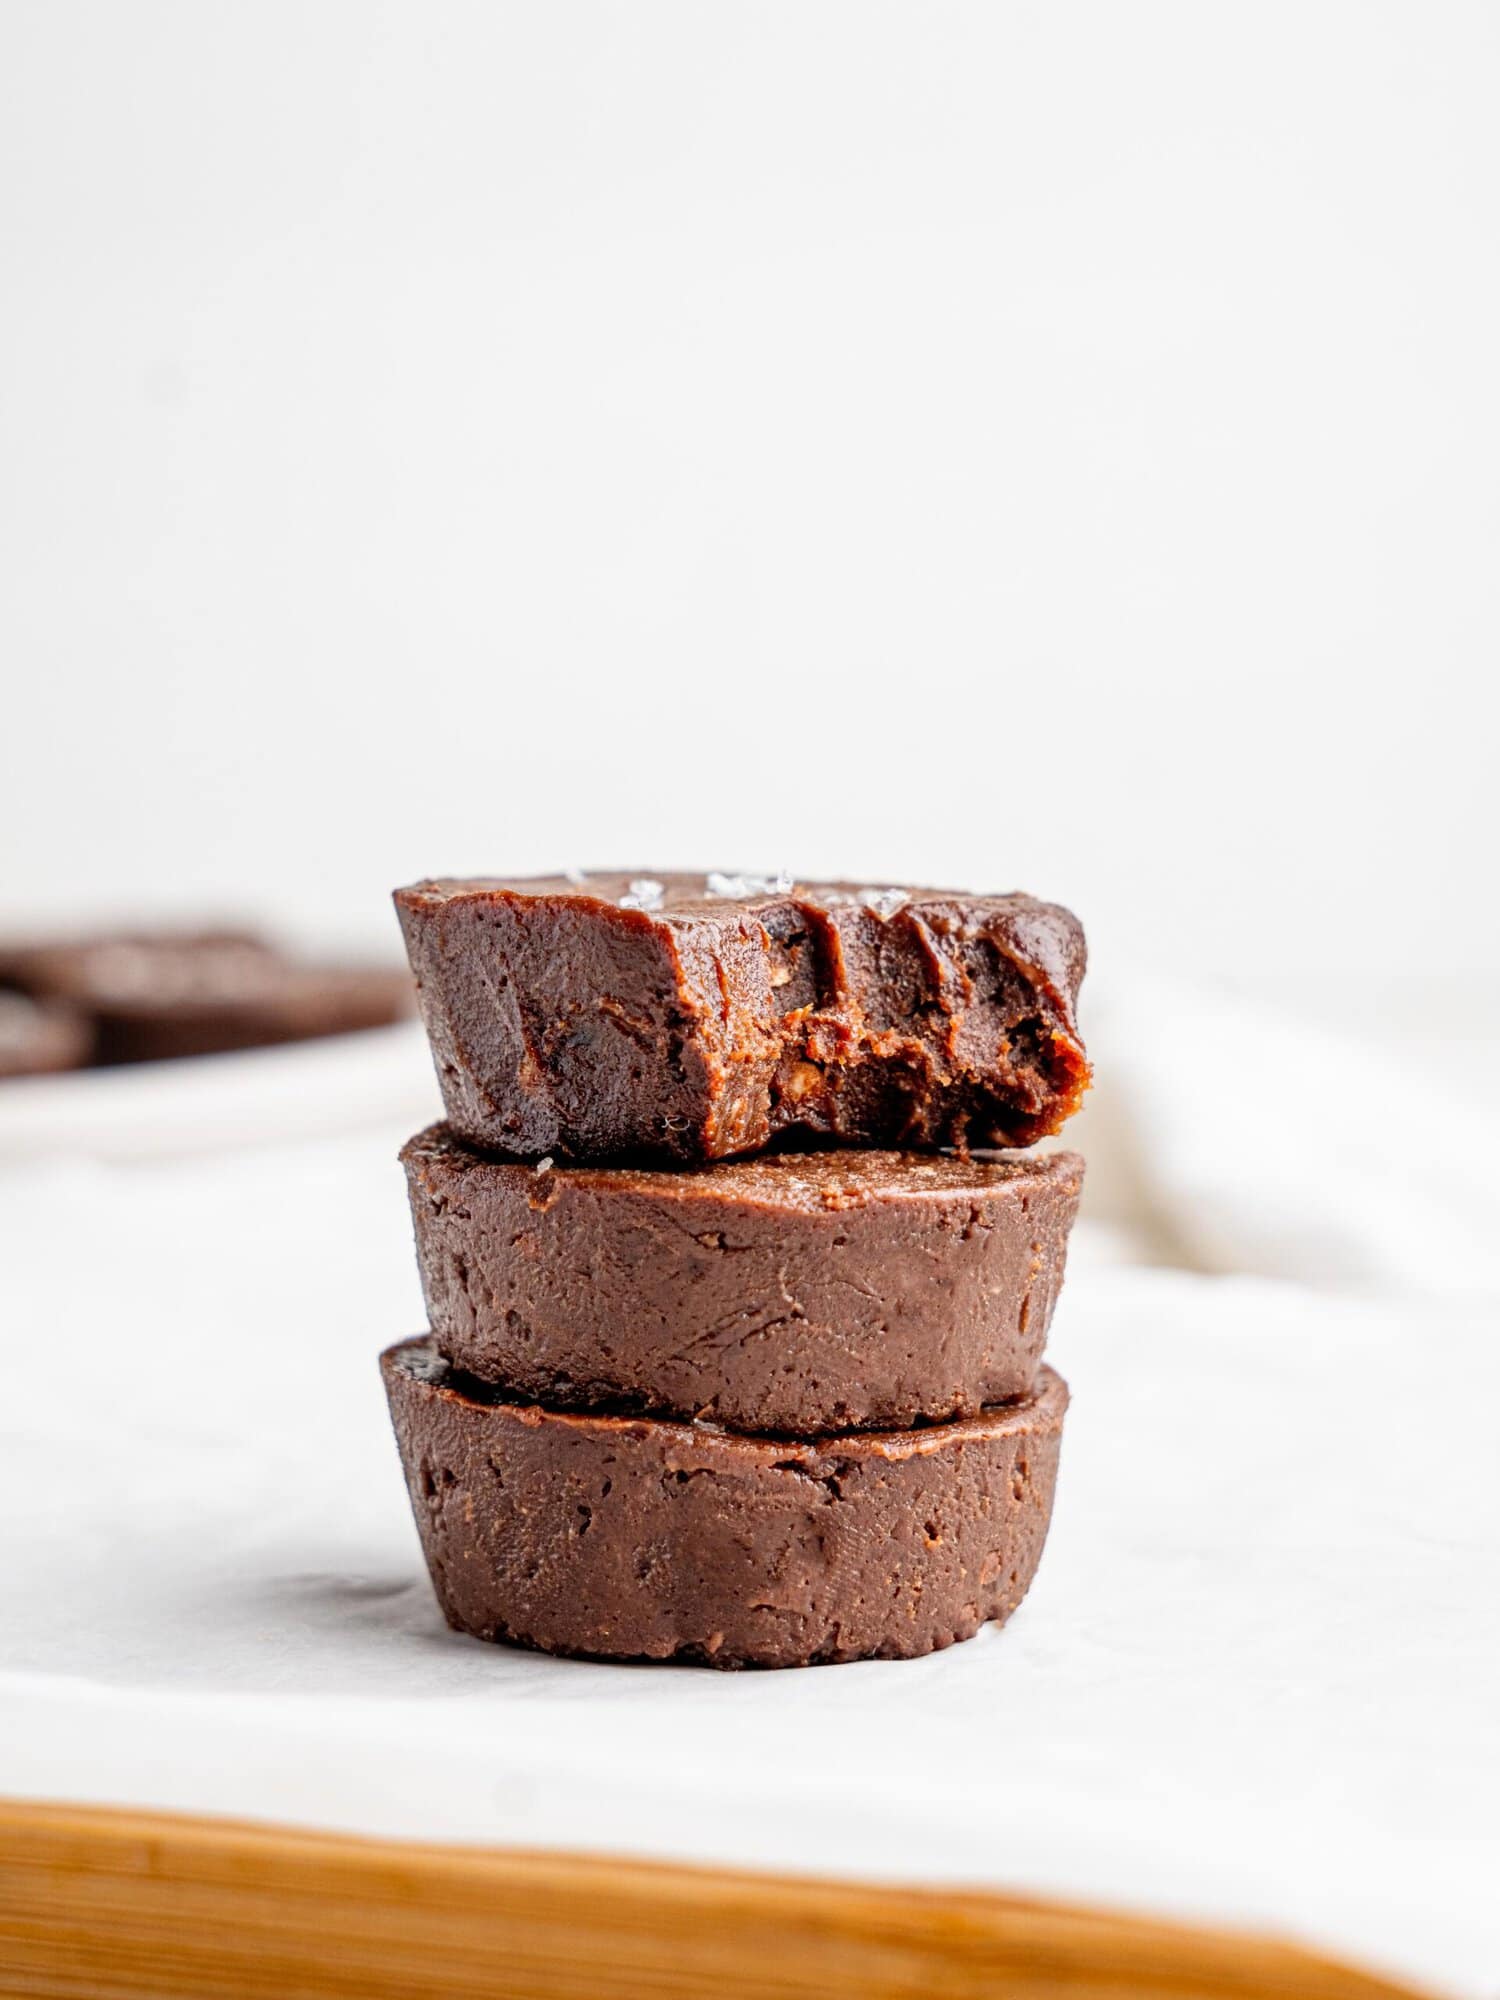
Freezer fudge is very similar to regular fudge in taste and texture, however, it’s stored in the freezer to maintain that fudgy, chewy texture we all desire from fudge.
This chocolate freezer fudge is made with three simple, nourishing ingredients: dates, nut or seed butter, and dark chocolate. So not only is it delicious, it’s actually good for you, too!
This healthy chocolate fudge is quick and easy to make, and it’s very customizable – you can add in any mix-ins you like to add a crunch, extra sweetness, or even extra nutrients (more on this later).
I love making a big batch of this fudge to keep in my freezer so that whenever I’m craving something sweet and chocolatey, I have a healthy option ready to enter my mouth.
I hope you try this recipe and that you love it as much as I do!
Why you’ll love this chocolate freezer fudge:
- It’s made with just three ingredients: dates, nut/seed butter, and dark chocolate.
- It’s very easy to make.
- It’s healthy.
- It’s easily customizable, add in whatever mix-ins you like.
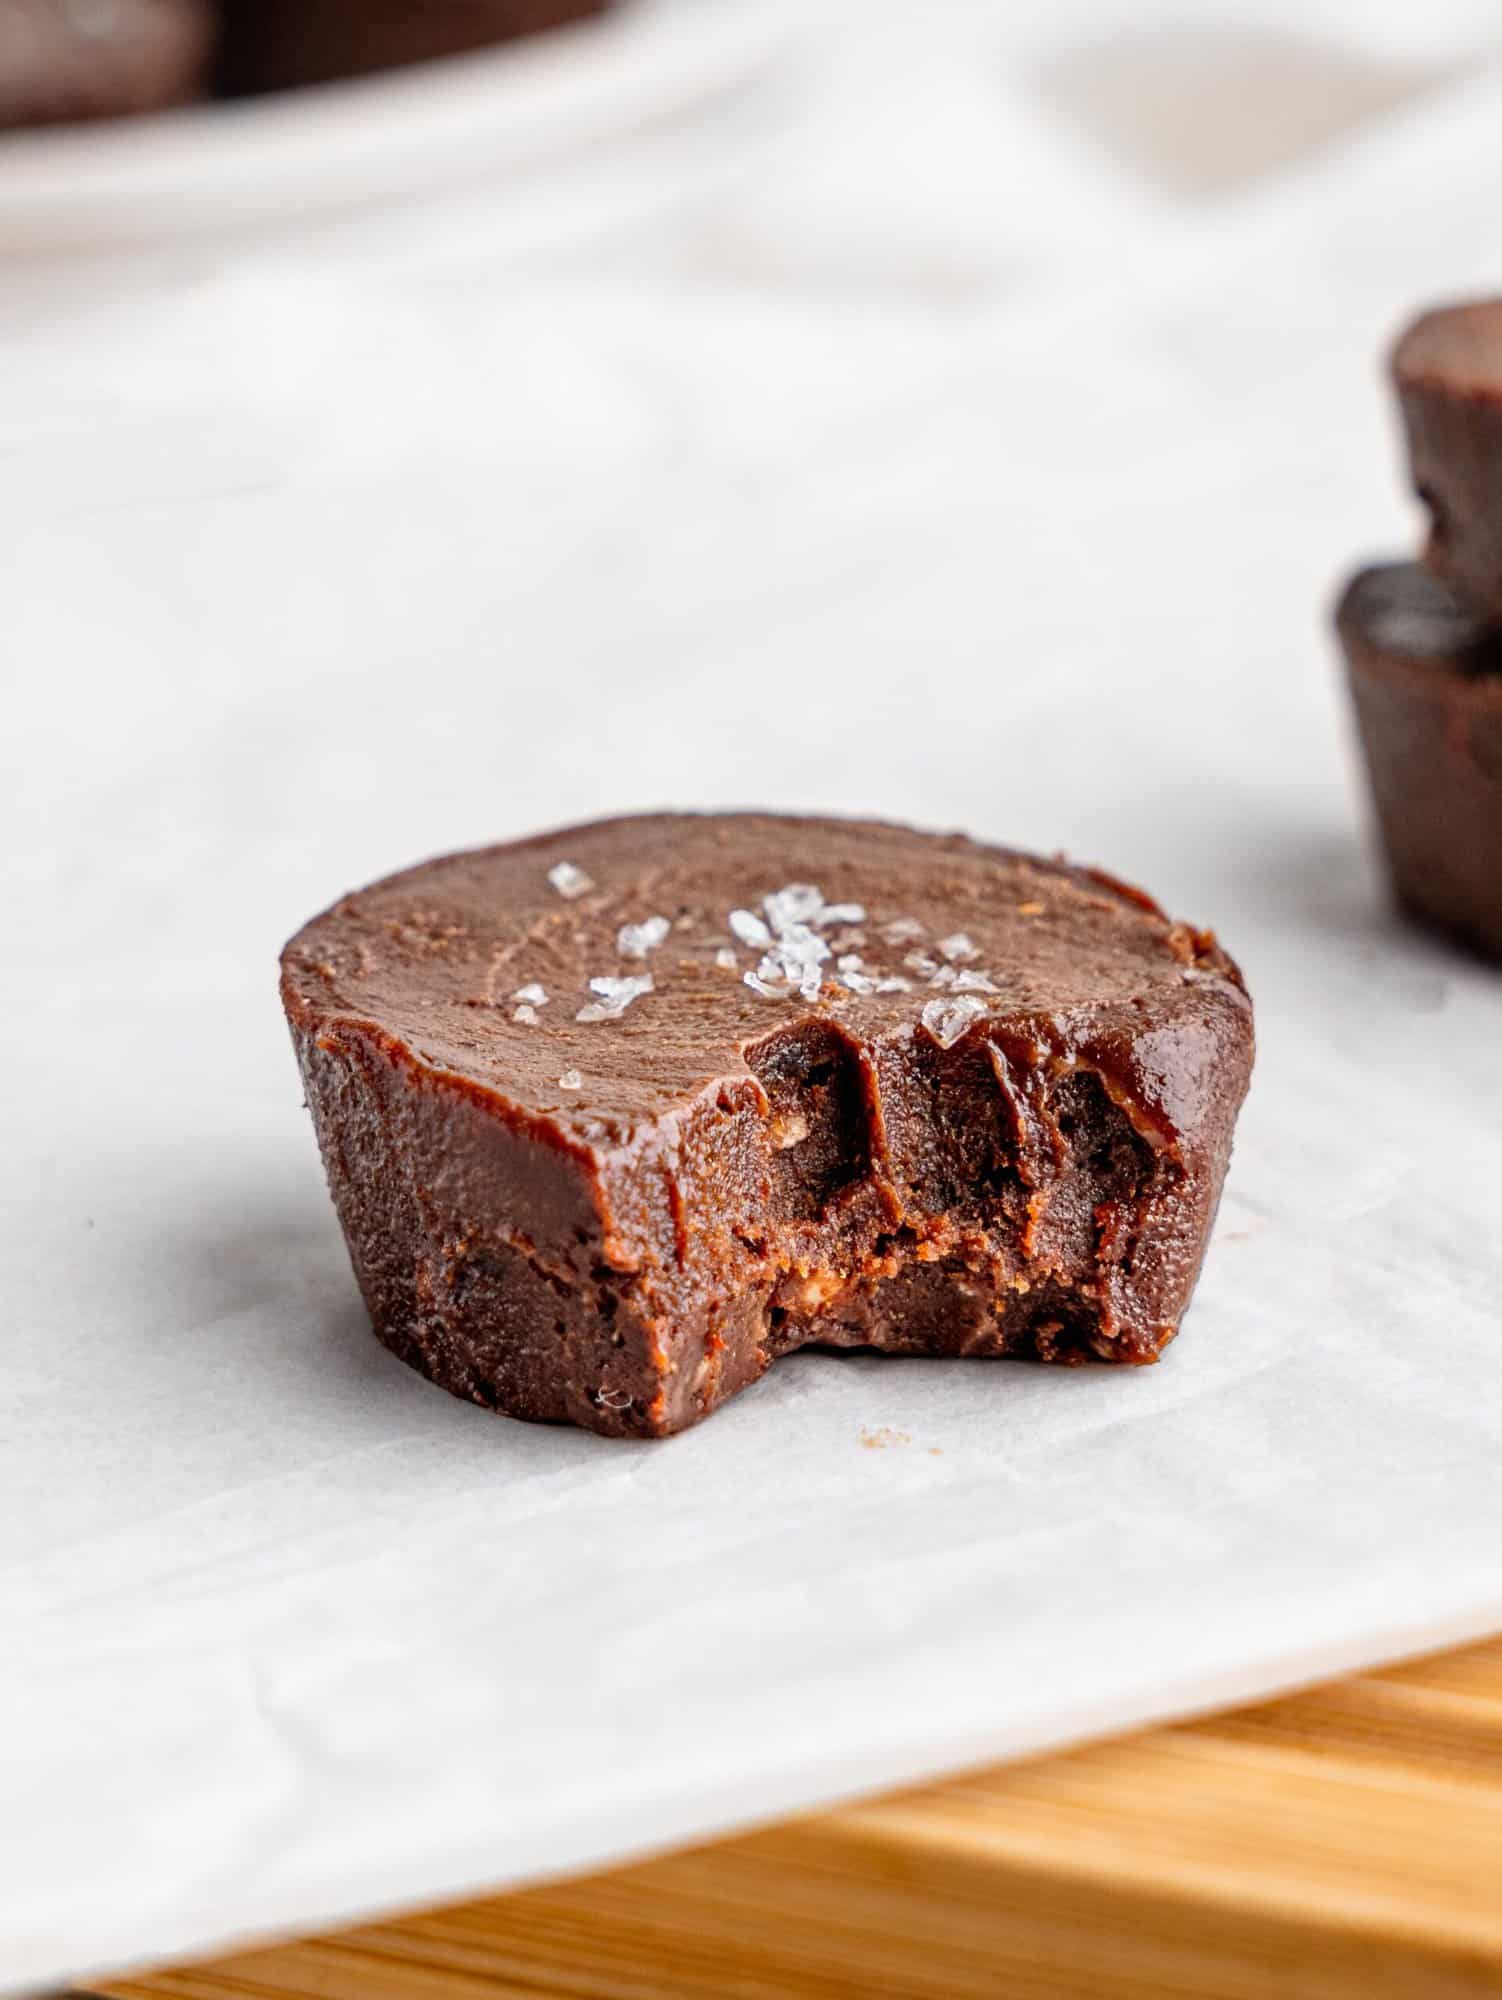
- It’s fudgy, chewy, and decadent – just as fudge should be!
- It’s gluten-free, refined sugar-free, vegan, dairy-free, egg-free, and can also be made nut-free.
- It’s perfect to meal-prep and store in your freezer.
- It’s good for your soul and your body!
What makes this fudge healthy?
This fudge isn’t just delicious—it’s packed with nourishing ingredients that make it a wholesome treat you can feel good about enjoying. Here’s why:
1. Dates: Dates are a natural, unrefined sweetener, packed with fiber to support digestion and keep you feeling full. They contain essential vitamins and minerals like potassium, magnesium, and B vitamins, which support overall health. Their natural sugars provide quick energy without the crashes associated with refined sugar.
2. Nut/Seed Butter: Nut or seed butter adds creamy richness while providing heart-healthy unsaturated fats. It’s a great source of protein, keeping you satiated and supporting muscle repair. Rich in nutrients like vitamin E, magnesium, and antioxidants.
3. Dark Chocolate: Dark chocolate is rich in antioxidants, particularly flavonoids, which can reduce inflammation and support heart health. It contains essential minerals like iron, magnesium, and zinc. Using refined sugar-free dark chocolate makes this fudge even healthier by eliminating refined, processed sugars.
4. Customizable for Extra Nutrition: Add-ins like chopped nuts, seeds, or freeze-dried fruit can boost the nutritional profile with extra fiber, vitamins, and minerals.
Ingredients Needed
These are the ingredients you’ll need to make this freezer fudge. You can find the exact measurements in the recipe card at the bottom of this page.
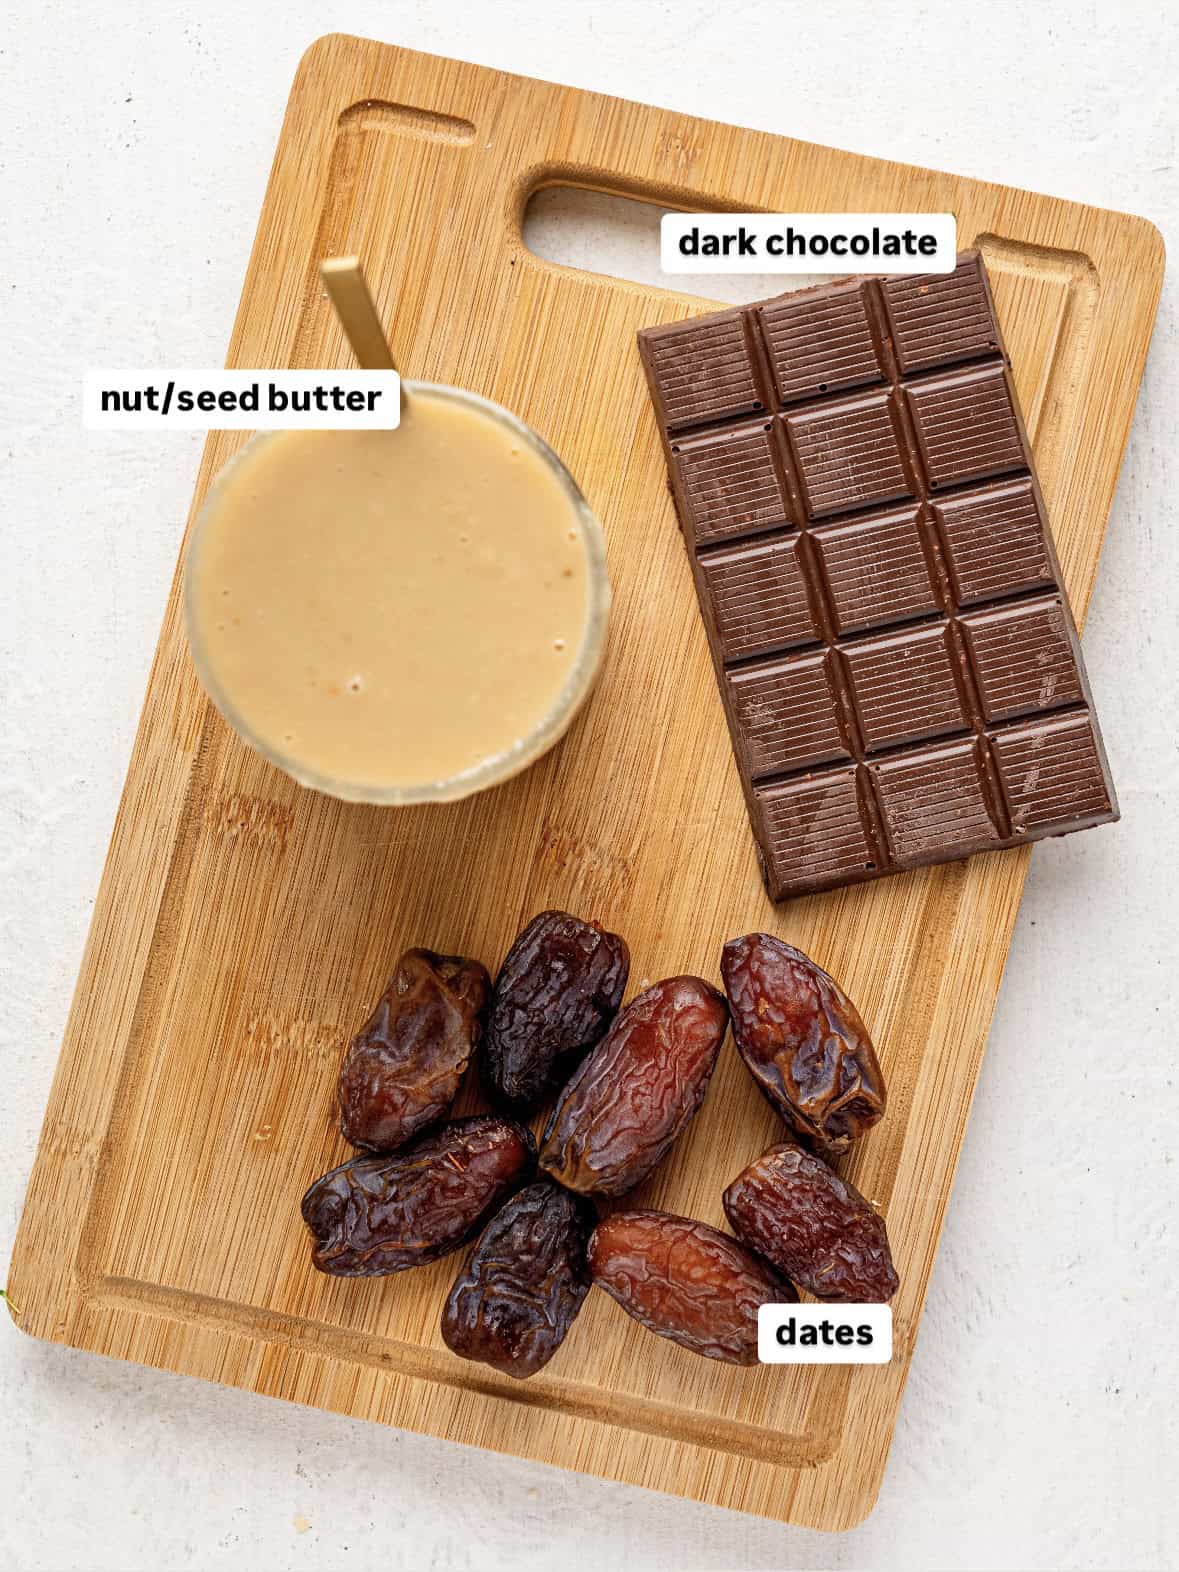
Dates – I recommend using Medjool Dates for the best texture and flavor. This adds sweetness without using refined sugars, contributes to the delicious chew, and also adds a sugary texture similar to what you’d find in regular fudge.
Nut/Seed Butter – Adds a creamy richness to the fudge as well as healthy fats. You can use any nut butter like peanut butter, almond butter, cashew butter, etc. I like to use my Macadamia Nut Butter. For a nut-free option, you can use any seed butter like tahini, sesame seed butter, etc.
Dark Chocolate – Adds a rich chocolatey flavor and contributes to the solidity of the fudge. Dark chocolate is a great antioxidant and anti-inflammatory ingredient; and YES – it is healthy! Try to use a refined sugar-free dark chocolate like this one. I actually used a dark chocolate containing coconut bits and it was so delicious!
Additional Add-Ins – You can add chopped nuts or seeds for a crunch, desiccated coconut, freeze-dried raspberries, coarse salt, or anything crunchy you have in your pantry. This is optional, but I love the additional crunch factor.
Equipment Needed
- Digital Food Scale: For accurate measurements and perfect results.
- Silicone Muffin Tray (to make fudge cups as photographed) or you can use a small container or baking tin and then slice the fudge into squares. Be sure to line your baking tin with parchment paper for easy removal.
- Heat-proof bowl: For soaking the dates and melting your chocolate.
- Blender or Food Processor
How to make Chocolate Freezer Fudge
Here is a detailed summary of how to make this recipe. I’ve also included some photos, and you can find the recipe video in the recipe card. At the bottom of this page is a summarized version that can be printed.
Step One:
Start by soaking your pitted dates in boiling water for at least 30 minutes. This makes blending them a lot easier and will result in a smoother fudge.
Step Two:
Once your dates have softened, drain the excess water then add them to your blender or food processor along with your nut or seed butter. Blend until completely smooth (or as smooth as it can get).


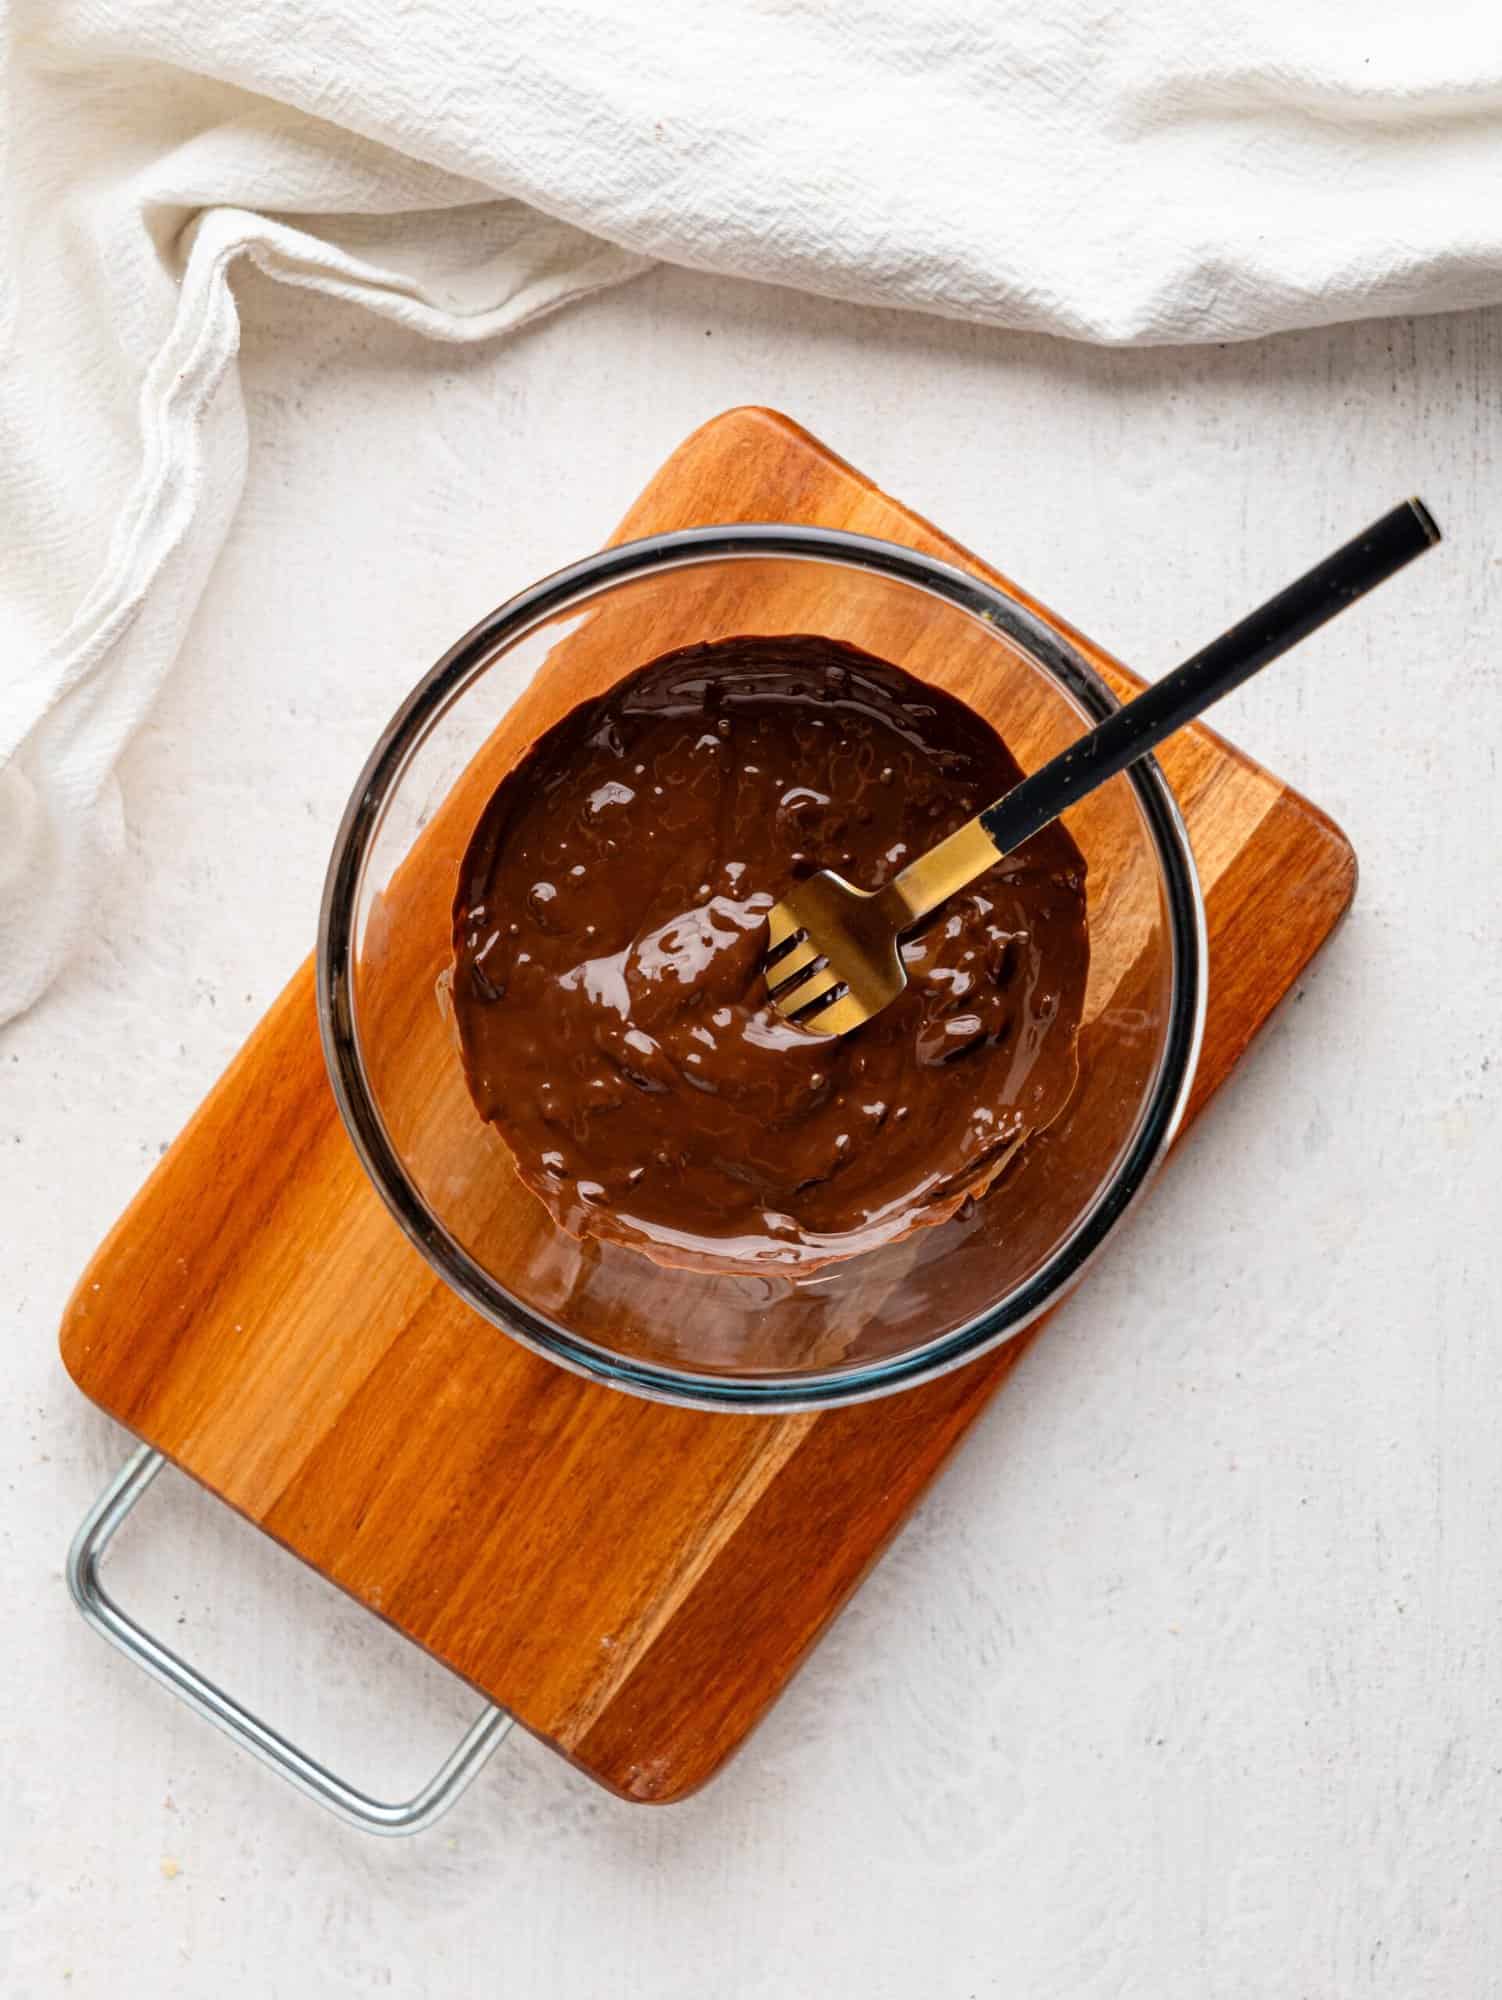
Step Three:
Now, melt the dark chocolate using a double boiler or in the microwave, stopping and stirring every 30 seconds to prevent burning.
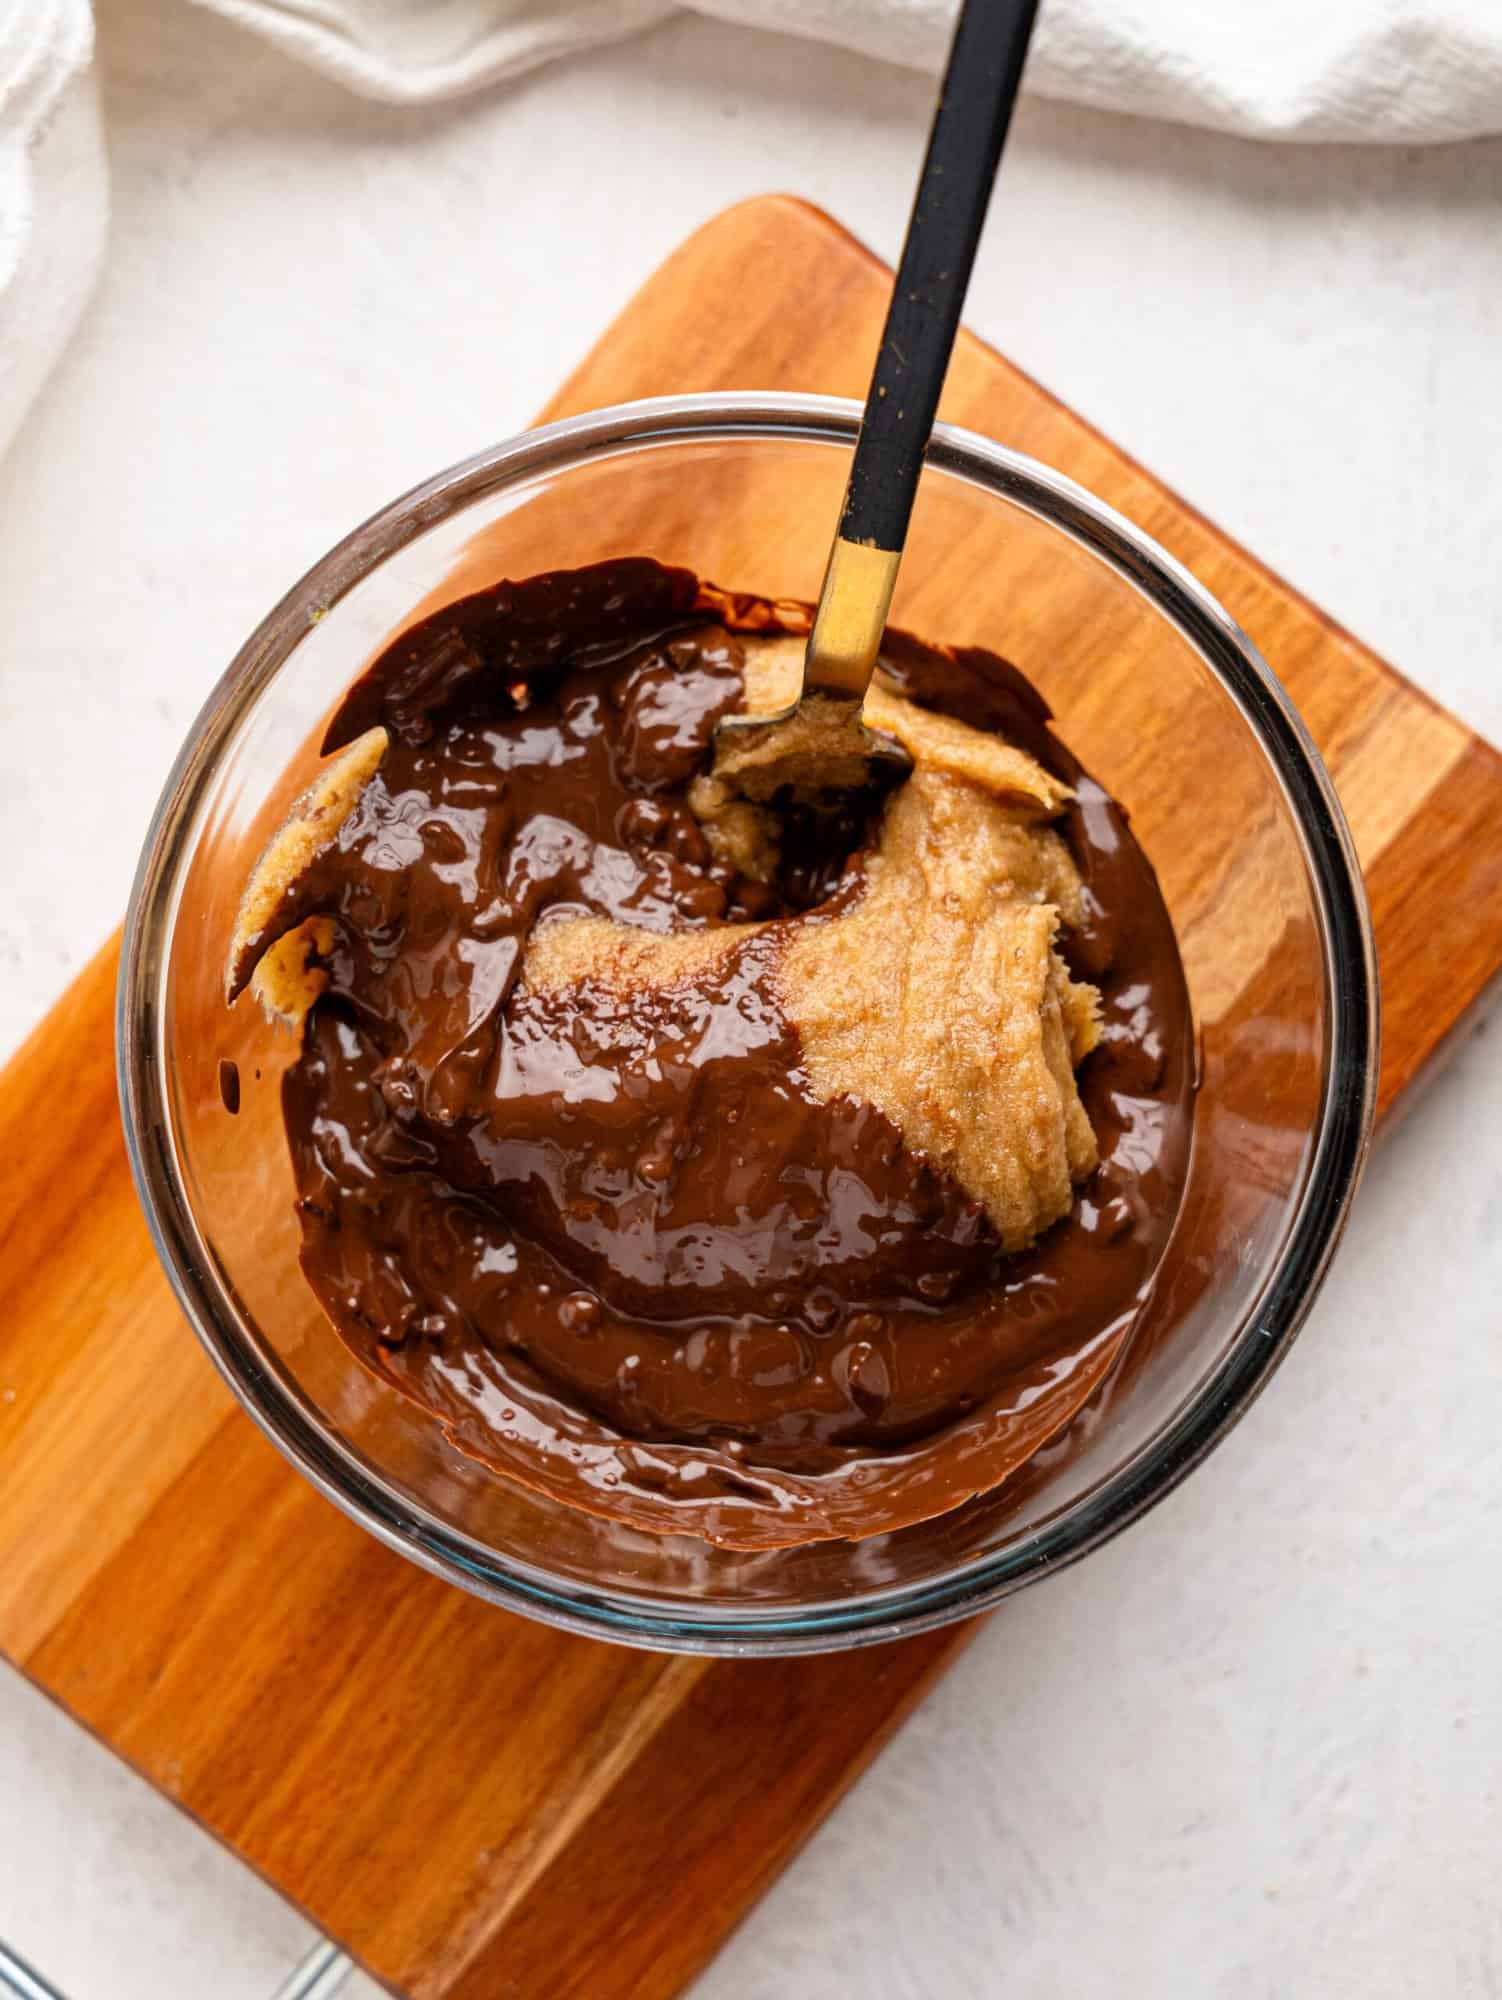
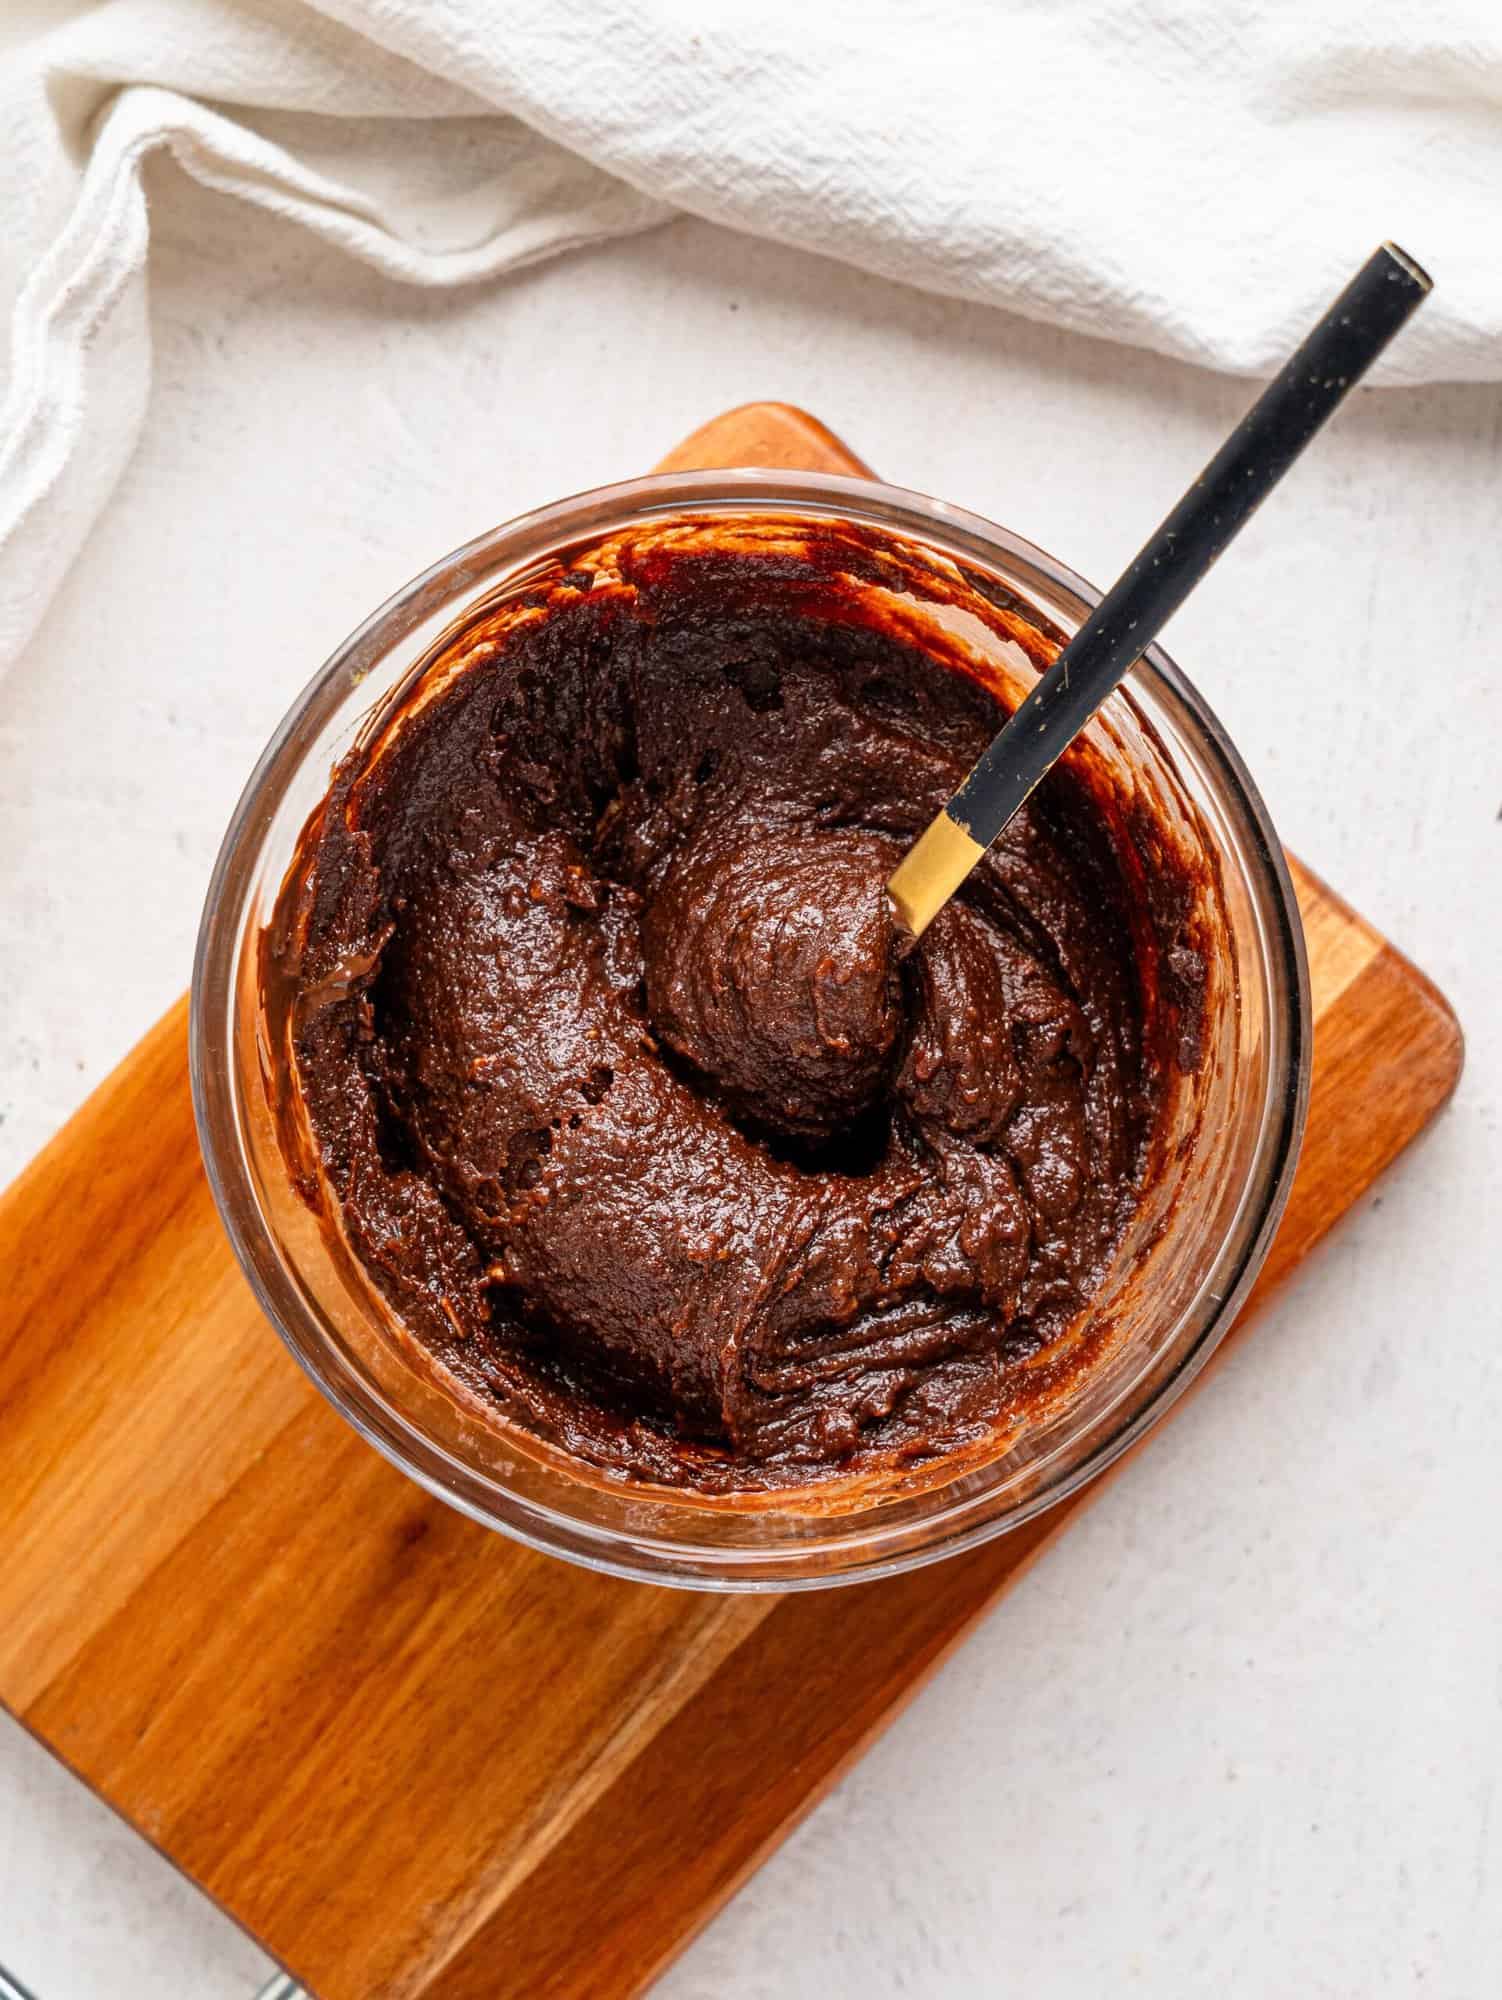
Step Four:
Transfer the blended date mixture into your melted chocolate and mix with a spatula or fork until fully combined. You can also add in your mix-ins now if using.
Step Five:
Now, press your fudge mixture into your silicone muffin tray or into your small baking dish. Make sure to press down tightly.

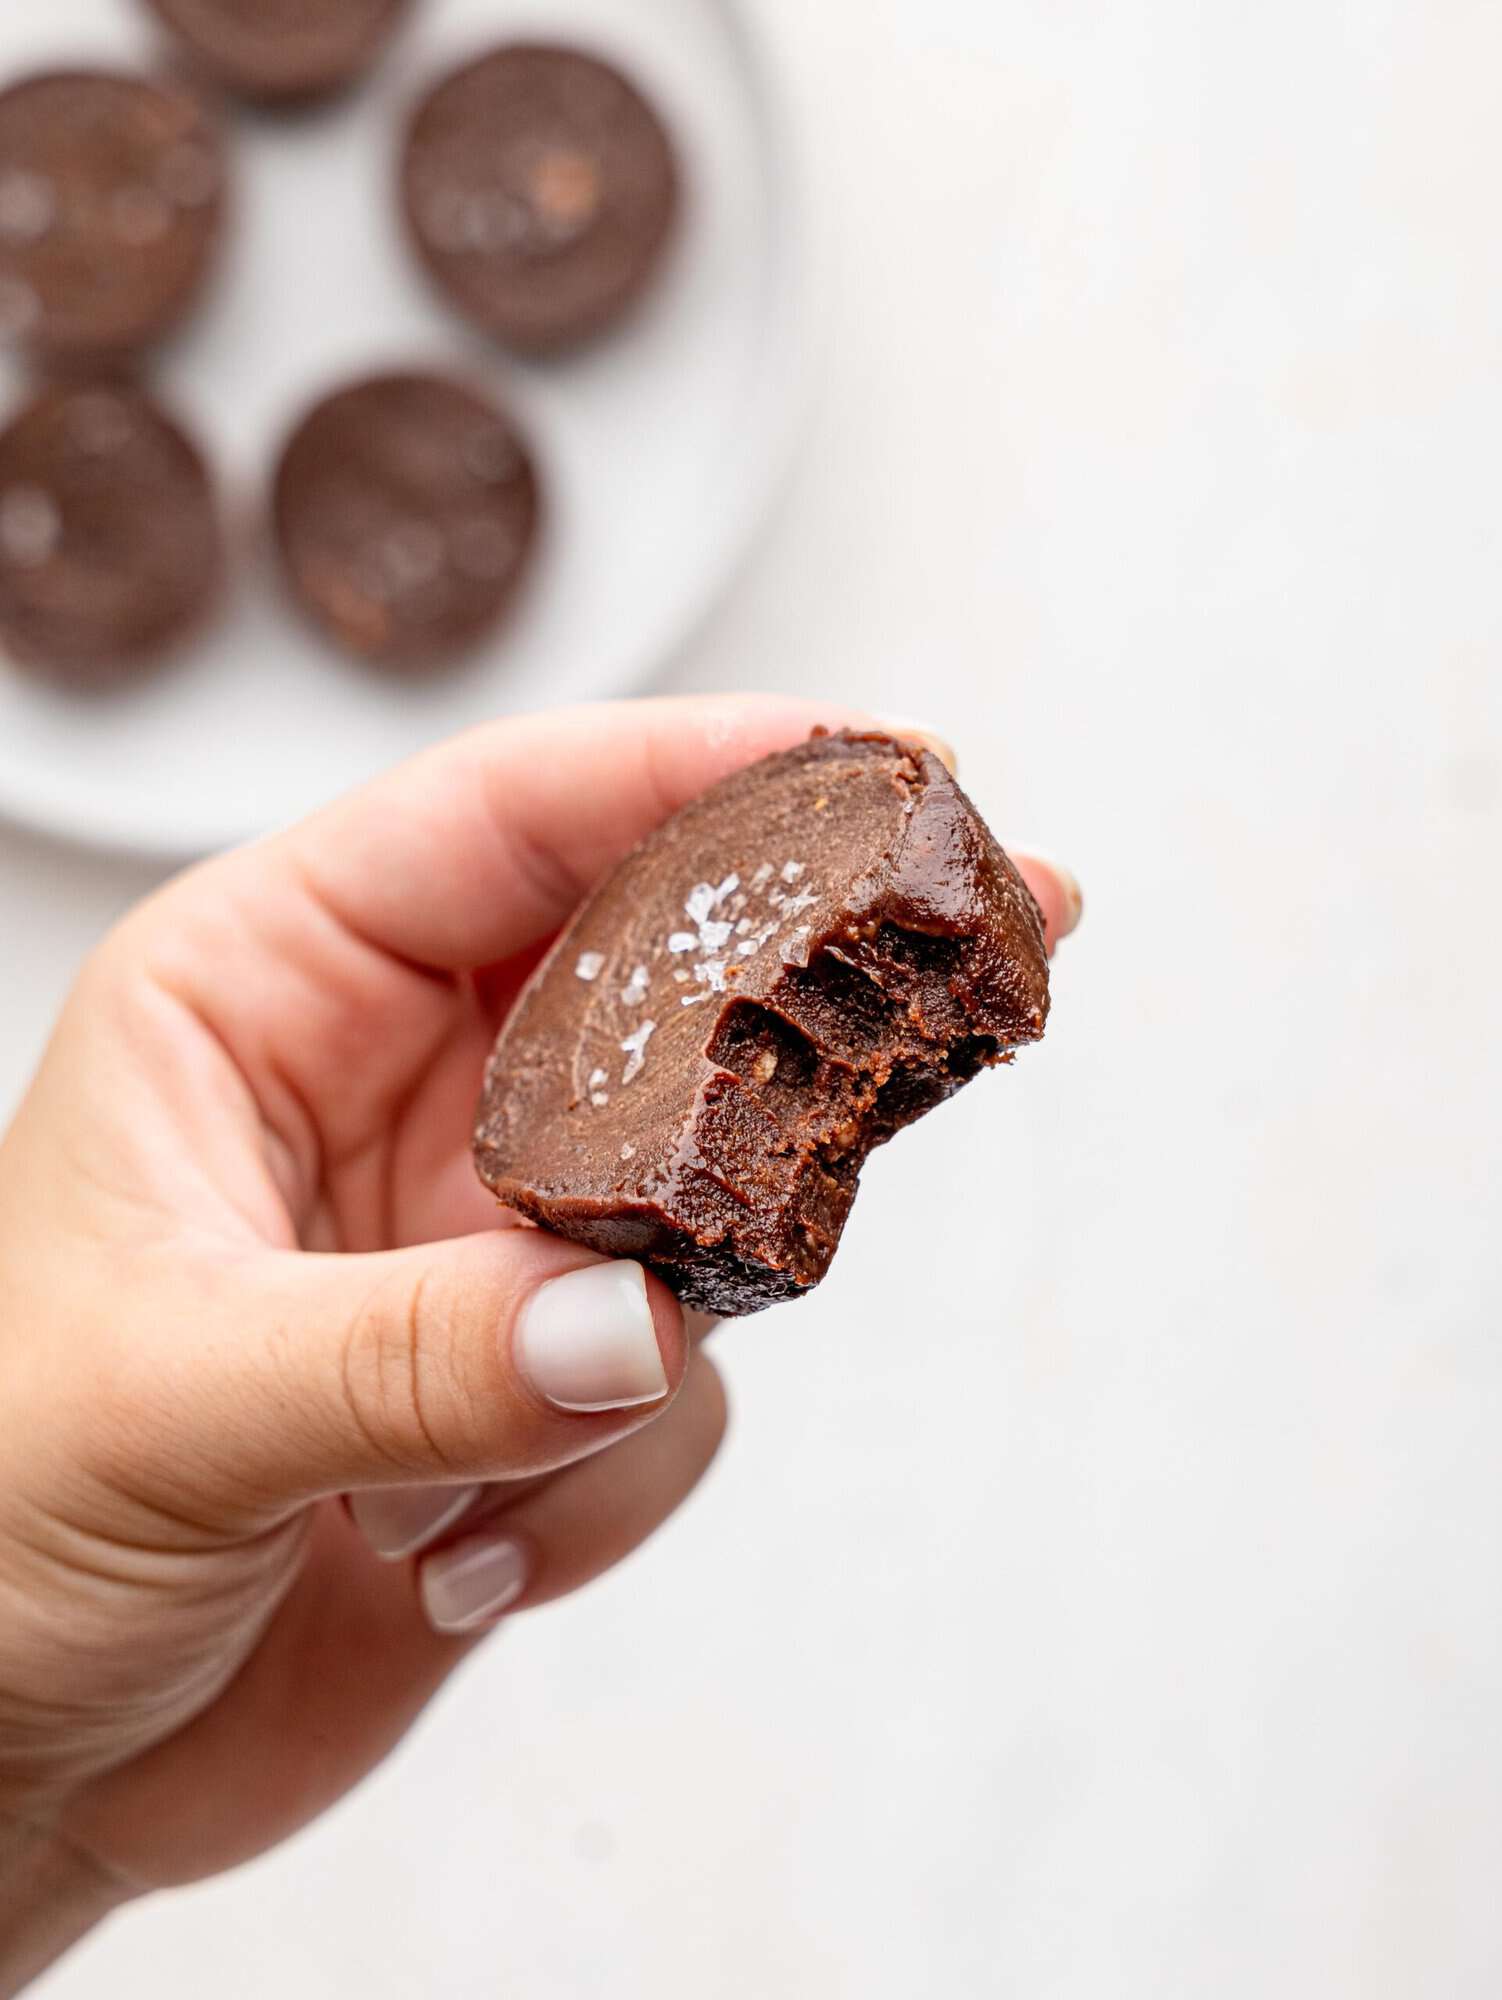
Step Six:
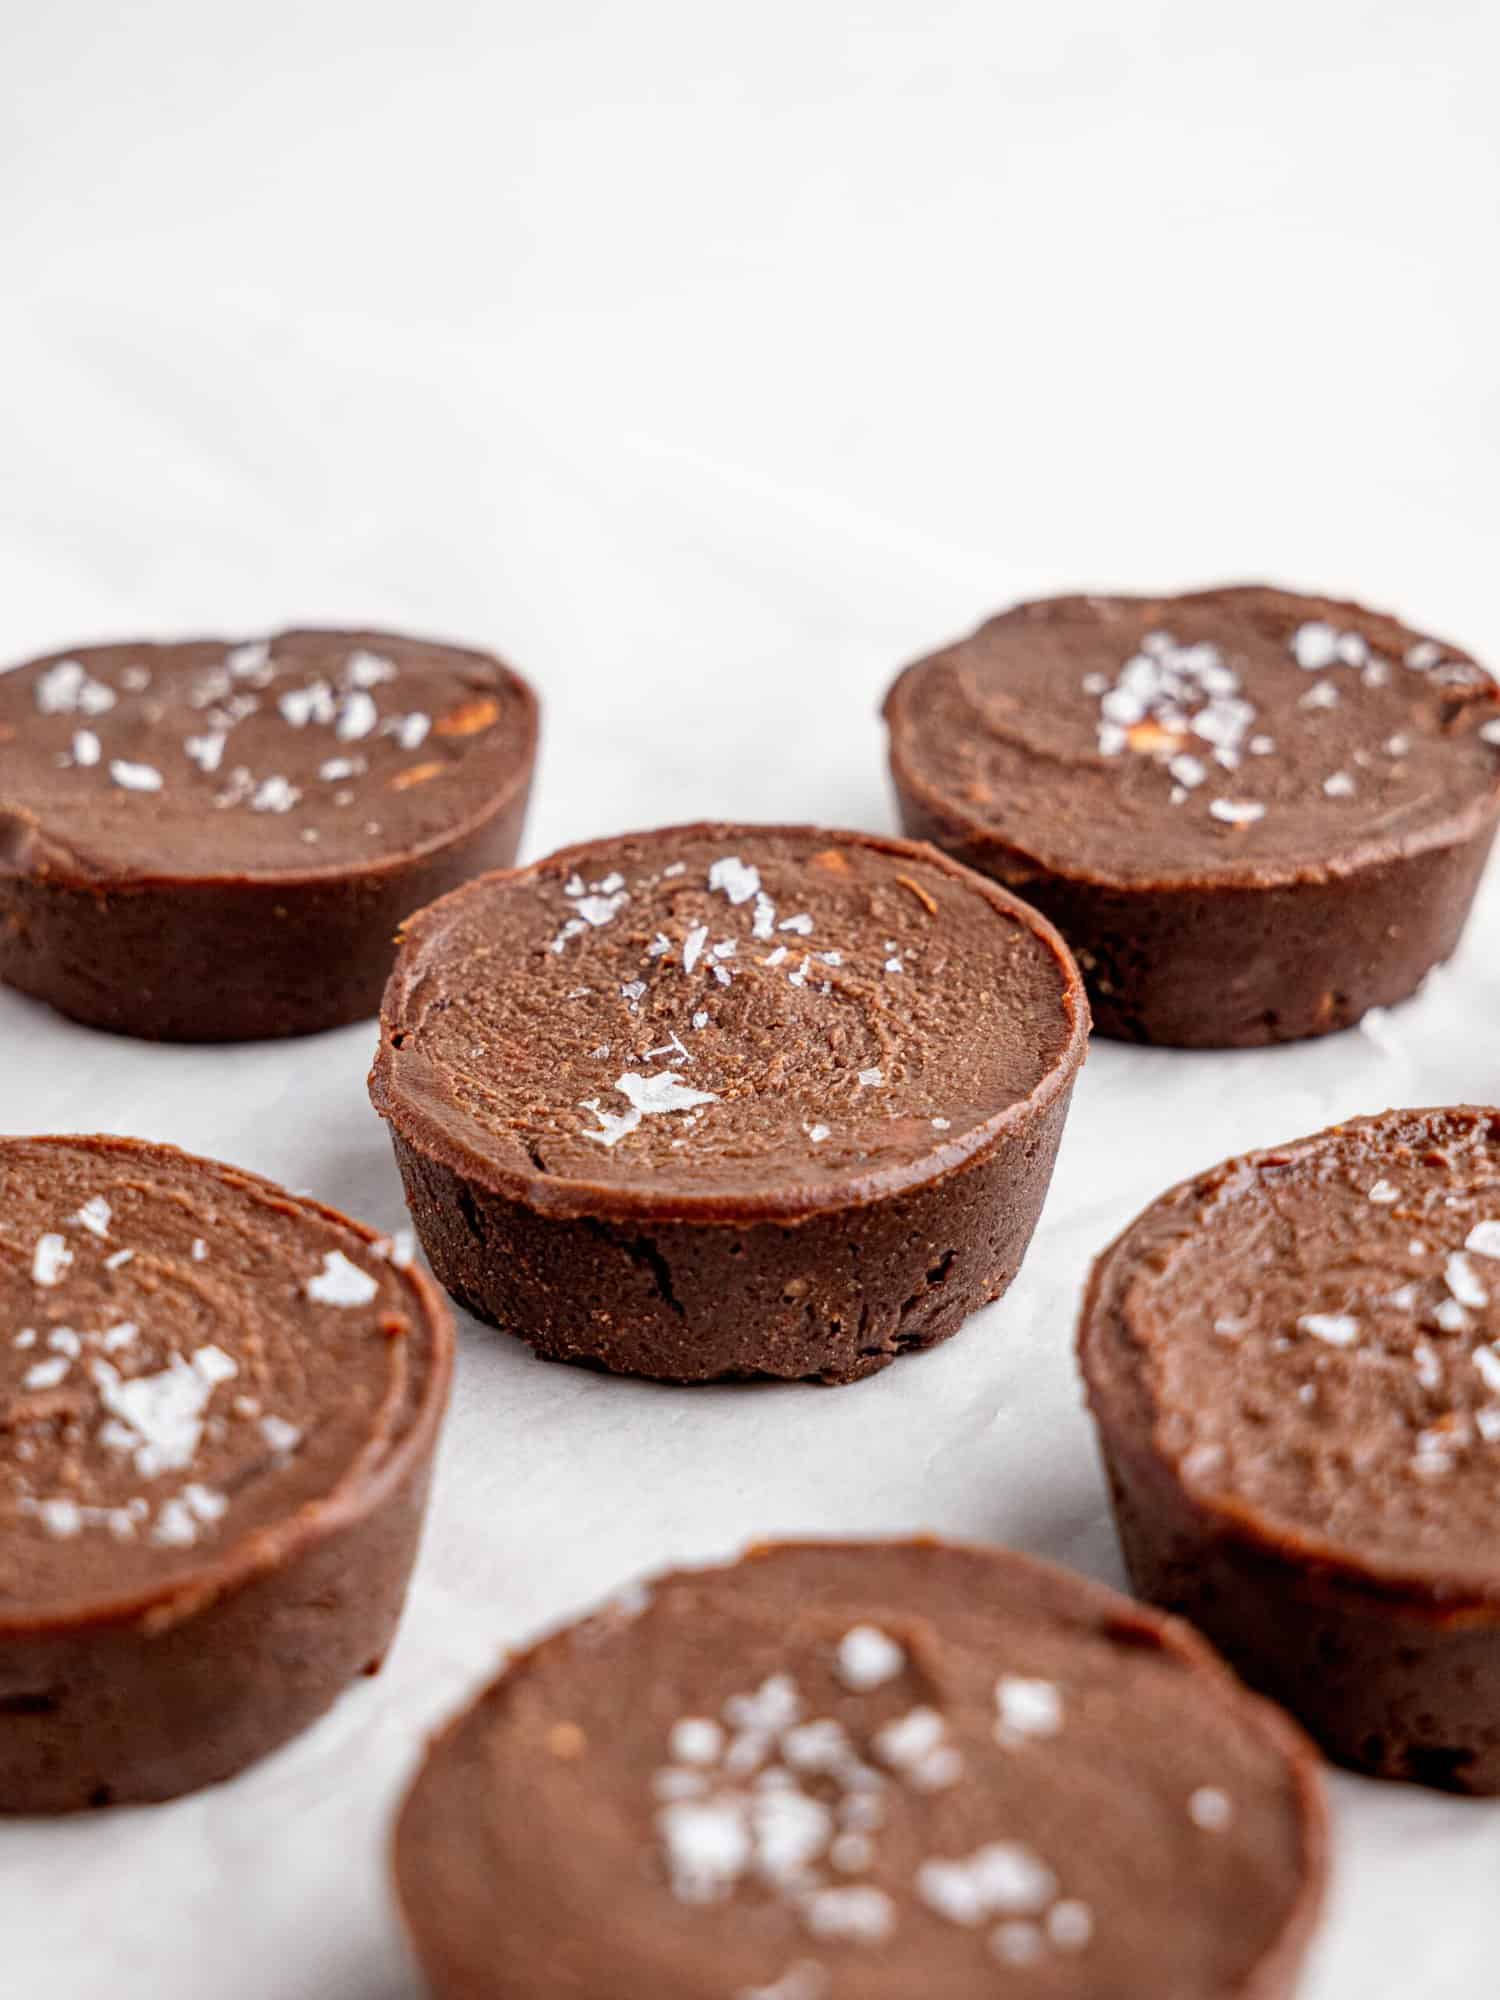
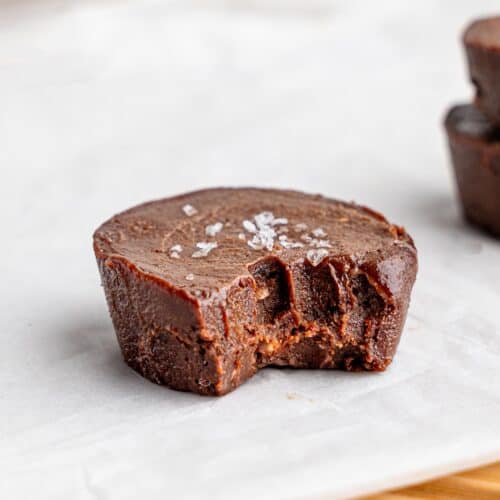
Freeze until solid and keep in the freezer. You can top the fudge off with some coarse sea salt for a sweet and salty combo.
Tips and Notes
- Choose High-Quality Ingredients: For the best flavor and texture, use Medjool dates, high-quality nut or seed butter, and refined sugar-free dark chocolate. The quality of your ingredients directly impacts the final result.
- Soften Your Dates: Soaking your dates in boiling water for at least 30 minutes is essential for achieving a smooth and creamy texture. Don’t skip this step!
- Blend Thoroughly: To avoid any lumps in your fudge, ensure the date and nut/seed butter mixture is blended until as smooth as possible. A powerful blender or food processor works best.
- Melt Chocolate Carefully: When melting chocolate, use a double boiler or microwave it in short bursts, stirring frequently. This prevents overheating and ensures a smooth, glossy finish.
- Press Firmly: When shaping the fudge into molds or a baking tin, press down tightly to create a dense, chewy texture. If using a tin, line it with parchment paper for easy removal.
- Experiment with Add-Ins: Get creative with mix-ins like chopped nuts, seeds, desiccated coconut, freeze-dried fruit, or a sprinkle of coarse sea salt for added crunch, flavor, or nutrition.
- Customize the Size: Use a silicone muffin tray for individual fudge cups or a small baking tin for squares. Adjust the thickness to your preference.
- Dietary Adaptations: For a nut-free version, use seed butter like tahini or sunflower seed butter. To make the recipe vegan, ensure the chocolate you use is dairy-free.

Storage Instructions
Freezer Storage: Store the fudge in an airtight container or a freezer-safe bag to keep it fresh and prevent freezer burn. You can layer the fudge pieces or cups with parchment paper to avoid sticking. The fudge will stay fresh in the freezer for up to 3 months.
Serving from Freezer: When you’re ready to enjoy, remove a piece of fudge – if it seems too hard to eat let it sit at room temperature for 1–2 minutes to soften slightly before eating.
Refrigerator Storage (Optional): If you prefer a softer texture, you can store the fudge in the refrigerator instead of the freezer. Keep it in an airtight container for up to 1 week, but note that it will be less chewy than when frozen.
FAQ Section
Can I use a different sweetener instead of dates?
Dates are essential for achieving the chewy texture and natural sweetness that make this fudge special. If you need an alternative, you could try prunes, but keep in mind it may alter the flavor and texture.
What’s the best type of nut or seed butter to use?
Any nut or seed butter works well. Peanut butter, almond butter, or cashew butter add a rich flavor, while tahini or sunflower seed butter are excellent nut-free options. Choose a smooth, natural butter with no added sugars or oils for the healthiest results.
Can I make this fudge without a food processor or blender?
A food processor or blender is highly recommended for a smooth texture, but if you don’t have one, you can mash the dates manually with a fork or potato masher after soaking. The result may be slightly chunkier but still delicious.
How do I ensure the fudge doesn’t stick to the tray or pan?
Use a silicone muffin tray or line your baking dish with parchment paper. This ensures the fudge is easy to remove once frozen.
Is this recipe suitable for vegans?
Absolutely, just make sure to use dairy-free dark chocolate for a fully vegan treat.
How long does the fudge need to freeze before it’s ready to eat?
Freeze the fudge for at least two to three hours or until completely solid. For best results, let it freeze overnight.
Can I add protein powder to the recipe?
Yes, you can mix in a scoop of your favorite protein powder to boost the nutritional profile. Add it during the blending step with the dates and nut/seed butter. If the mixture becomes too thick, add a small amount of water or plant-based milk.
Can I use milk or white chocolate instead of dark chocolate?
You can, but keep in mind that milk and white chocolate often contain more sugar and fewer nutritional benefits than dark chocolate. For a healthier option, stick with dark chocolate.
How should I serve the fudge?
Serve the fudge straight from the freezer after letting it sit at room temperature for a minute or two. You can also sprinkle coarse sea salt or drizzle extra melted chocolate on top for added flair.
more easy and healthy no-bake desserts
- No-Bake Chocolate Peanut Butter Cookies
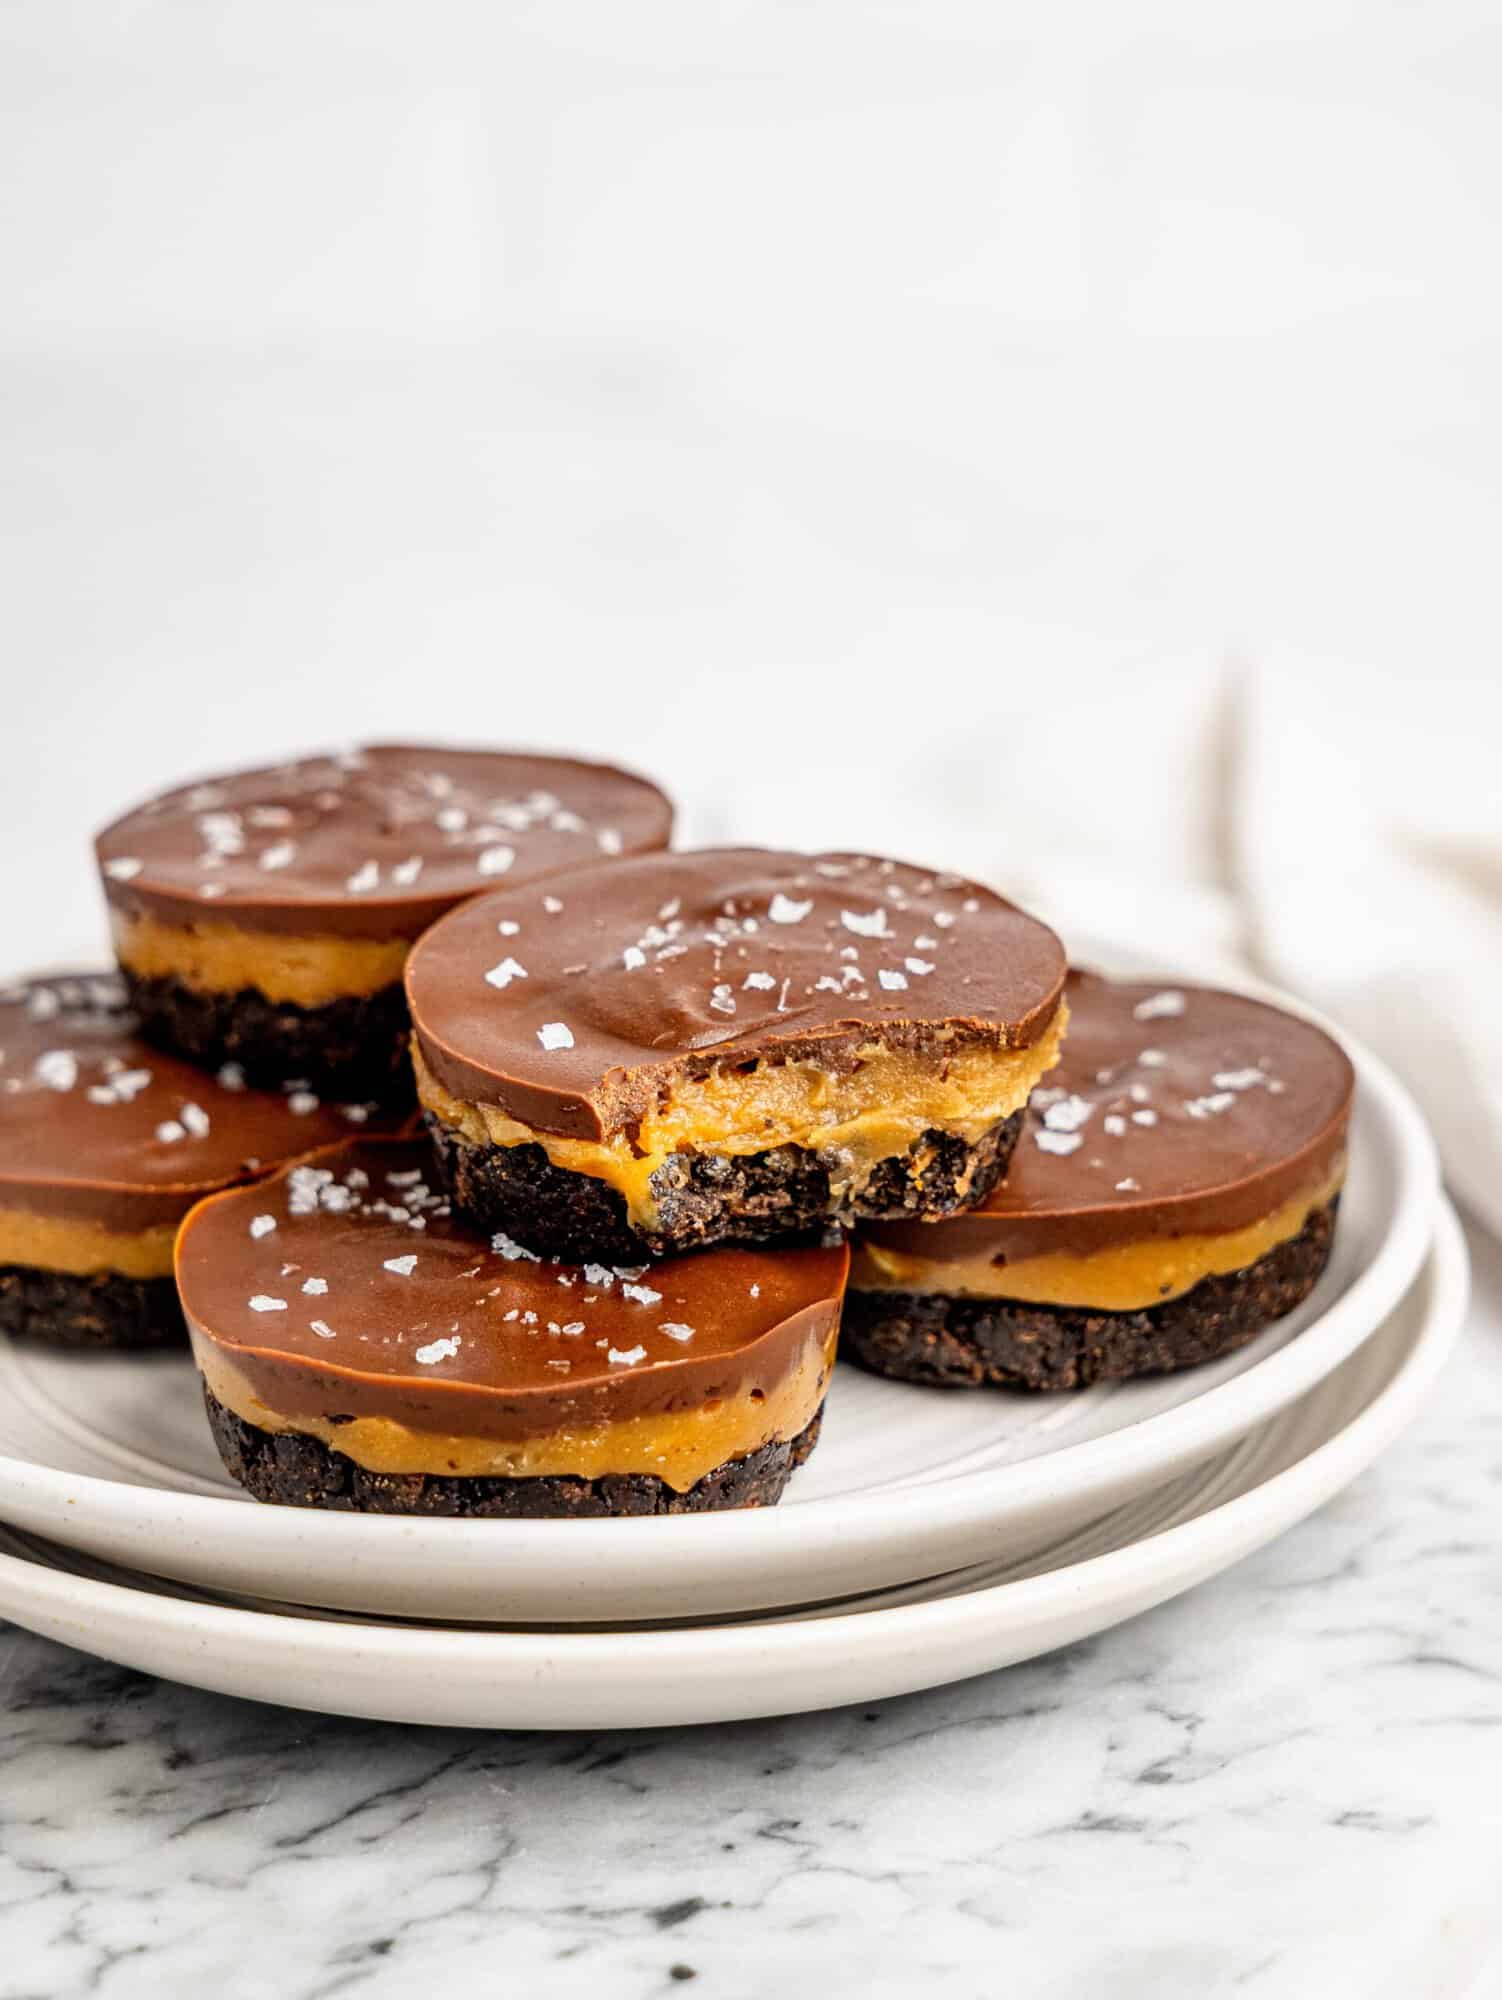
- Healthy Ferrero Rocher Fudge Cups
- No-Bake Peanut Butter Fudge (made with just 4 ingredients!)
- Healthy Chocolate Truffles (made with just 4 ingredients)
Hey! If you make this recipe, I would love it if you could leave me some feedback and a rating ⭐⭐⭐⭐⭐ in the comment section at the bottom of the page! Also let me know on Facebook, Instagram or Pinterest! I can’t wait to hear your thoughts and see your photos!
Chocolate Freezer Fudge
Equipment
- silicone muffin tray or small dish/baking tin
Ingredients
- 120 g Pitted Medjool Dates (¾ cup tightly packed)
- 100 g Nut or Seed Butter (⅓ cup + 1 tbsp) – I used my Macadamia Nut Butter
- 100 g Dark Chocolate (⅔ cup, chopped)
Instructions
- Add your pitted dates to a bowl and cover with boiling water. Allow to soak for at least 30 minutes.
- Drain the water from your dates, then add them to the blender or food processor along with your nut and seed butter and blend until smooth.
- Melt your chocolate in the microwave, stopping and stirring every 30 seconds to avoid burning – or melt your chocolate using a double boiler.
- Add the blended date and nut butter mixture to your melted chocolate and mix until fully combined.
- Divide the fudge mixture equally between 8 muffin cavities in your muffin tray and press them in tightly, or press the mixture tightly into a small dish or baking tin lined with parchment paper.
- Freeze for 30 minutes or until solid and store in the freezer.
Video
Notes
- Soak the dates in boiling water for at least 30 minutes to ensure a smooth, creamy texture.
- Use natural nut or seed butter with no added sugars or oils for the healthiest option.
- For easy removal, use a silicone muffin tray or line your baking dish with parchment paper.
- Add mix-ins like nuts, seeds, or coconut for extra texture and flavor.
- Store the fudge in the freezer to maintain its chewy, fudgy texture.