


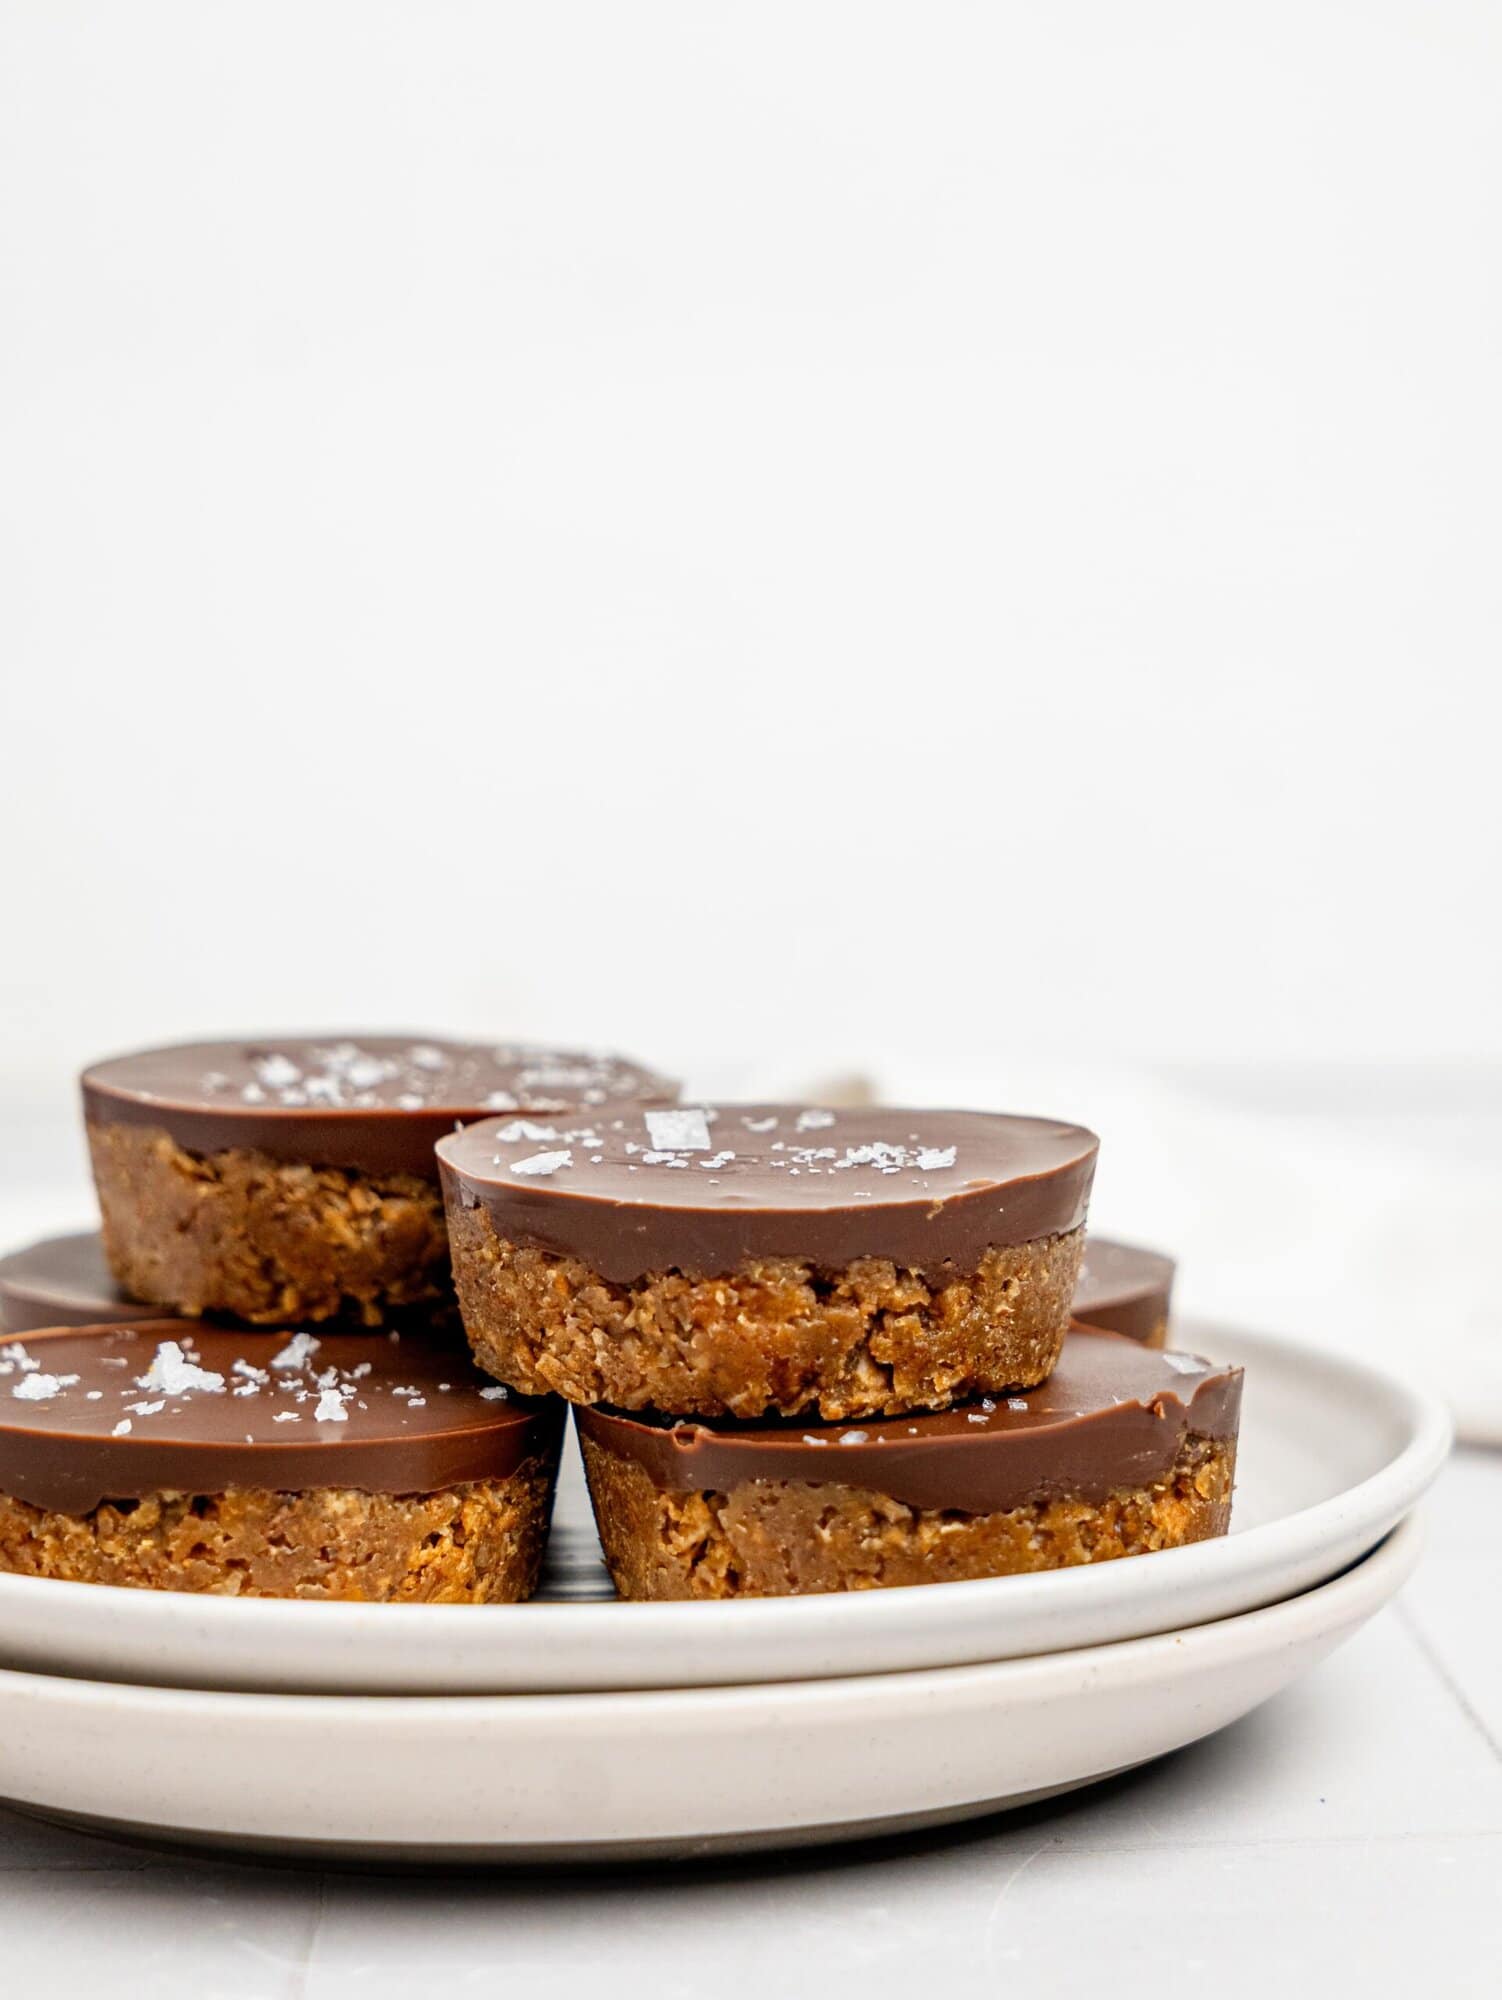
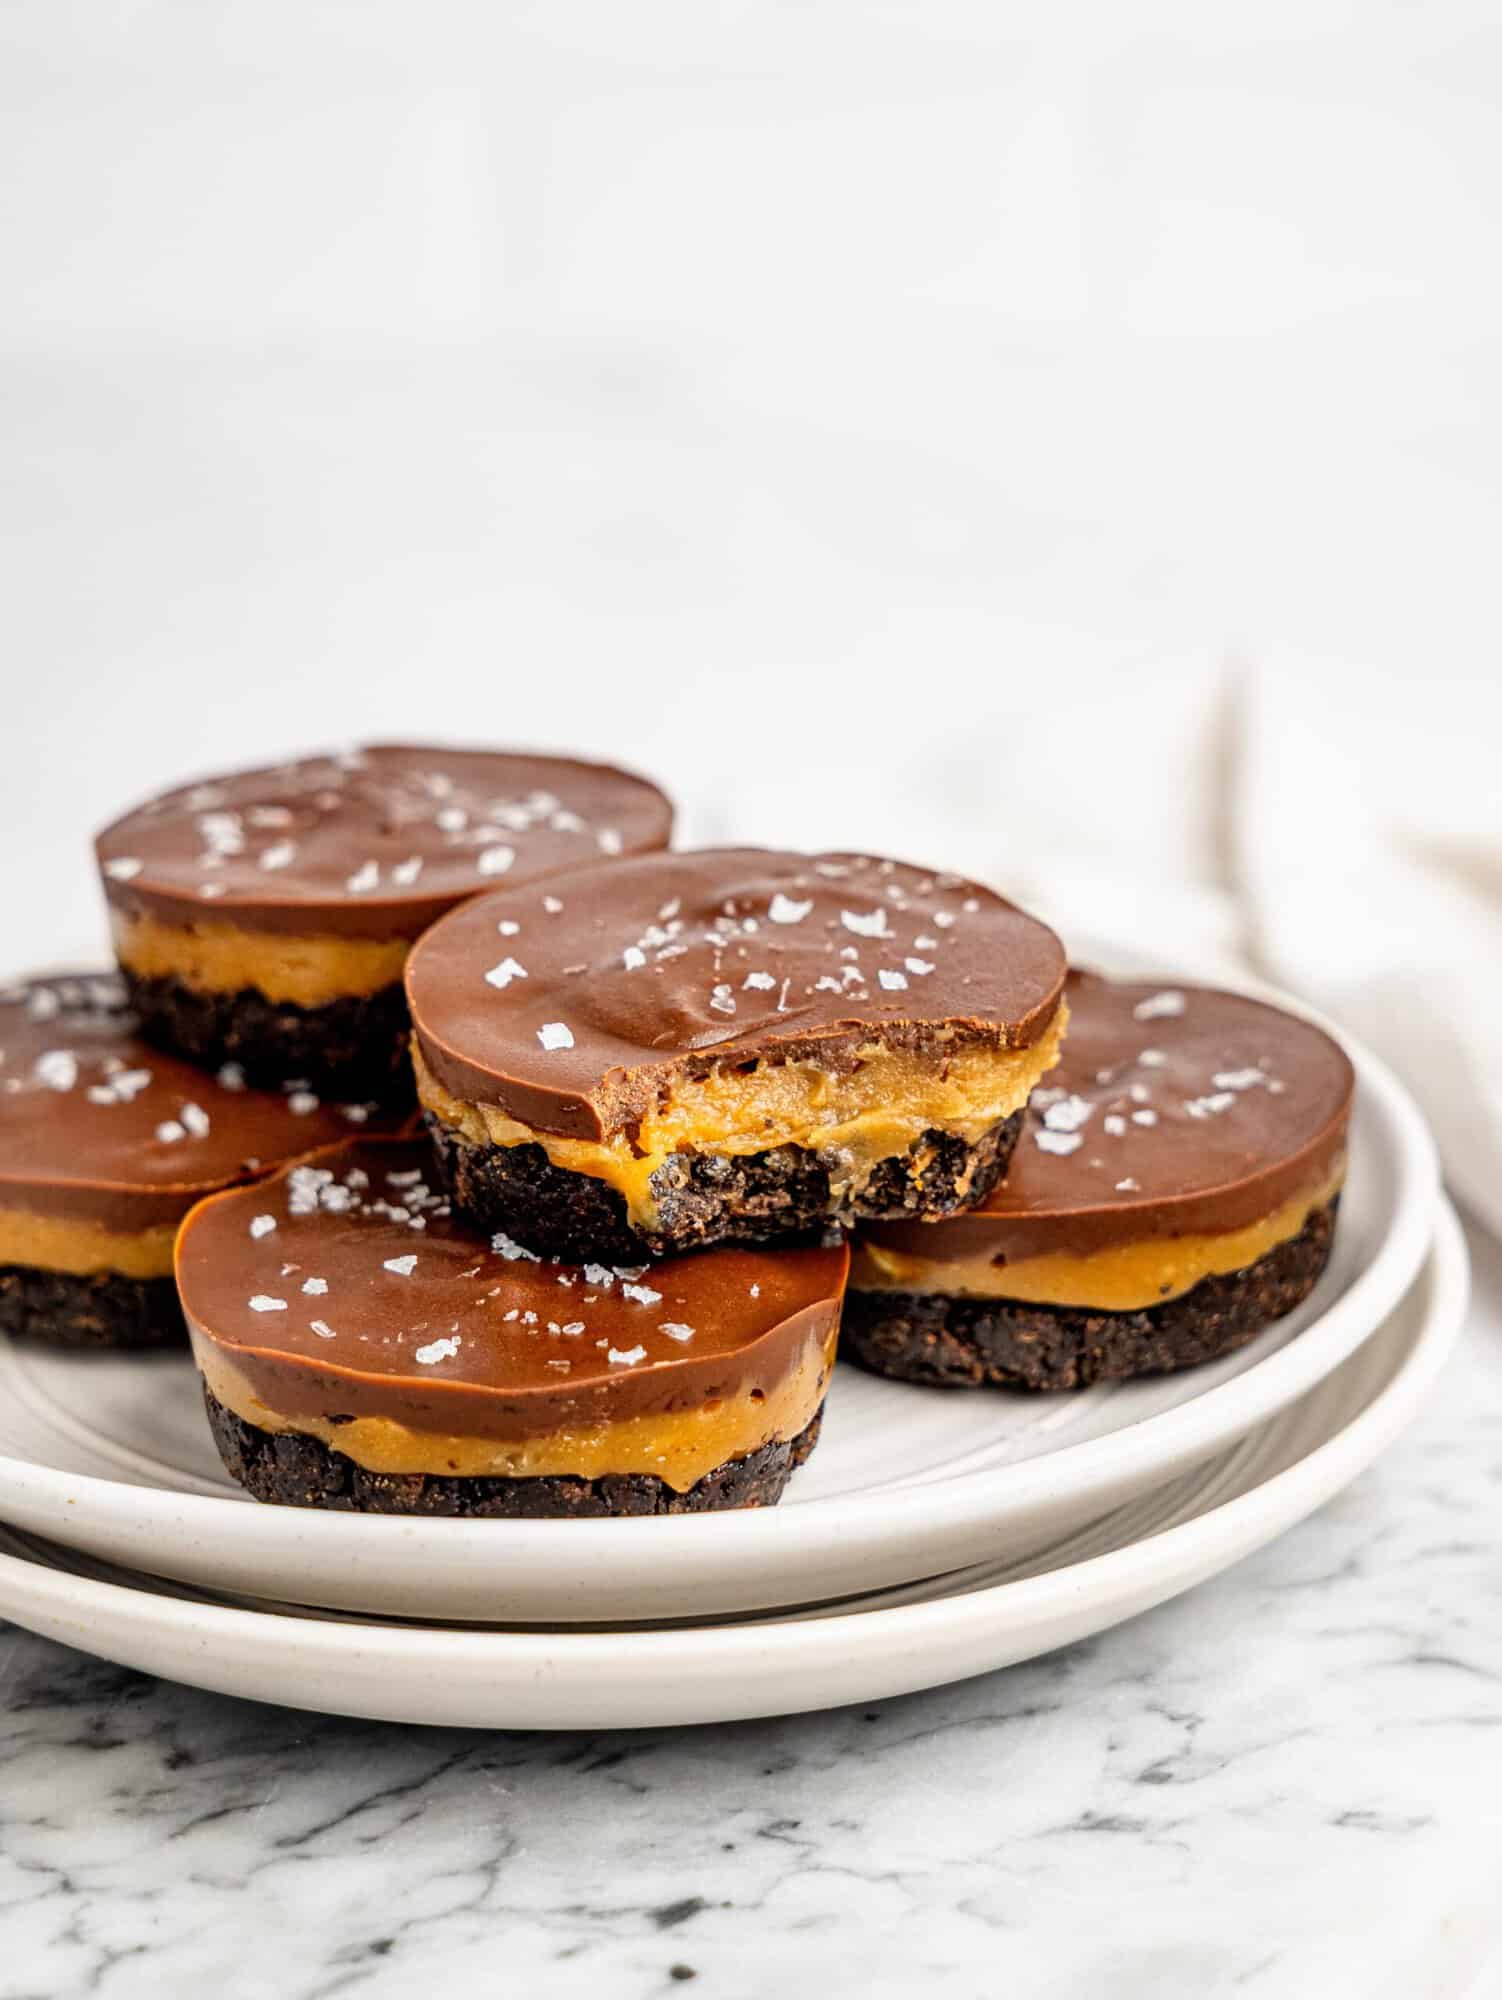
These Peanut Butter Weetbix Cups are like a little hug in snack form – crunchy, nutty, and just the right amount of sweet. With only five everyday ingredients, they come together in minutes and live happily in the fridge, ready for when life gets busy. They feel decadent but are secretly nourishing, the perfect bite when those sweet cravings hit and you still want to keep things balanced and wholesome.

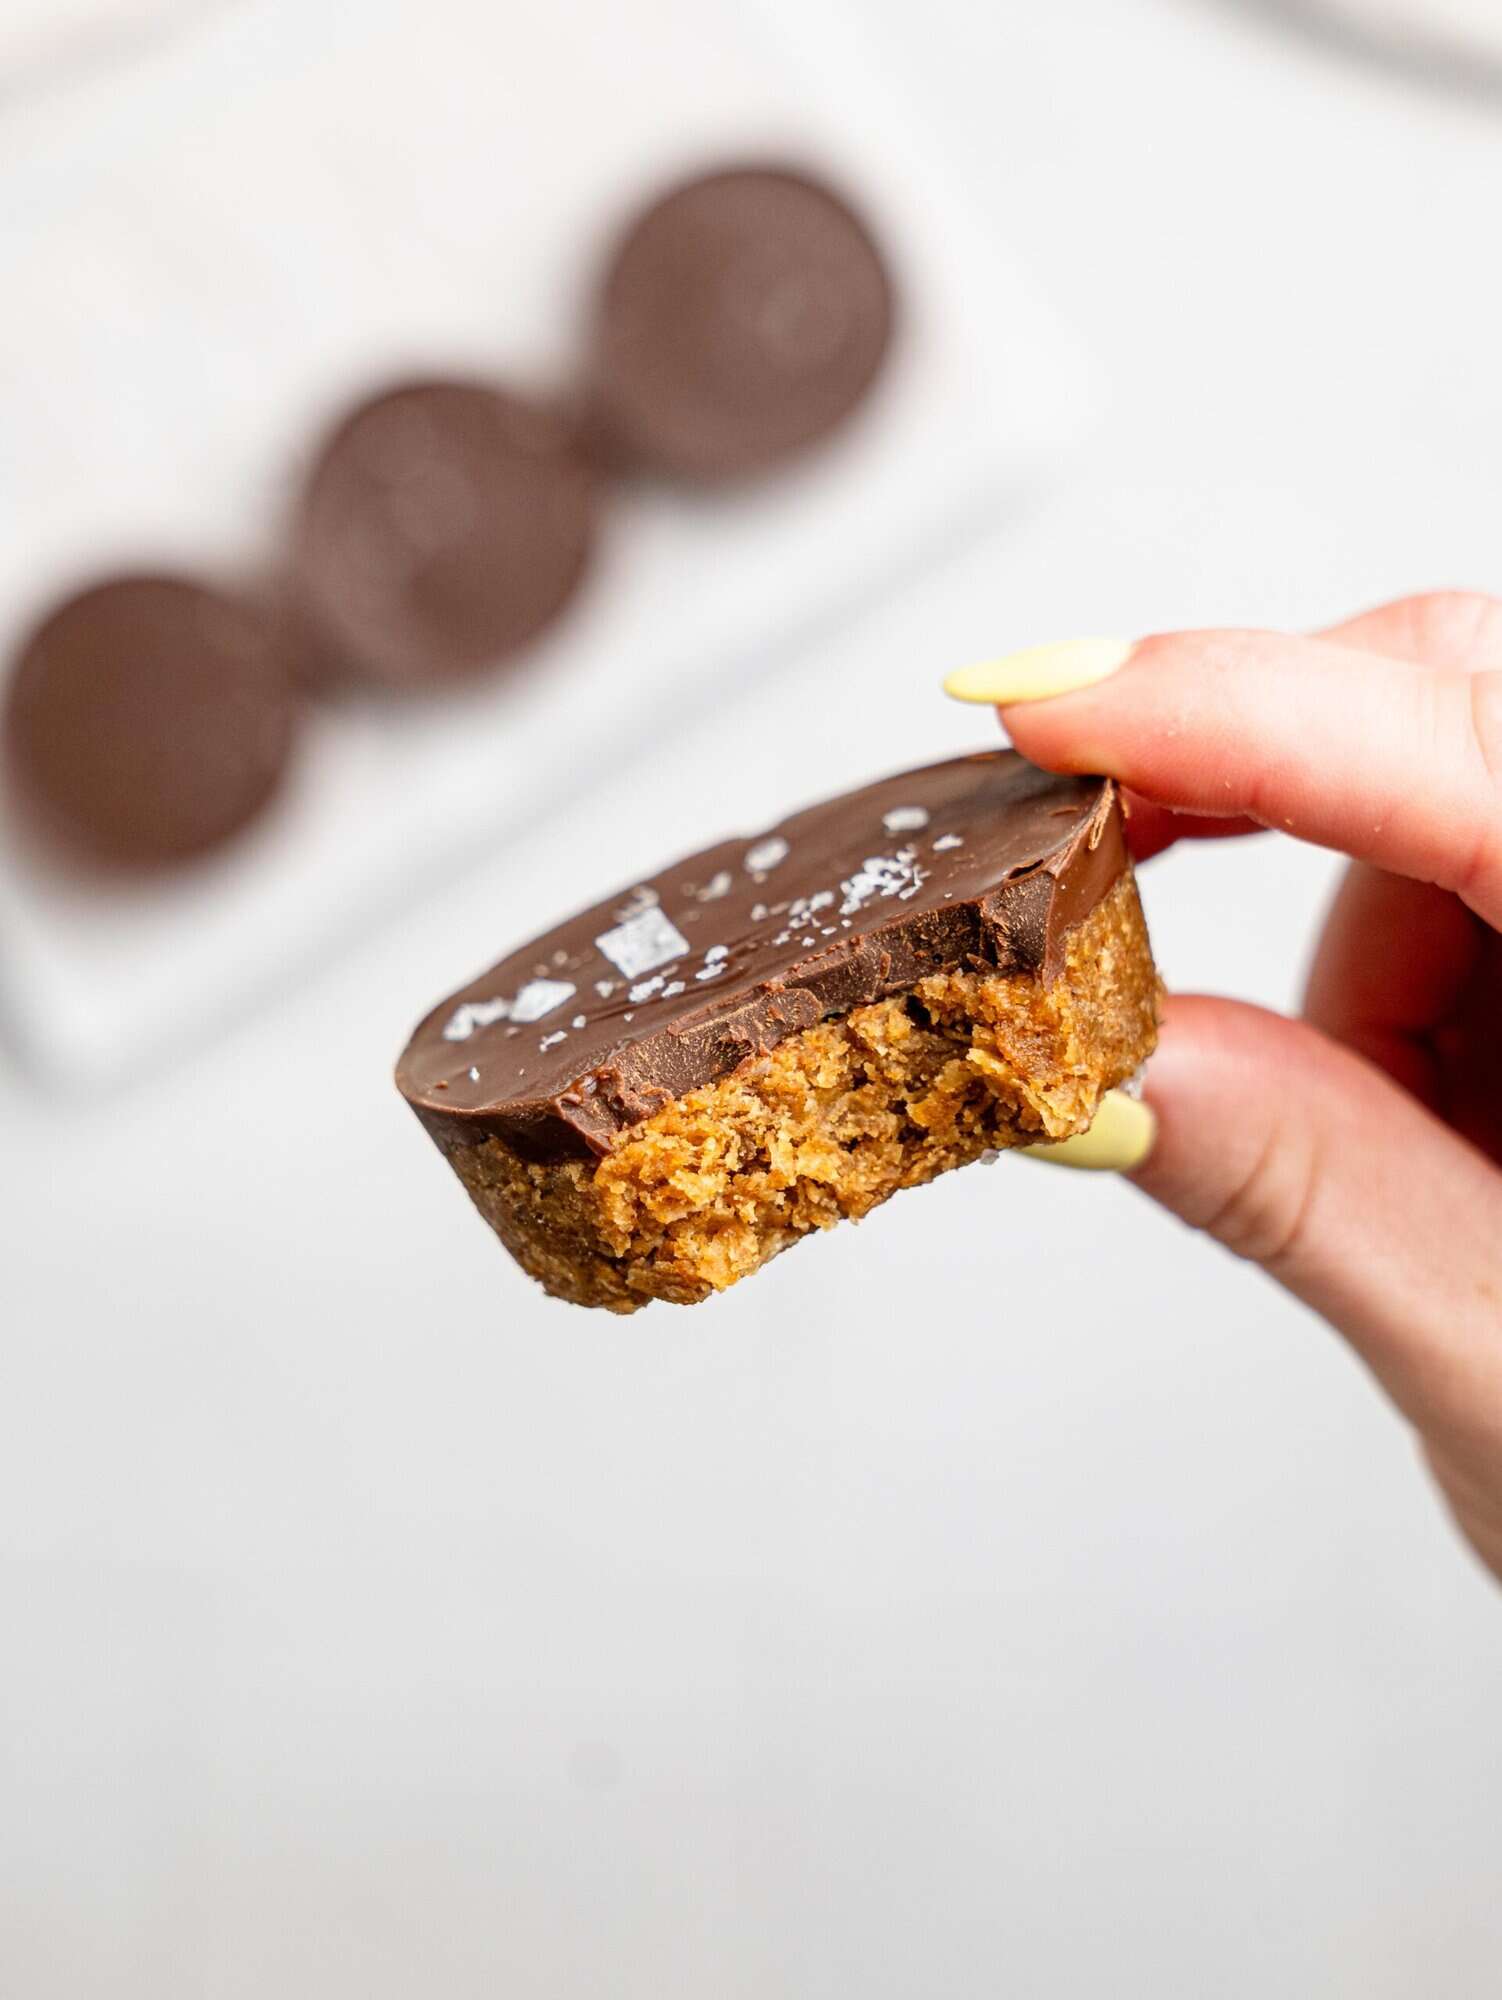
This recipe is my cheeky, feel-good take on the classic peanut butter cup. Instead of using processed ingredients, the base is made with Weetbix – a high-fiber, wholegrain cereal that gives the most satisfying crunch and hearty texture. Stirred together with creamy peanut butter, a splash of milk, and a touch of natural sweetness, it turns into a chewy, nutty foundation that pairs perfectly with a smooth layer of chocolate on top.
It’s indulgent without the guilt. Peanut butter brings protein and healthy fats, Weetbix sneaks in some fibre, and dark chocolate adds a little antioxidant boost – so you’re getting a snack that’s as nourishing as it is delicious.
The best part? These little cups are super versatile. You can swap the sweetener, use any milk you’ve got on hand, or switch things up with almond or cashew butter. Make them full-size for a more filling snack, or go mini for quick bites when those sweet cravings strike.
And because I love a good meal-prep win: they only take 15 minutes to throw together, and once chilled, they’re fridge-ready for days. Easy, reliable, and a little bit addictive (in the best way) – trust me, you’ll be making them on repeat.

Why You’ll Love This Recipe
- Only five ingredients – No endless shopping lists or pricey “superfoods” needed here. Just a handful of everyday pantry staples that magically come together to make something that feels special but is still super simple and budget-friendly.
- No baking required – Forget preheating the oven. These little cups set in the fridge, making them fuss-free and perfect for warmer days (or for when you just can’t be bothered to bake).
- A treat that loves you back – Crunchy Weetbix brings fiber, peanut butter adds protein and healthy fats, and dark chocolate sneaks in some antioxidants. They taste like a sweet treat, but you’ll feel good after eating them too.
- Make them your own – Honey, maple syrup, agave – take your pick for sweetness. Peanut butter is the classic choice, but almond, cashew, or even sunflower seed butter work beautifully too.
- Fridge-ready goodness – Whip up a batch, let them chill, and you’ve got snacks on standby. They’re great for lunchboxes, after-dinner bites, or that mid-afternoon slump when you want something a little pick-me-up-y.

What Makes these Peanut Butter Weetbix Cups Healthy?
Weetbix: Made from whole wheat, Weetbix adds crunch, fiber, and slow-release energy. It’s a wholesome alternative to processed cookie or biscuit bases.
Peanut Butter: Peanut butter provides plant-based protein and healthy monounsaturated fats, which keep you satisfied and support heart health. It also gives the cups a rich, nutty flavour.
Liquid Sweetener: Using honey, maple syrup, or agave adds natural sweetness while helping to bind the mixture. These sweeteners also bring subtle flavor notes that pair beautifully with peanut butter.
Milk: Just a splash of milk makes the mixture easy to combine and press. Whether dairy or plant-based, it ensures the cups hold together while keeping the texture moist and chewy.
Dark Chocolate: Dark chocolate provides a dose of antioxidants and a slightly bitter edge that balances the sweet, nutty base. It hardens into a satisfying topping that gives each bite a little crunch.
Ingredients Needed
These are the ingredients you’ll need to make these Peanut Butter Weetbix Cups. You can find the exact measurements in the recipe card at the bottom of this page.

Weetbix – Crunchy, wholegrain goodness! This high-fiber cereal forms the perfect base for your cups. Crushing it just right gives a satisfying texture that binds beautifully with peanut butter and sweetener. Plus, it adds hearty fiber that keeps you full and fuels your day.
Peanut Butter – Creamy, nutty, and oh-so-satisfying. Peanut butter not only adds flavor but also helps hold the base together, bringing protein and healthy fats to every bite. It also gives that indulgent, comforting taste that makes these cups feel like a little treat in every mouthful.
Liquid Sweetener – Honey, maple syrup, or agave – pick your favorite! They add natural sweetness and just enough stickiness to keep everything together, each bringing its own gentle, delicious twist. A touch of sweetness balances the nuttiness perfectly, making every bite moreish without going overboard.
Milk – A splash of milk softens the mixture so it’s easy to press into cups. Use whatever you like – dairy, almond, oat, or soy – and watch it come together perfectly. It helps everything meld into one cohesive, chewy, irresistible base.
Dark Chocolate – The indulgent finale! Melted and set, it creates a rich, glossy topping with just the right snap – a treat that looks as good as it tastes. It adds a decadent finish while still keeping things simple, wholesome, and totally satisfying.
Ingredient Substitutions
Weetbix – Crushed digestive biscuits or oats work beautifully as a base. Oats add chewiness, while biscuits bring extra crunch, giving a slightly different texture but just as delicious. Either option keeps the cups hearty and satisfying, perfect for a quick snack or a sweet treat.
Peanut Butter – Almond, cashew, or sunflower seed butter are fun swaps. Each brings its own flavor and nutrient twist, with sunflower butter being a great nut-free option. They all keep that creamy, binding goodness that makes the base perfectly cohesive.
Liquid Sweetener – Date syrup or rice malt syrup can be used instead. They naturally sweeten the mixture and help everything stick together, with subtle differences in texture and flavor. Plus, they add a gentle, wholesome sweetness that pairs beautifully with the nutty base.
Milk – Coconut milk or almond milk keeps the recipe plant-based and dairy-free. They also add gentle, complementary flavor undertones to the base. Using these milks keeps the mixture soft and easy to press into cups without compromising taste.
Dark Chocolate – Milk or white chocolate can top the cups for a sweeter finish. While less intense than dark chocolate, they still give that glossy, indulgent touch that makes each cup feel like a treat. Either way, the chocolate adds that satisfying snap and finishing flourish we all love.
Note: Substitutions may affect texture or flavor, so you may need to slightly adjust quantities to maintain the best consistency.
Equipment Needed
- Mixing Bowl – For combining crushed Weetbix with peanut butter and sweetener.
- Spoon or Spatula – To mix everything together evenly.
- Silicone Muffin Tray – Ideal for shaping cups that release easily once chilled.
- Measuring Cup or Shot Glass – Helpful for pressing the mixture down firmly into each cup.
- Heat-Proof Bowl – For melting chocolate in the microwave or over simmering water.
How to Make these Peanut Butter Weetbix Cups
Here is a detailed summary of how to make this recipe. I’ve also included some photos, and you can find the recipe video in the recipe card. At the bottom of this page is a summarized version that can be printed.
Step One:
Add the Weetbix to a bowl and crush until fine crumbs form. You can use your hands, a food processor, or even a zip-lock bag with a rolling pin.
Step Two:
Stir in the peanut butter, liquid sweetener, and a splash of milk. Mix until the crumbs are evenly coated and the mixture sticks together when pressed.

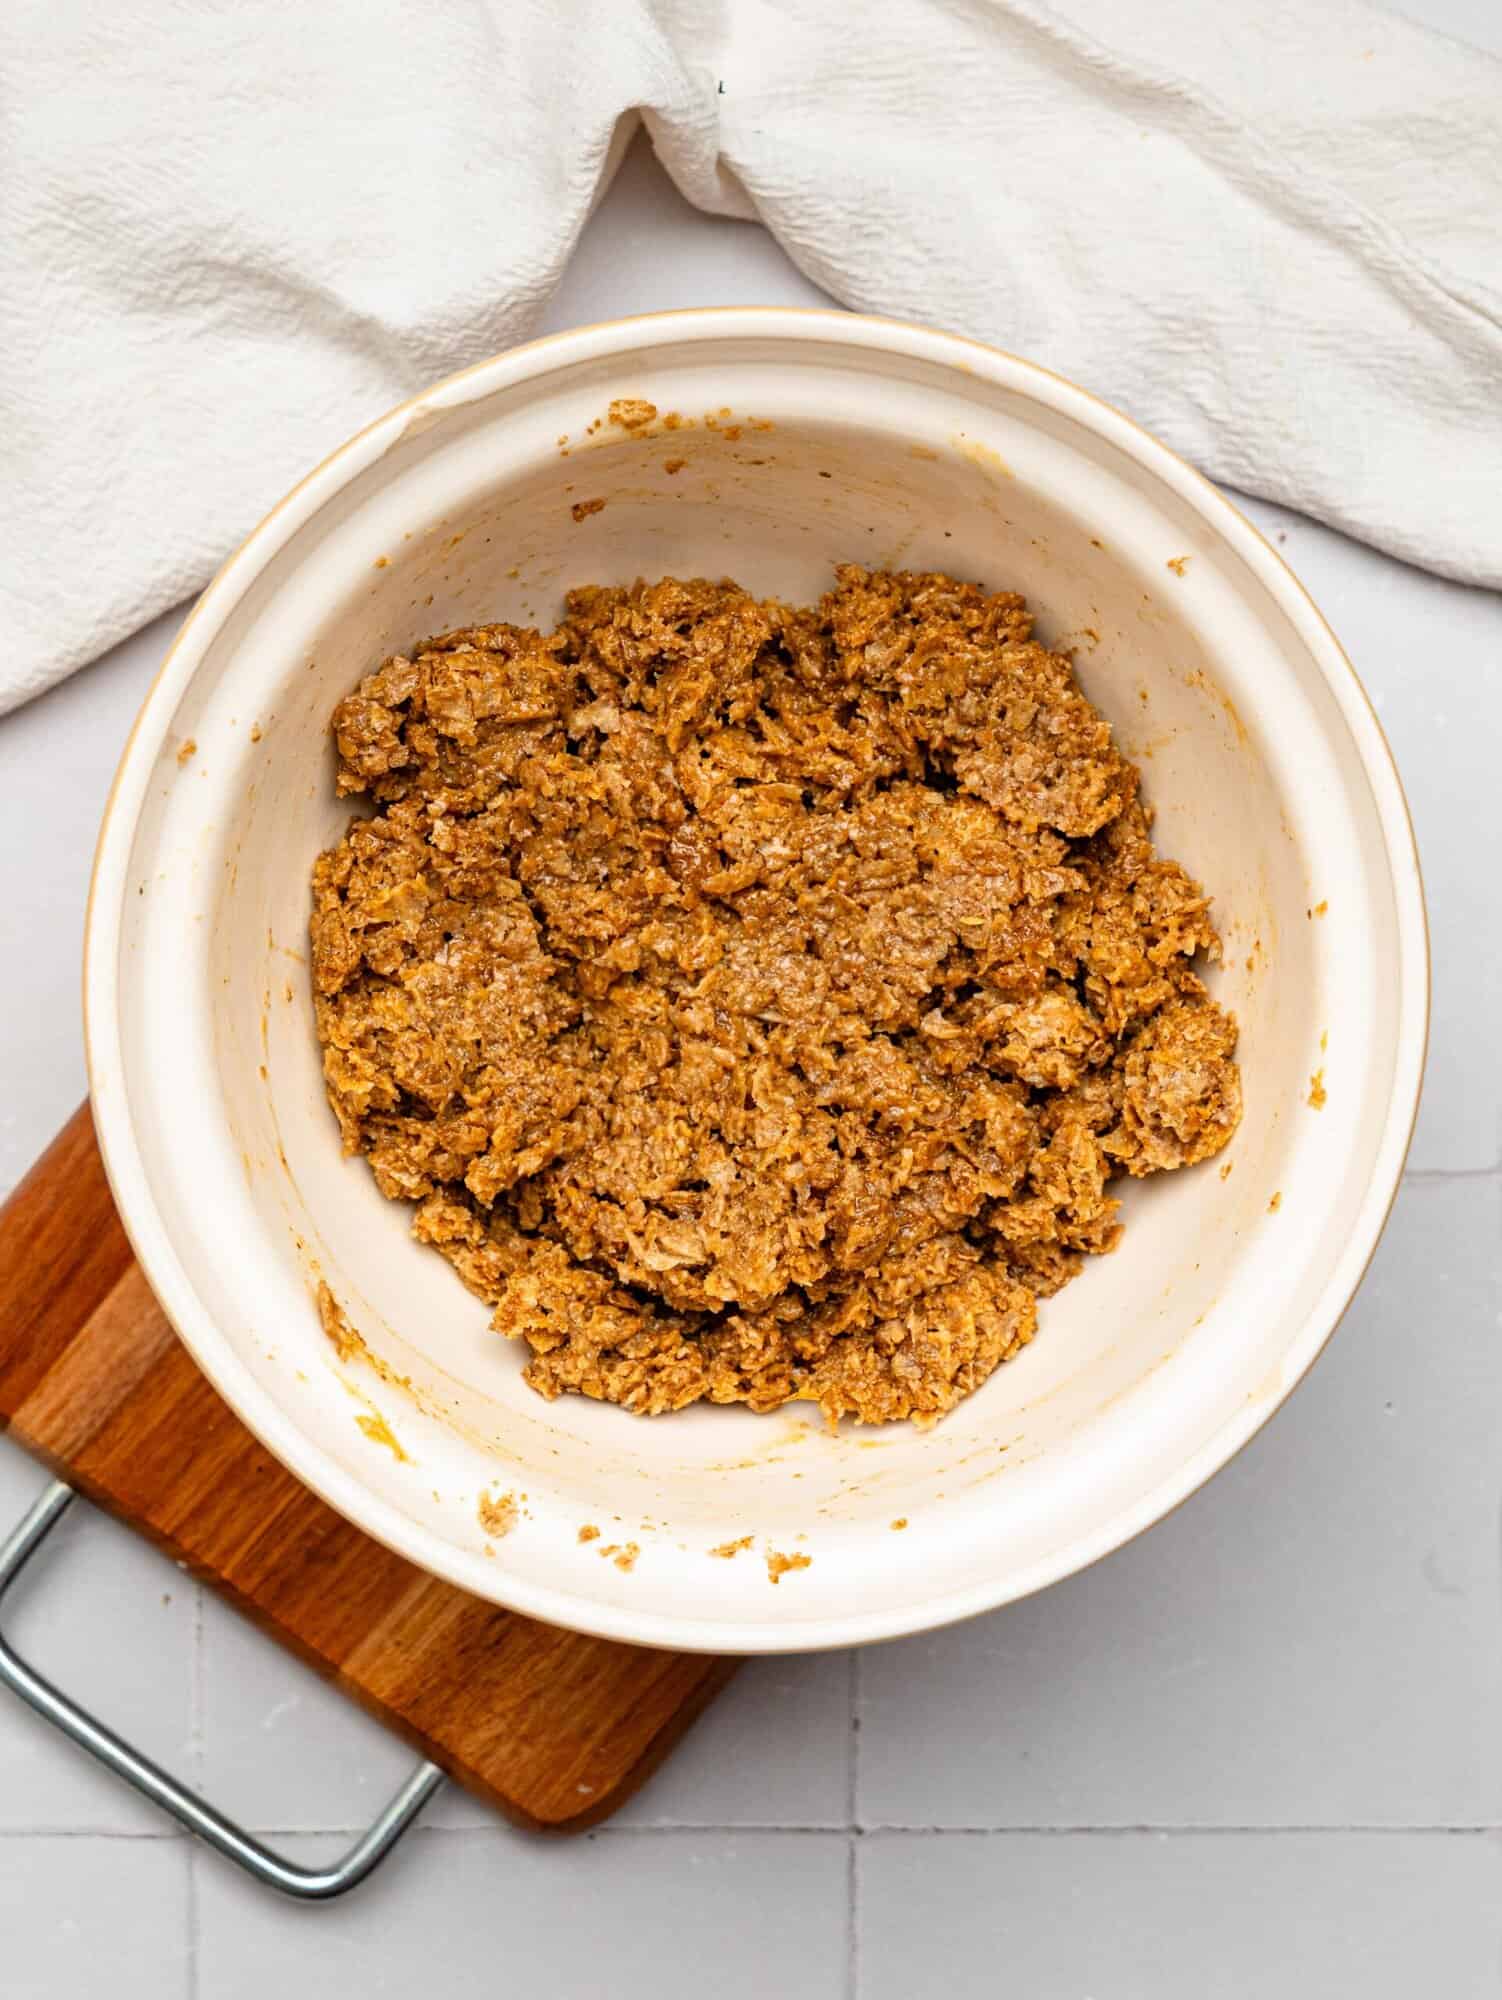
Step Three:
If the mixture looks too dry, add a little more milk, ½ teaspoon at a time. If it’s too loose, add extra crushed Weetbix until it’s compact and pliable.
Step Four:
Divide the mixture evenly between six silicone muffin tray holes. Press firmly with your fingers or the back of a small measuring cup, creating a compact base with a slight edge for the chocolate topping.
Step Five:
Chop the dark chocolate and melt in the microwave in 20-second bursts, stirring between each, or over a double boiler. For a creamier, softer topping, stir in a spoonful of peanut butter once melted.
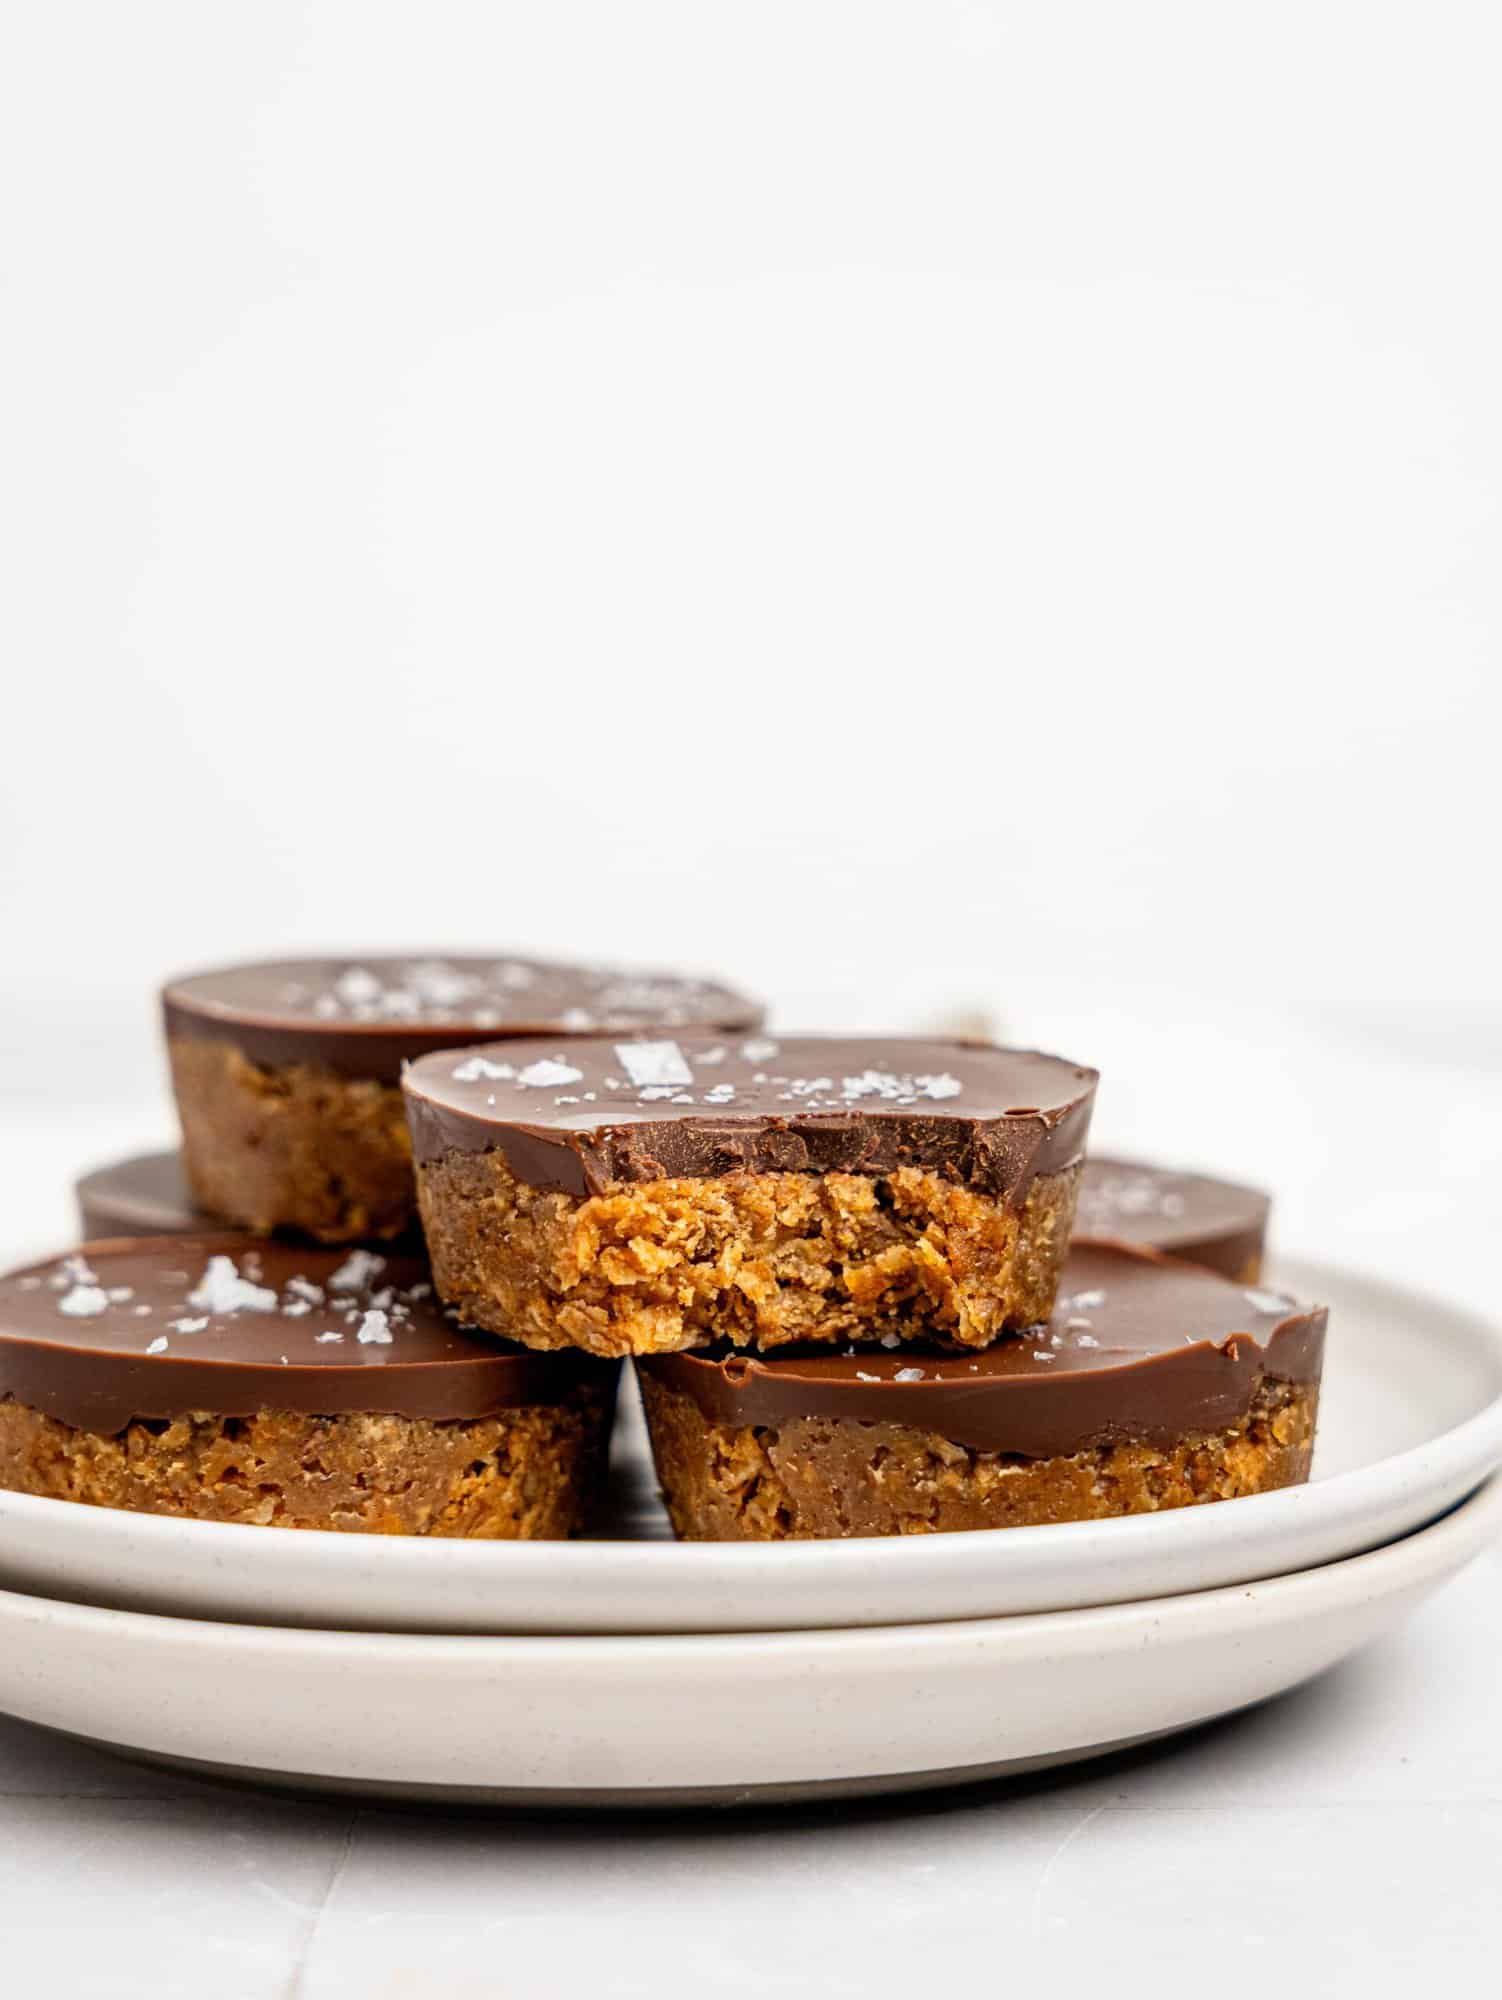
Step Six:
Spoon or pour the melted chocolate over each base, tapping the tray gently to level. Sprinkle it with flaky sea salt or crushed peanuts if you’d like extra crunch.


Step Seven:
Place the tray in the fridge for at least 30 minutes until the chocolate is firm. If you’re in a rush, pop them in the freezer for 10–15 minutes, then let soften slightly before eating.
Tips & Notes
- Press Firmly: The firmer you press the base, the less crumbly your cups will be once set. A good press keeps every bite neat, chewy, and perfectly satisfying.
- Soften Peanut Butter: If your peanut butter is too stiff, pop it in the microwave for a few seconds. This makes mixing a breeze and keeps the base silky smooth.
- Add Toppings: A sprinkle of sea salt, chopped nuts, or cacao nibs adds extra flavour, crunch, and a touch of healthy goodness. These finishing touches make every cup feel like a treat.
- Make Mini Bites: Press the mixture into mini muffin trays for snack-sized portions. Perfect for on-the-go munching, lunchboxes, or just a bite-sized indulgence.
- Keep Cold: Store your cups in the fridge so the chocolate stays glossy and the base holds together. Chilled cups are refreshing, satisfying, and extra fun to snack on straight from the fridge.

How to Store your Peanut Butter Weetbix Cups
Fridge – Pop them into an airtight container and they’ll stay fresh and tasty for up to a week. Perfect for grabbing whenever those snack cravings strike.
Freezer – These cups freeze beautifully for up to 2 months. Just let them sit out for 5–10 minutes to soften slightly before digging in – like a little homemade freezer treat.
Frequently Asked Questions
Can I make these vegan?
Yes! Just use maple syrup or agave as your sweetener and choose dairy-free dark chocolate.
Can I use crunchy peanut butter?
Yes! It adds a lovely crunch and texture to the base, giving each bite a little extra fun – which is exactly why so many people can’t get enough of it!
Do I have to use Weetbix?
No — you can swap with oats or crushed biscuits. The cups will still hold together, but the texture will be slightly different.
Can I double the recipe?
Absolutely! This recipe scales up beautifully. Just grab a bigger tray or make an extra batch of cups – perfect for sharing or keeping snacks on hand for the week.
How do I make the chocolate layer softer?
Mix in a tablespoon or two of peanut butter while melting the chocolate. This creates a fudge-like topping instead of a hard snap.
Are these good for meal prep?
Definitely! They keep beautifully in the fridge or freezer, making them a handy, grab-and-go snack for busy mornings, lunchboxes, or those afternoons when you need a little pick-me-up.
more easy and healthy no-bake sweet treats
- Black Bean Brownies
- High Protein Chocolate Mousse
- Cottage Cheese Cookie Dough
- Chocolate Raspberry Tart
Hey! If you make this recipe, I would love it if you could leave me some feedback and a rating ⭐⭐⭐⭐⭐ in the comment section at the bottom of the page! Also let me know on Facebook, Instagram or Pinterest! I can’t wait to hear your thoughts and see your photos!

Peanut Butter Weetbix Cups
Equipment
- Spoon or spatula
- Measuring Cup or Shot Glass
- Heat Proof Bowl
Ingredients
- 6 Weetbix
- 80 g Peanut Butter (⅓ cup)
- 80 g Liquid Sweetener – honey, maple syrup, or agave (¼ cup)
- 3 tbsp Milk
- 100 g Dark Chocolate (3oz)
Instructions
- Crush Weetbix into fine crumbs in a bowl.
- Stir in peanut butter, sweetener, and milk until combined and sticky.
- Divide into six silicone muffin tray holes and press down firmly.
- Melt dark chocolate in the microwave or over a double boiler. Stir in a little peanut butter if you want a softer topping.
- Spoon chocolate over the bases and level out. Add toppings if desired.
- Refrigerate for at least 30 minutes until the chocolate is set.
Video
Notes
- Press the base firmly so your cups hold together nicely.
- Warm peanut butter slightly if stiff for easier mixing.
- Add toppings like sea salt, chopped nuts, or cacao nibs for extra flavour and crunch.
- Make mini versions in smaller muffin trays for quick bites.
- Keep chilled in the fridge for the best texture; they also freeze well for up to 2 months.
Nutrition
Let me know in the comments below if you make these Peanut Butter Weetbix Cups!
This i must try awesome wow