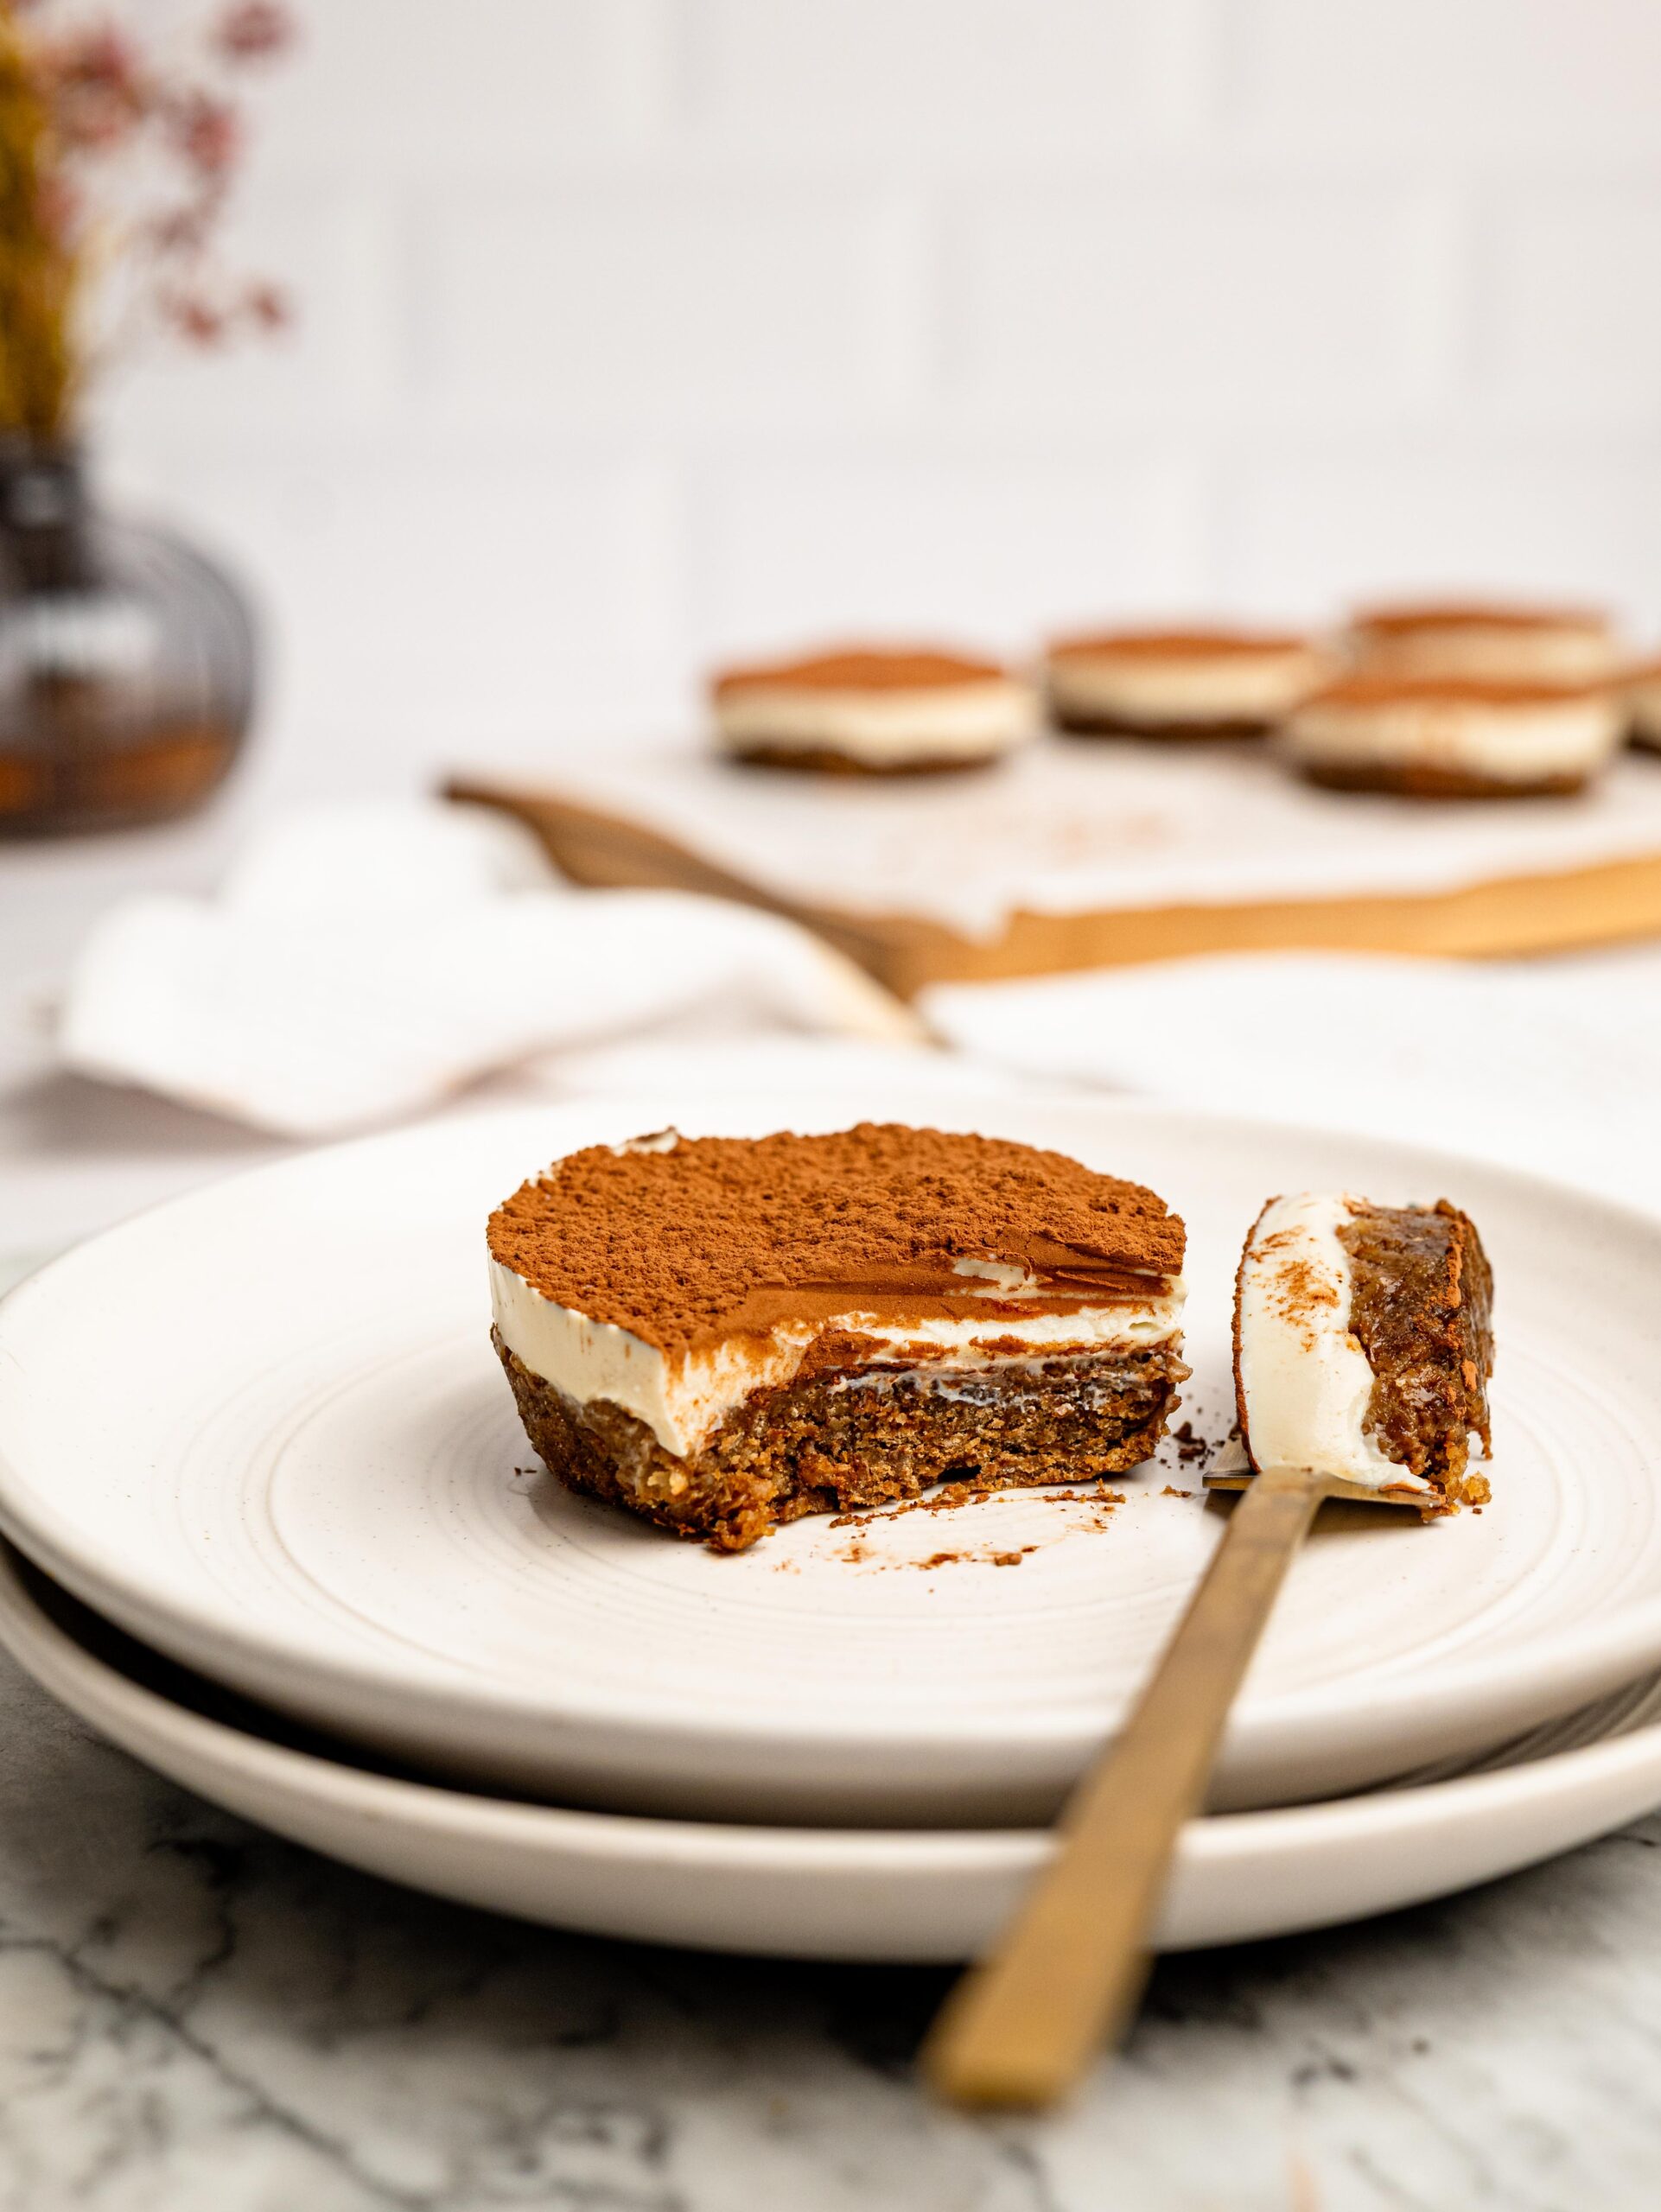
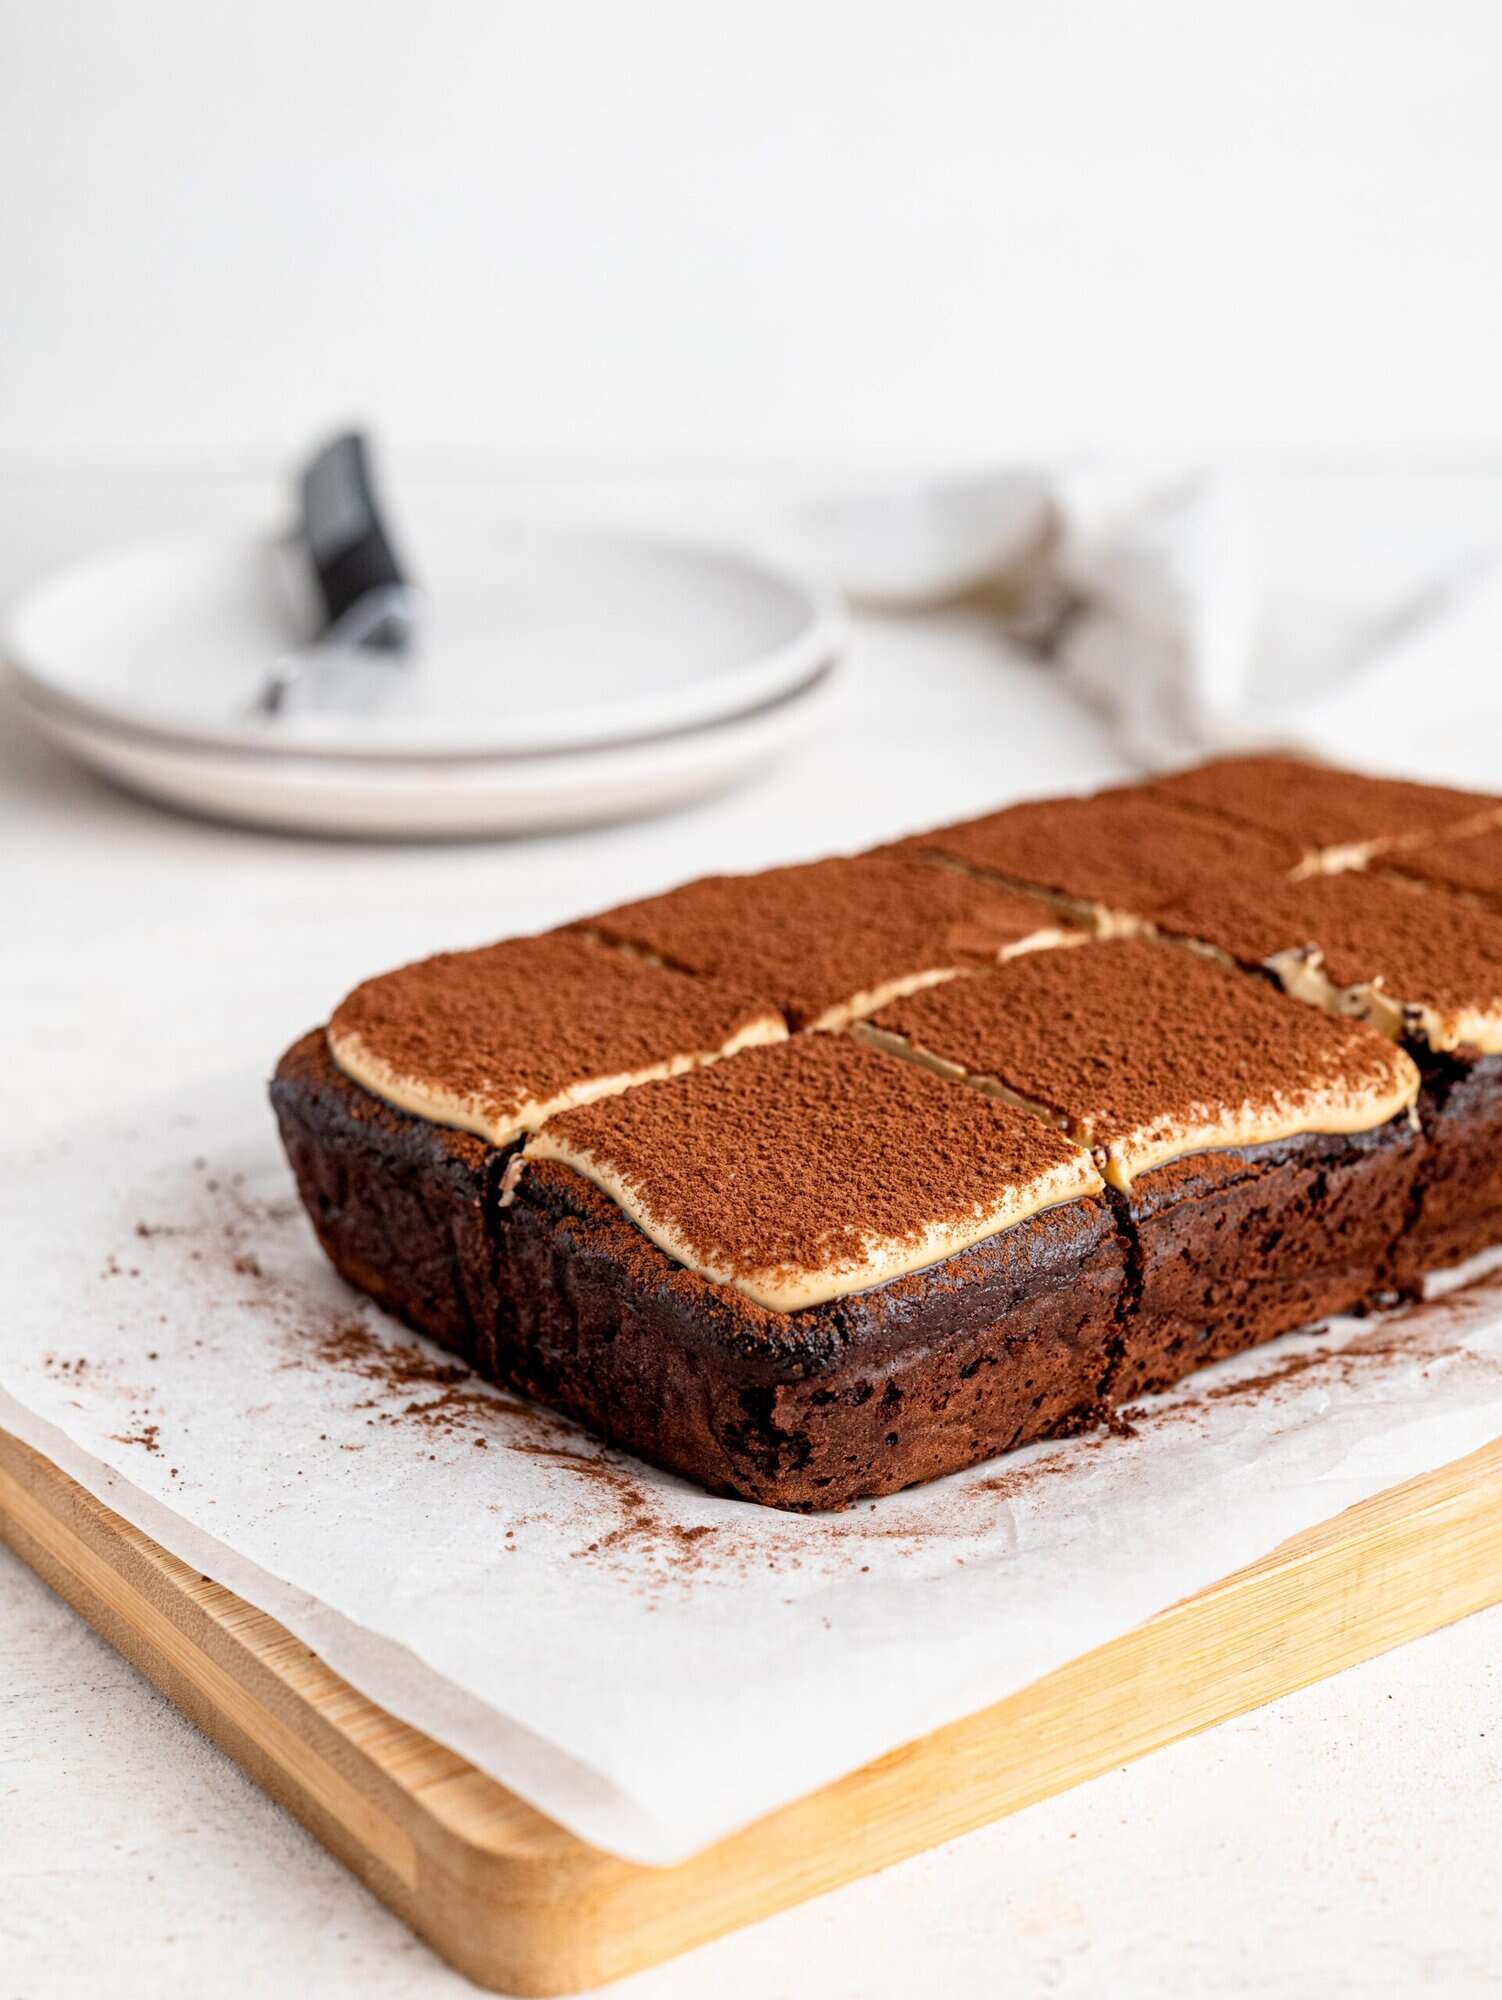
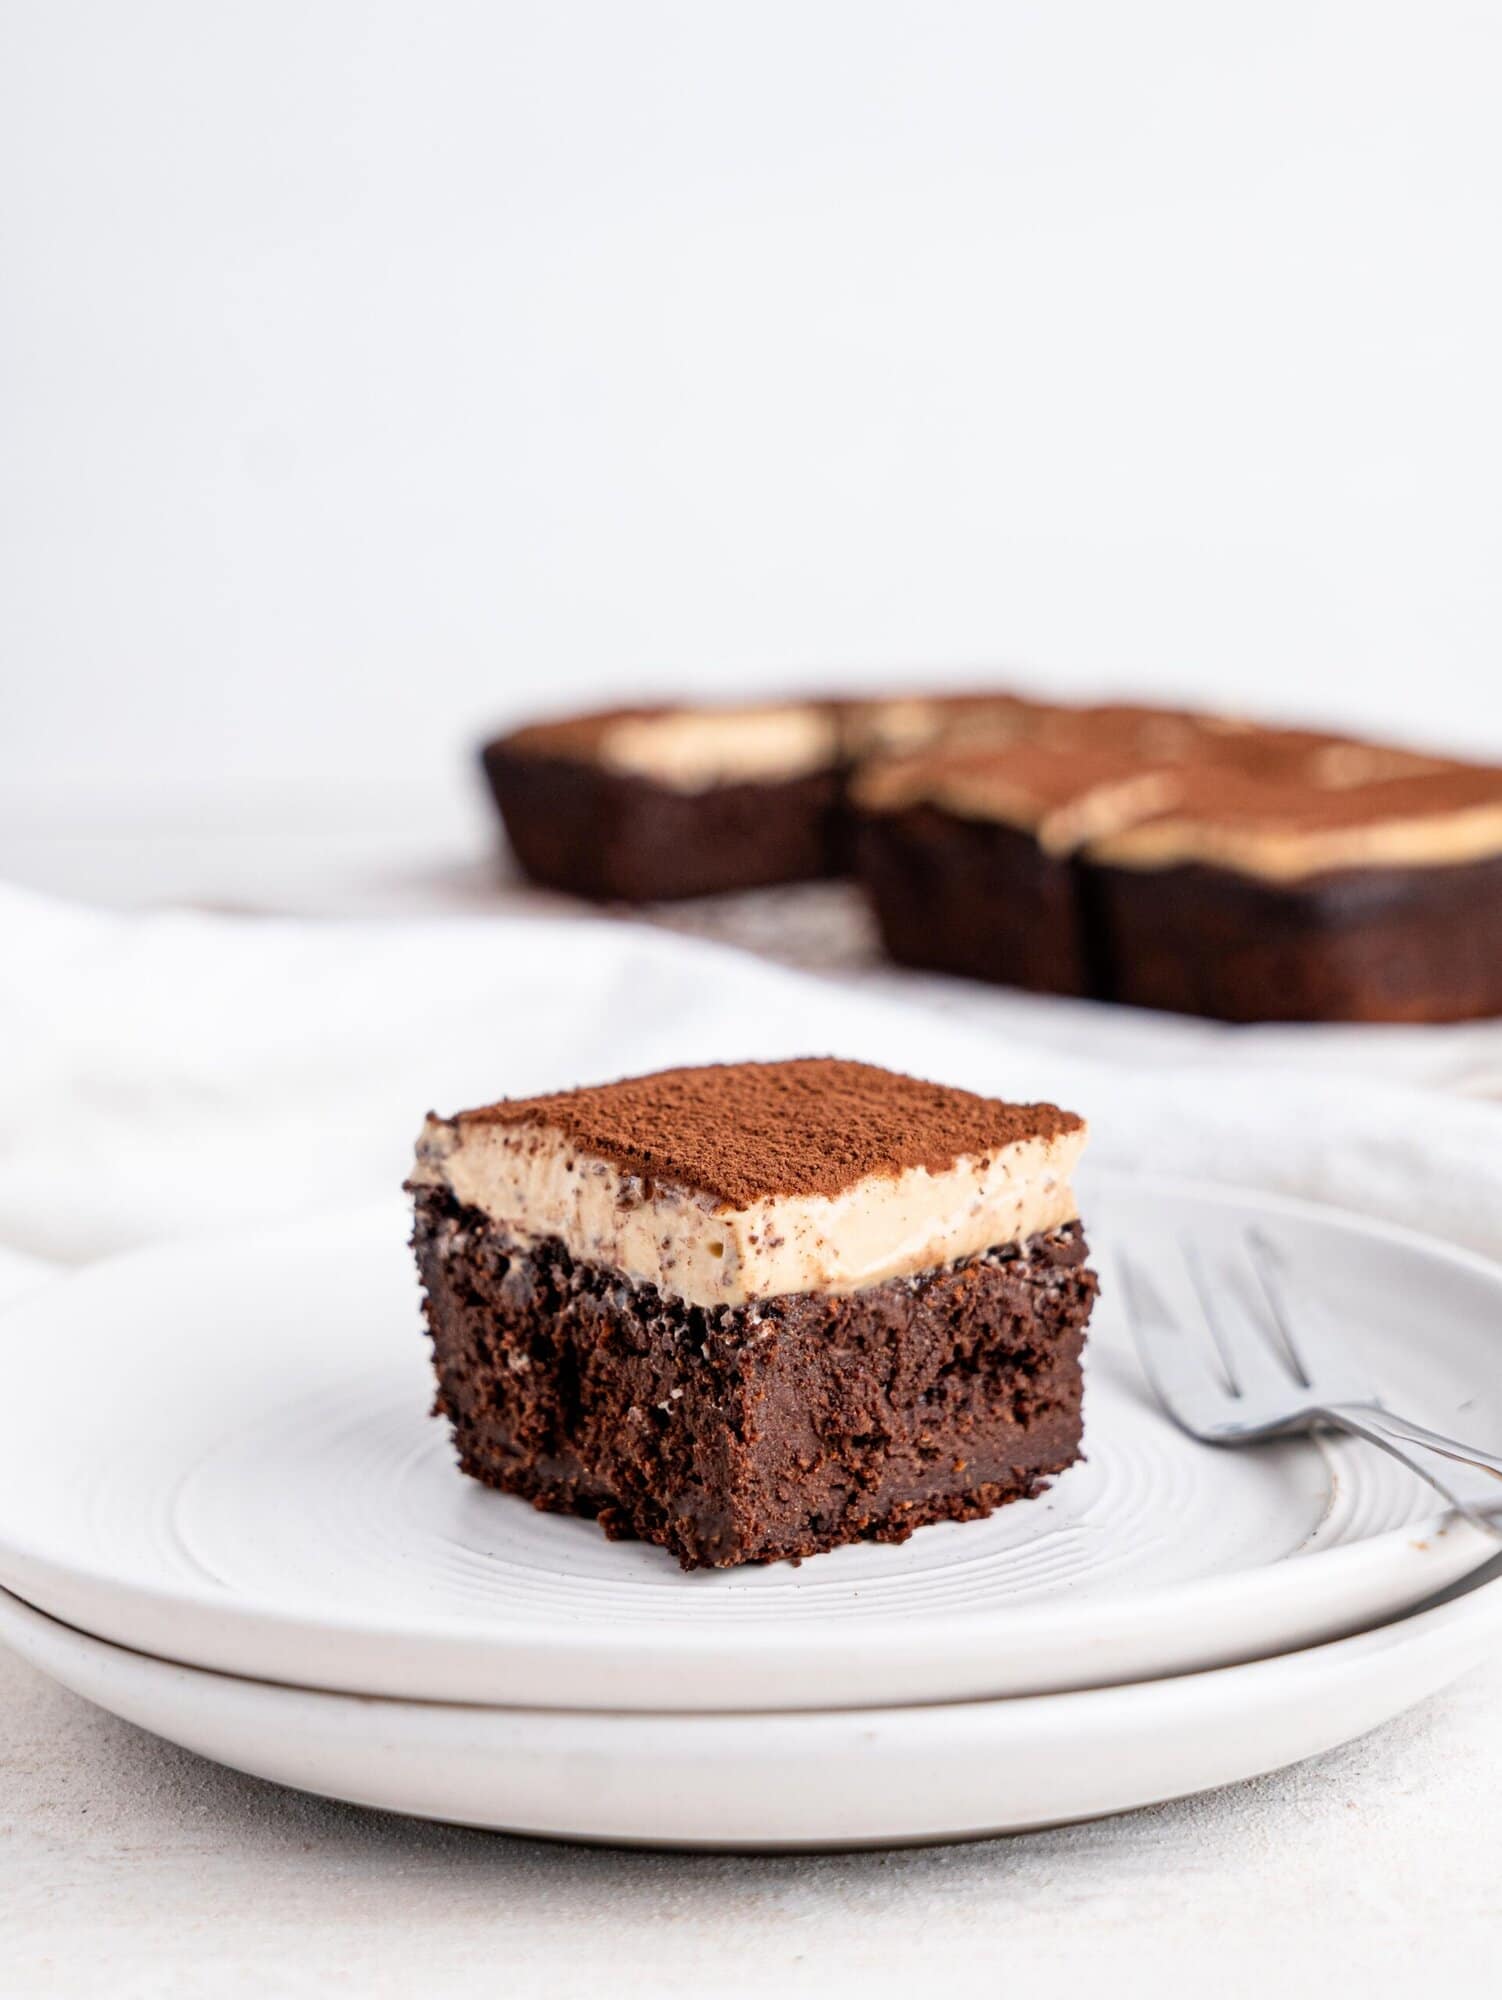
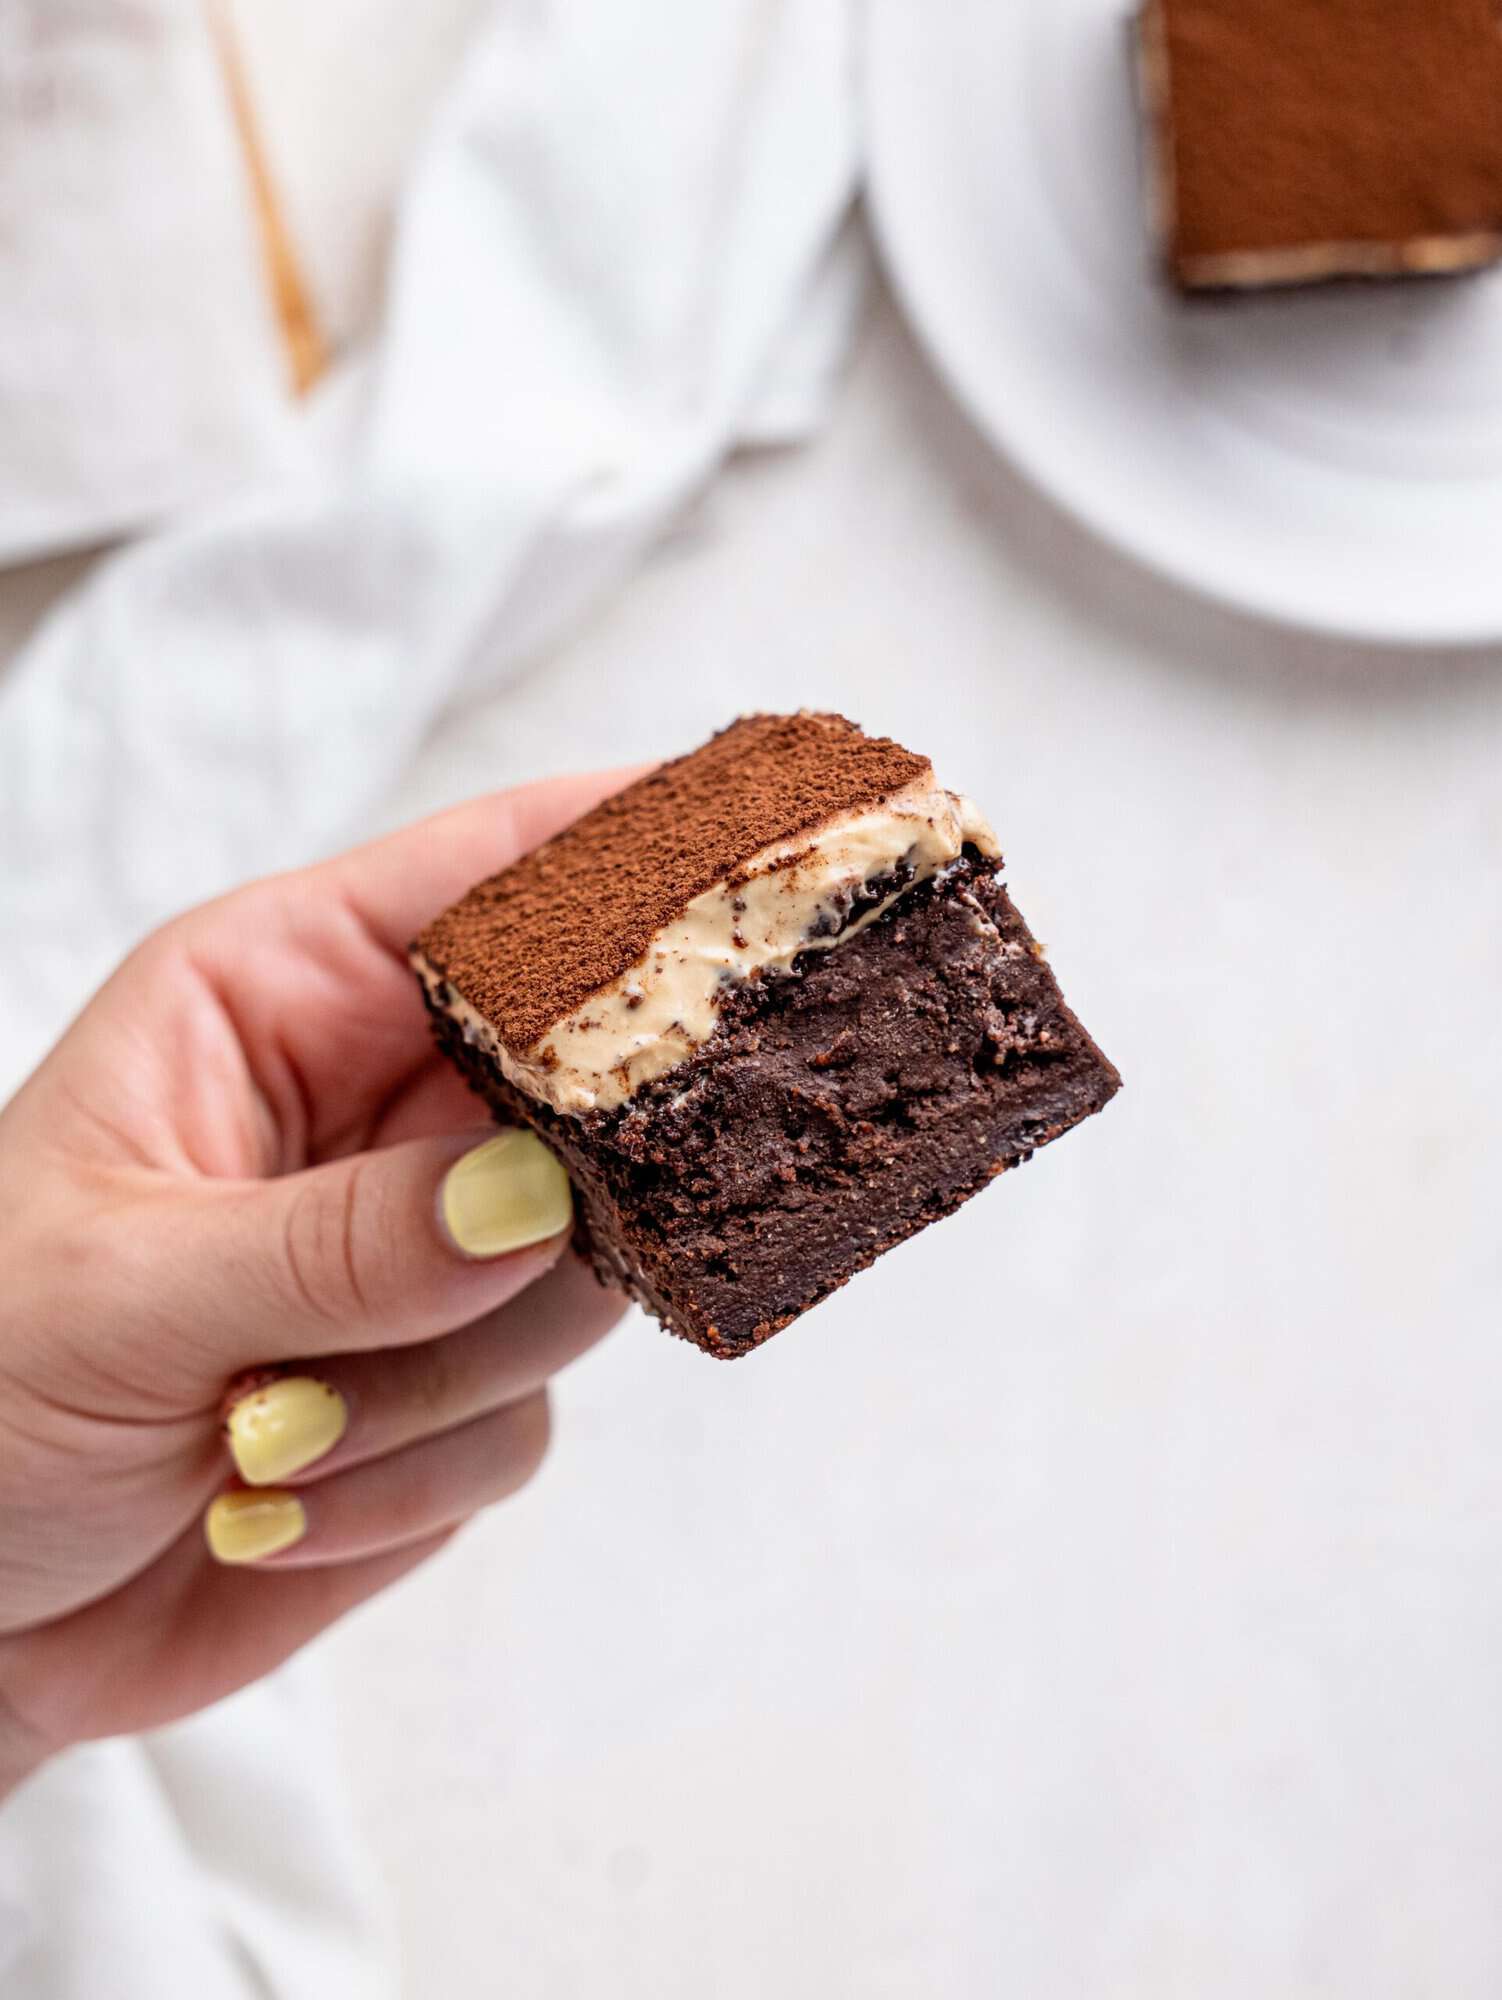
These Tiramisu Brownies are the perfect dessert if you’re looking for something easy, healthy, and delicious. A fudgy, decadent espresso brownie topped with a creamy coffee layer, and a dusting of cocoa powder – you would never believe they’re actually good for you!

I’ve been craving something rich, indulgent, and healthy lately, and these Tiramisu Brownies just hit the spot SO perfectly! They’re so easy to make — no complicated steps, just a handful of simple ingredients.
What I love most about these brownies is how rich and fudgy they are without being too sweet. The combination of coffee and chocolate is just magic, and it hits that perfect balance of indulgence without overdoing it.
It’s one of those treats that feels like a little bit of luxury, but you can feel good knowing that they’re made with ingredients that nourish your body, not just your sweet tooth.
So, what makes these Tiramisu Brownies so special? For starters, they’re made with oat flour, which keeps them gluten-free and nut-free. Instead of refined sugar, I’ve swapped in coconut sugar,, which gives them a natural sweetness and more nutrients.
The brownies are egg-free, and you can easily make them dairy-free or vegan by using alternatives like plant-based yogurt and cream cheese. Plus, dark chocolate and cocoa powder give them a dose of antioxidants, while the Greek yogurt adds protein and calcium.
Trust me, these brownies are the perfect treat when you want something indulgent but still nourishing!
Why you’ll love these Tiramisu Brownies
- They’re easy to make – no fancy tools or techniques needed.
- They’re made with good-for-you ingredients.
- They’re gluten-free, nut-free, refined sugar-free, and egg-free.
- Can be made dairy-free and vegan too, with a few simple swaps!
- They’re fudgy, decadent, and delicious.
- They’re not too sweet, just a perfect balance of sweetness and richness.
- The combination of coffee and chocolate is always a winner.
- They’re good for your soul and your body!

What Makes These Tiramisu Brownies Healthy?
These Tiramisu Brownies are a healthier twist on a classic dessert, and here’s why you’ll love them:
- Oat Flour: Unlike refined white flour, oat flour is packed with fiber and whole grains, which help with digestion and provide long-lasting energy.
- Refined Sugar-Free: Instead of regular sugar, we use coconut sugar or panela sugar, which are less processed and provide more nutrients.
- Egg-Free & Dairy-Free Options: With alternatives like yogurt (dairy-free options available) and plant-based cream cheese, they’re suitable for vegan diets.
- Antioxidant-Rich: The dark chocolate and cocoa powder offer beneficial antioxidants, which may help reduce inflammation and support heart health.
- High in Protein: Thanks to the Greek yogurt, you’re getting extra protein and calcium in each bite.
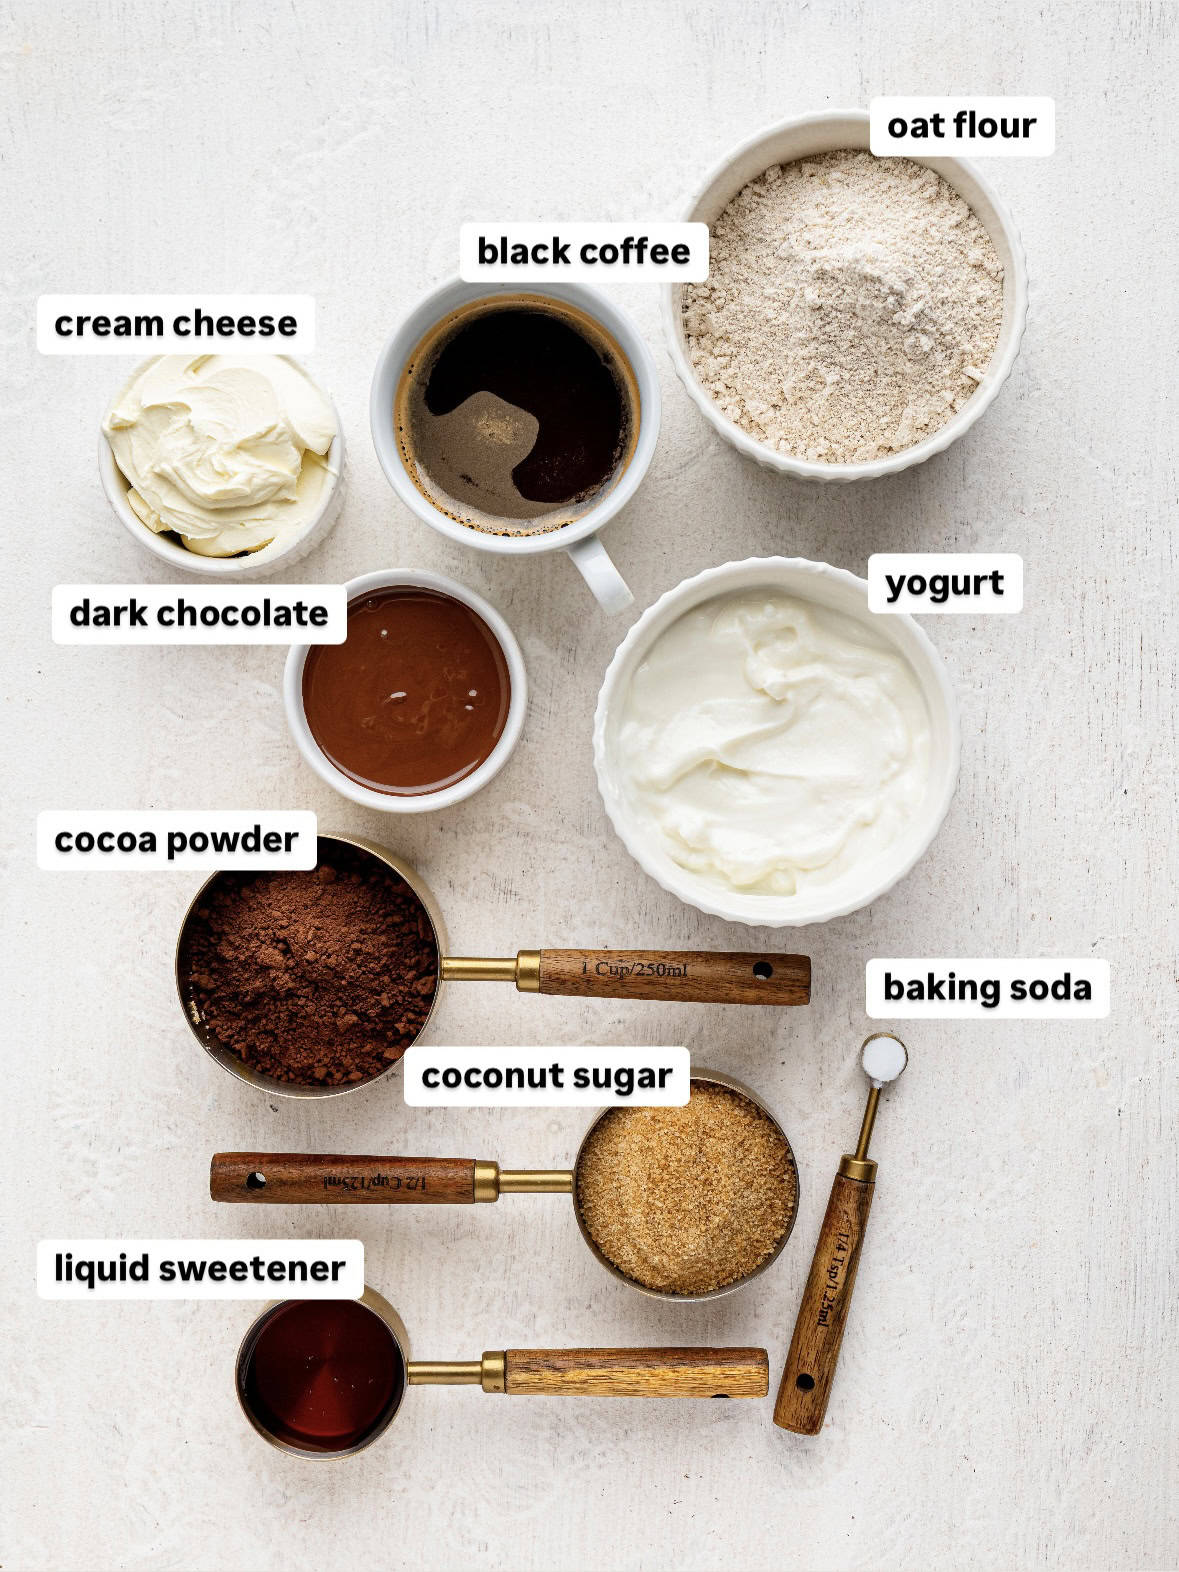
Ingredients Needed
These are the ingredients you’ll need to make these Tiramisu Brownies. You can find the exact measurements in the recipe card at the bottom of this page.
• Dark Chocolate: The secret to gooey, decadent brownies is melted dark chocolate in the batter. Like cocoa powder, dark chocolate is a great antioxidant and anti-inflammatory ingredient; and YES – it is healthy! Try to use a refined sugar-free dark chocolate like this one. You can use any chocolate you have.
• Yogurt: Used in the brownie as well as the creamy topping. Yogurt adds delicious gooeyness to these brownies without needing an excessive amount of oil or butter. It also adds extra protein and calcium to your diet – BONUS! Try to use thick yogurt like Greek yogurt or Double Cream yogurt, and make sure there are no additives or artificial sweeteners.
• Sugar: I usually use coconut sugar as it’s an unrefined sugar that’s a lot more nutritious than regular white or brown sugar. You can use any sugar you like, however the change might slightly affect the texture of the cookies.
• Black Coffee: To bring the brownie batter to the correct consistency, and to add that rich coffee flavor.
• Oat Flour – Instead of using white flour, this recipe calls for oat flour or blended oats. You can buy oat flour from most health food stores, or you can make your own by blending and sifting whole oats.
• Baking Soda or Bicarbonate of Soda: This reacts with the cocoa powder to give the brownies a slight lift whilst keeping them gooey and delicious instead of cakey.
• Cocoa Powder: I recommend using Dutch-process cocoa powder as it has a lovely rich chocolaty flavor. Make sure your cocoa powder is unsweetened.
• Cream Cheese: Forms part of the creamy topping. I recommend using cream cheese made with just milk and no extra additives, gums, or sweeteners. You can use a dairy-free cream cheese alternative for vegan brownies or try my Vegan Cream Cheese Recipe.
• Instant Coffee: To add a coffee flavor to the creamy topping. I recommend using espresso powder.
• Liquid Sweetener of Choice: To add sweetness while keeping this frosting refined sugar-free, I recommend using a natural liquid sweetener like honey, maple syrup, agave, or date syrup.

Ingredient Substitutions
- Dark Chocolate: If you don’t have dark chocolate on hand, you can easily swap it out for semi-sweet chocolate or milk chocolate. If you’re looking for a dairy-free option, choose a dairy-free dark chocolate.
- Yogurt: For a dairy-free or vegan version, use coconut yogurt or soy yogurt. Just make sure it’s thick and unsweetened, as this will maintain the creamy texture of the brownies.
- Coconut Sugar: Any sugar will work.
- Oat Flour: You can also opt for gluten-free all-purpose flour if you prefer. And if you’re not gluten-sensitive, regular all-purpose flour will do just fine.
- Cream Cheese: To make these brownies dairy-free, simply swap in vegan cream cheese or cashew cream for the frosting. You can also use Mascarpone for a more classic Tiramisu flavor.
- Instant Coffee (Espresso Powder): No instant coffee? No problem! You can use coffee extract in place of espresso powder. For a completely different flavor, try matcha powder for a non-coffee twist that’s still packed with flavor.
- Liquid Sweetener (e.g., Maple Syrup, Agave): If you’re looking for a sugar-free or low-carb option, stevia or monk fruit sweetener works well. Just adjust the quantity to your taste, as these are often sweeter than traditional sweeteners.

Equipment Needed:
- Digital Food Scale: For accurate measurements and perfect results.
- Loaf Pan or other small pan: Mine is 15cm x 20cm (read on for tips if using a bigger or smaller tin)
- Parchment Paper
- Mixing Bowl: One large bowl for the brownie batter and one small bowl to melt the chocolate and make the cream cheese frosting.
- Whisk or Fork and Spatula
- Small Sieve: Add the dusting of cocoa powder on top. You can use a regular sieve too, it may just be messier.

How to make Tiramisu Brownies
Here is a detailed summary of how to make this recipe. I’ve also included some photos, and you can find the recipe video in the recipe card. At the bottom of this page is a summarized version that can be printed.
Step one:
Start by preheating your oven and lining your baking tin with a sheet of parchment paper leaving some paper overhanging the pan for easy removal.
Step two:
Start by melting your chocolate. You can do this in a double boiler or in the microwave, stopping every 30 seconds to stir and prevent burning.
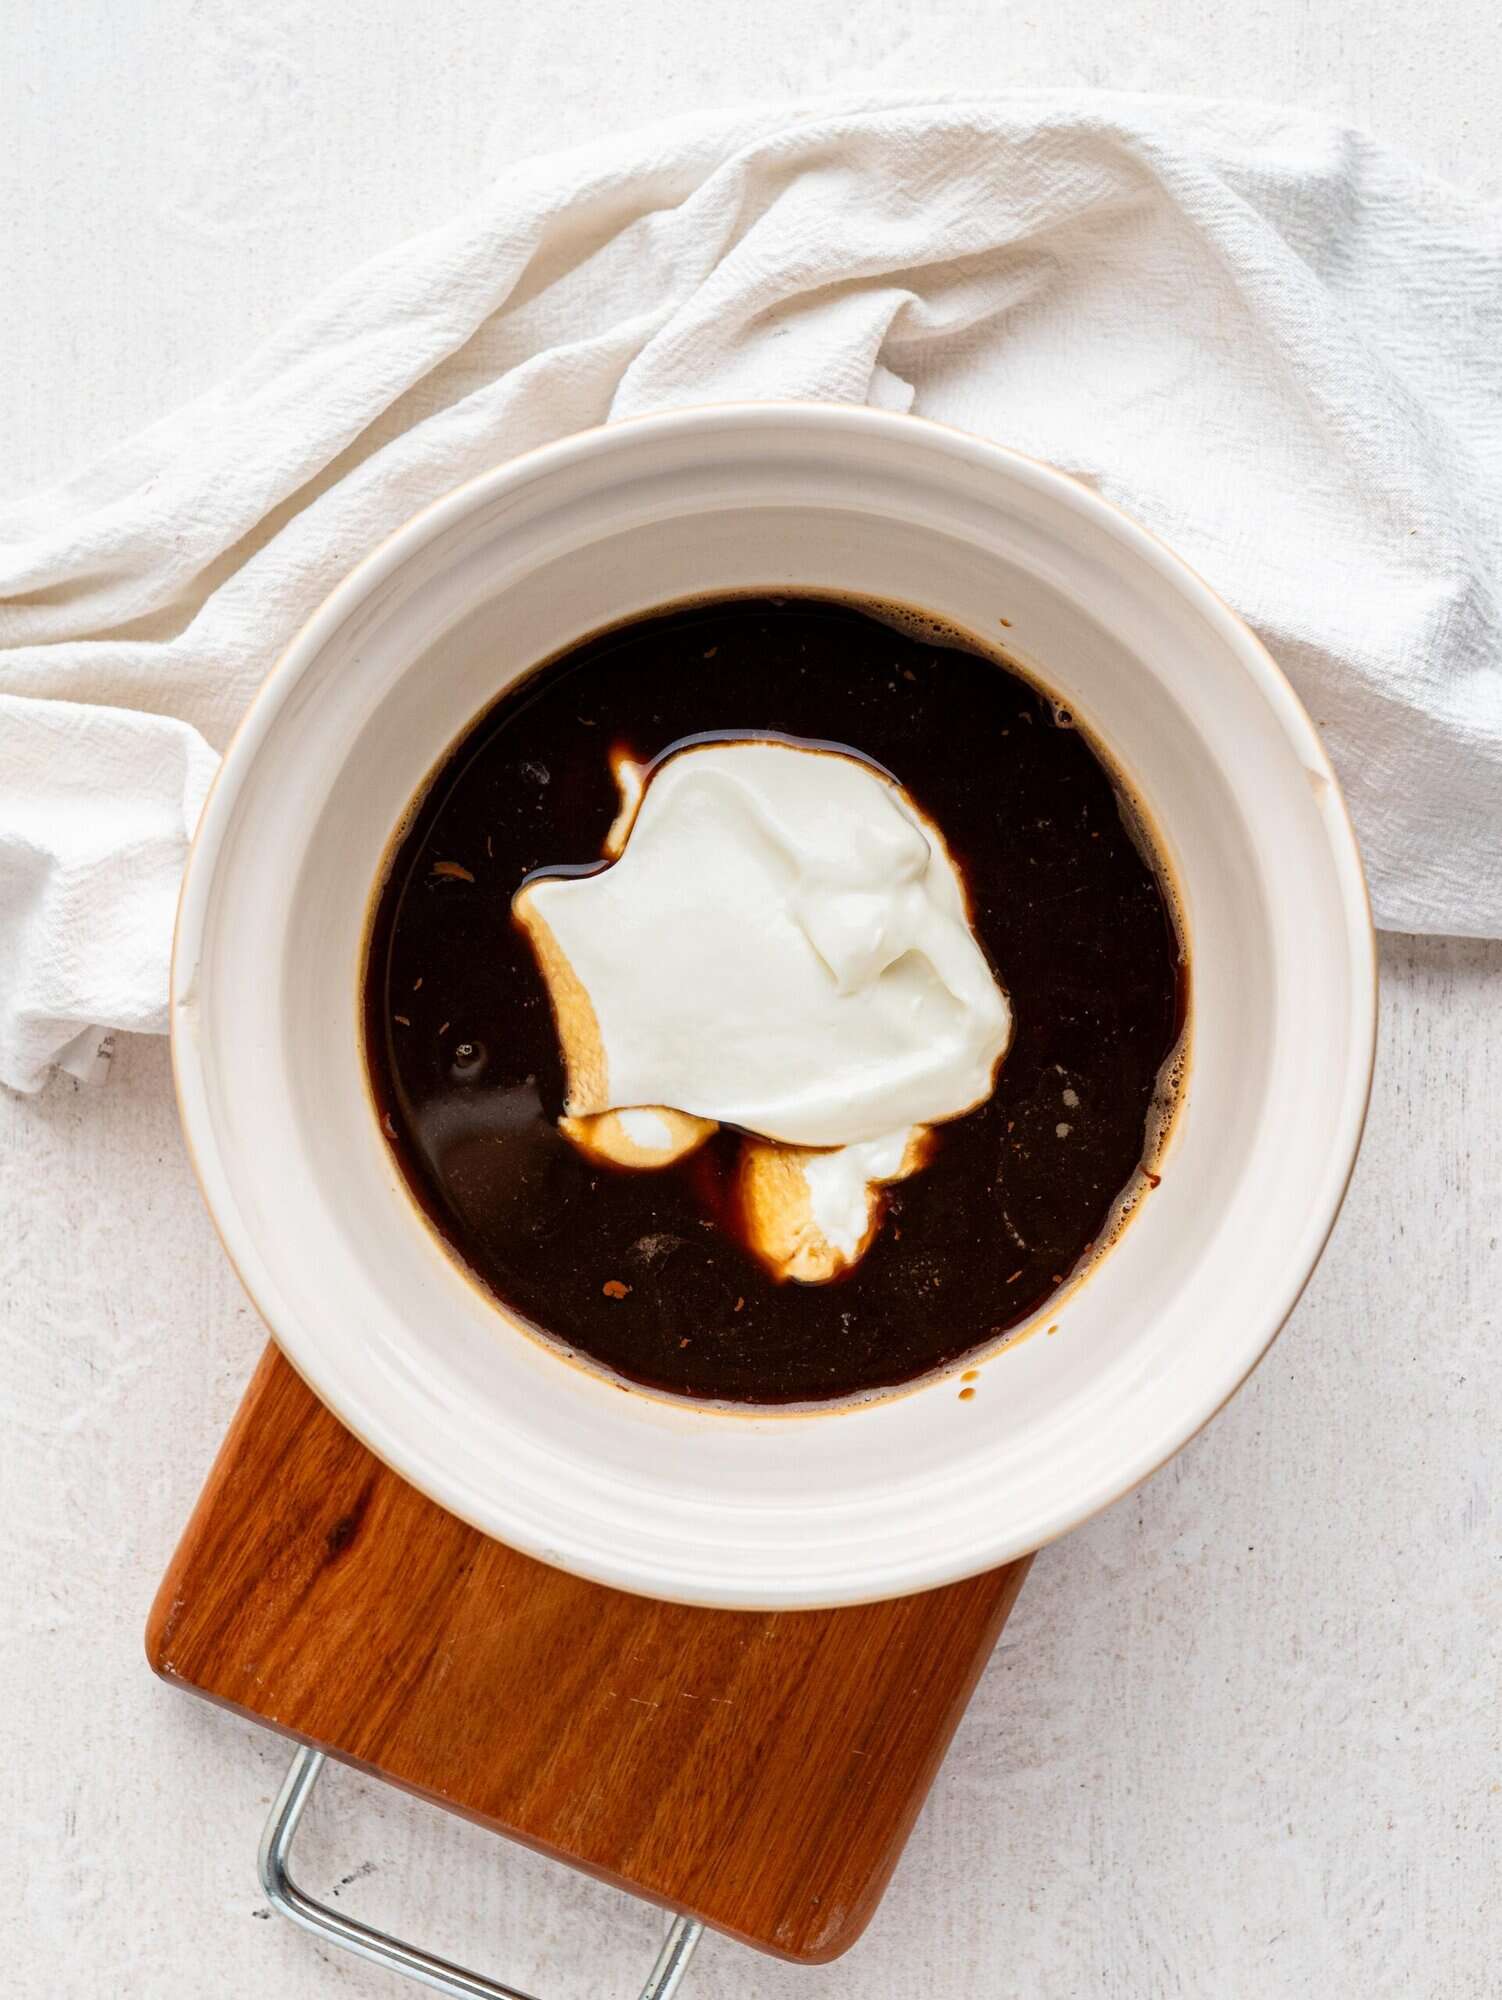
Step three:
Add your melted chocolate, black coffee, yogurt, and sugar to your large mixing bowl. Whisk with a whisk or fork until combined.

Step four:
Add your oat flour, cocoa powder, baking soda, and salt to a separate bowl and whisk to equally distribute the ingredients.
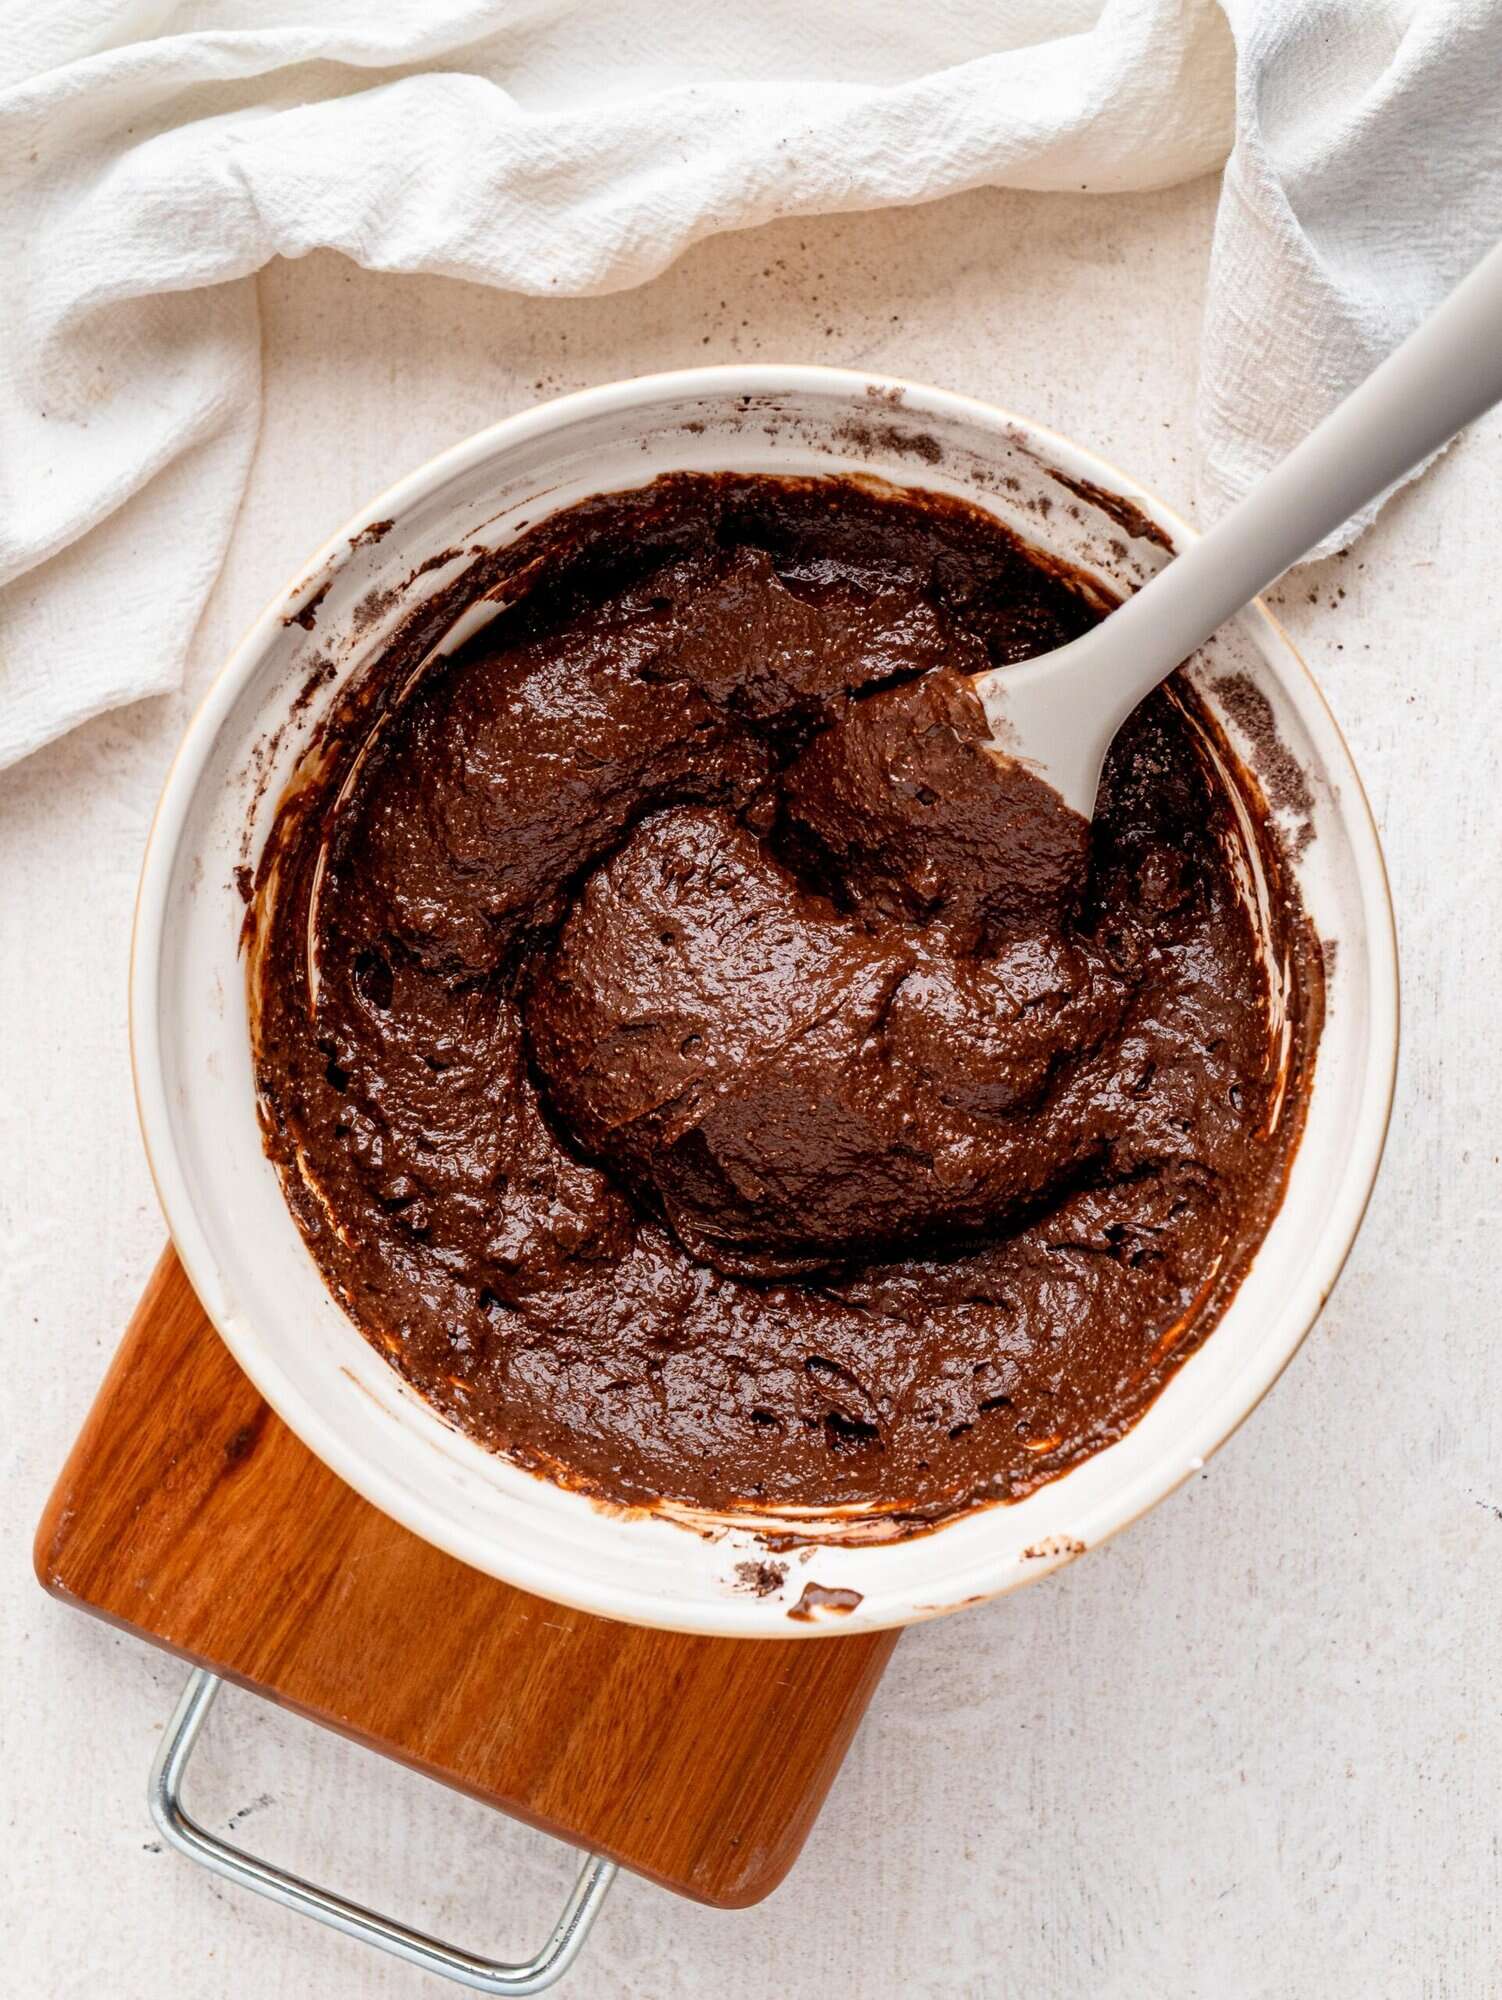
Step five:
Add the dry ingredients to the wet ingredients, and gently fold with a spatula.

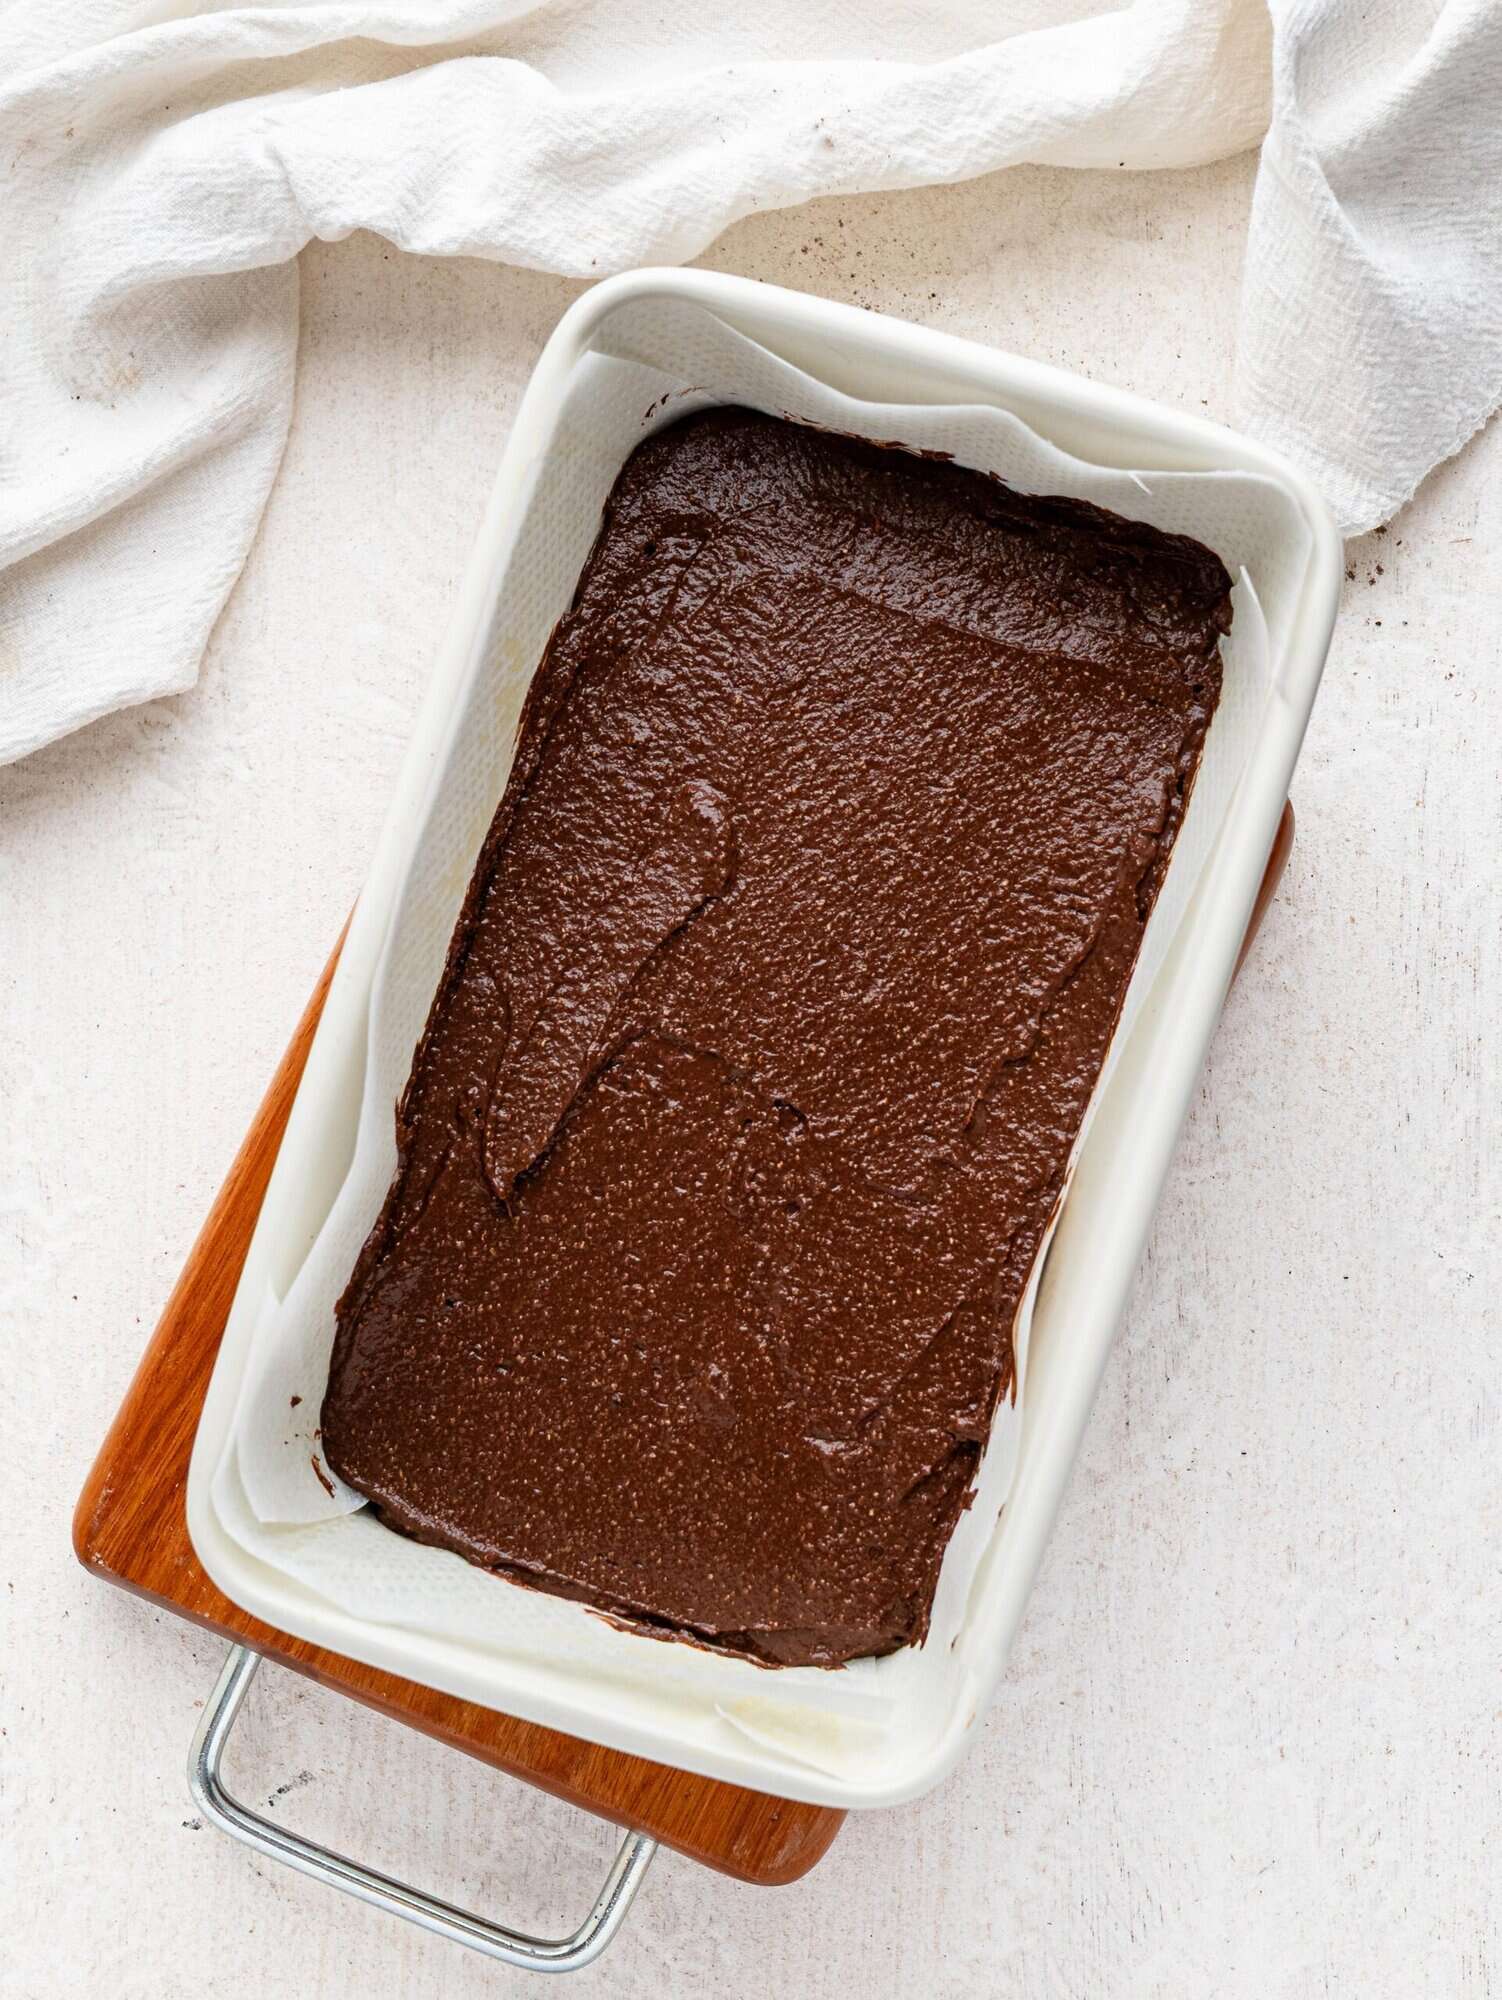
Step six:
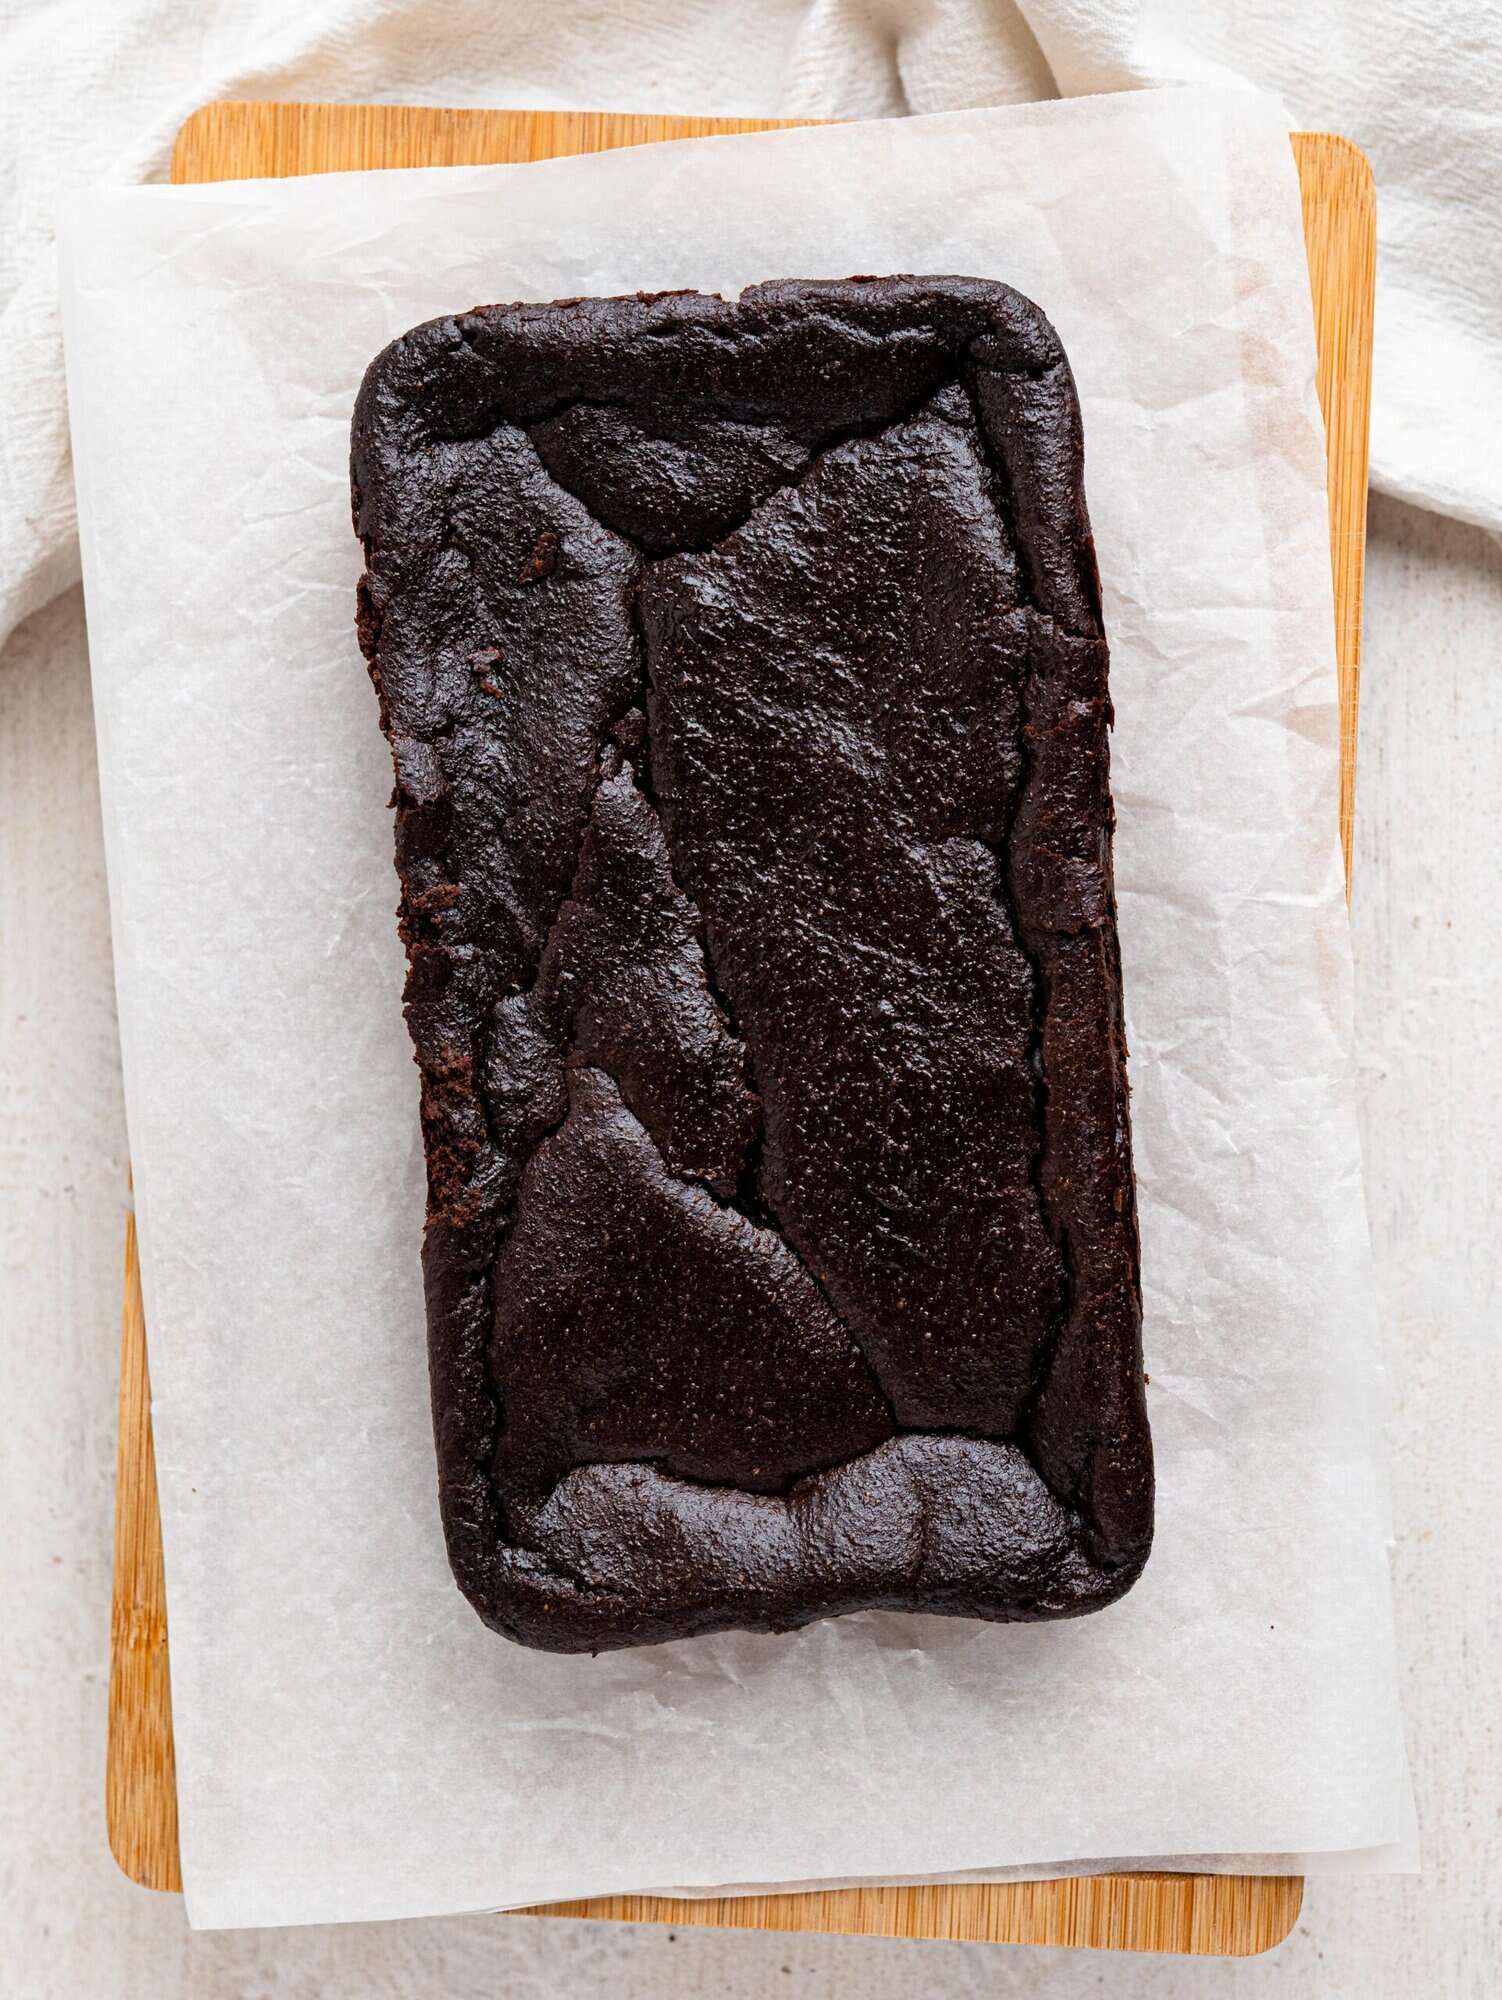
Transfer the brownie batter to the baking tin and smooth out the top.
Step seven:
Bake in the preheated oven for 35 minutes. The brownies will rise quite a bit, but as they cool they will fall flat and create the fudgiest brownies. If the edges seem a lot higher than the center, simply use a spoon to flatten them.
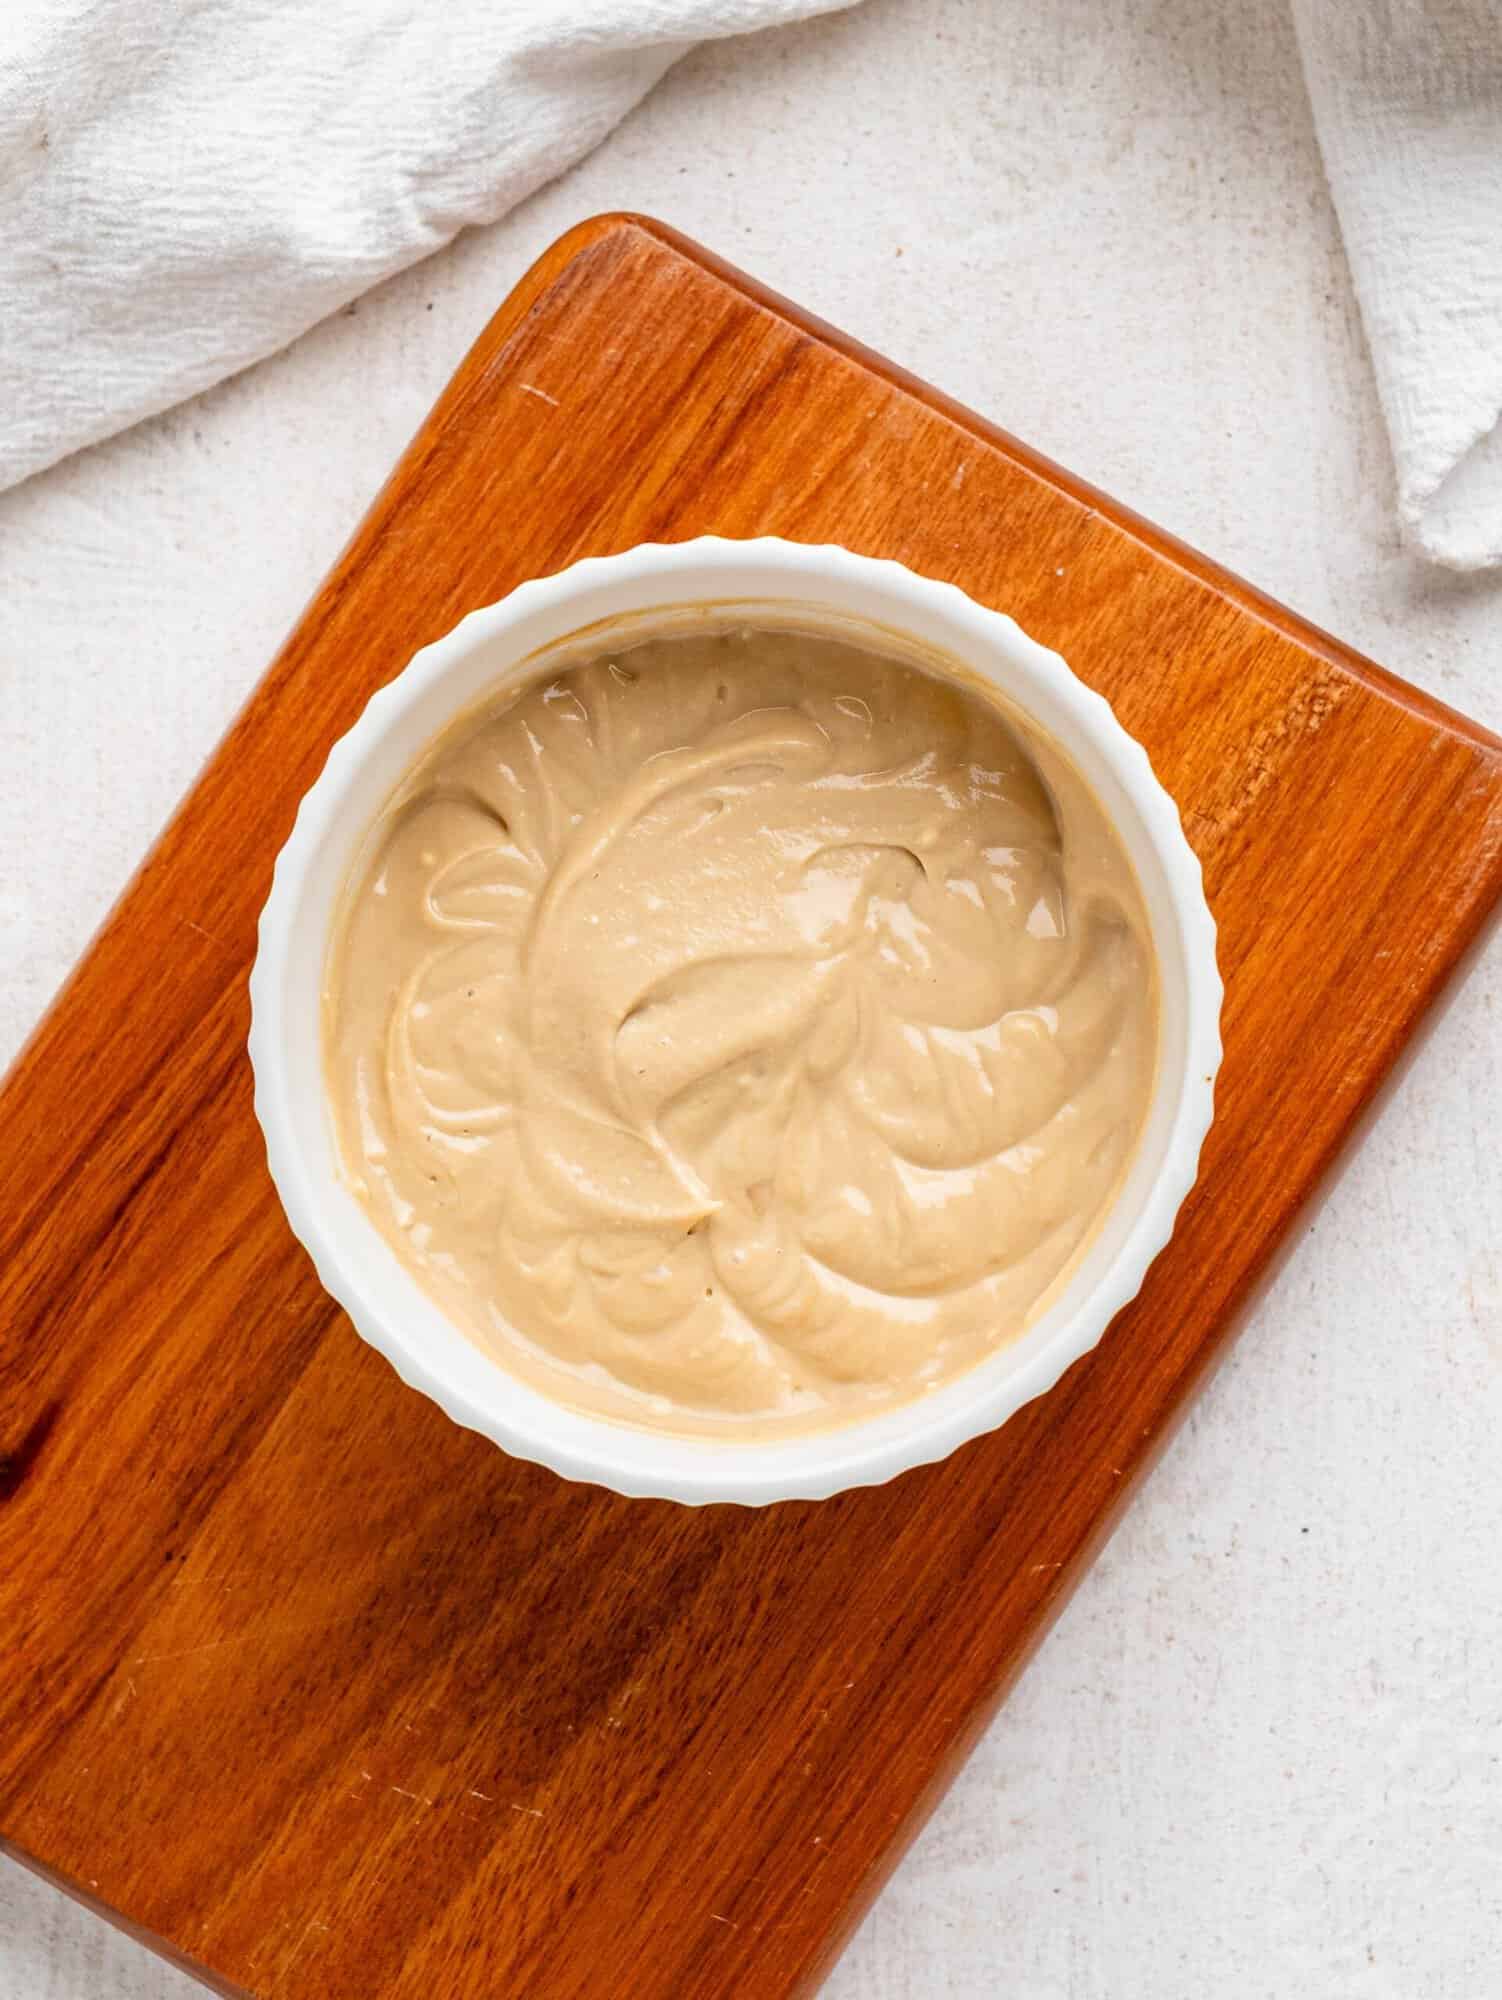
Step eight:
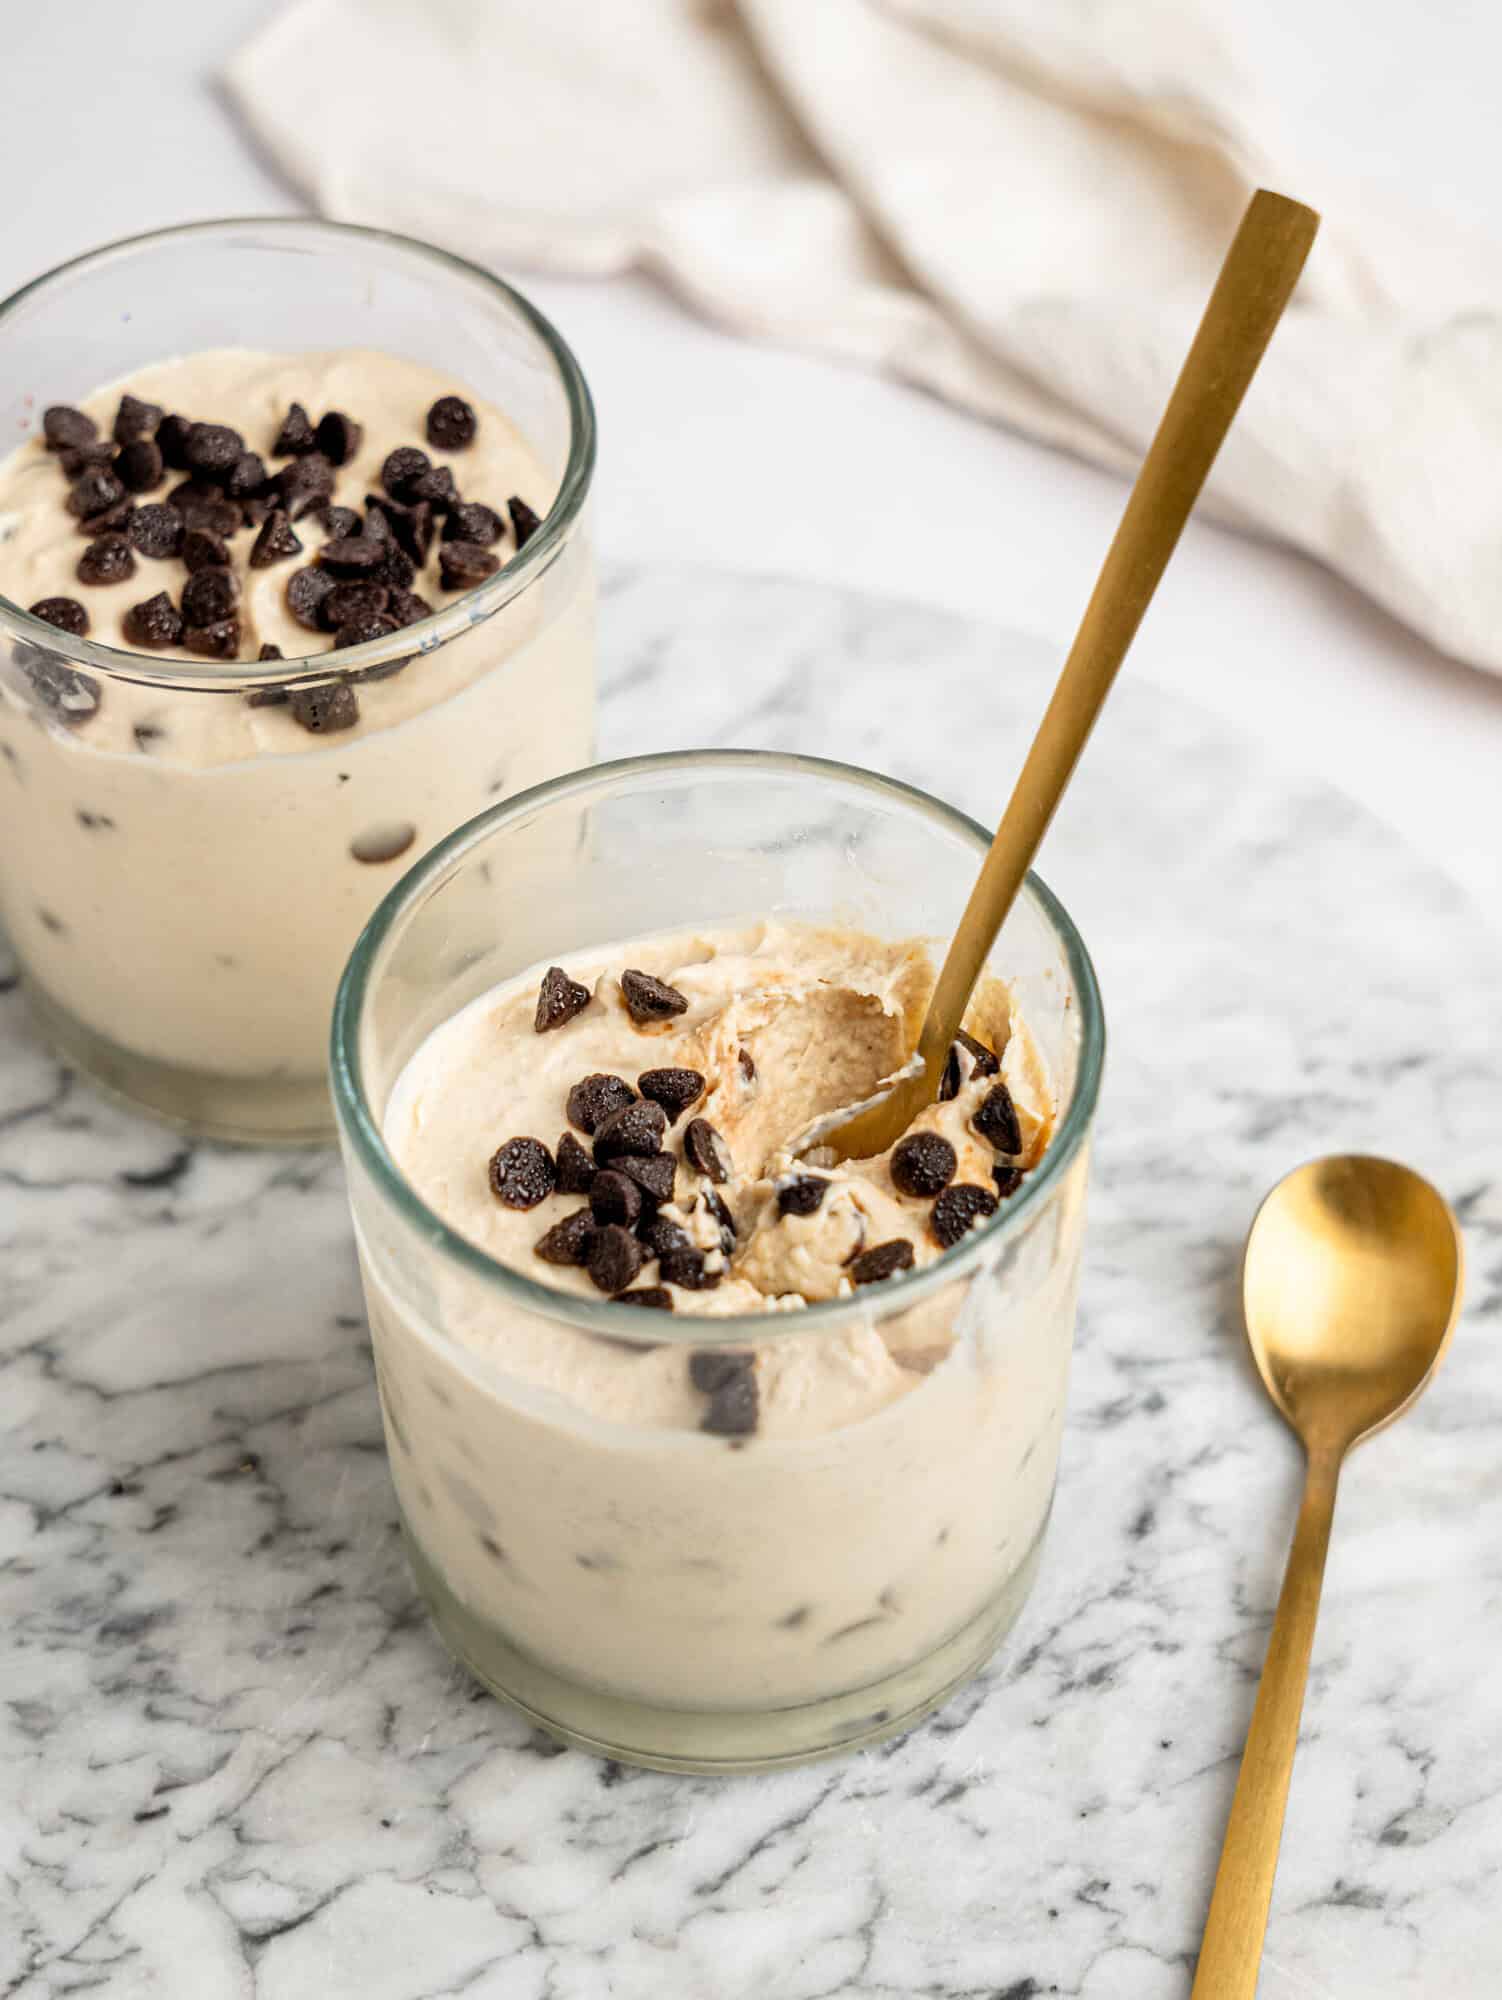
Whilst the brownies are cooling in the tin you can make your coffee topping by combining the cream cheese, yogurt, liquid sweetener, and espresso powder. Place in the fridge until the brownies have completely cooled.

Step nine:
Once the brownies have cooled, remove from the tin and spread the coffee layer on top. You can refrigerate for a further half an hour for the frosting to set further before dusting some cocoa powder on top.


Step ten:
Slice with a sharp, clean knife.
Tips and Notes:
- Make Ahead: You can make the brownie base ahead of time and store it for up to 3 days before adding the topping. It will only get fudgier and more delicious!
- Frosting Consistency: If your coffee frosting is too runny, pop it in the fridge for a bit longer to firm up for easier spreading.
- Adjusting Sweetness: Feel free to adjust the sweetness. If you prefer less sugar, just reduce the sweetener and dust with extra cocoa powder for balance.
- For Extra Fudginess: If you love fudgy brownies, reduce the baking time by a couple of minutes. They’ll firm up as they cool.
- Texture Variations: Add chopped nuts or chocolate chips for a little extra crunch and richness.
- Freezing Tips: Slice, wrap tightly, and freeze for up to 3 months. When you’re ready, thaw at room temperature or pop them in the microwave.
- Vegan Version: Use dairy-free yogurt and vegan cream cheese for a completely plant-based version. Don’t forget to check that your chocolate is dairy-free!
- Serving Tip: Top with a dollop of coconut whipped cream or a scoop of dairy-free ice cream for an extra indulgent treat.
How to store Tiramisu Brownies
Refrigeration: Store these Tiramisu Brownies in an airtight container in the fridge for up to 5 days.
Freezing: They can also be frozen for up to 3 months—just make sure to wrap them well to avoid freezer burn. When ready to eat, thaw them in the fridge overnight or at room temperature for a few hours.
Frequently Asked Questions (FAQ)
Can I make these brownies gluten-free?
Yes! These brownies are naturally gluten-free if you use oat flour or a gluten-free flour blend. Just be sure to double-check that all your ingredients are gluten-free, including your chocolate.
Can I make these brownies without coffee?
Of course! You can skip the coffee altogether and still have delicious brownies. For a different flavor, try substituting with hot chocolate or decaf coffee.
Can I use a different sweetener?
You can use any sugar in the brownies. For the frosting you can use any liquid sweetener like honey, maple syrup, agave etc. or you can use powdered sugar.
How do I know when the brownies are done?
Check the brownies by inserting a toothpick into the center. If it comes out with just a few moist crumbs, they’re ready! They will continue to firm up as they cool.
Can I make these brownies vegan?
Yes! Simply swap the yogurt and cream cheese for dairy-free alternatives (like coconut yogurt and vegan cream cheese). Also, ensure the chocolate you use is dairy-free.
more healthy brownie recipes for you to make next:
- Easy & Healthy Cottage Cheese Brownies
- One Bowl Strawberry Brownies (secretly healthy!)
- Easy, Fudgy Cherry Chocolate Brownies (made in one bowl!)
- The BEST Brownies with Cream Cheese Frosting
- Best Healthy Banana Brownies (Fudgey + Gluten Free)
Hey! If you make this recipe, I would love it if you could leave me some feedback and a rating ⭐⭐⭐⭐⭐ in the comment section at the bottom of the page! Also let me know on Facebook, Instagram or Pinterest! I can’t wait to hear your thoughts and see your photos!

Tiramisu Brownies
Equipment
- Loaf Tin 20cm x 10cm baking tin – read notes for alternative sizes
Ingredients
- 90 g Dark Chocolate – ½ cup, chopped
- 240 g Yogurt – 1 cup
- 125 ml Strong Black Coffee – ½ cup
- 85 g Coconut Sugar – ½ cup
- 90 g Oat Flour – 1 cup
- 50 g Cocoa Powder – ½ cup
- ¼ tsp Baking Soda
- Pinch of Salt
For the topping
- 100 g Cream Cheese – ½ cup
- 100 g Yogurt – ½ cup
- 40 g Liquid Sweetener – 2 tbsp
- 1 tsp Instant Coffee Powder
- 2 tbsp Cocoa Powder
Instructions
- Preheat the oven to 170°C (340°F) and line your baking tin with parchment paper.
- Melt the chocolate gently in a microwave-safe bowl or over a double boiler until smooth. Set aside to cool slightly.
- In a large mixing bowl, whisk together the yogurt, coffee, coconut sugar, and melted chocolate until smooth and well combined.
- Add the oat flour, cocoa powder, baking soda, and salt. Mix until fully incorporated and a thick batter forms.
- Pour the batter into the prepared baking tin and smooth the top.
- Bake for 25–30 minutes, or until the center is set but still slightly fudgy. Allow to cool completely in the tin.
- Meanwhile, prepare the topping by whisking together the cream cheese, yogurt, liquid sweetener, and instant coffee until smooth and creamy. Adjust sweetness or coffee strength to taste.
- Spread the coffee topping evenly over the cooled brownie base. Dust with cocoa powder to finish.
- Refrigerate for at least 1 hour before slicing into squares. Store leftovers in an airtight container in the fridge for up to 5 days.
Video
Notes
- Smaller Tin: If using a smaller tin, the batter will be thicker, so you may need to increase the baking time. Start by adding 5-10 minutes to the suggested baking time and check for doneness with a toothpick.
- Larger Tin: If using a larger tin, the batter will be thinner, so reduce the baking time by 5-10 minutes. Check for doneness a few minutes before the original baking time.
- For Extra Fudginess: Slightly underbake the brownies for an even gooier texture — they’ll set as they cool.
- Make Ahead: Bake the brownie layer a day in advance and store it in the fridge — it only gets fudgier!
- Frosting Too Runny? Chill the coffee topping in the fridge before spreading if it needs to firm up.
- Adjust Sweetness: Taste the coffee layer and adjust the sweetener to suit your preference.
- Vegan-Friendly: Easily make it vegan by using dairy-free yogurt, cream cheese, and chocolate.
- Storage: Store in an airtight container in the fridge for up to 5 days or freeze slices for up to 3 months.
- Serving Tip: Dust generously with cocoa powder before serving for that classic tiramisu finish!
Nutrition
Let me know in the comments below if you make these Tiramisu Brownies!